
Hardware
NZXT H510 Elite Case Review
Introduction
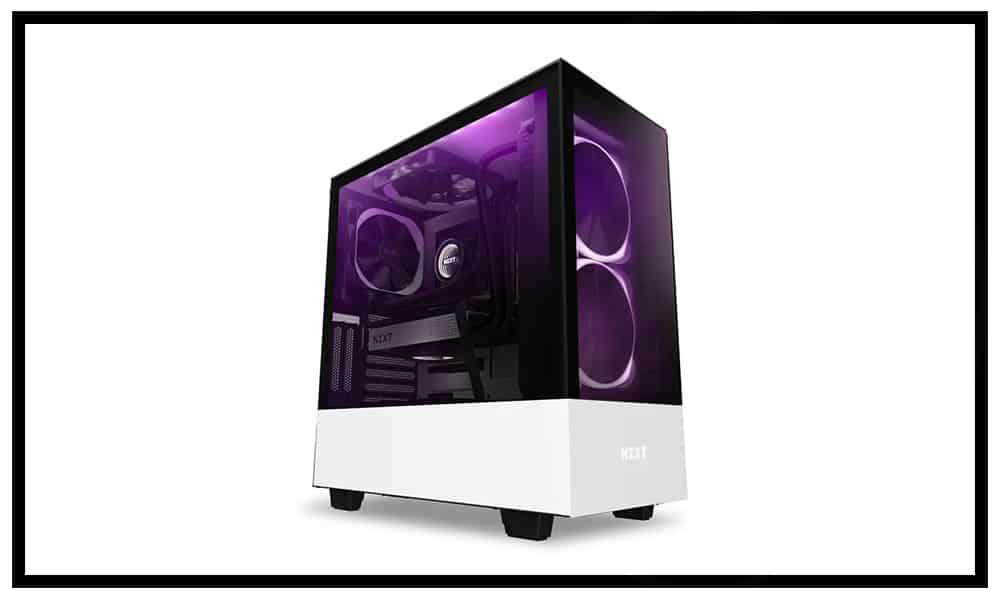
Are you a fan of tempered glass? Are you also a fan of RGB? If you answered yes to both of those questions, NZXT’s newest addition the H510 Elite just might be for you. The H510 Elite features a tempered glass side panel, tempered glass front panel, two Aer 2 RGB fans, an RGB LED strip, and a Smart Device 2 controller. In addition to these, the H510 Elite also includes NZXT’s patented cable management system to provide you with a cleaner and easier build experience. With the new features and hardware, the H510 Elite has the same MSRP of $169.99 as its brother the H710.
We would like to thank NZXT for sending us the H510 Elite to review.
About NZXT
NZXT was founded in 2004 by Johnny Hou, and they have been building cases and accessories for PC gamers for over 13 years. Primarily known for their cases, they also develop many cooling accessories such as their Kraken line of GPU and CPU coolers and AER fans. Just recently, NZXT also joined the list of motherboard manufacturers by releasing their first motherboard: the N7 Z370.
Features & Specifications
Notable features of the H700i include:
- All steel construction
- PSU shroud
- Unique cable routing kit
- RBG lighting controller
- Integrated RGB lighting
- A front tempered glass panel
Technical specifications are as follows:
| Dimensions | W: 210mm H: 435mm D: 428mm (without feet) |
| W: 210mm H: 460mm D: 428mm (with feet) | |
| Material(s) | SGCC Steel, Tempered Glass |
| Weight | 7.5 kg |
| Clearance | Cable Management: 19-23mm |
| GPU Clearance: Up to 381mm | |
| CPU Cooler: Up to 165mm | |
| Front Radiator: 60mm | |
| Rear Radiator: 60mm | |
| Reservoir & Pump: Up to 180mm (Along cable bar), Up to 86mm (Along the bottom panel) | |
| Motherboard Support | Mini-ITX, MicroATX, ATX |
| Front I/O Ports | 1x USB 3.1 Gen 2 Type-C |
| 1x USB 3.1 Gen 1 Type-A | |
| 1x Headset Audio Jack | |
| Filters | All Air Intakes |
| Smart Device V2 | 3x Fan channels with Max 10W per channel output* |
| 2x RGB LED channels, each support up to 4x HUE 2 addressable LED strips or 5x Aer RGB 2 fans | |
| Built-in noise detection module | |
| * Note: If a splitter is used, fan control is regulated depending on the fan connected to the 4-pin port. Do not use low-noise adapters. | |
| RGB LED Lighting | 2x Integrated Aer RGB 2 140mm Fans |
| 1x Integrated addressable LED Strip | |
| Vertical GPU Mount | 2 Slots |
| Drive Bays | 2.5″: 2+1 |
| 3.5″: 2+1 | |
| Expansion Slots | 7 |
| Radiator Support | Front: 2x 140 or 2x 120mm with Pull |
| Rear: 1x 120mm | |
| Fan Support | Front: 2x 120/ 2x 140mm (2x AER RGB 2 140mm included) |
| Top: 1x 120mm/ 1x 140mm | |
| Rear: 1x 120mm (1x AER F120 Case Version Included) | |
| Fan Specs | Aer RGB 2 (140mm) |
| Speed: 500-1,500 RPM | |
| Airflow: 30.39 – 91.19 CFM | |
| Noise: 22 – 33 dBA | |
| Air Pressure: 0.17 – 1.52mm-H2O | |
| Bearing: Fluid Dynamic Bearing | |
| Fan Connector 4-Pin PWM | |
| Warranty | 2 Years |
| Model Number | CA-H510E-W1 |
| EAN | 5060301695294 |
| UPC | 815671015112 |
Packaging & Unboxing
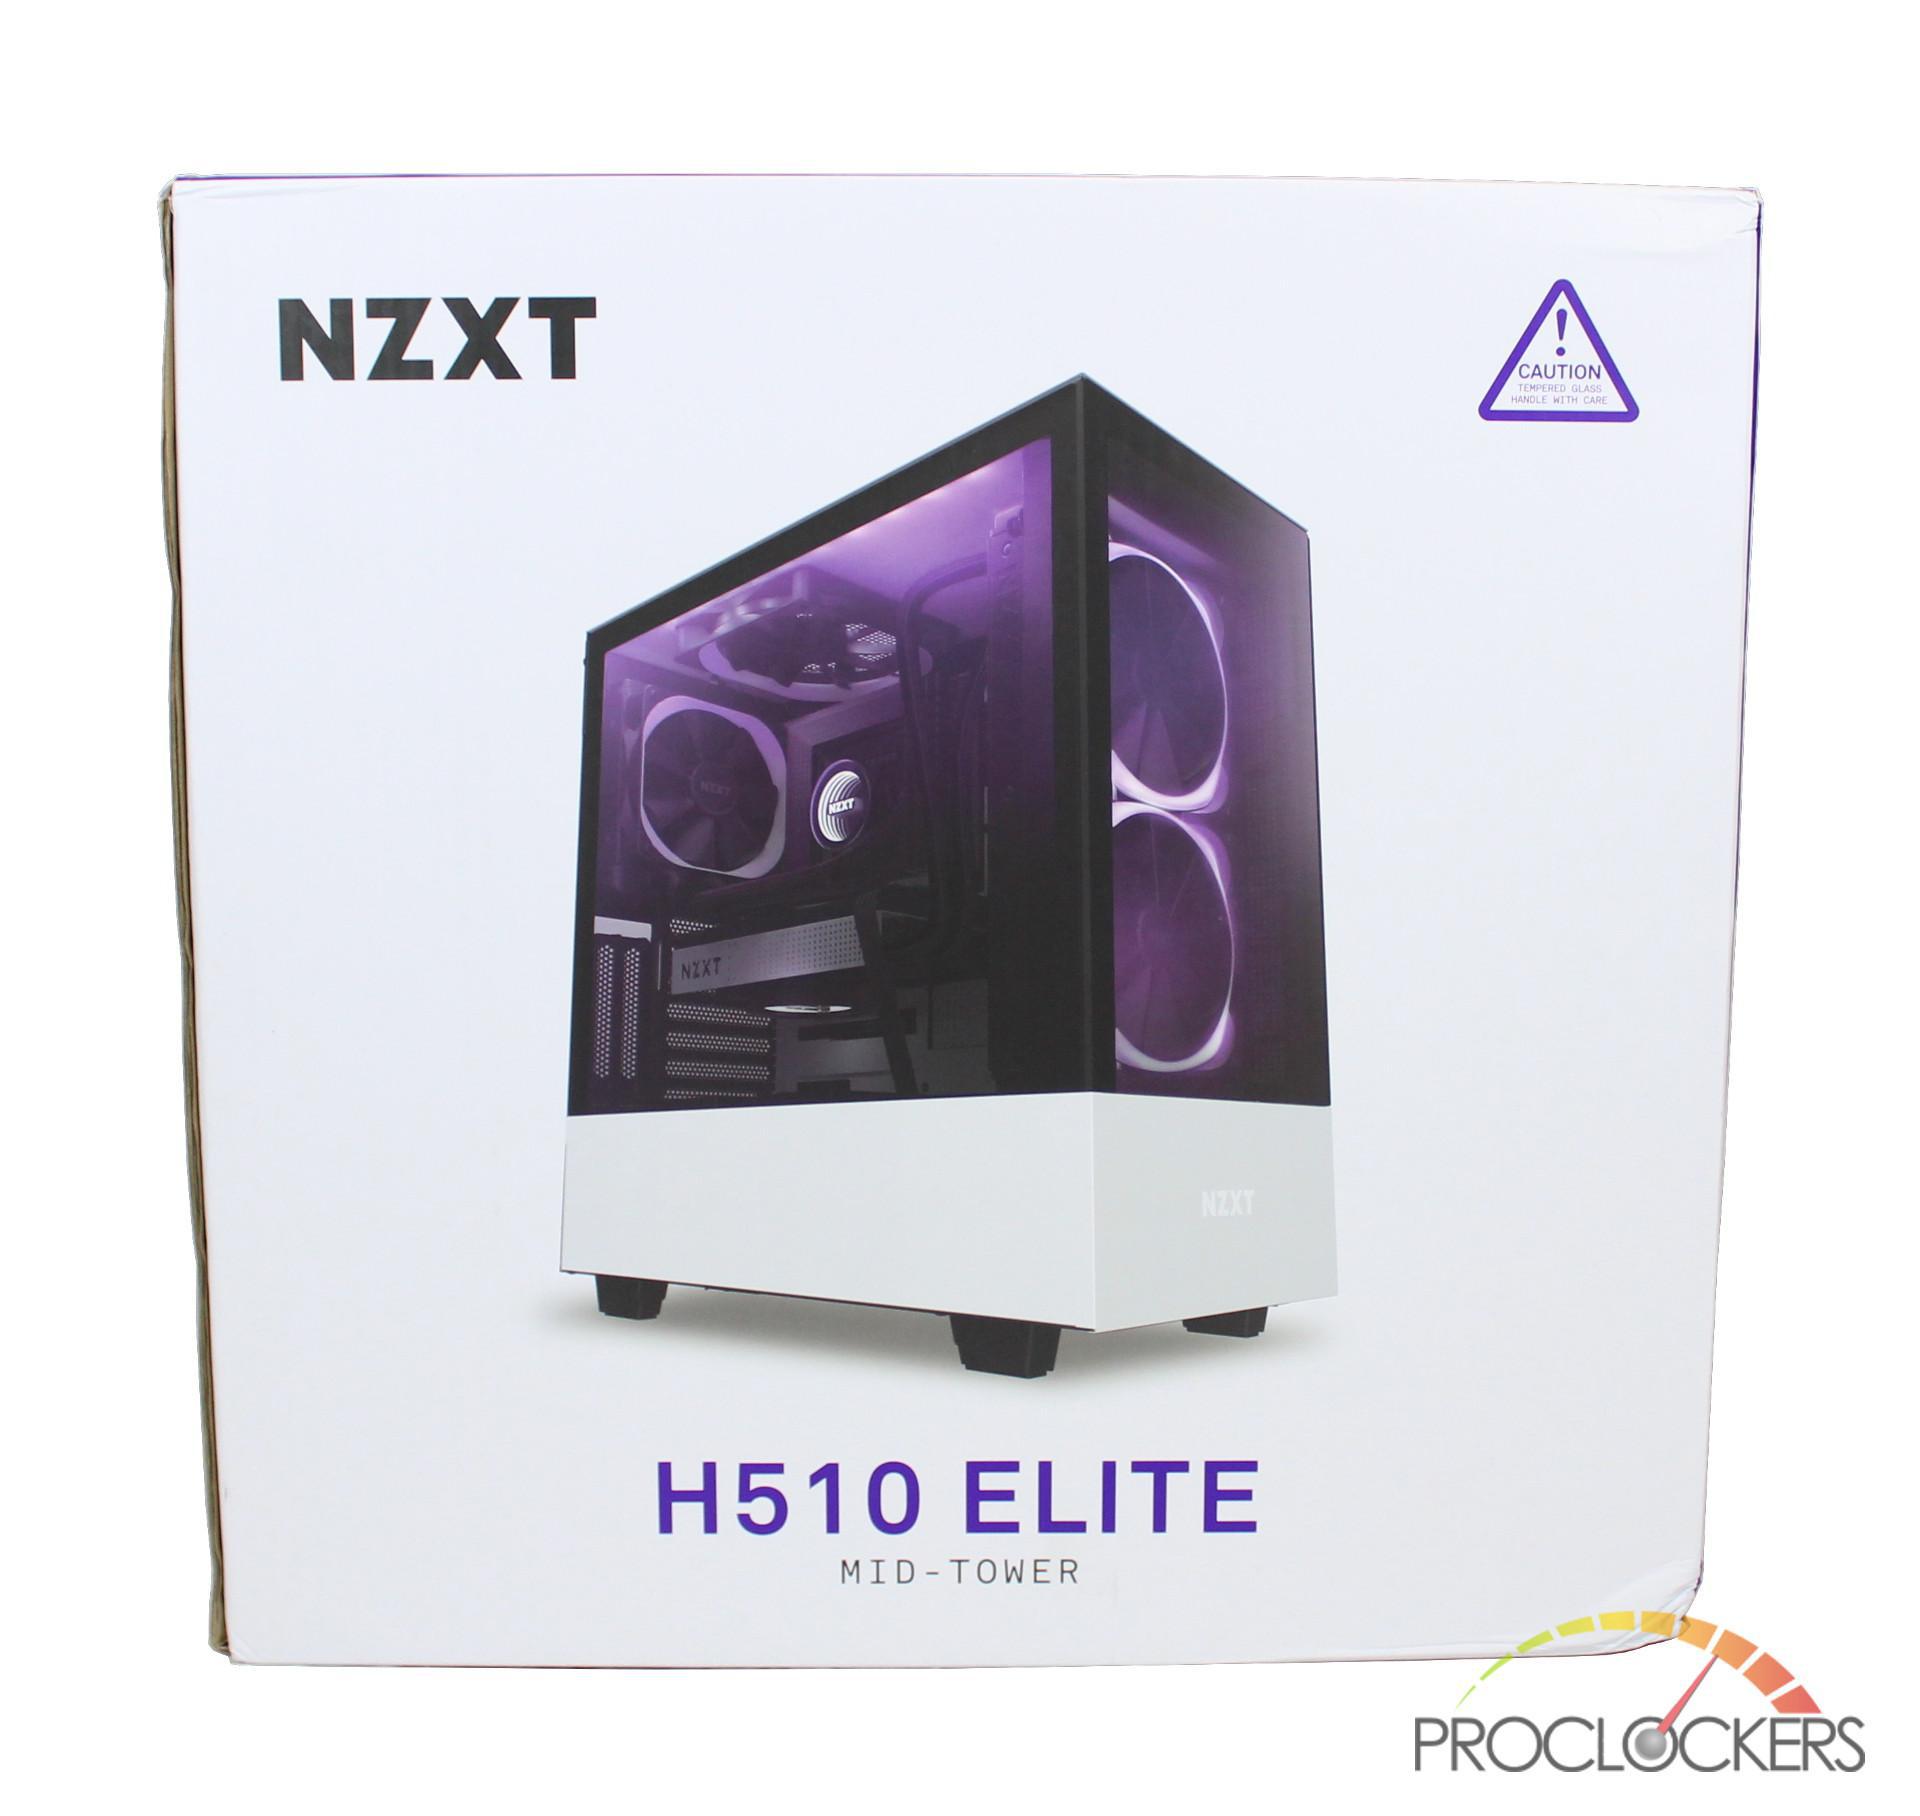
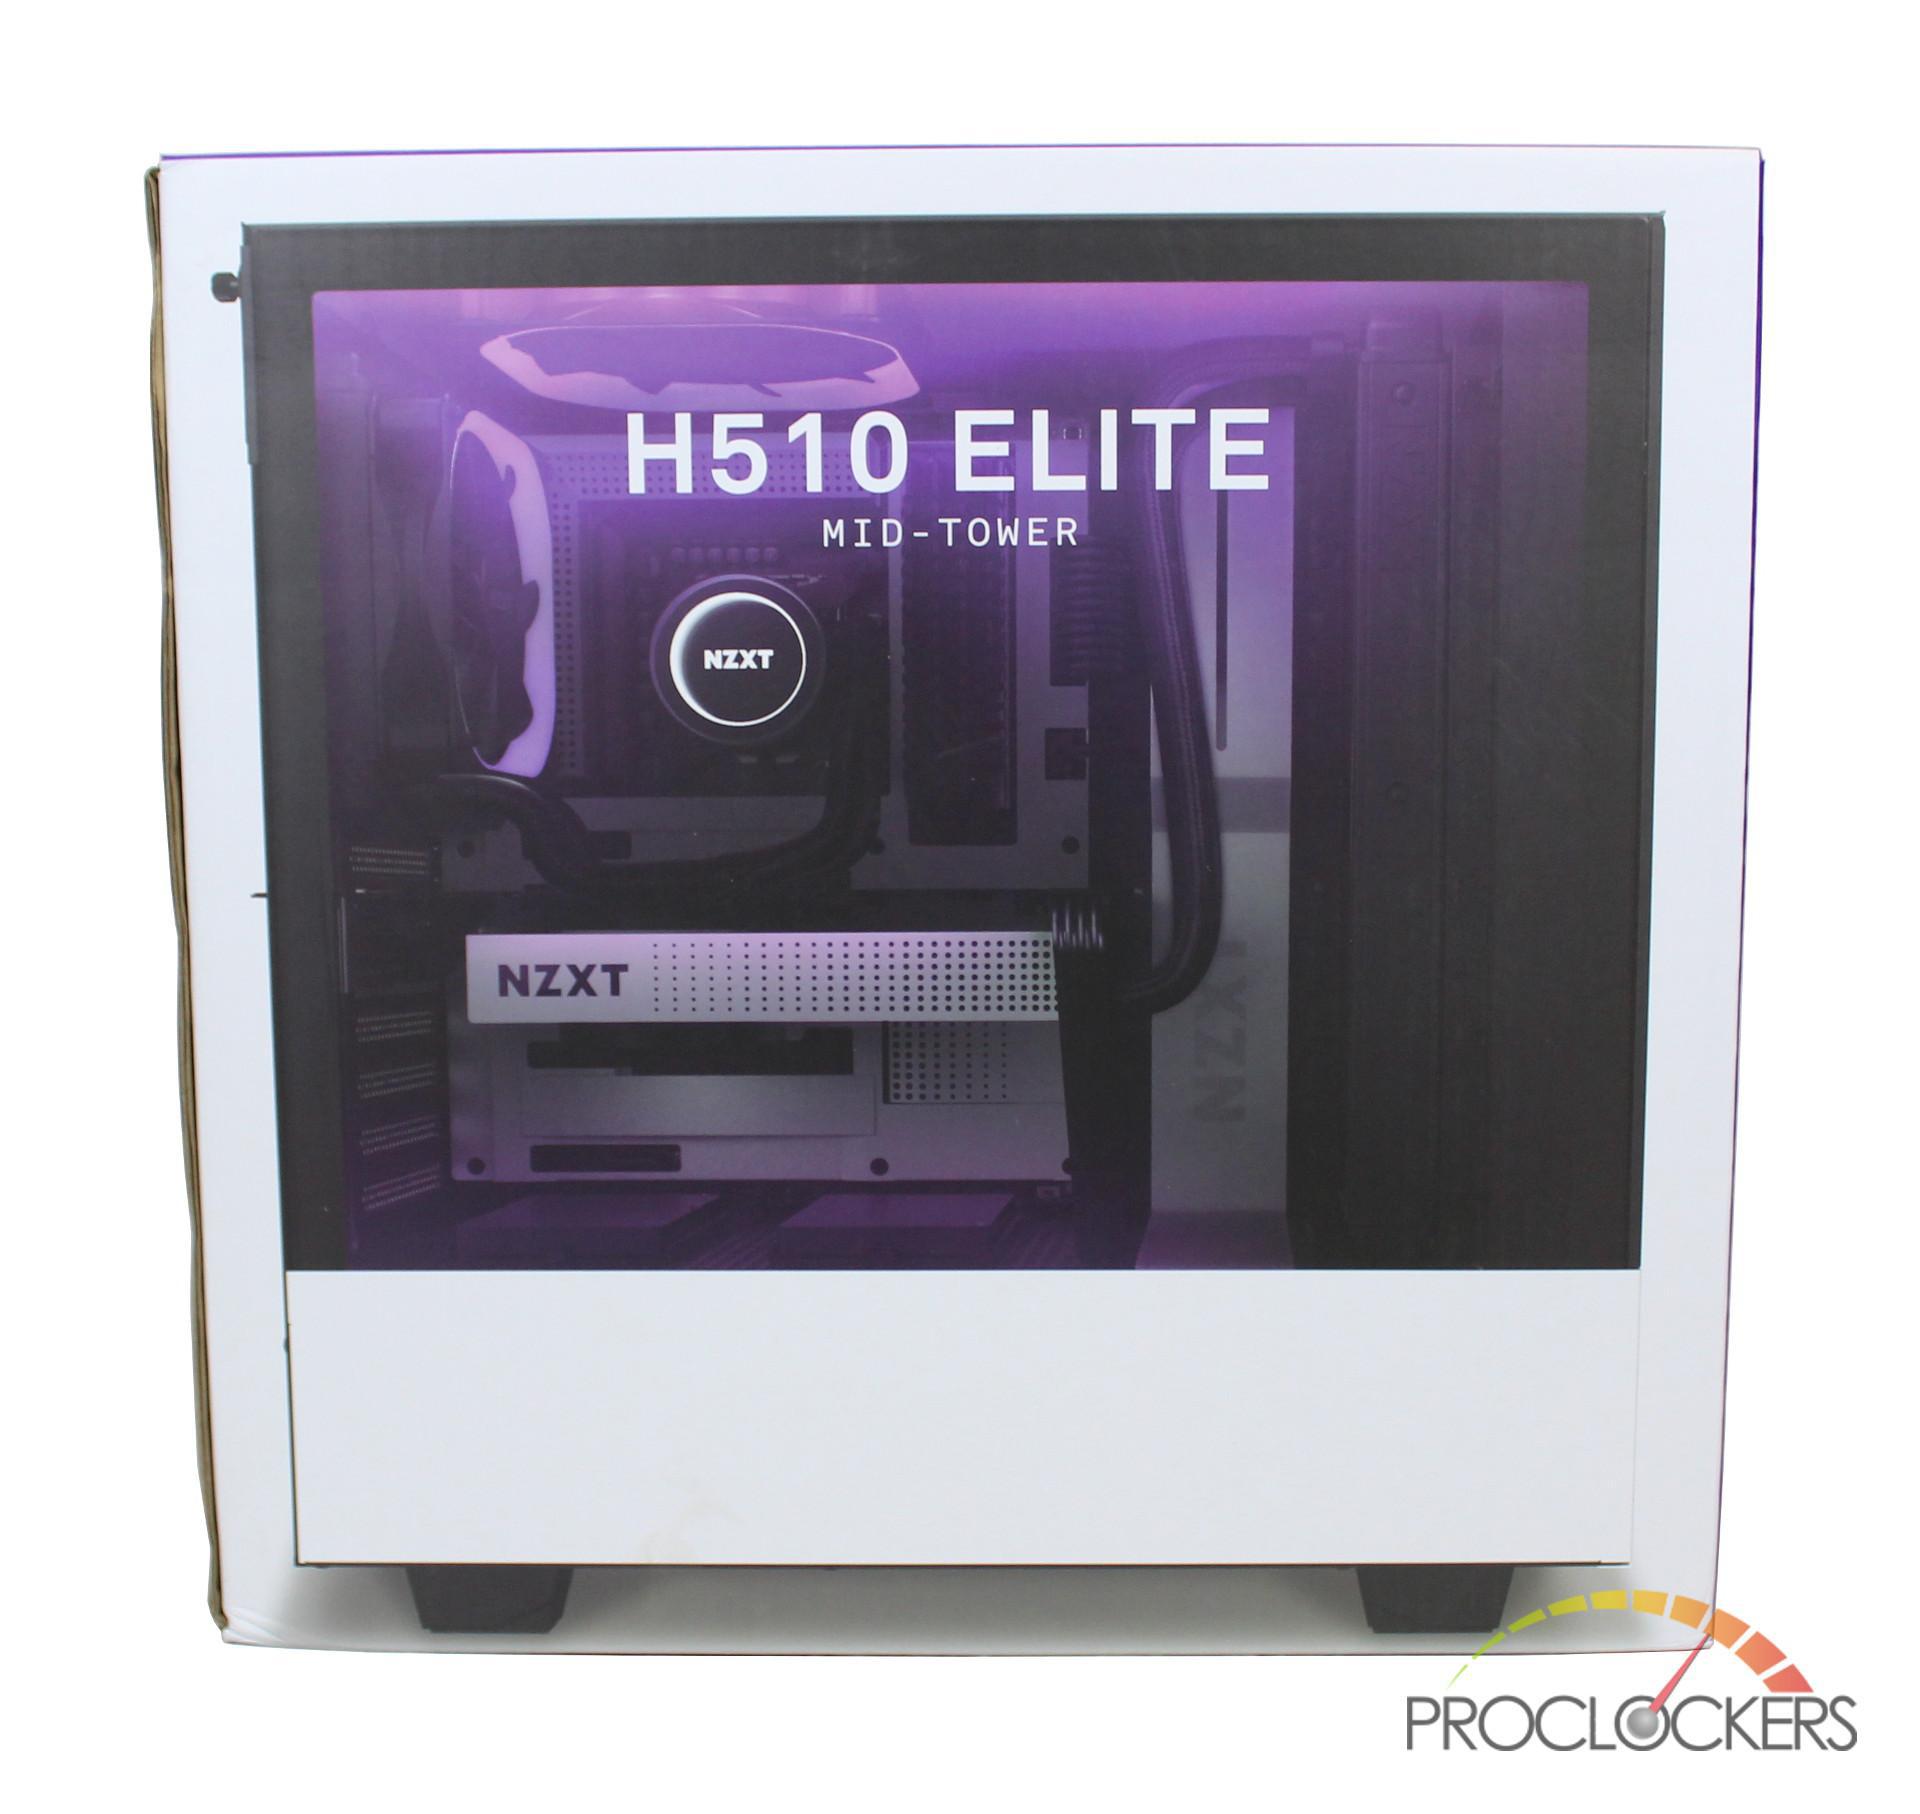
Like many other NZXT cases, the H510 Elite arrives in a white box with NZXT’s signature purple accents. On the front of the box, we see a profile view of the H510 Elite showcase, its tempered glass panels and included Aer 2 fans.
Turning the package to its side, it mentions that the included Aer 2 RGB fans and RGB LEDs are powered by NZXT’s CAM software. At the bottom, we have a few more shots of the H510 Elite with some of its notable features like the two tempered glass panels and front panel USB 3.1 Gen 2-compatible USB-C connector.
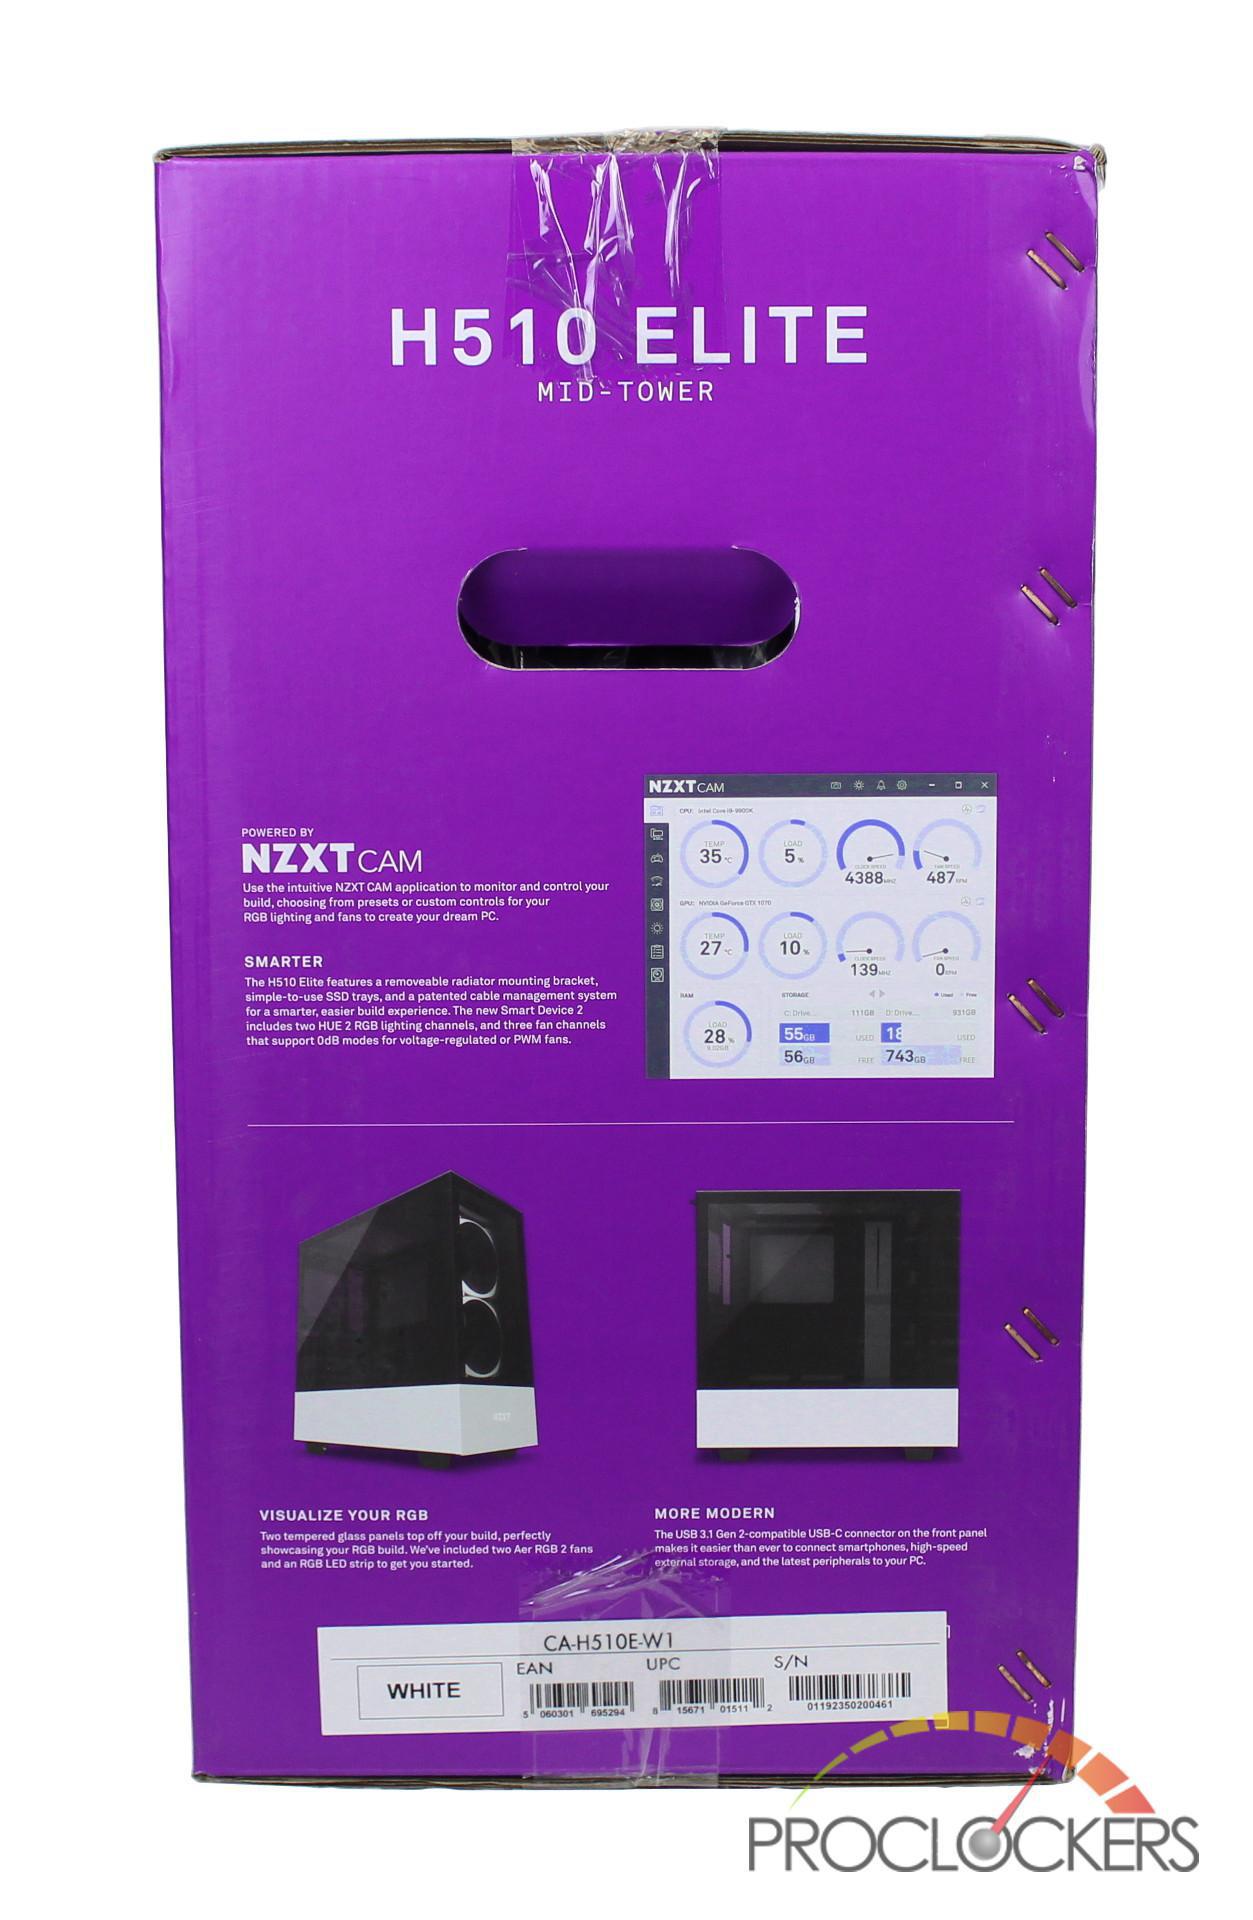
Moving to the back of the box, we have a completed build in the H510 Elite sporting an NZXT AIO and GPU cooler.
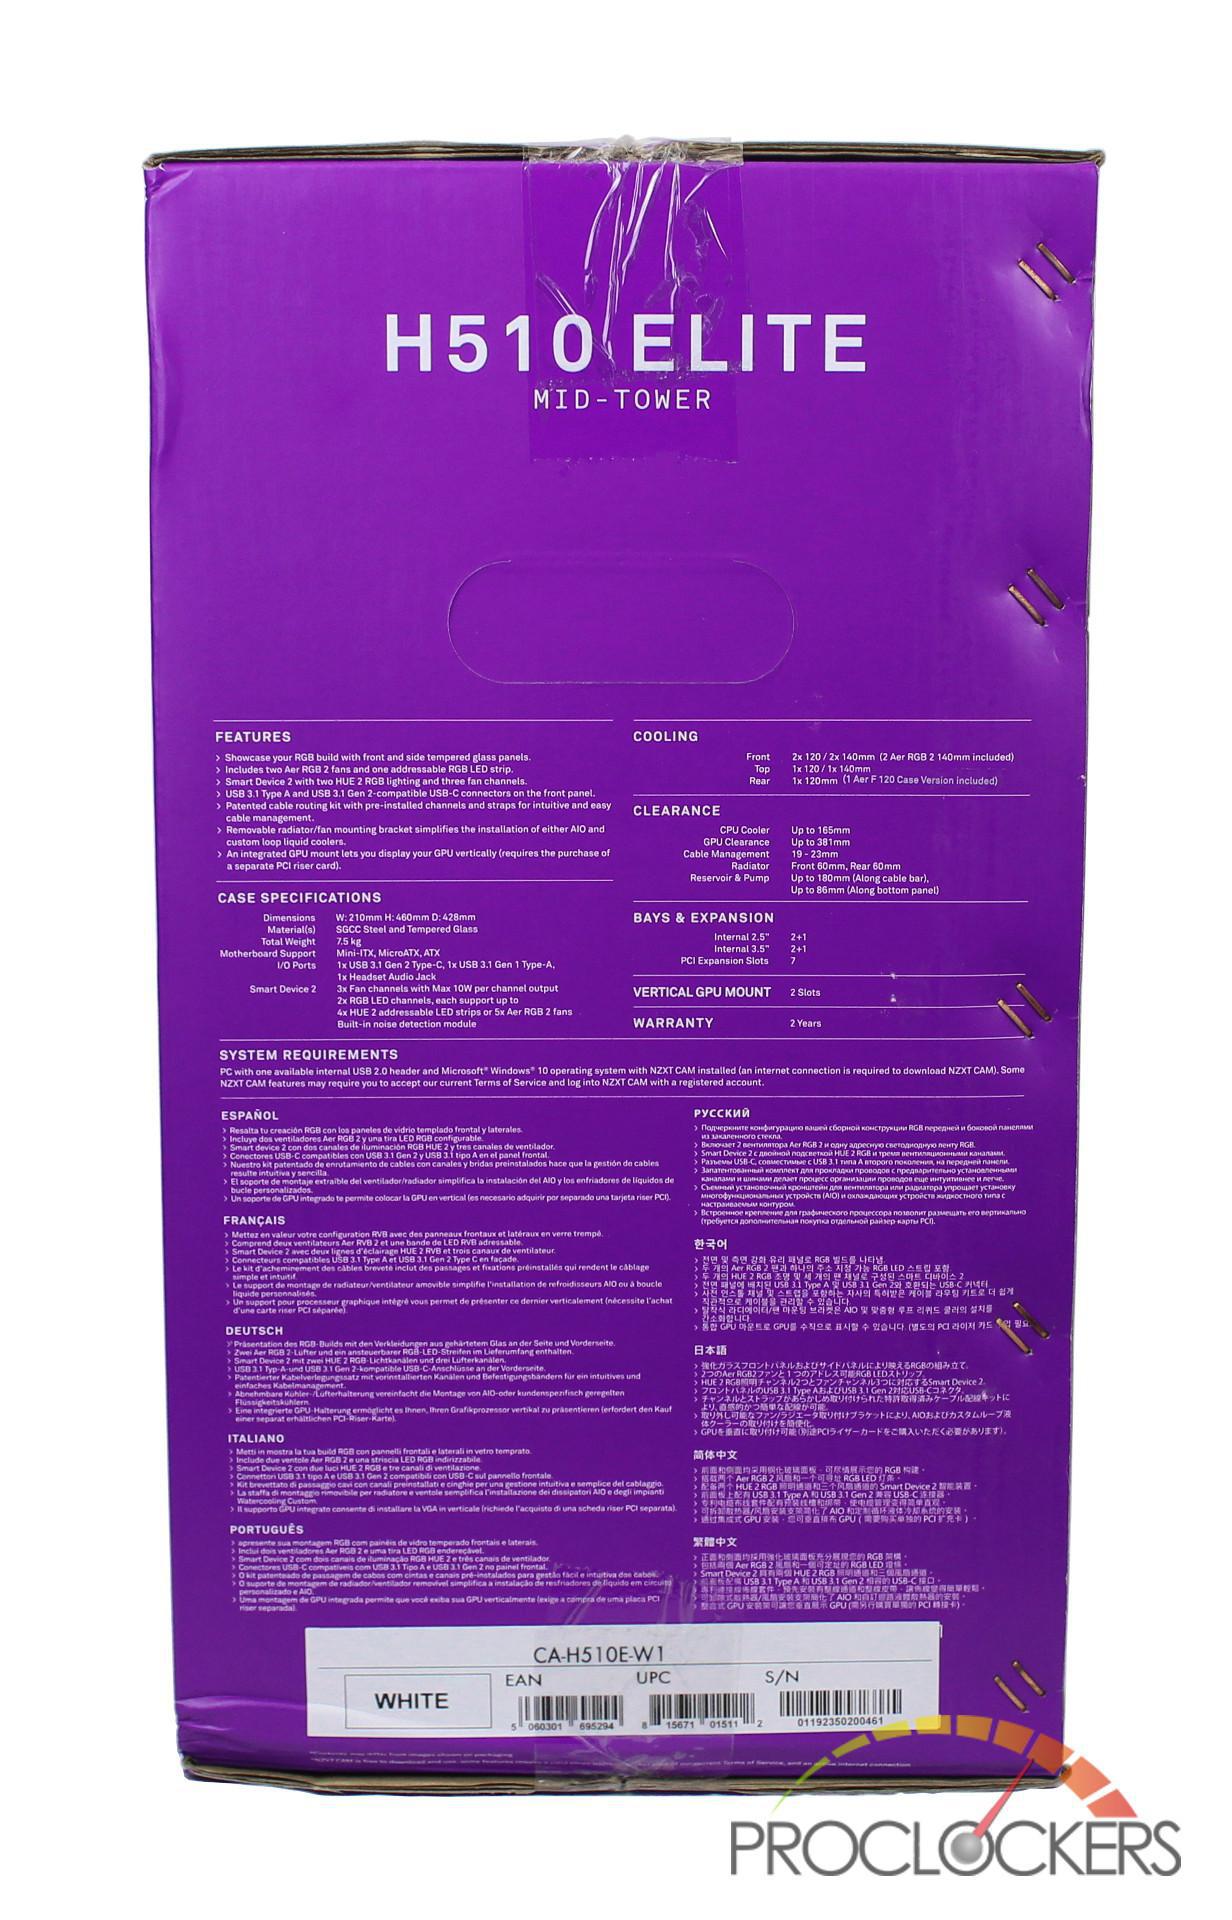
Going to the last remaining side, there is a list of more features of the H510 Elite that are written in 11 different languages. Also included is a completed breakdown of the case’s specifications like dimensions, cooling, clearances, and warranty.
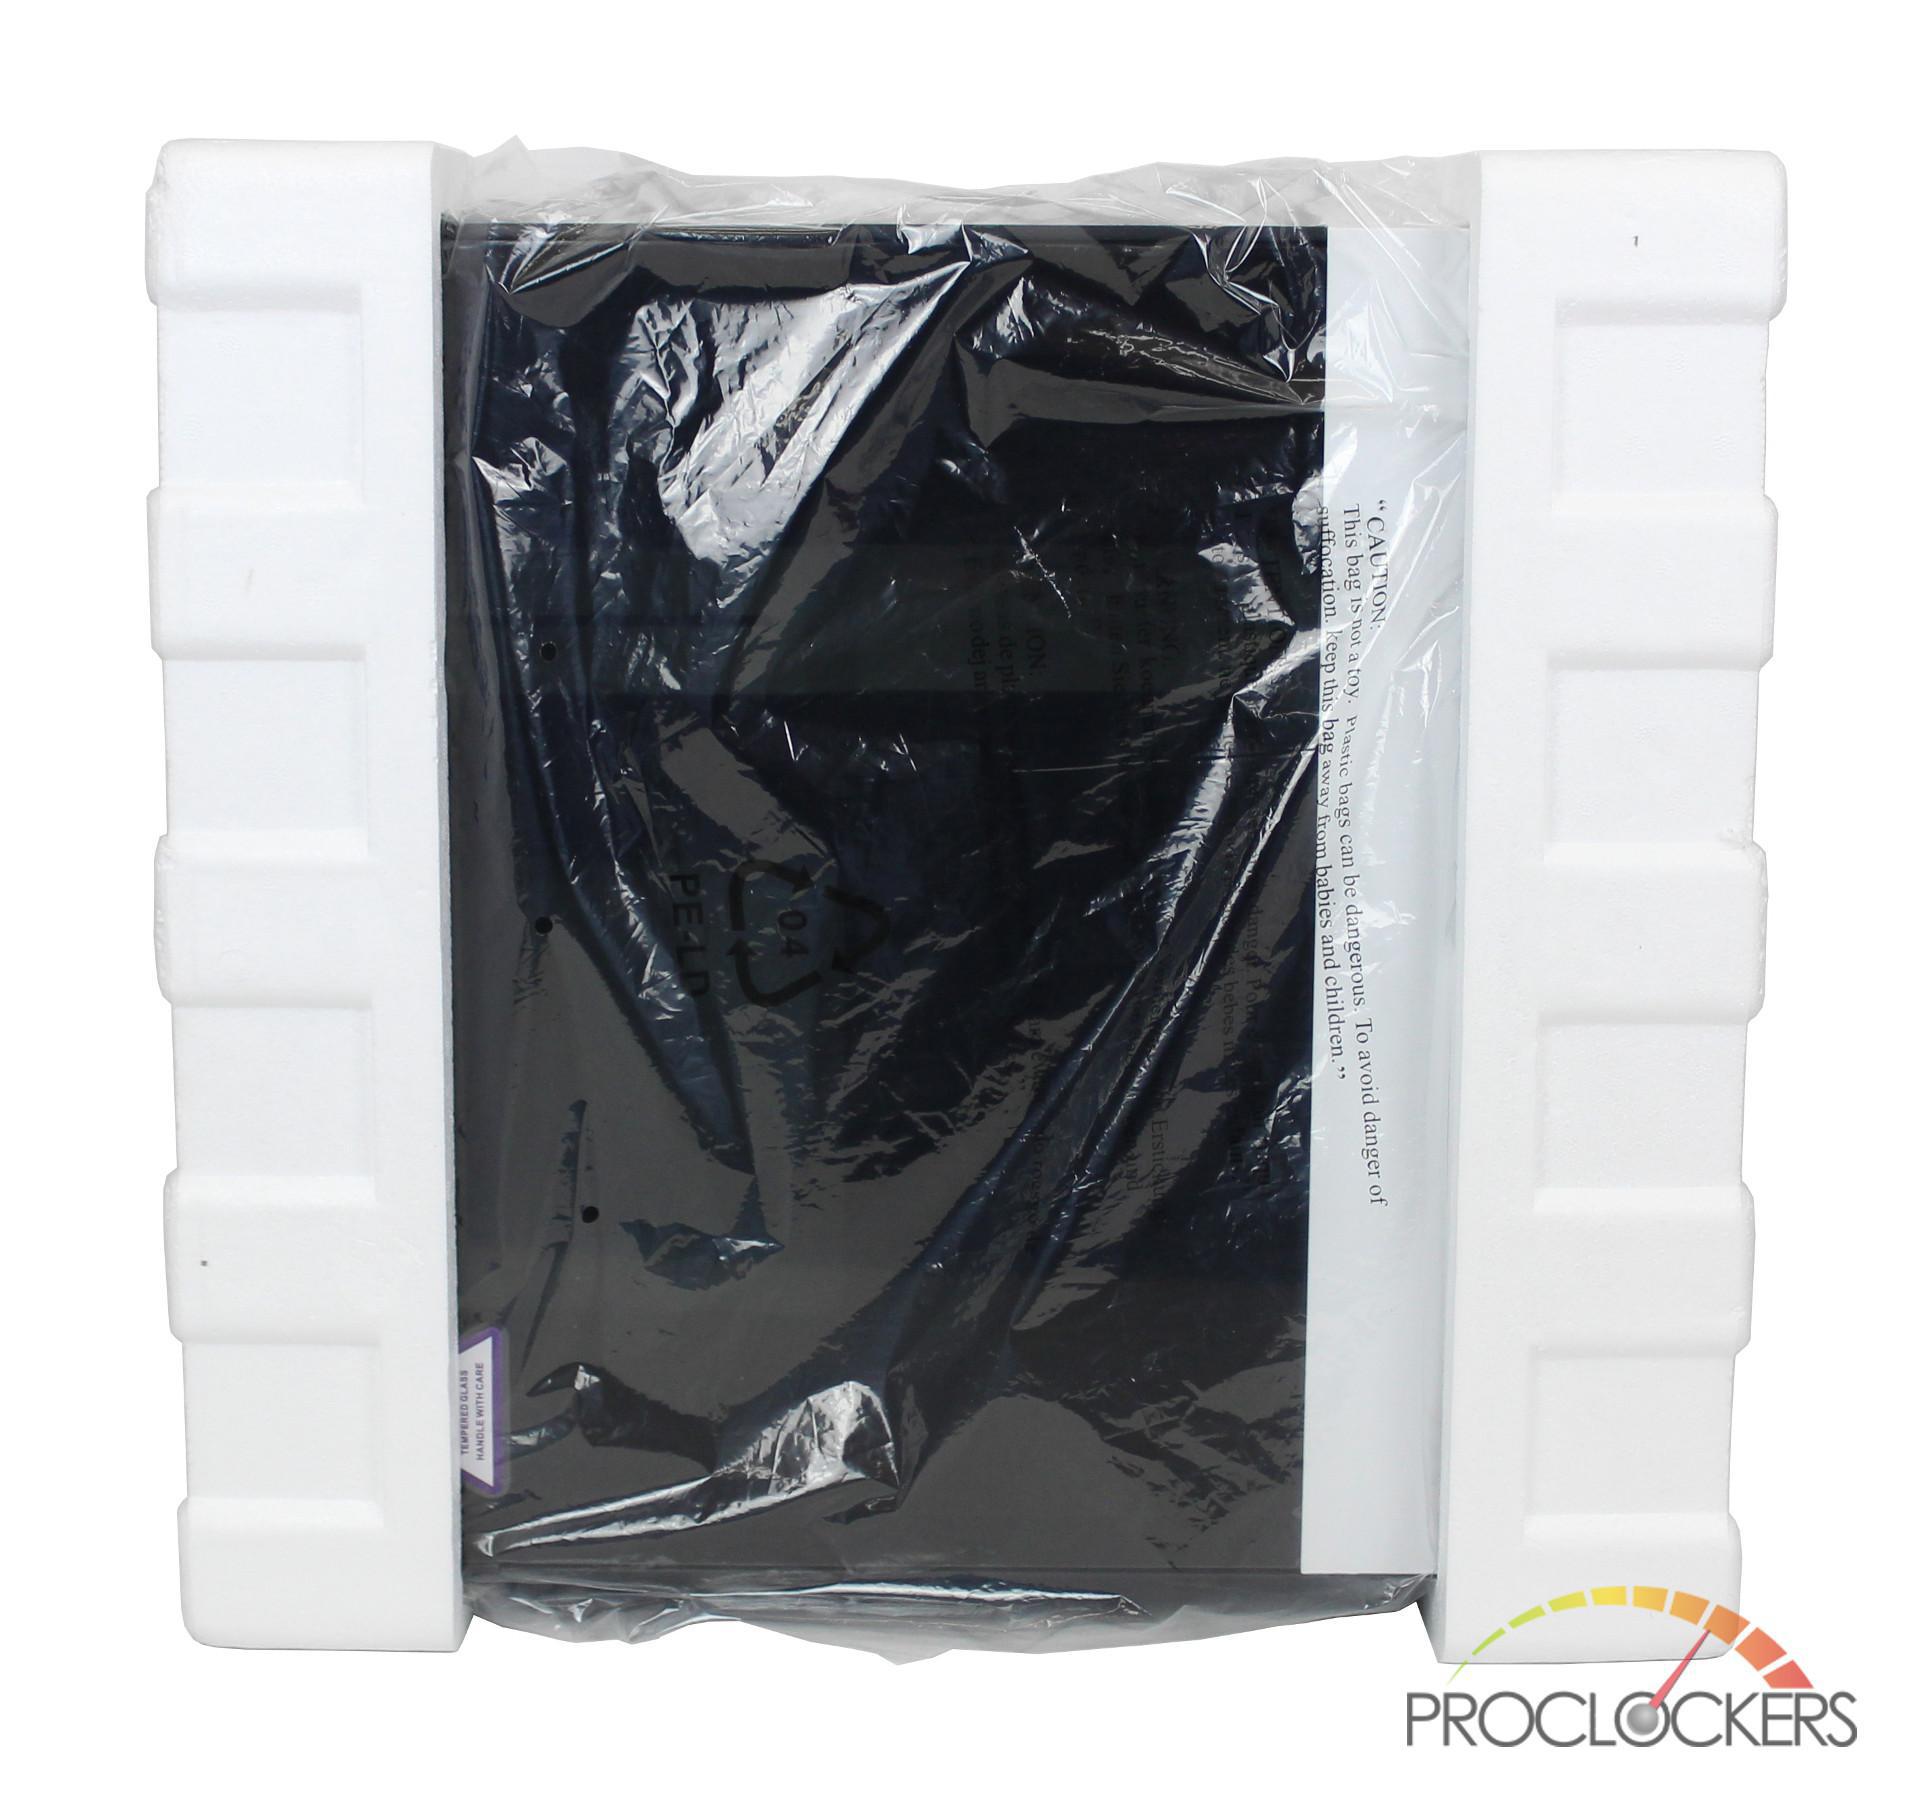
The H510 Elite is packaged with two pieces of Styrofoam and covered with a clear plastic bag.
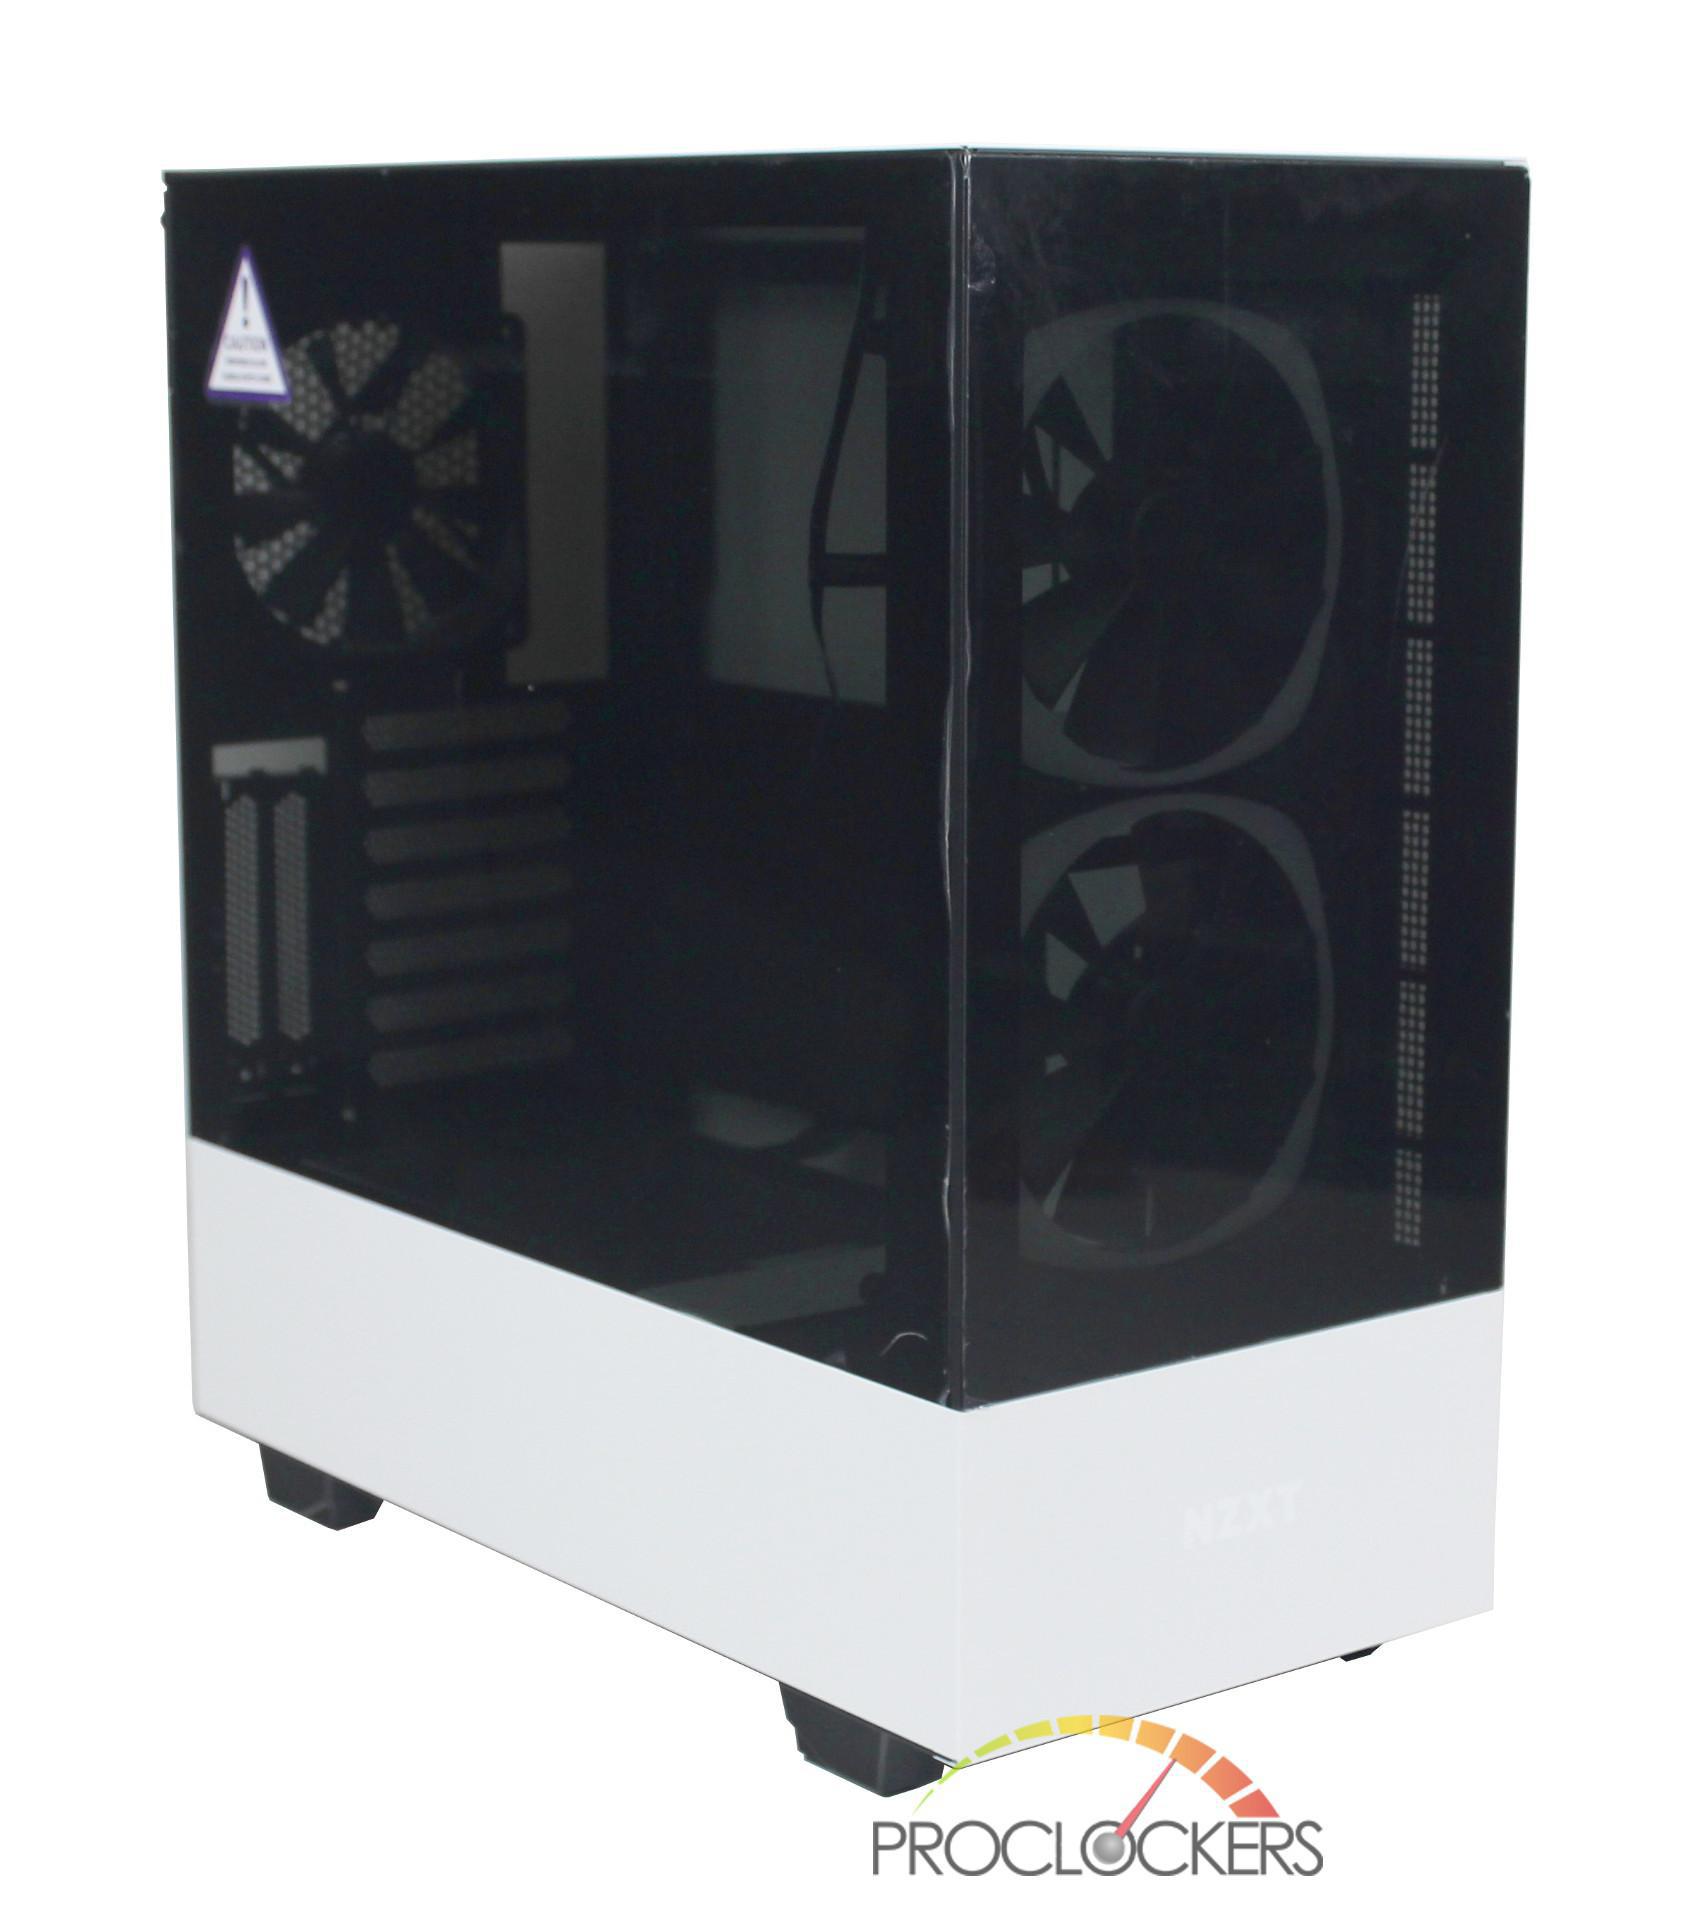
Once the rest of the packaging is removed we get our first glimpse of the H510 Elite. All that is left before we start building is to remove the protective film from the tempered glass.
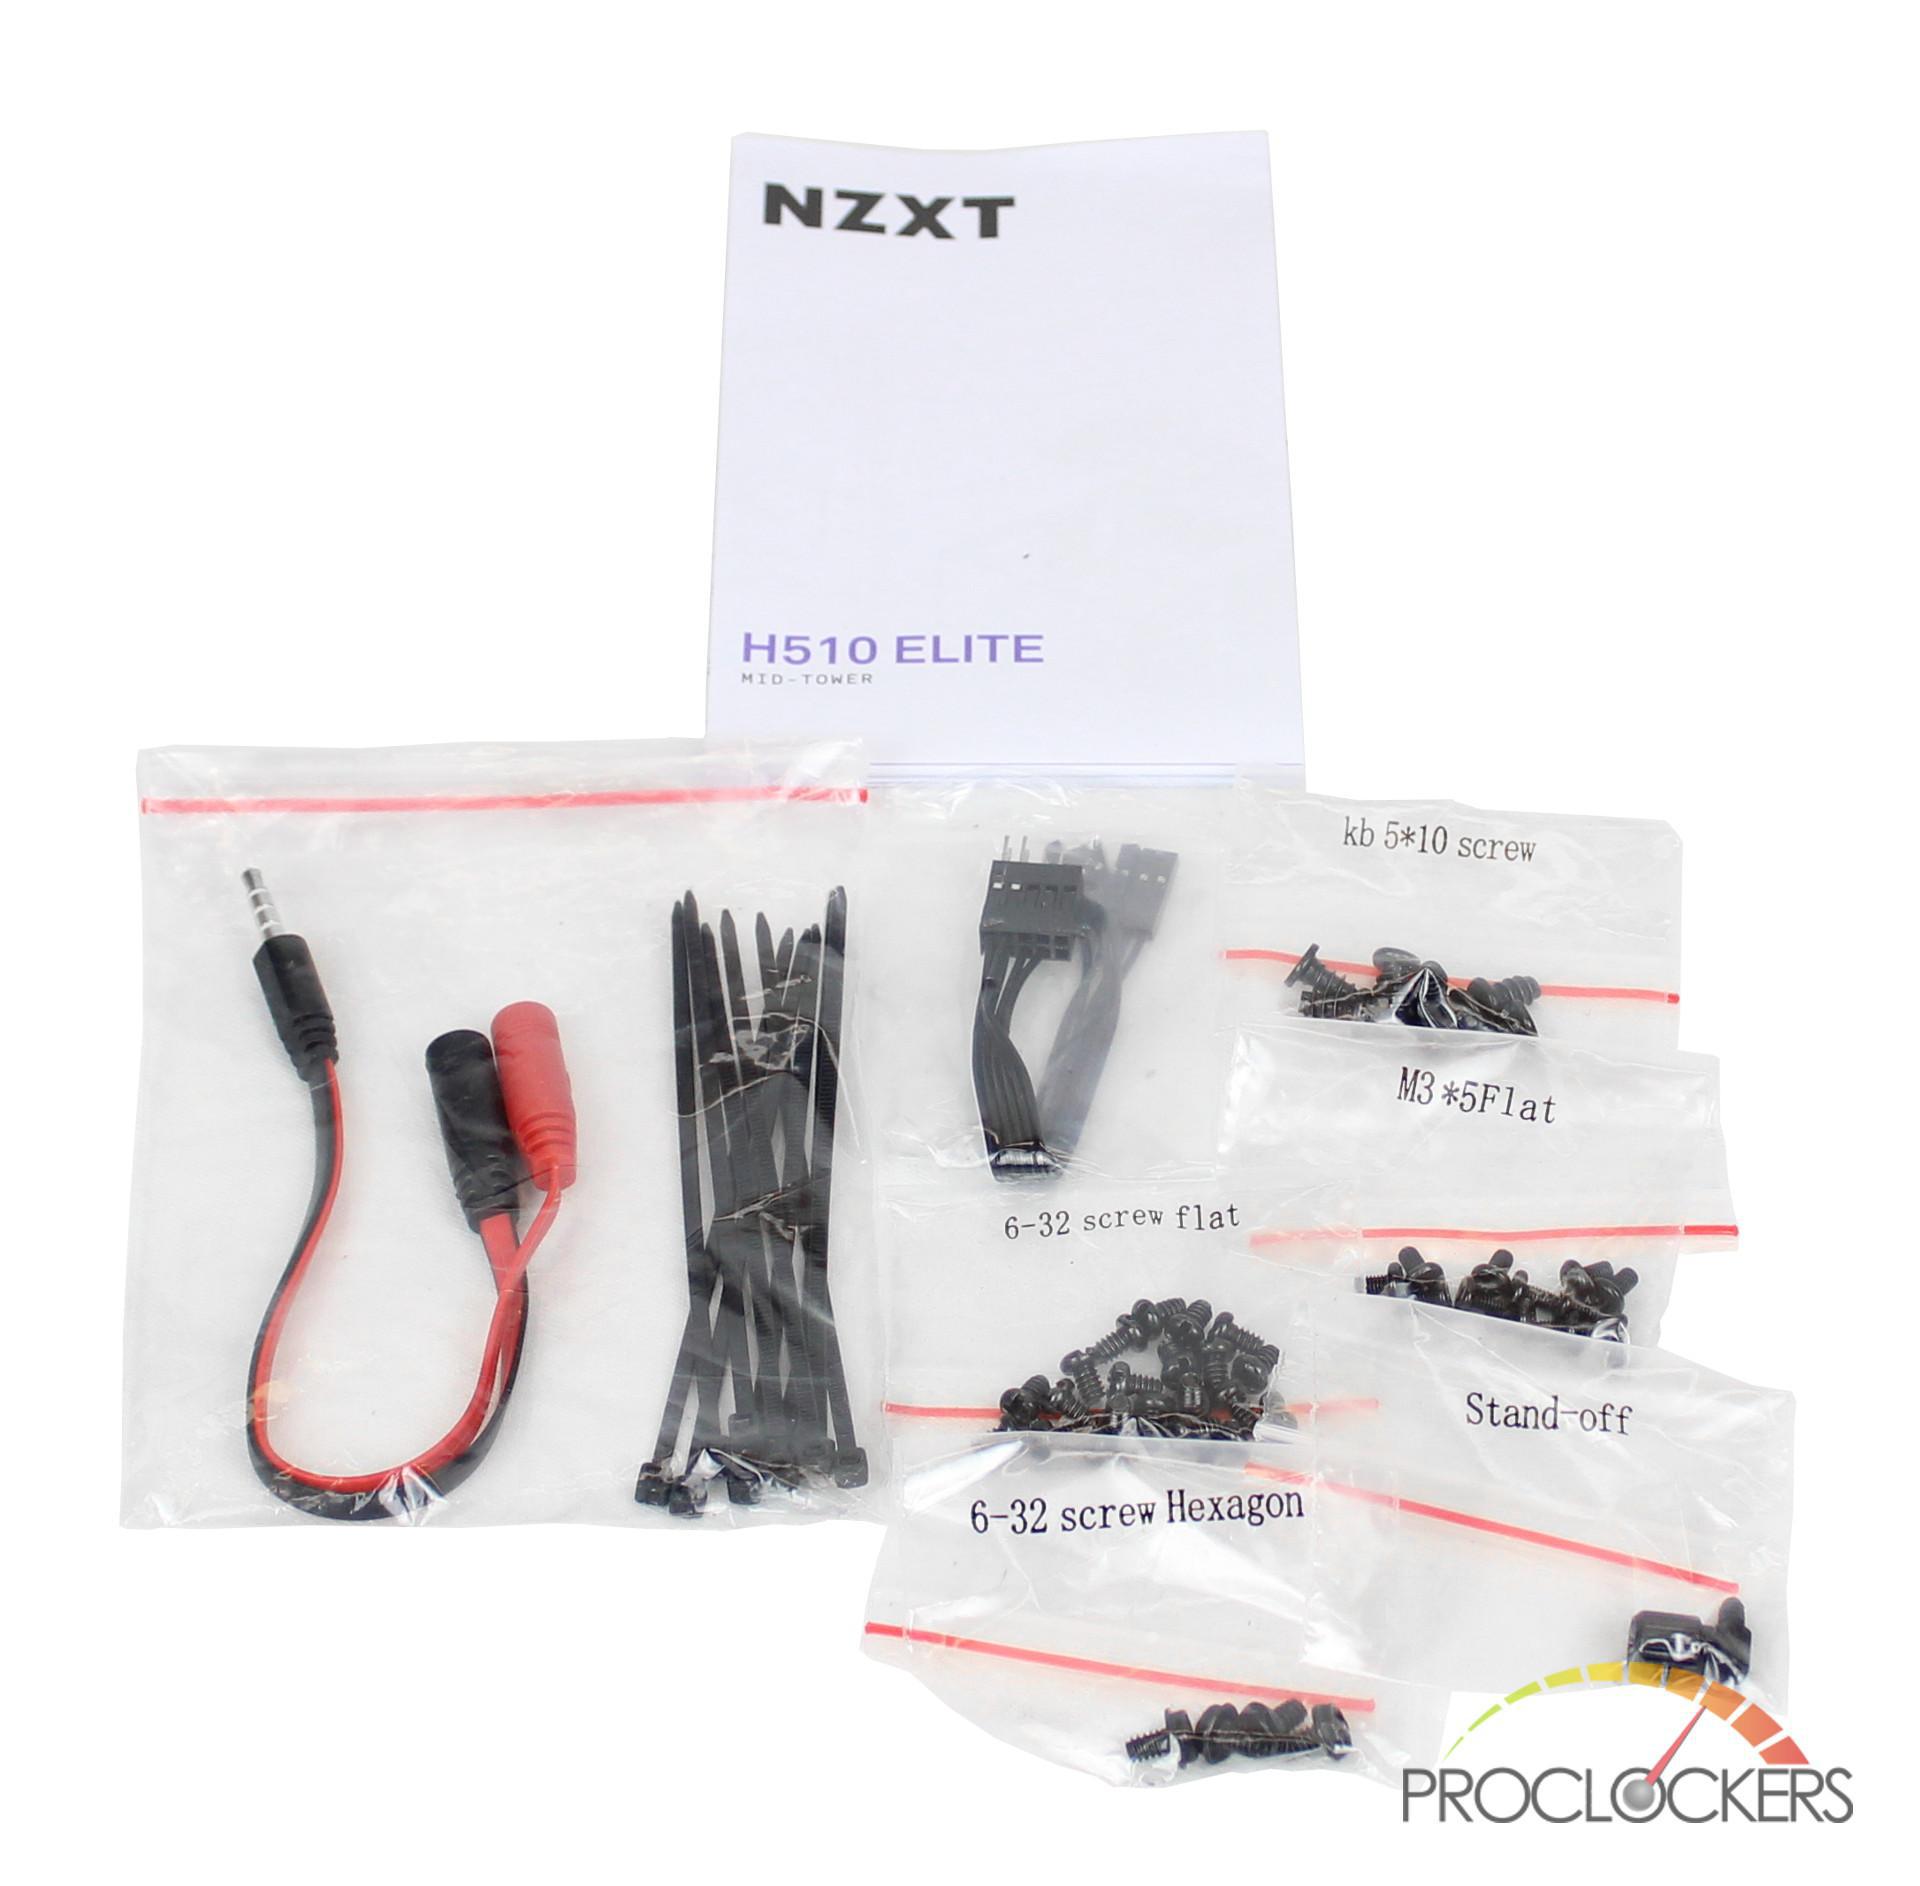
Within the H510 Elite is a small accessory box that includes:
- User guide
- 3.5mm splitter
- Panel connector
- Various screws in labeled bags
- Extra standoff
- Zip ties
A Closer Look: Exterior
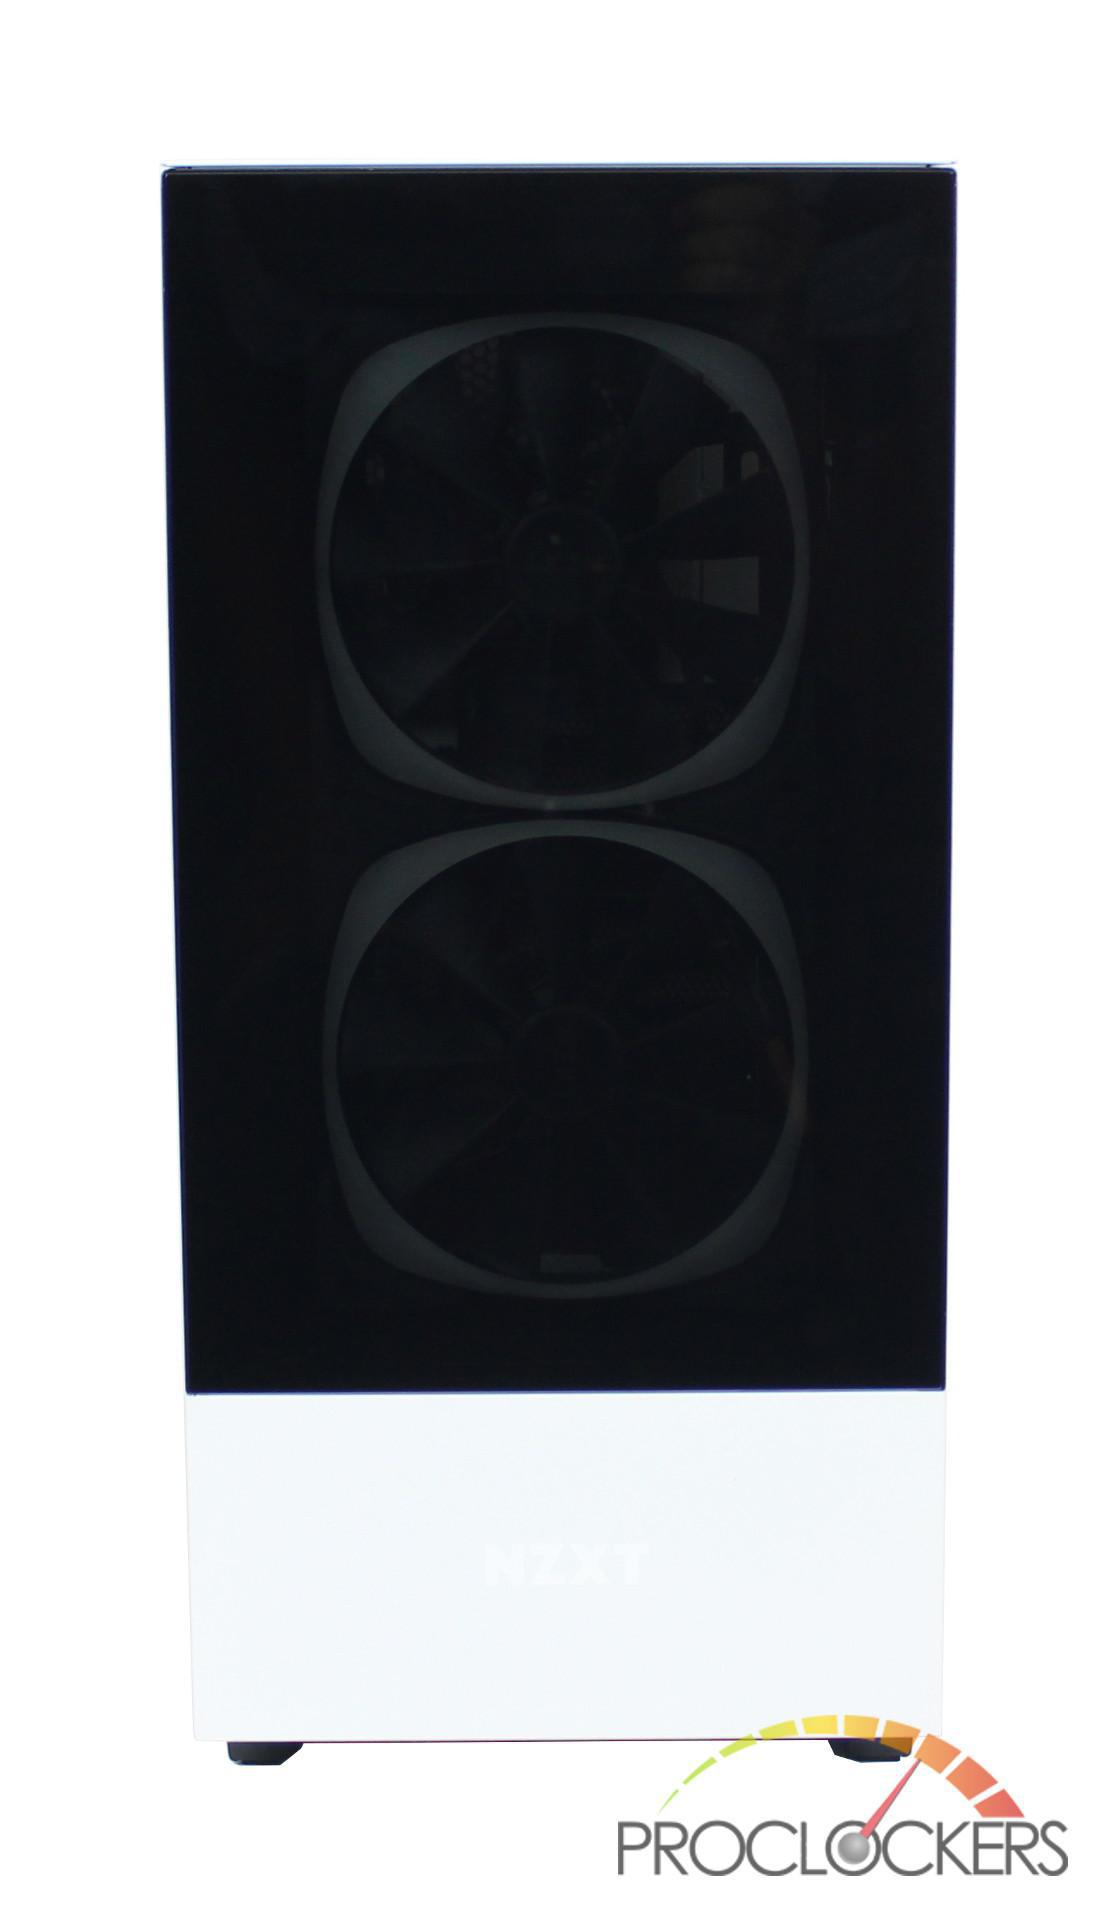
Now that the H510 Elite is fully unboxed, we see that our review sample is the white version of the case that is also available in black. Like all other NZXT H series cases, the H510 Elite includes a tempered glass side panel which is attached to the chassis via a thumbscrew at the back of the case. We are huge fans of the approach as the glass panel is free from obstructions when viewing your build.

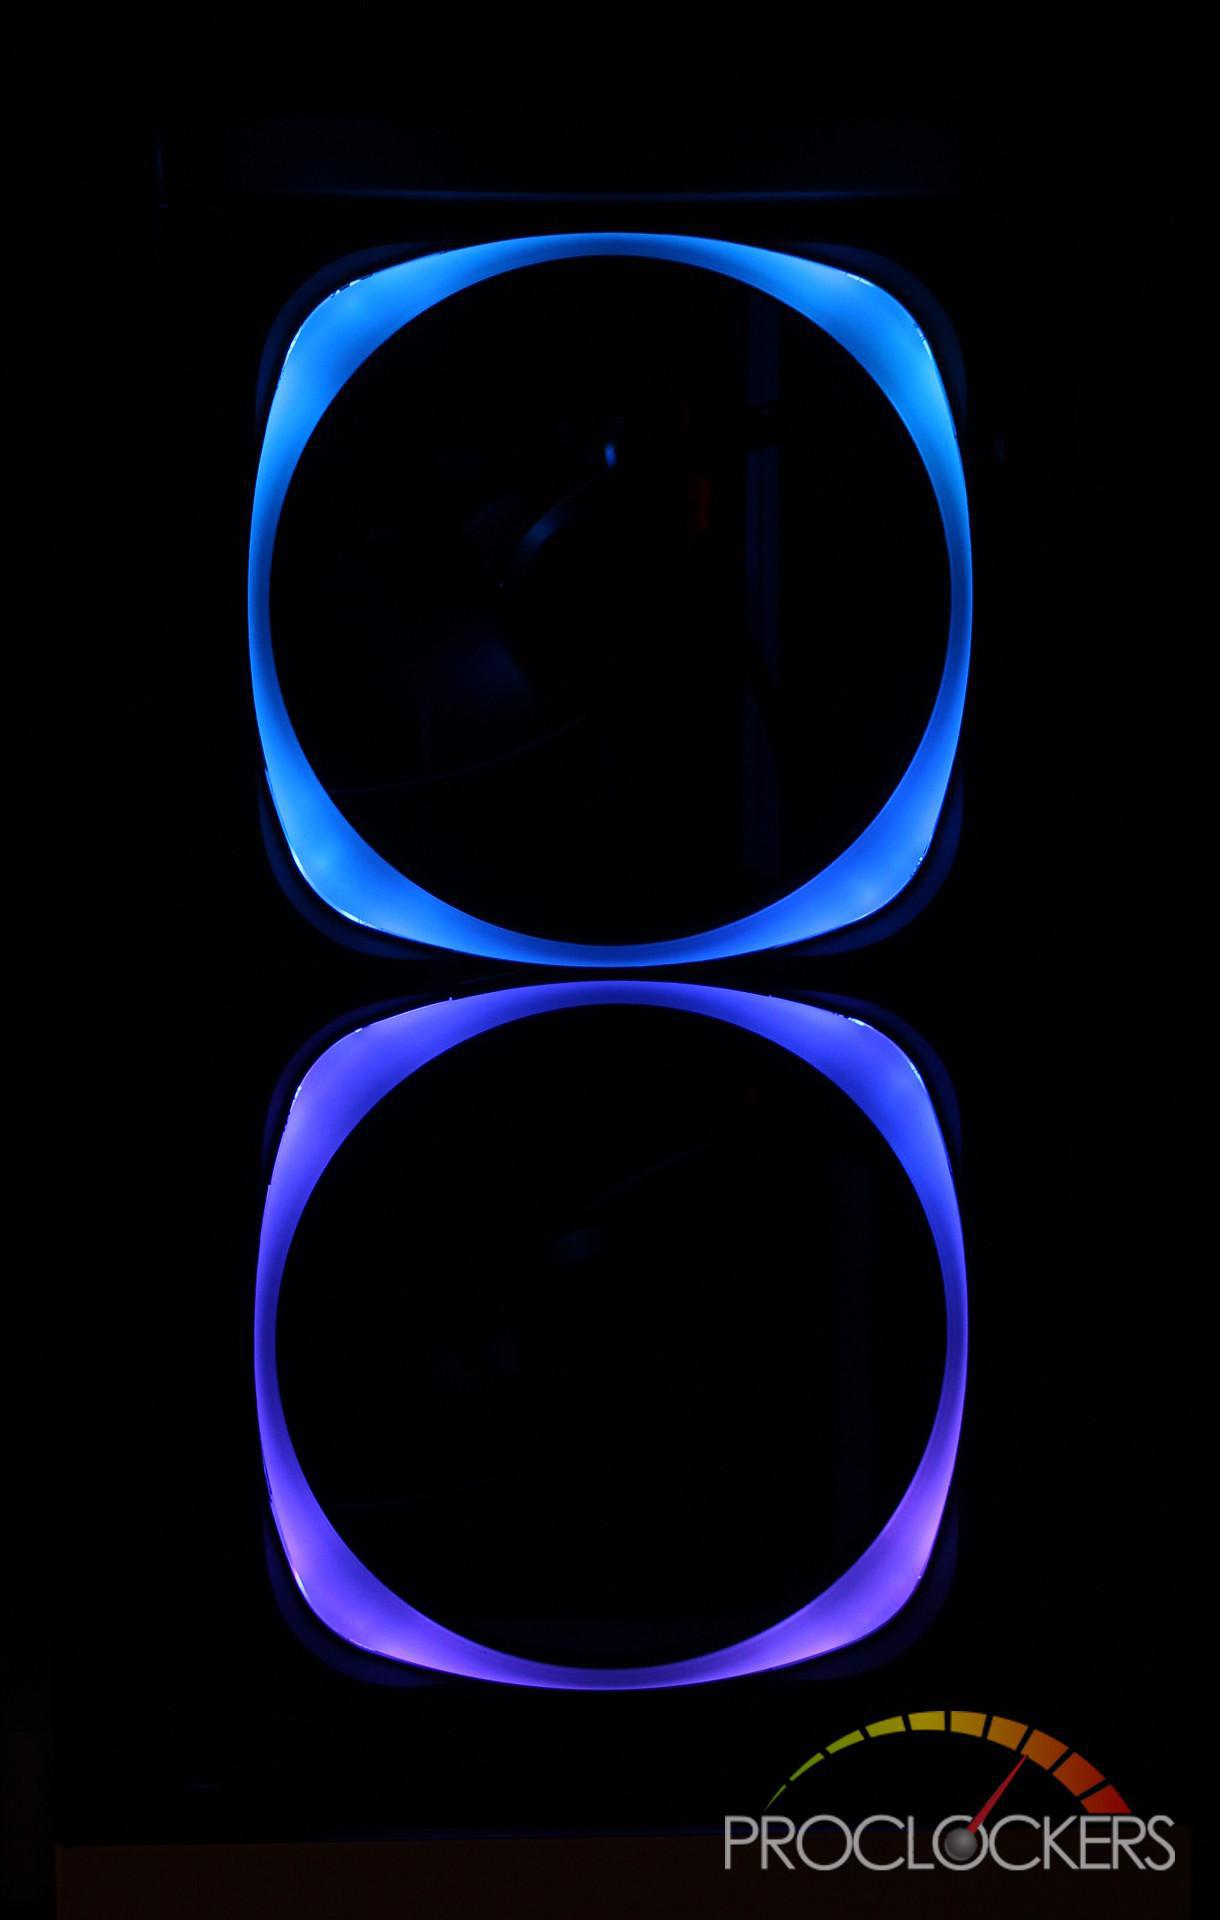
One of the standout features of the H510 Elite over other NZXT H series cases is the addition of the front tempered glass front panel, showing off the included two Aer 2 RGB fans.
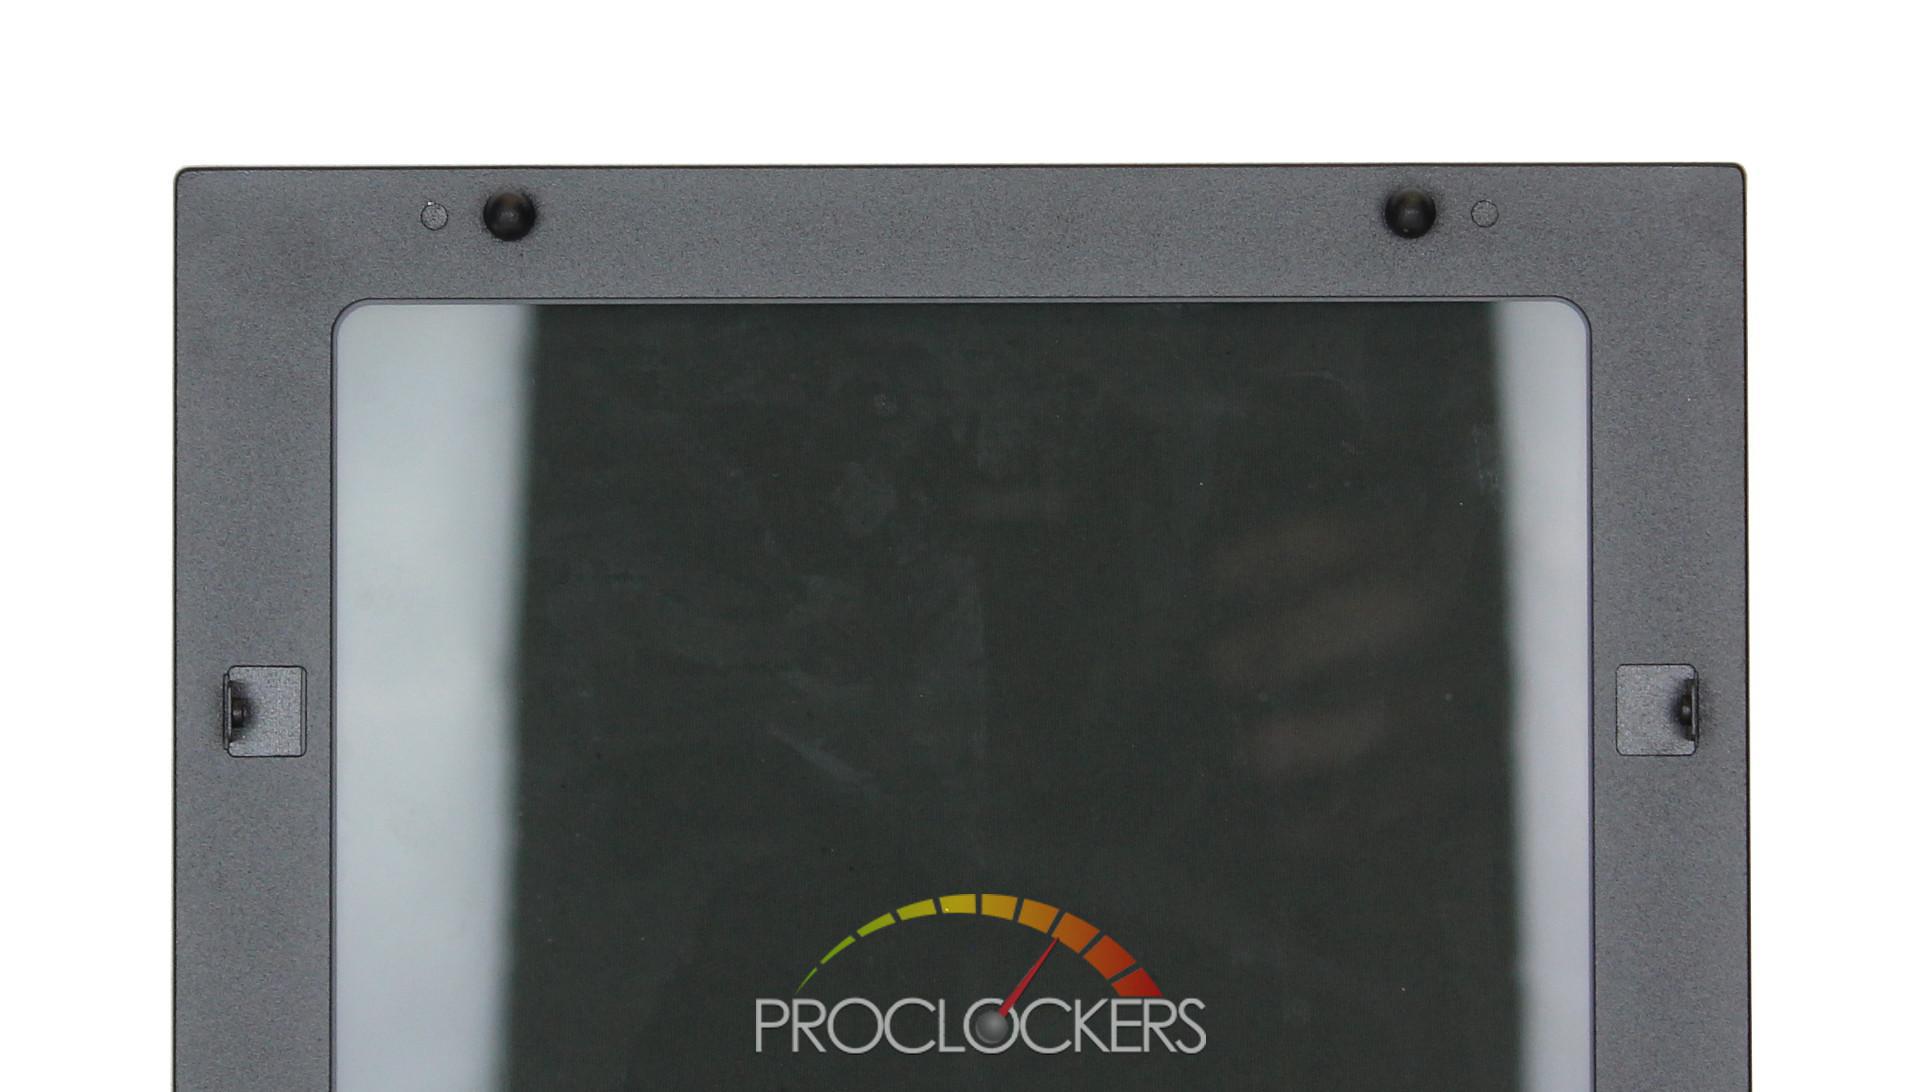
To get a closer look at the Aer 2 RGB, we removed the front tempered glass by unscrewing two screws located at each side of the case. The panel was also secured in place by two nubs at the top of the glass which required a little force to finally pull off the tempered glass.

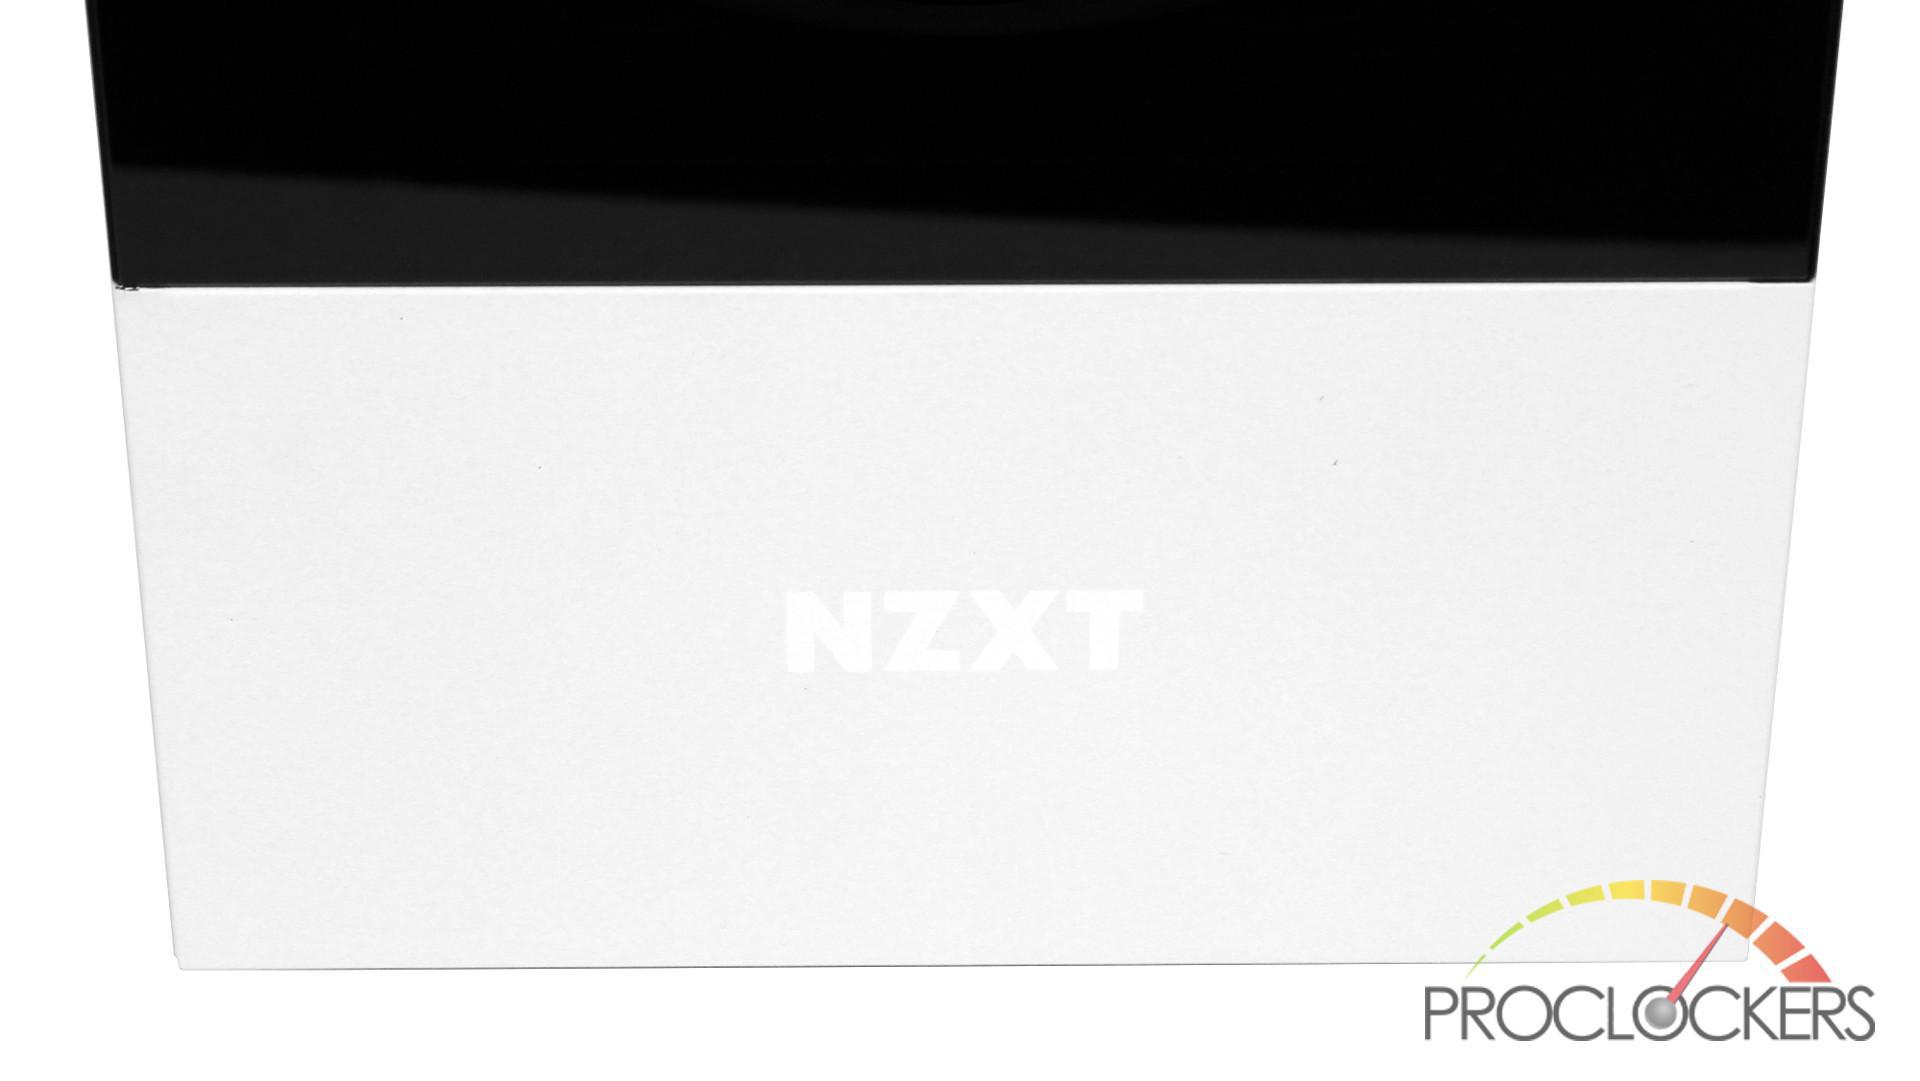
In typical NZXT fashion, the H510 Elite only contains very subtle branding on the lower part of the front panel.
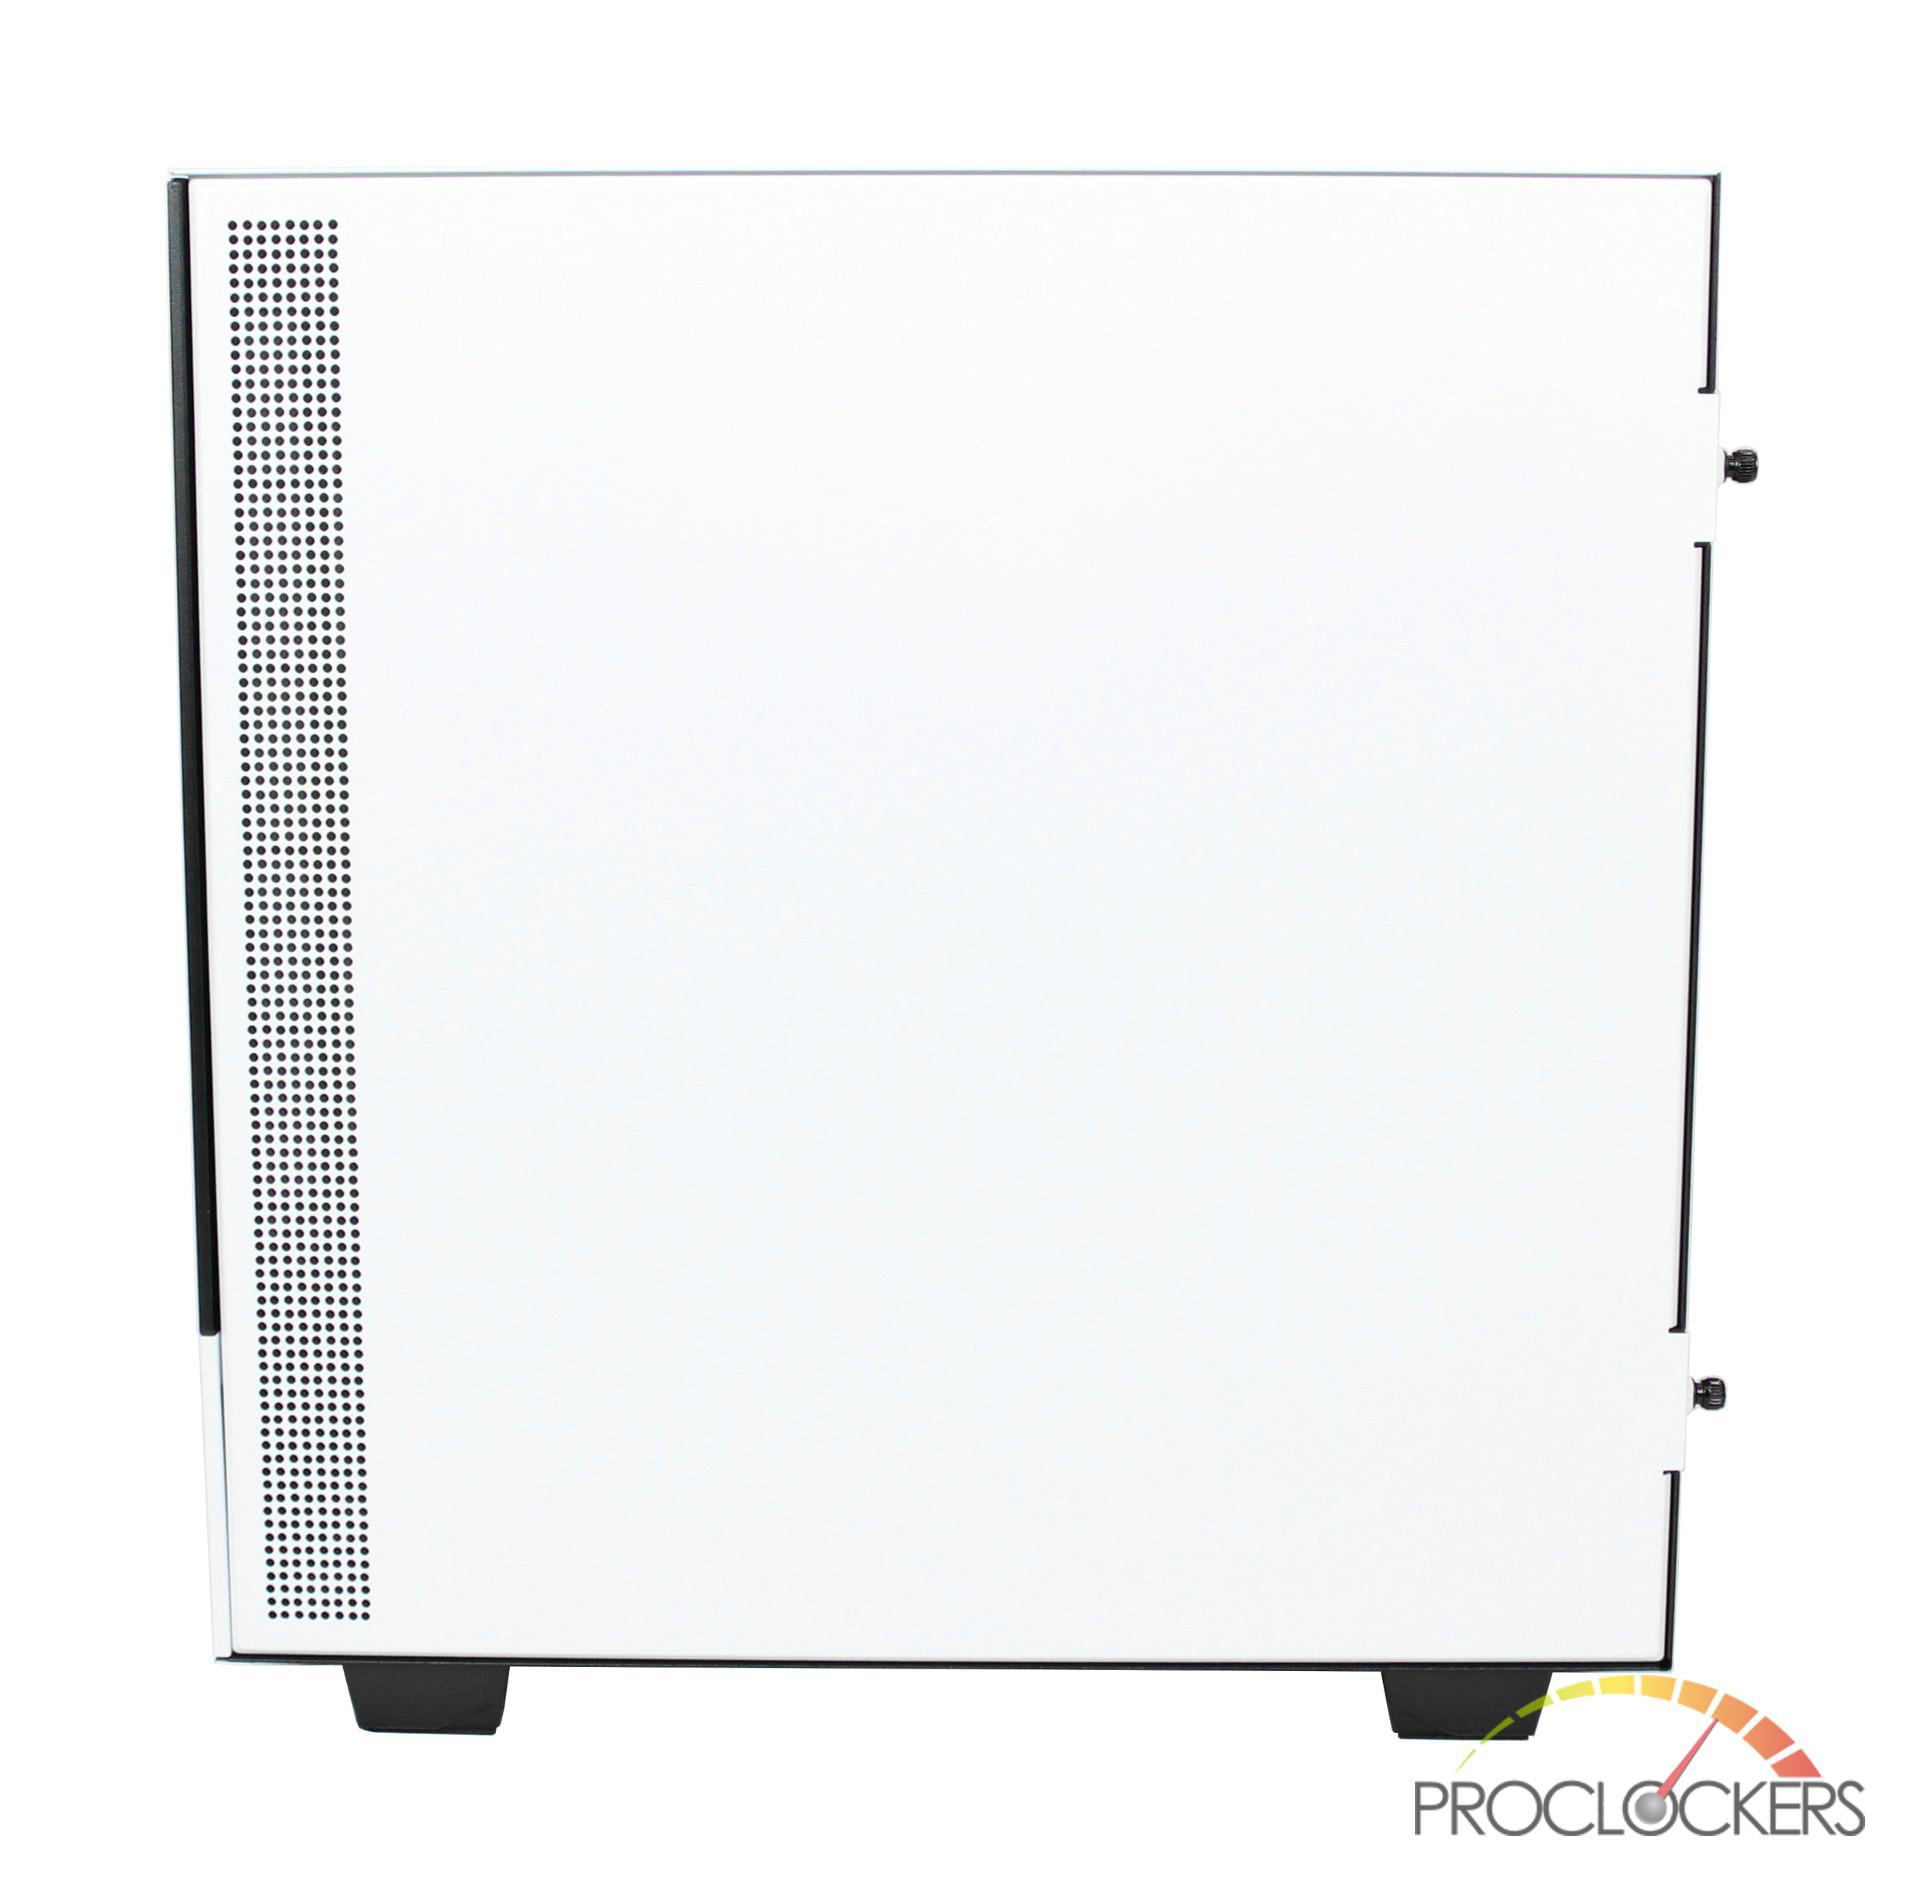
Moving to the backside panel it has an all-white finish with some ventilation included near the front of the case. The panel, like in most cases, is attached to the H510 Elite using two thumbscrews at the back of the case.
Going to the back of the case, the H510 Elite has your normal I/O and PSU cutouts as well as a total of 9 expansion slots. With two of these expansion slots being in a vertical orientation, using a riser card you can vertically mount your GPU.

We see the white finish is carried to the top of the H510 Elite, which features front I/O as well as a mounting point for a 120/140mm fan. Having only room for a single fan on the top, you are forced to install your AIO or radiator at the front of the case. This shouldn’t be too much of an issue as it’s usually recommended to configure your AIO/radiator as an intake for optimal cooling performance.
Note: Since this review has been published NZXT has notified us that the H510 Elite will now include a top exhaust fan out of the box. If you have already purchased an H510 Elite that didn’t include this fan you can contact NZXT support and get one set to you free of charge.
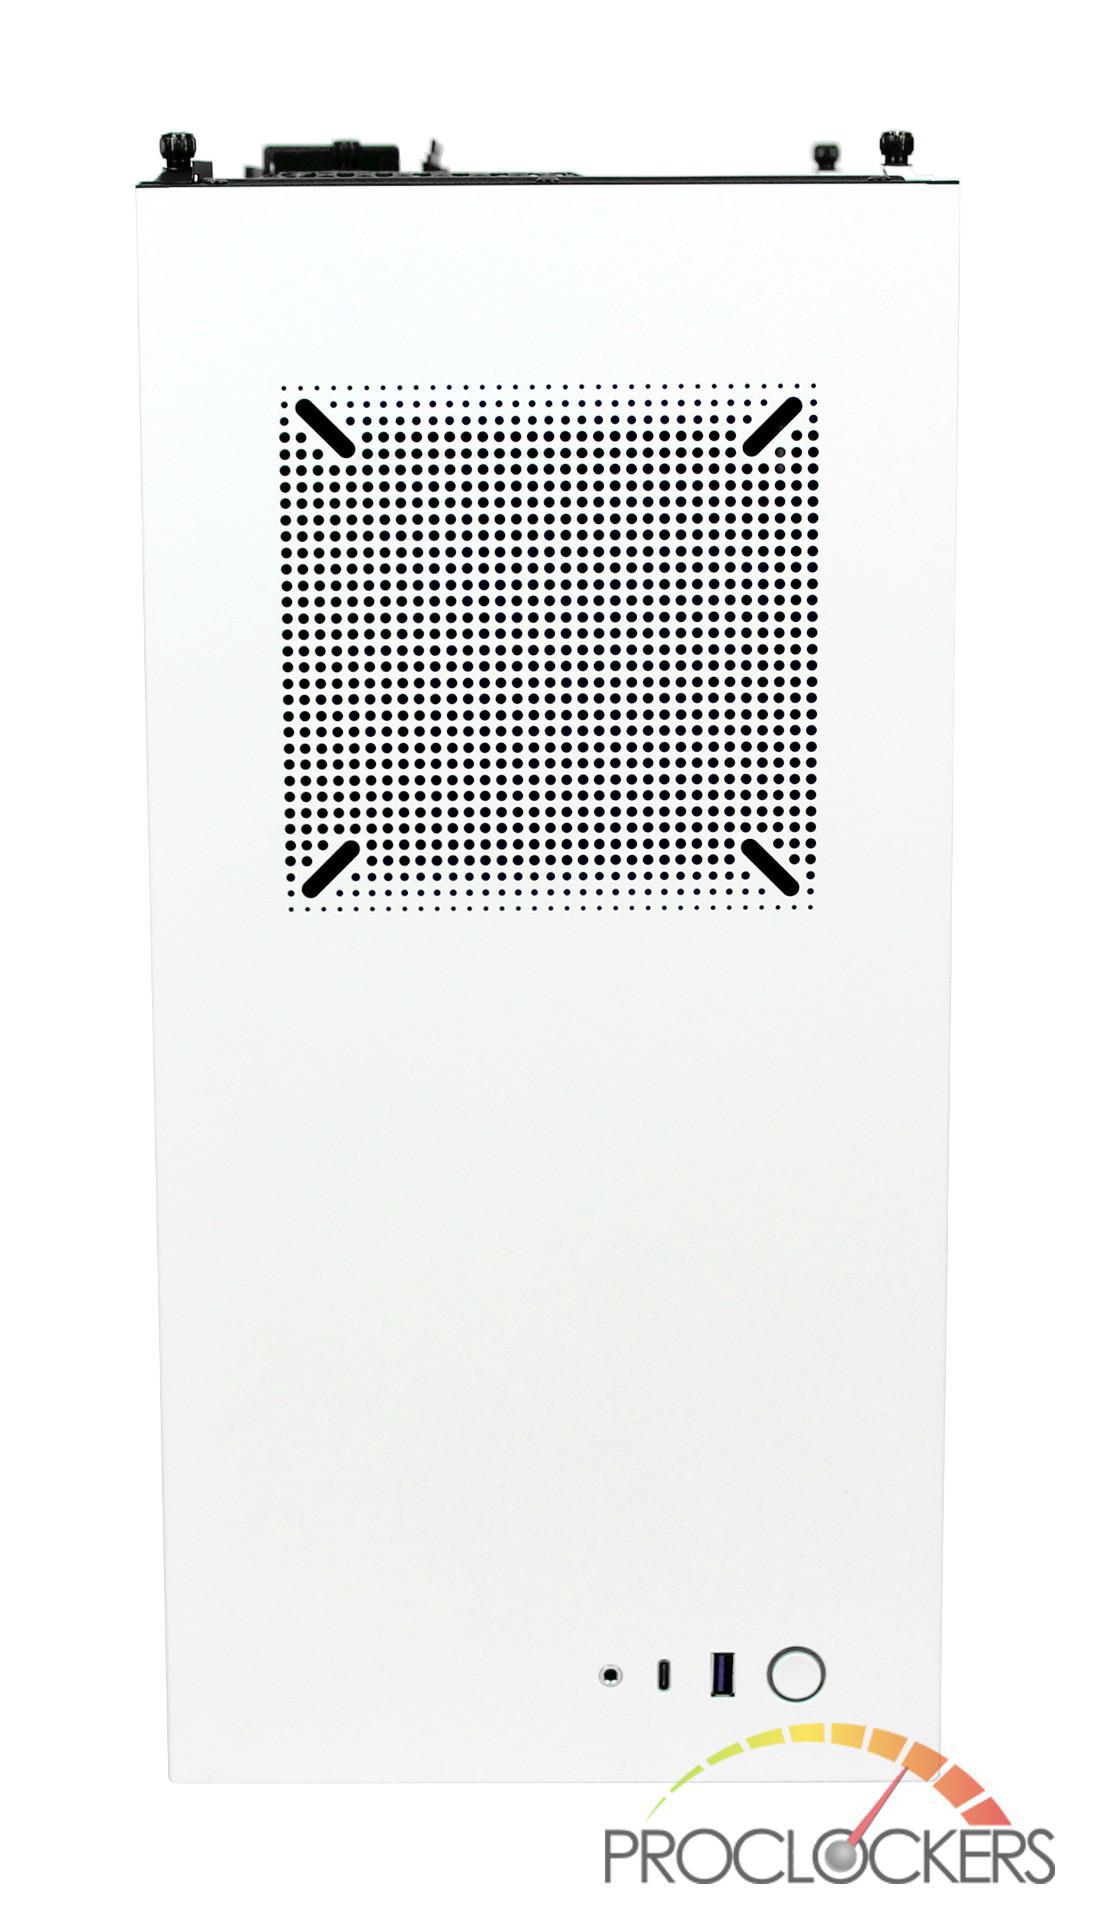
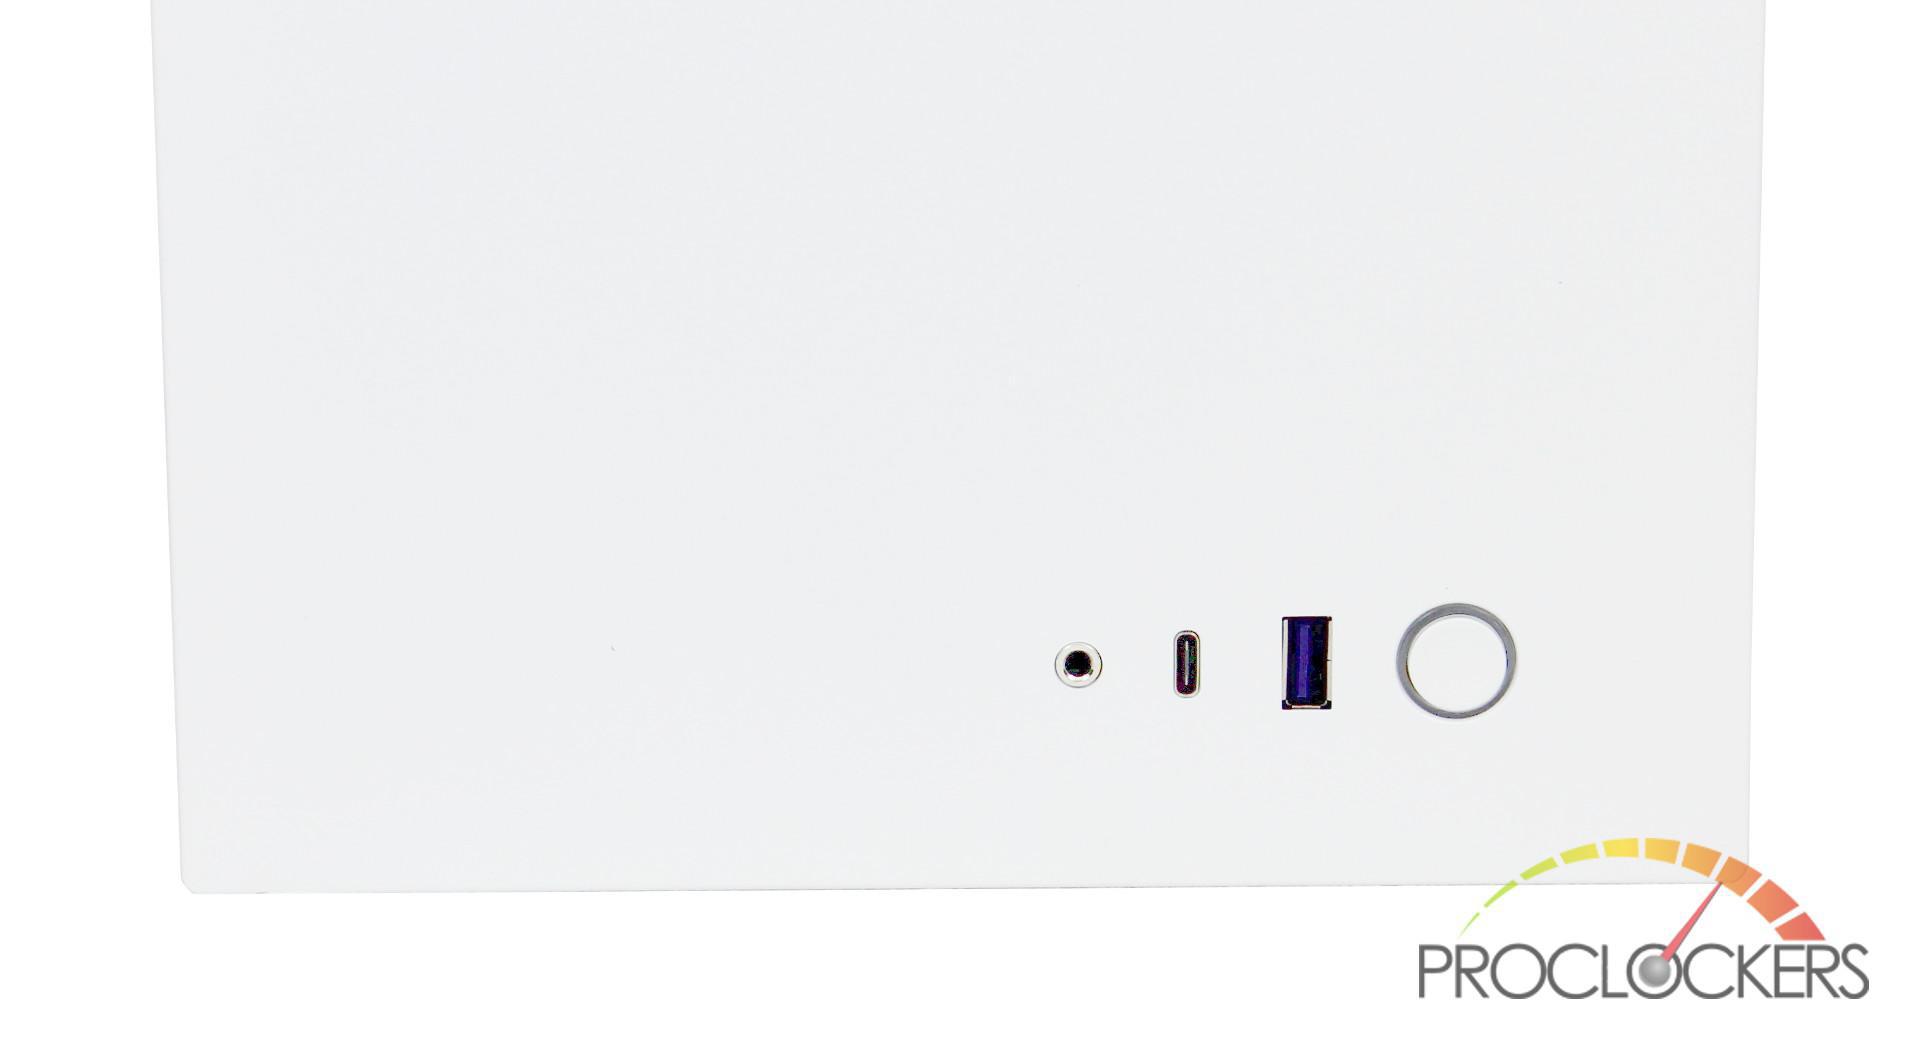
Taking a closer look at the I/O, we have a single 3.5 audio/microphone jack, USB-C port, USB 3.0 port, and a power button with a LED illumination ring around it. It’s nice to see the inclusion of the USB-C port on the H510 Elite which has been becoming more common in new cases.
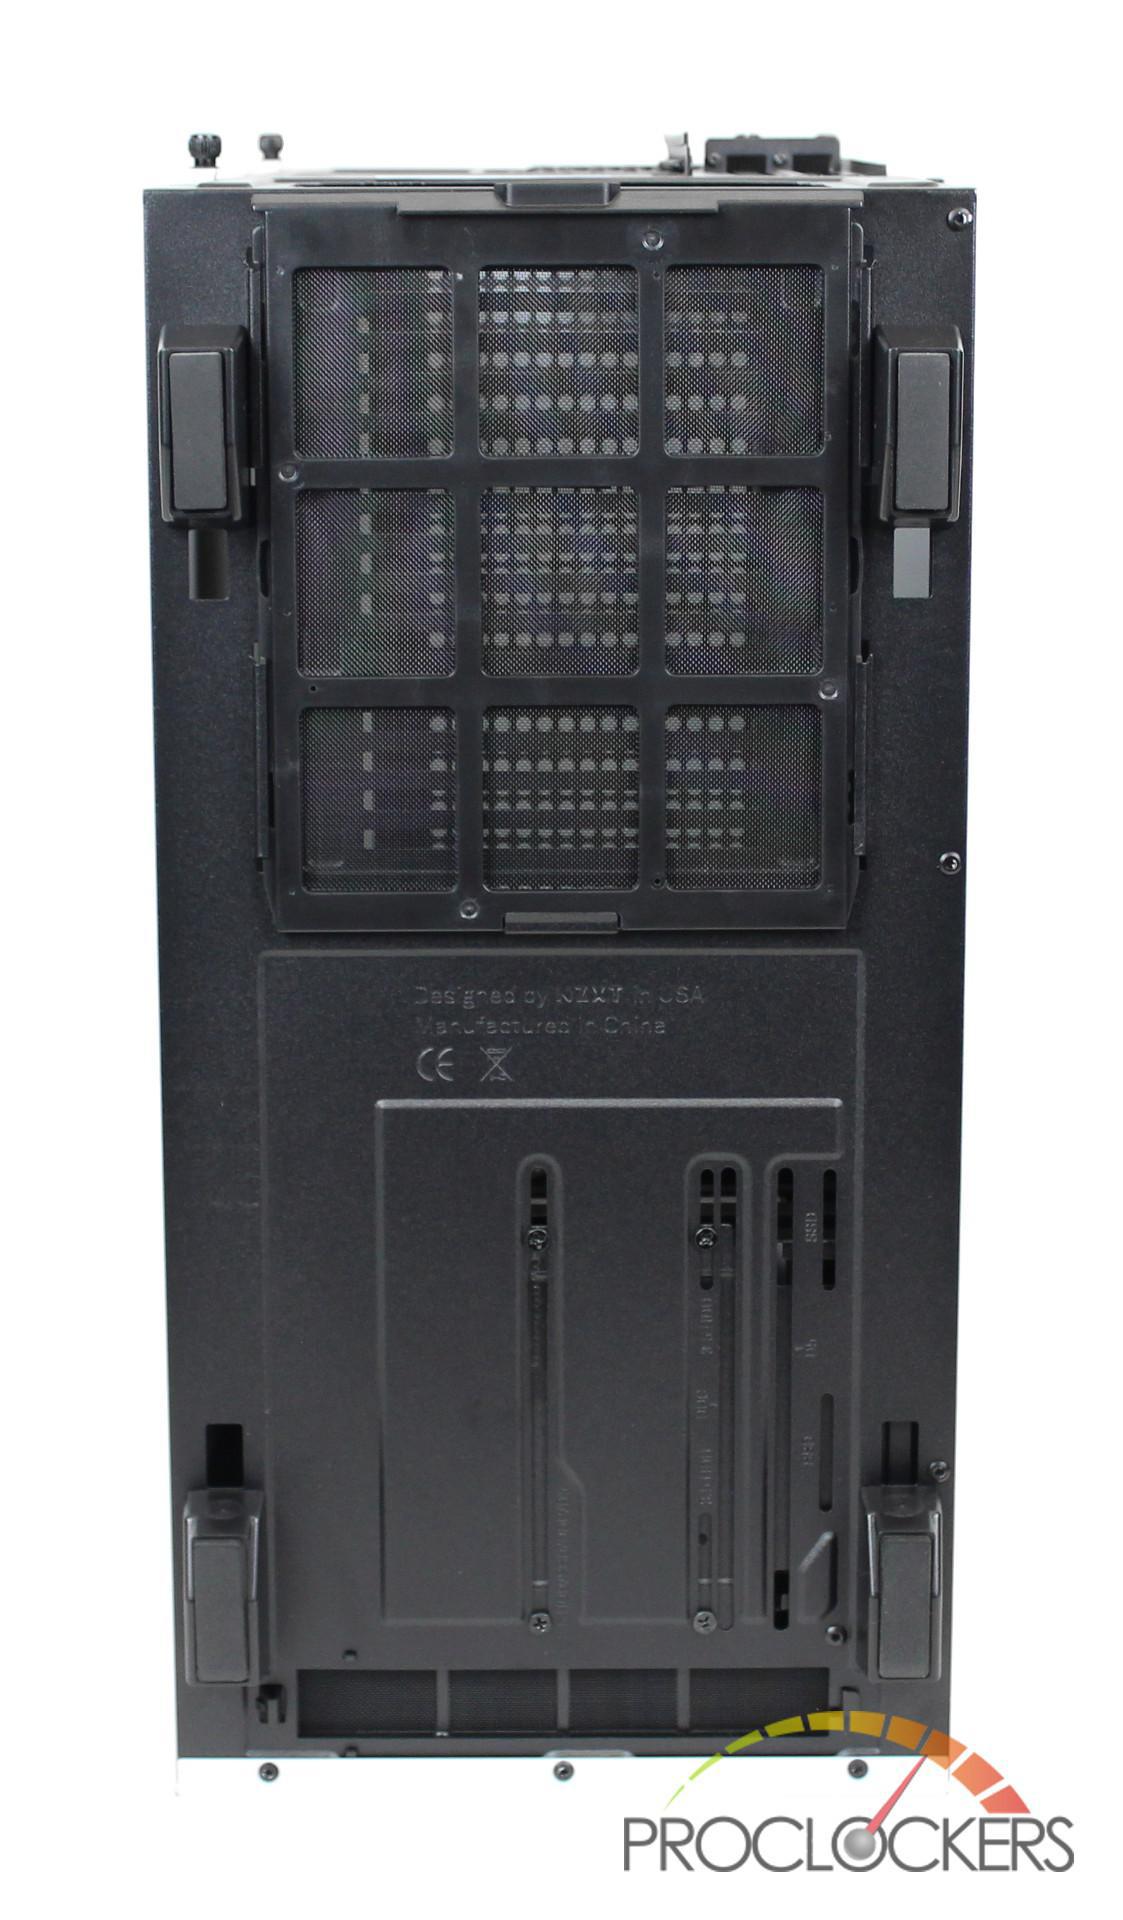
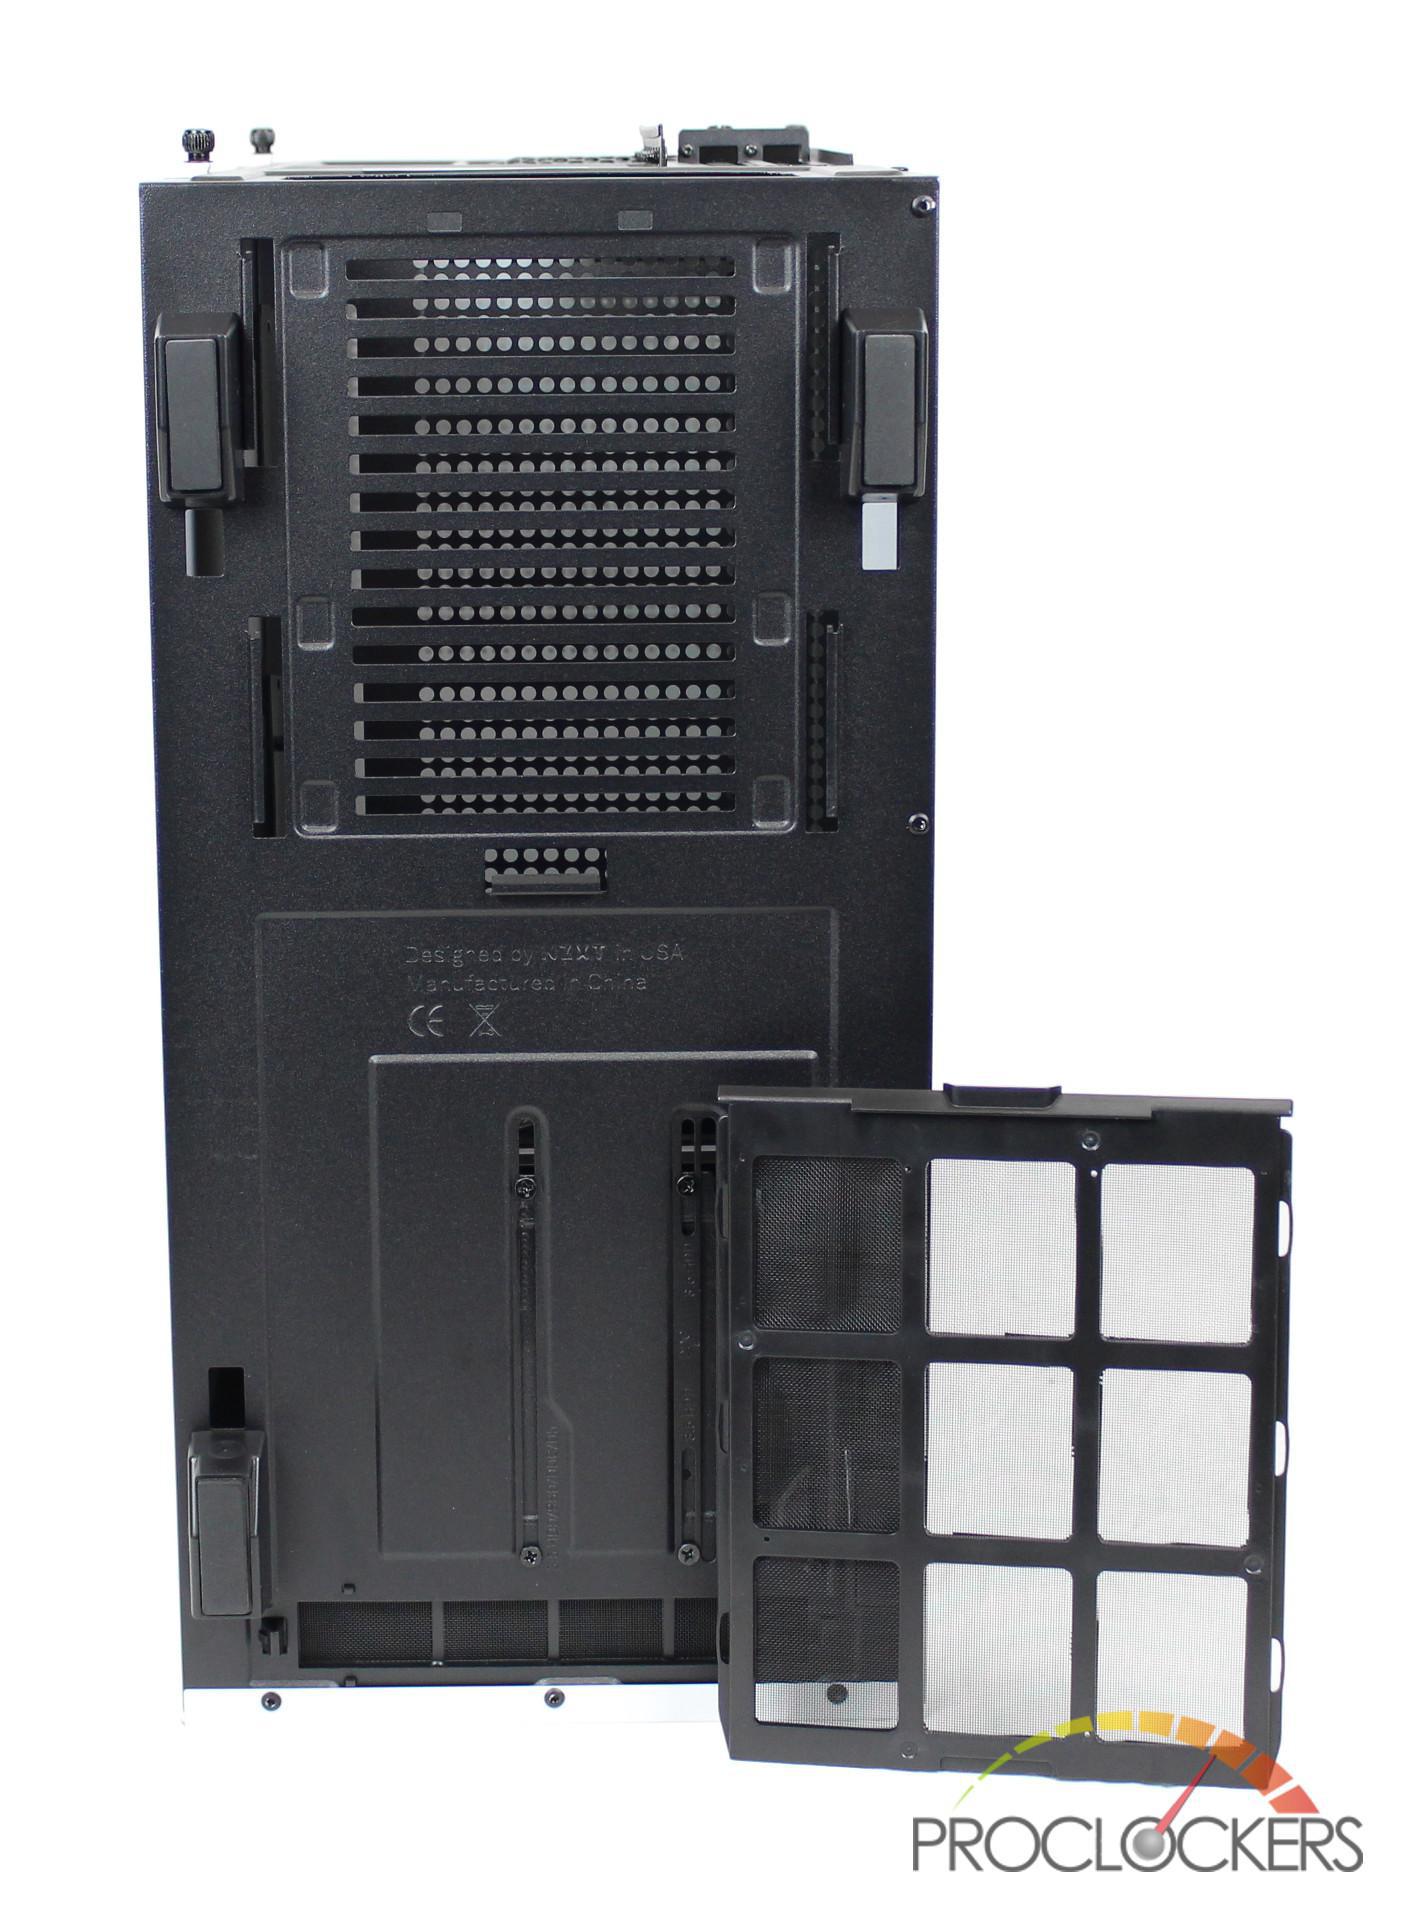
The H510 Elite contains four large rubberized feet along with a filtered PSU intake.
A Closer Look: Interior
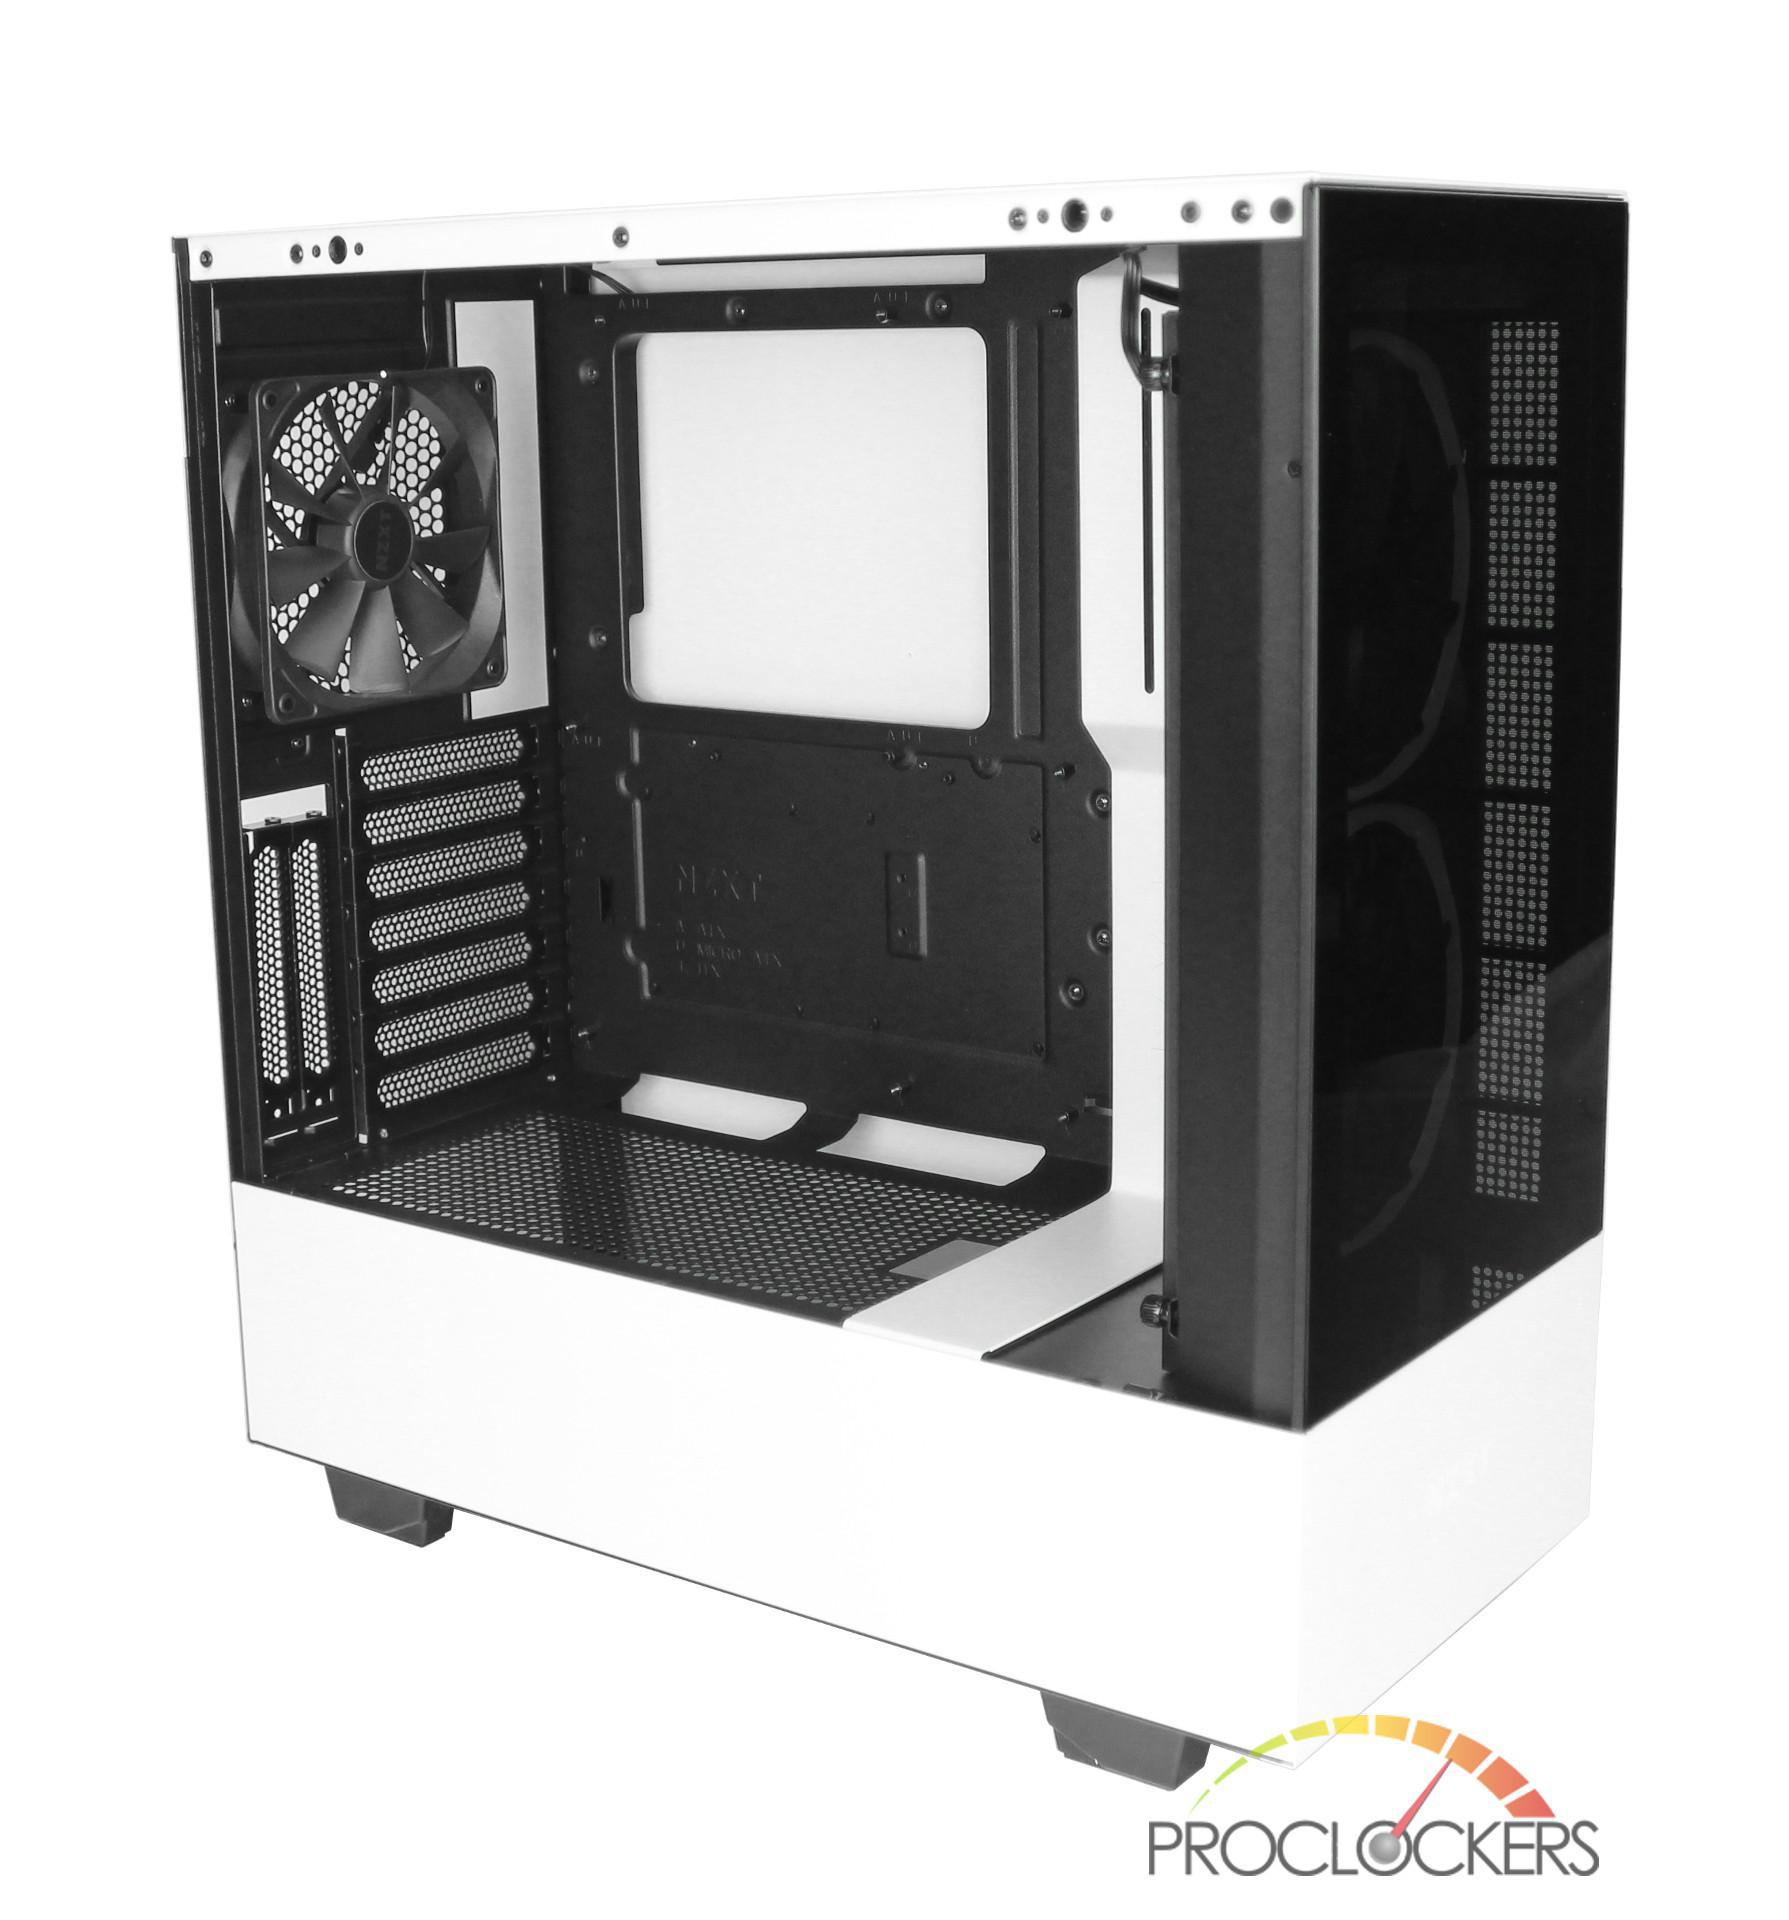
Getting to the interior of the H510 Elite was a little bit of work due to the tempered glass being secured very well to the chassis. Even after unscrewing the thumbscrew, it took more force to get it off than I was used to which was due to the same nubs found on the top of the front panel. Once the panel was removed, we found the interior of the H510 Elite color palette reversed, with black now being prominent and white as the accent. It’s nice to see that the H510 Elite takes after its fellow H series family and also includes a vertical cable management bar. I was a huge fan of this bar in other NZXT builds as it always helped keep my builds as clean as possible.
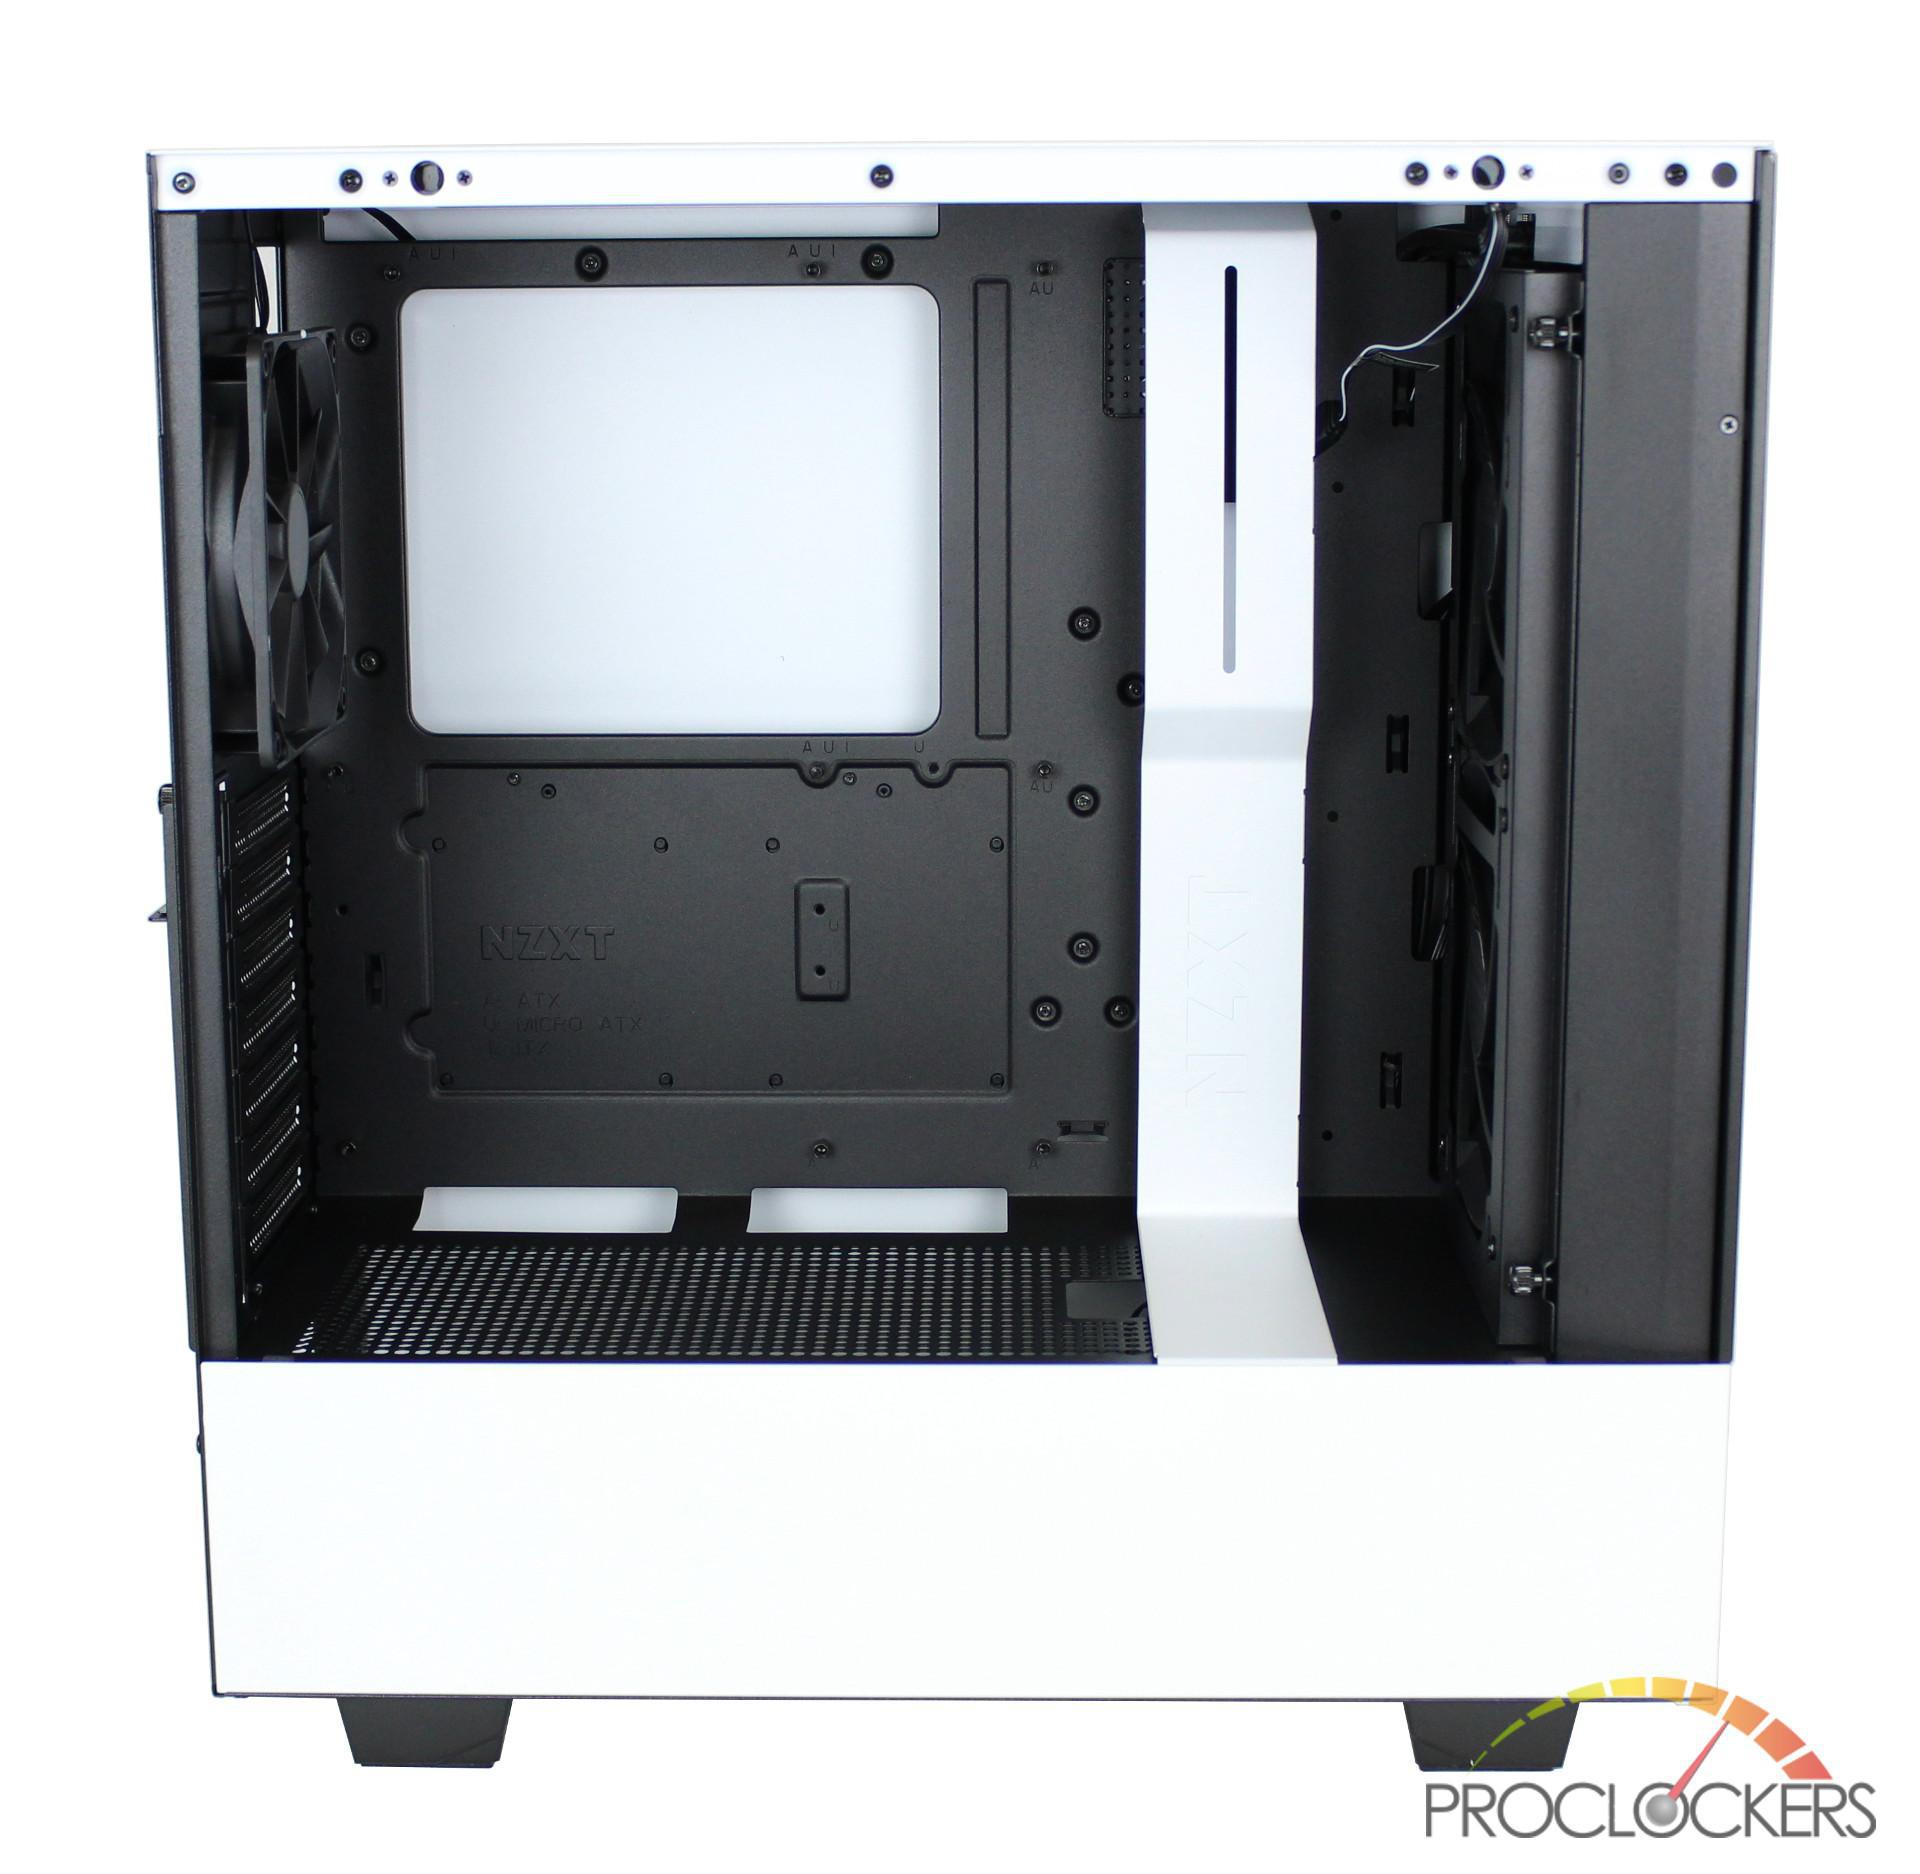
Looking down at the PSU shroud, it’s covered with a mesh surface with cable routing options at the back as well as a GPU cable cutout beside the cable management bar. One feature missing from the H510 Elite is the mountable toolless SSD brackets to install on the PSU shroud. The PSU mesh looks to be the same as other H series cases which did include these brackets.

Looking toward the front of the case, we have the Aer 2 RGB mounted to a removable radiator bracket. It’s nice to see NZXT take this approach as it makes it easy to install fans or an AIO without removing the front tempered glass panel. To remove the radiator bracket, all you need to do is loosen the two thumbscrews on the right-hand side and gently remove it from the case.
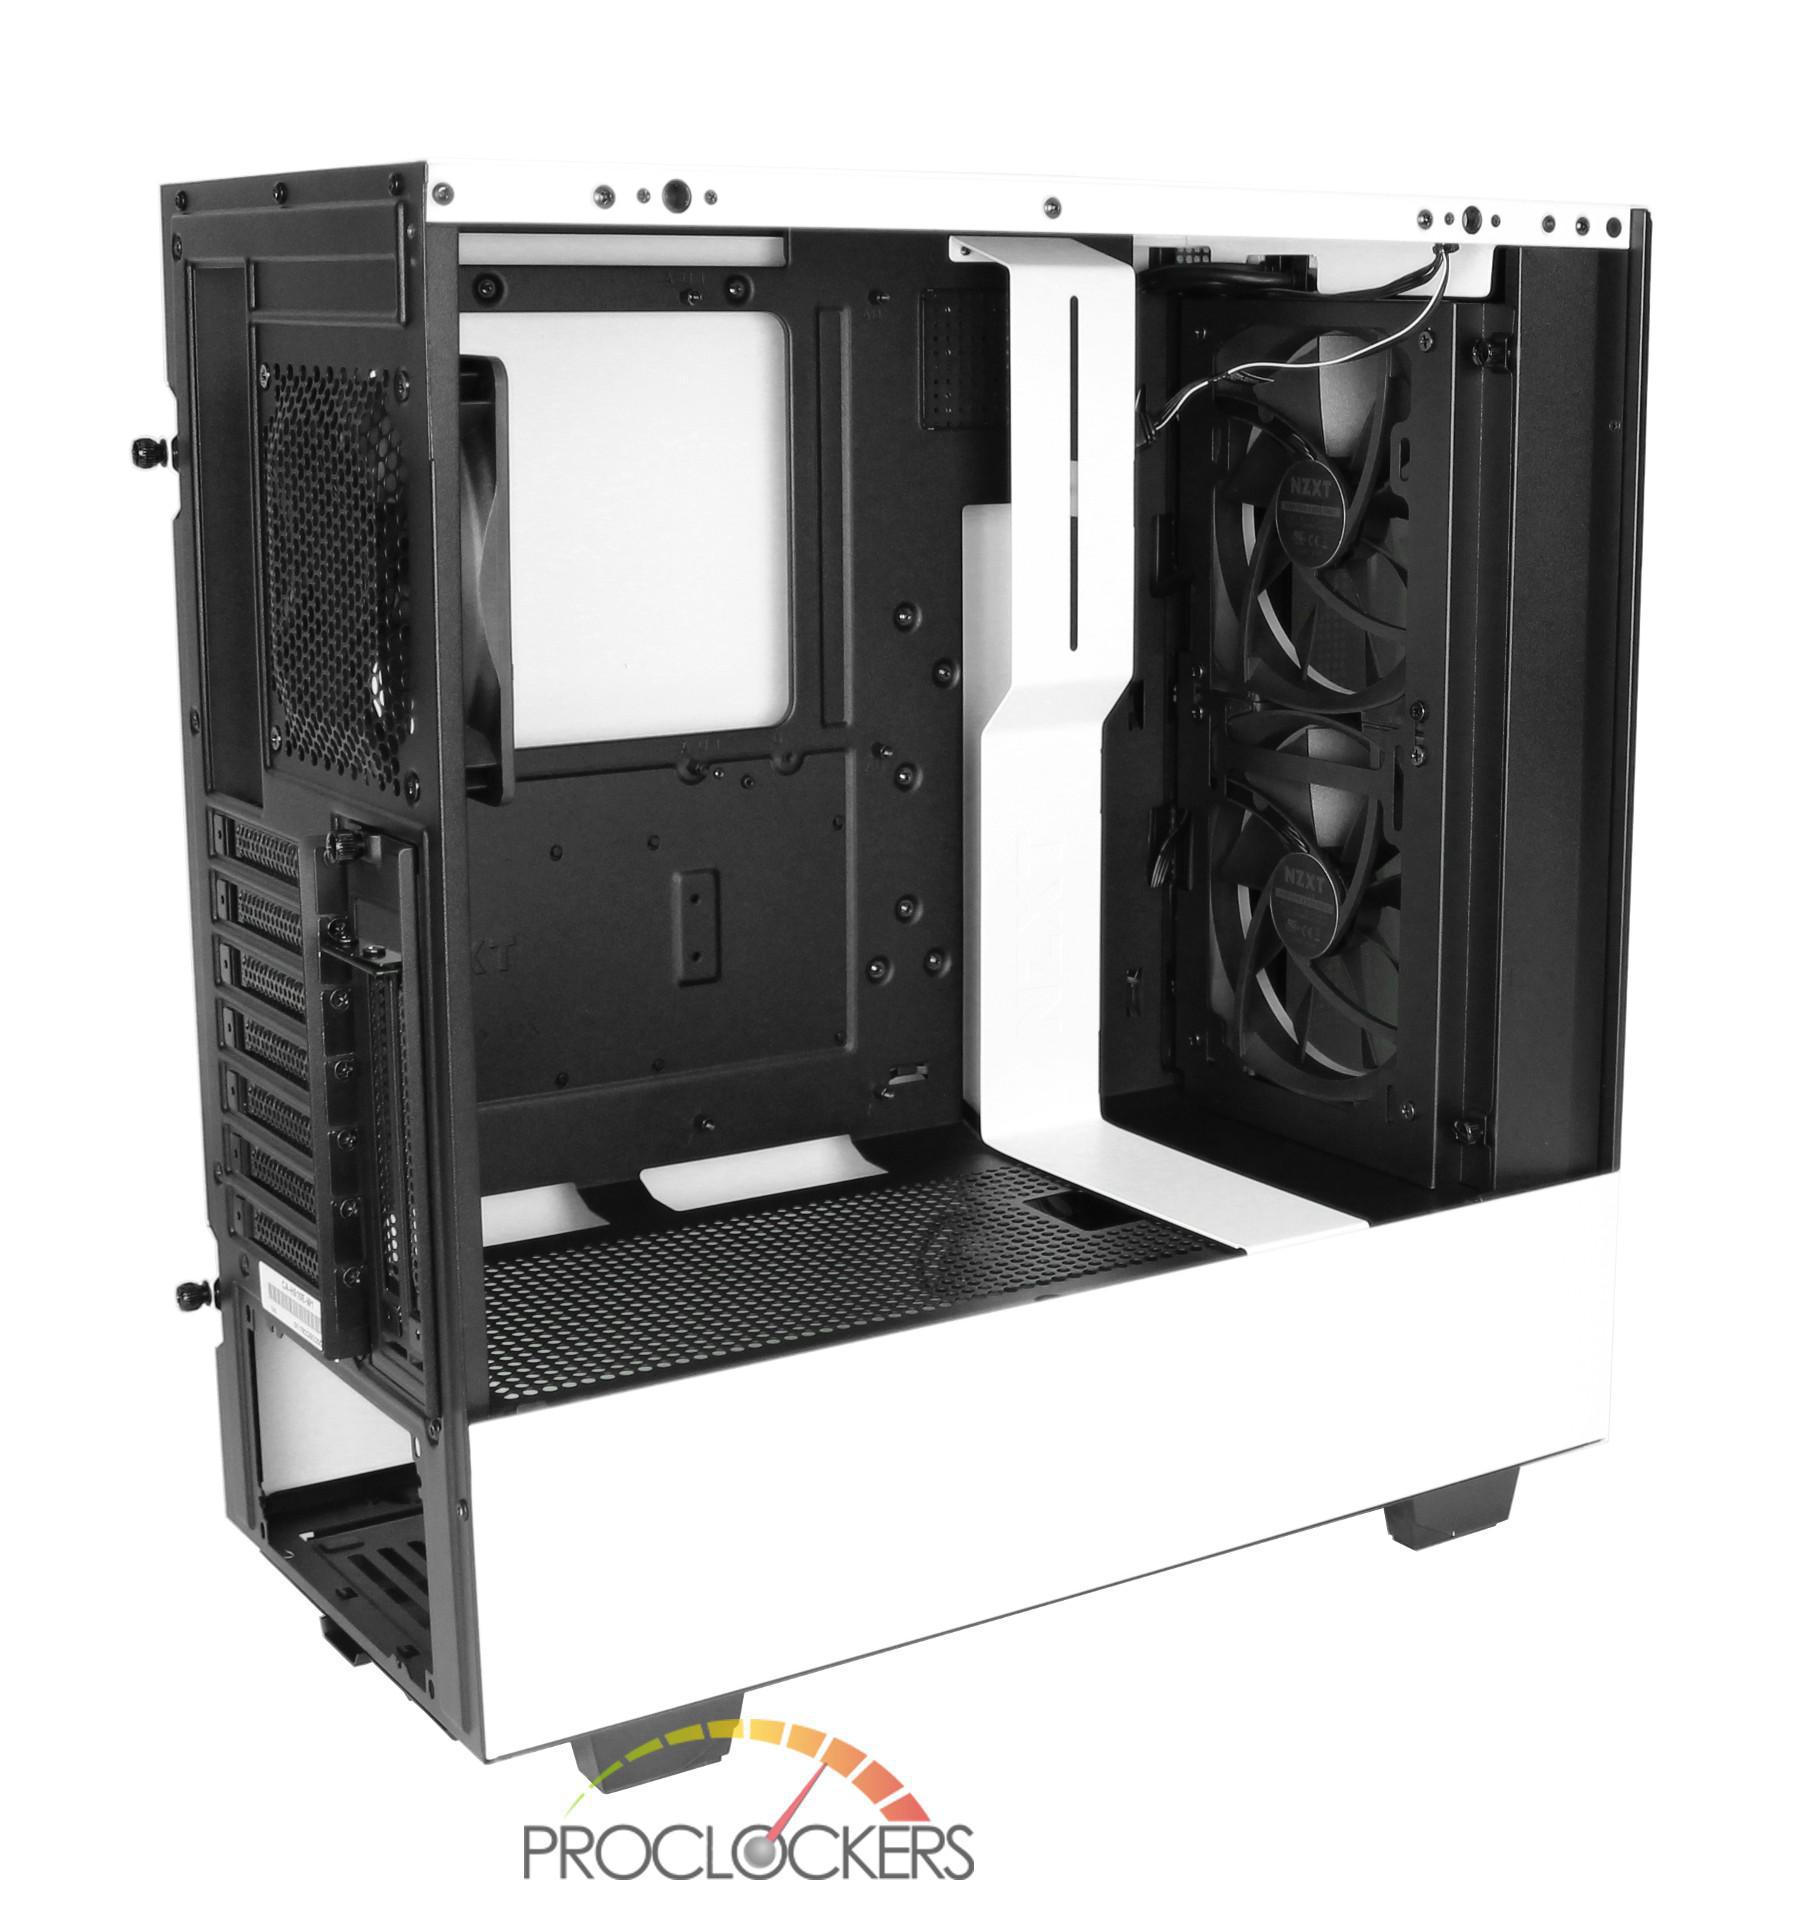
Looking to the back of the case, is a preinstalled Aer F120 fan configured as exhaust.
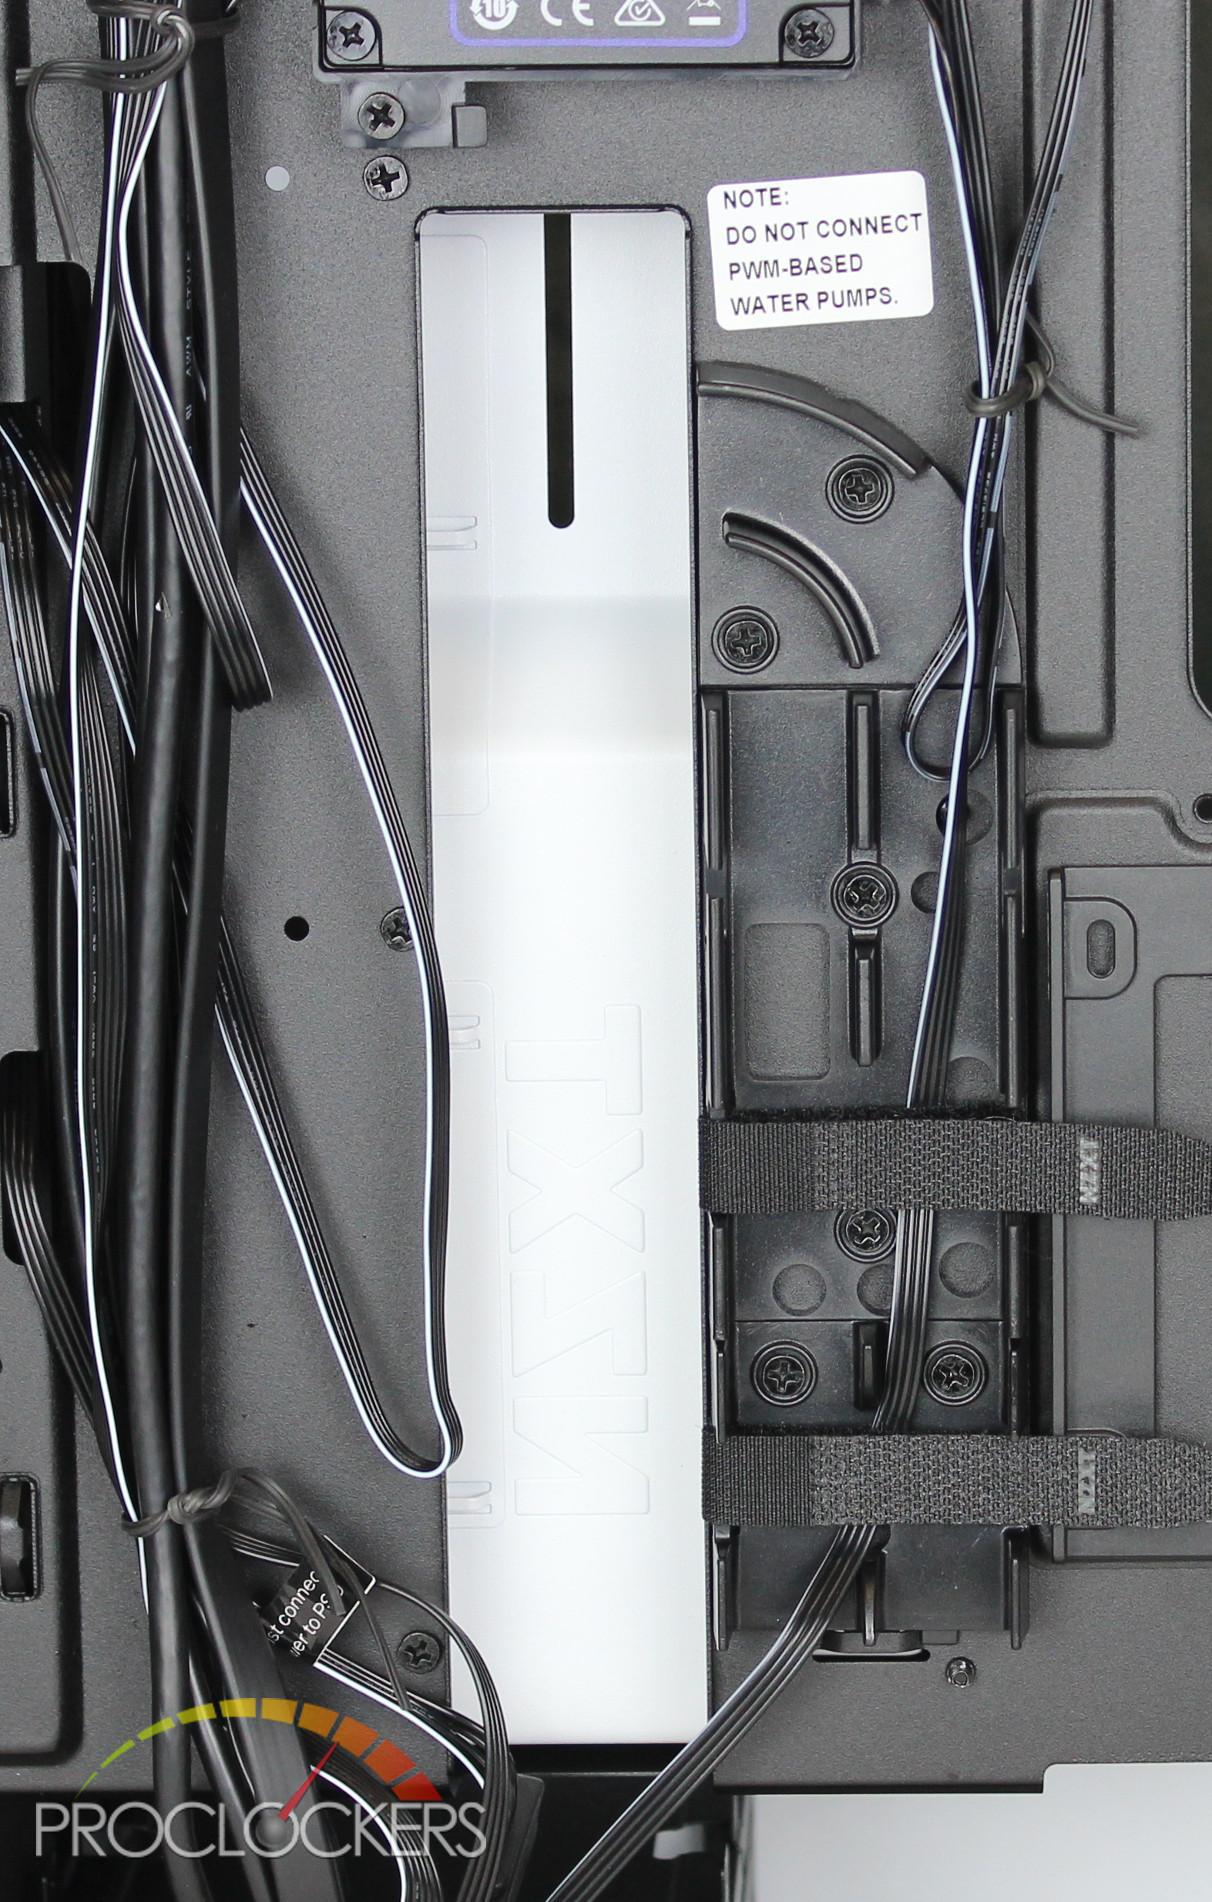
The black interior continues to the backside of the motherboard tray with the only white accents being at the back of the cable management bar and the back of the PSU shroud.
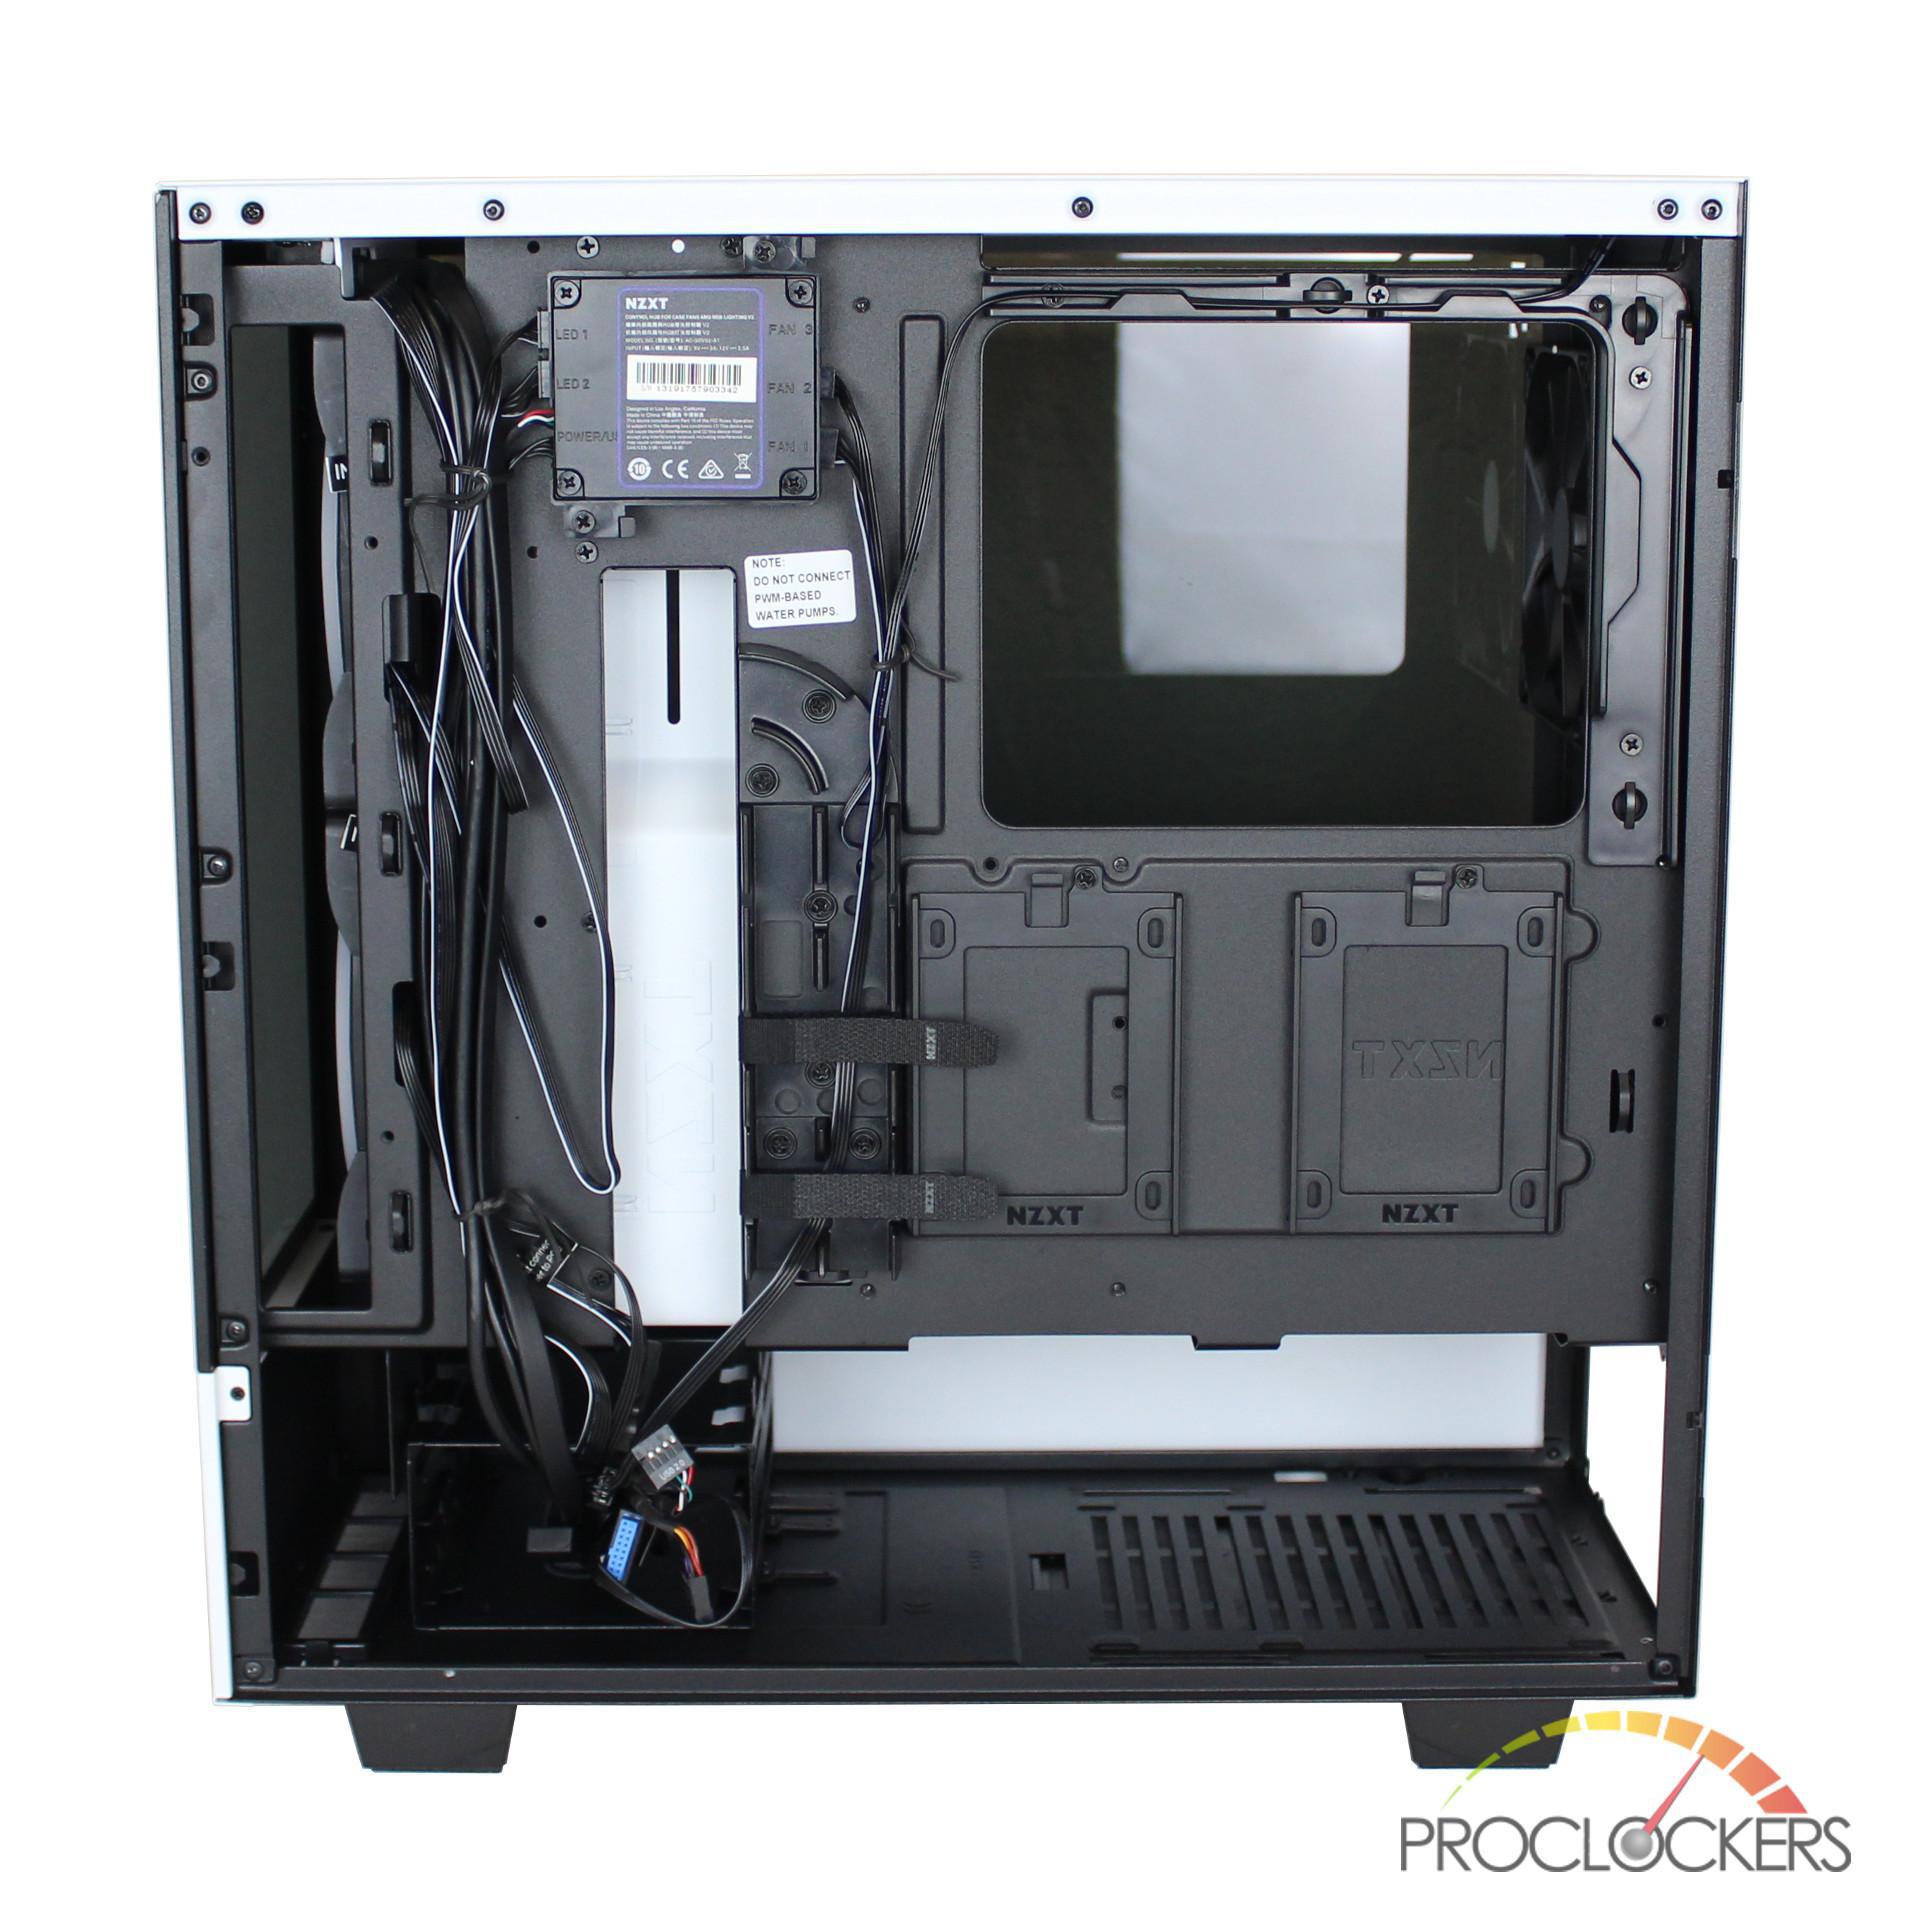
Taking a closer look, the H510 Elite includes NZXT patented cable management channels throughout the backside. These make it extremely easy to route your cables through and keep even the backside of your PC tidy.
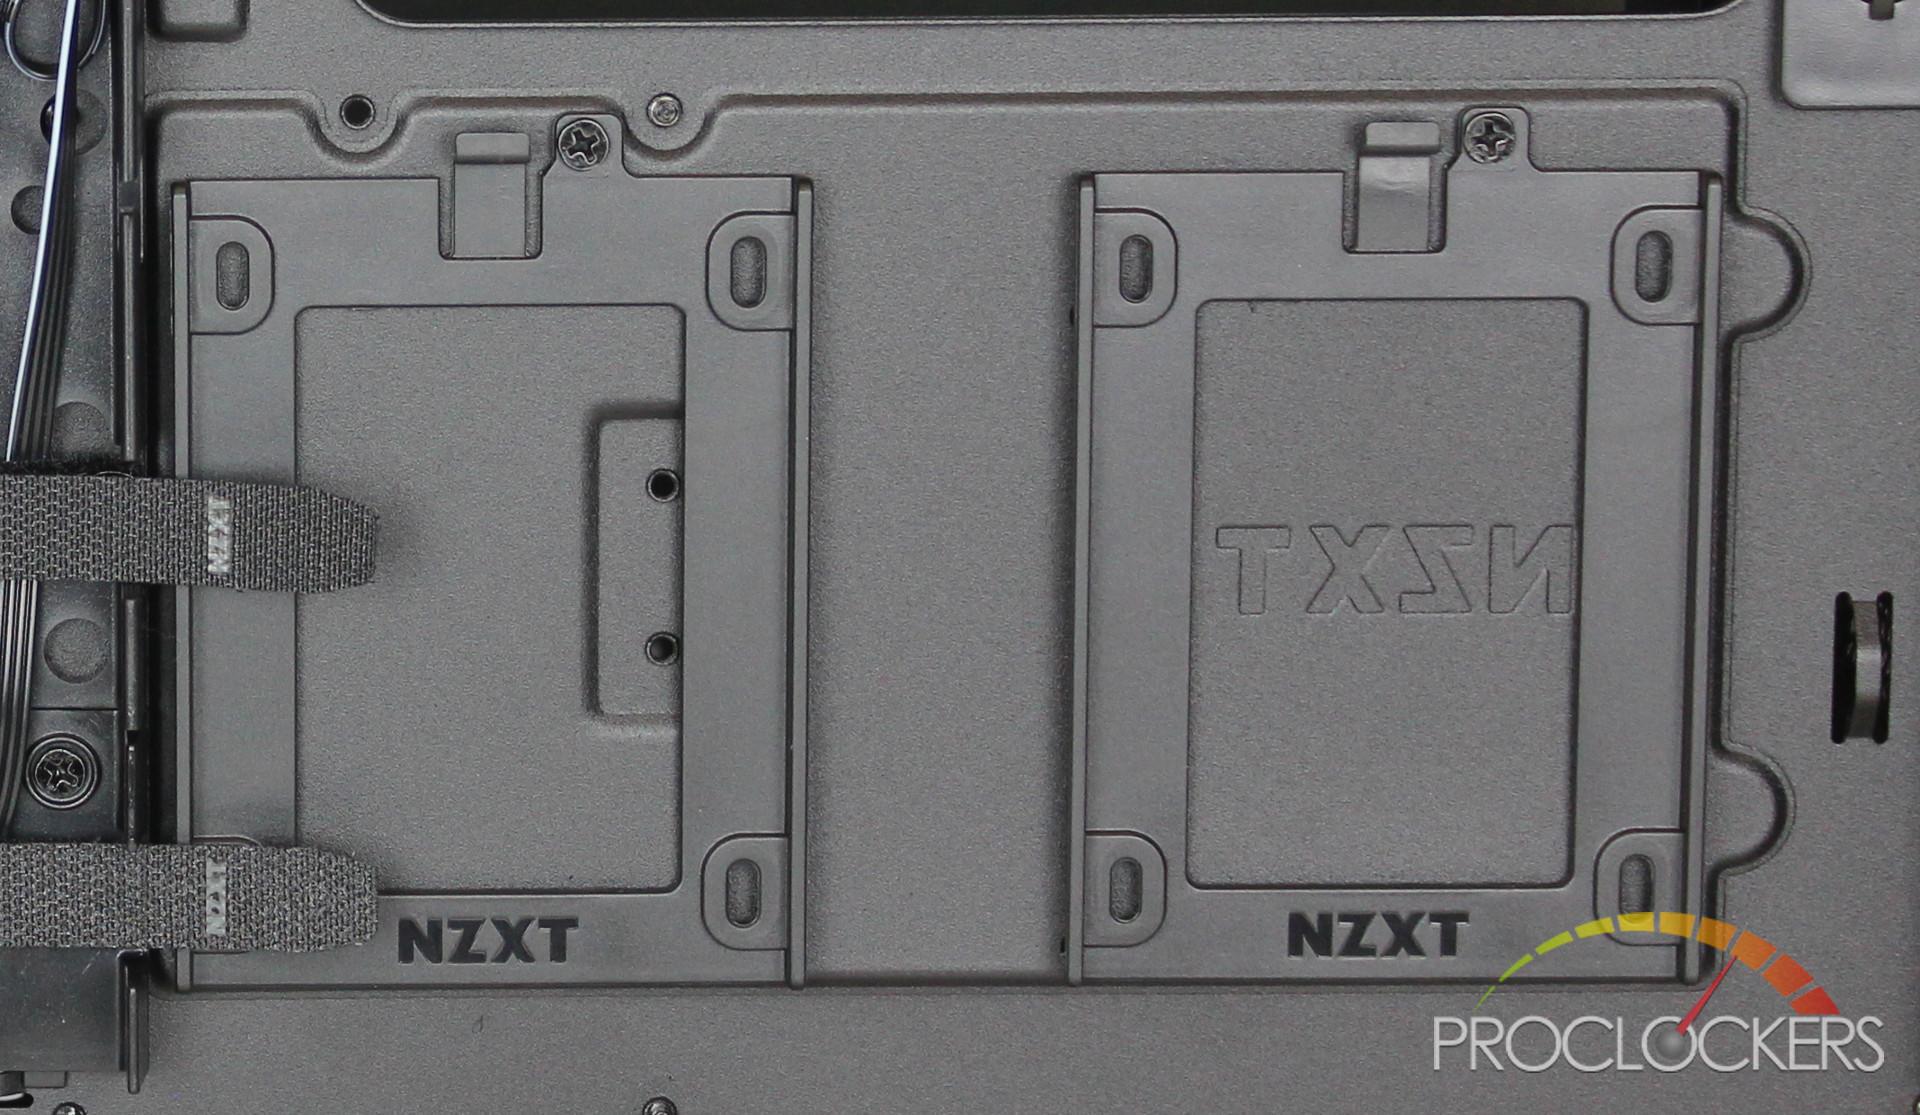
Below the motherboard tray, we have two removable SSD brackets which are attached to the back of the motherboard tray by a single screw. I would have liked to see NZXT include their toolless SSD trays here as it would just make installing your SSD that much similar.
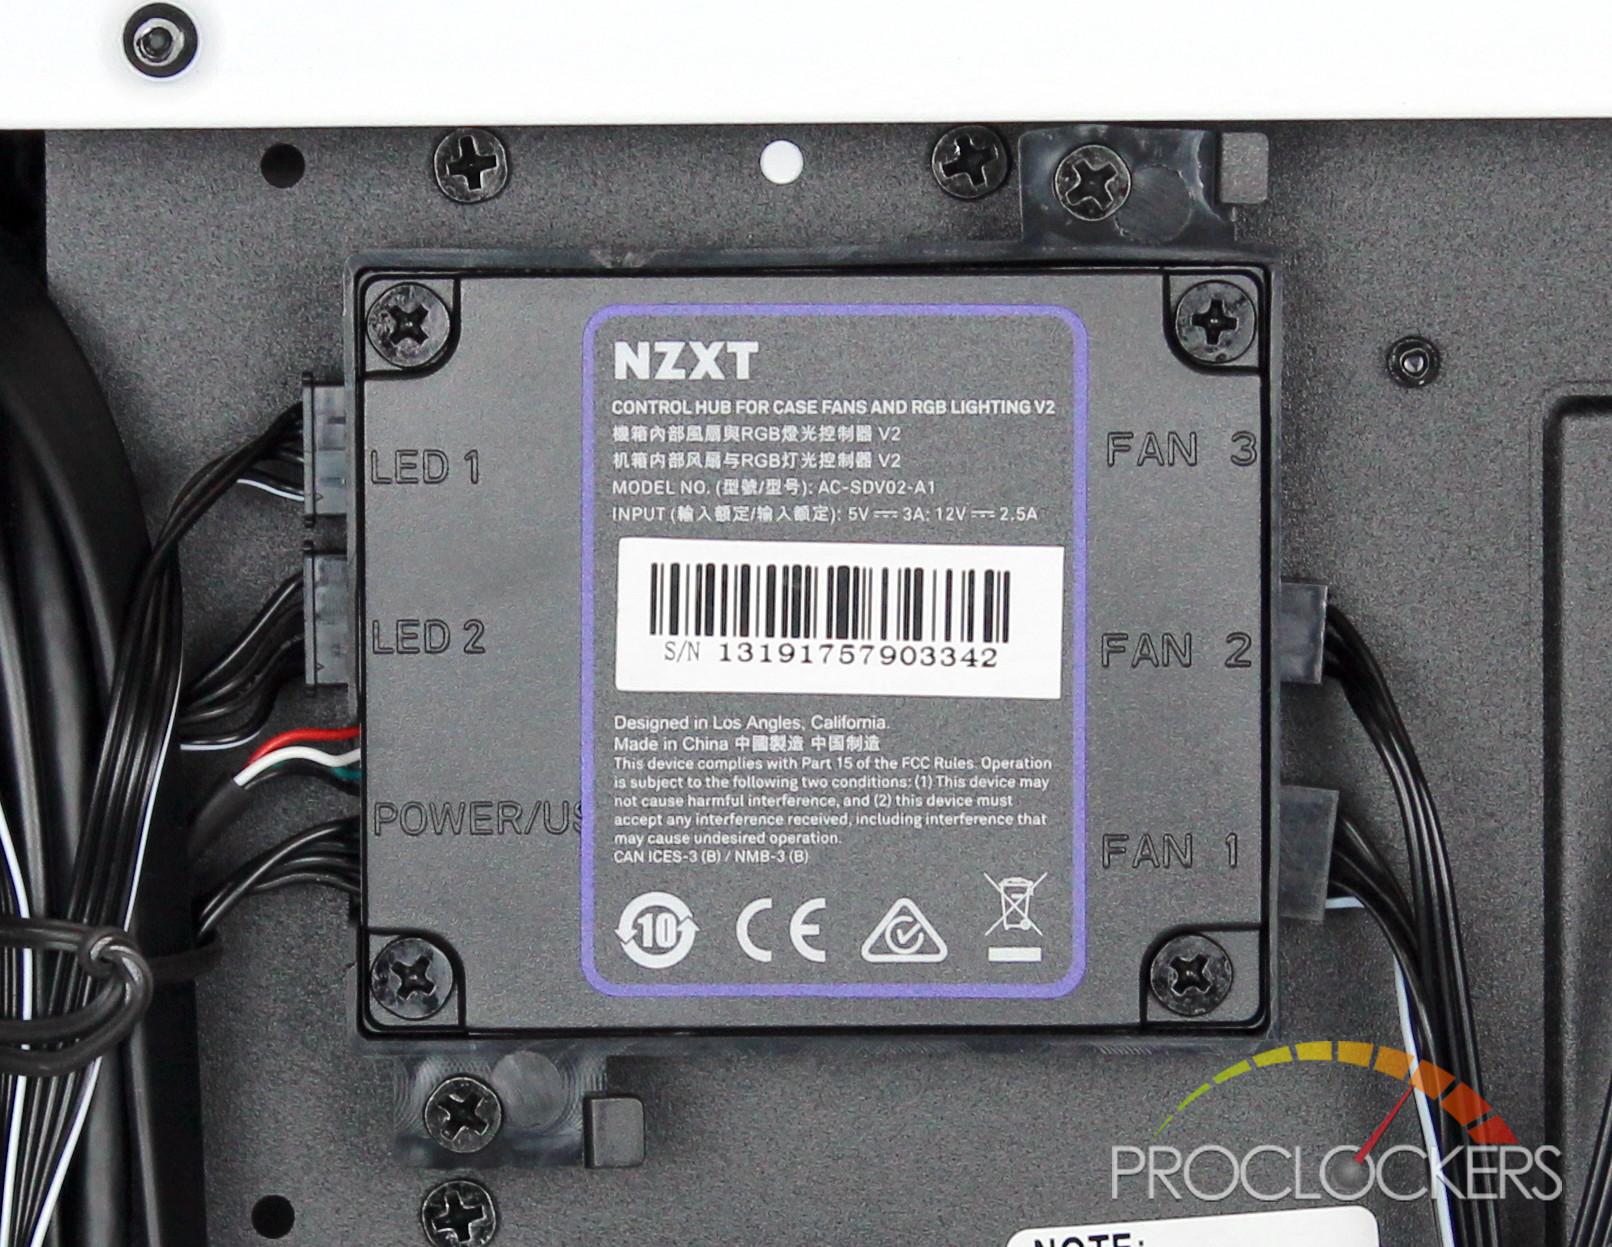
Controlling the LED strip and two Aer 2 RGB fans is NZXT’s Smart Device 2, which comes pre-installed with the fans and LED strip already wired up. As you can see from the photo below, a few of the fan wires are a little loose, so it’s best to make sure they are plugged all the way before booting your system.
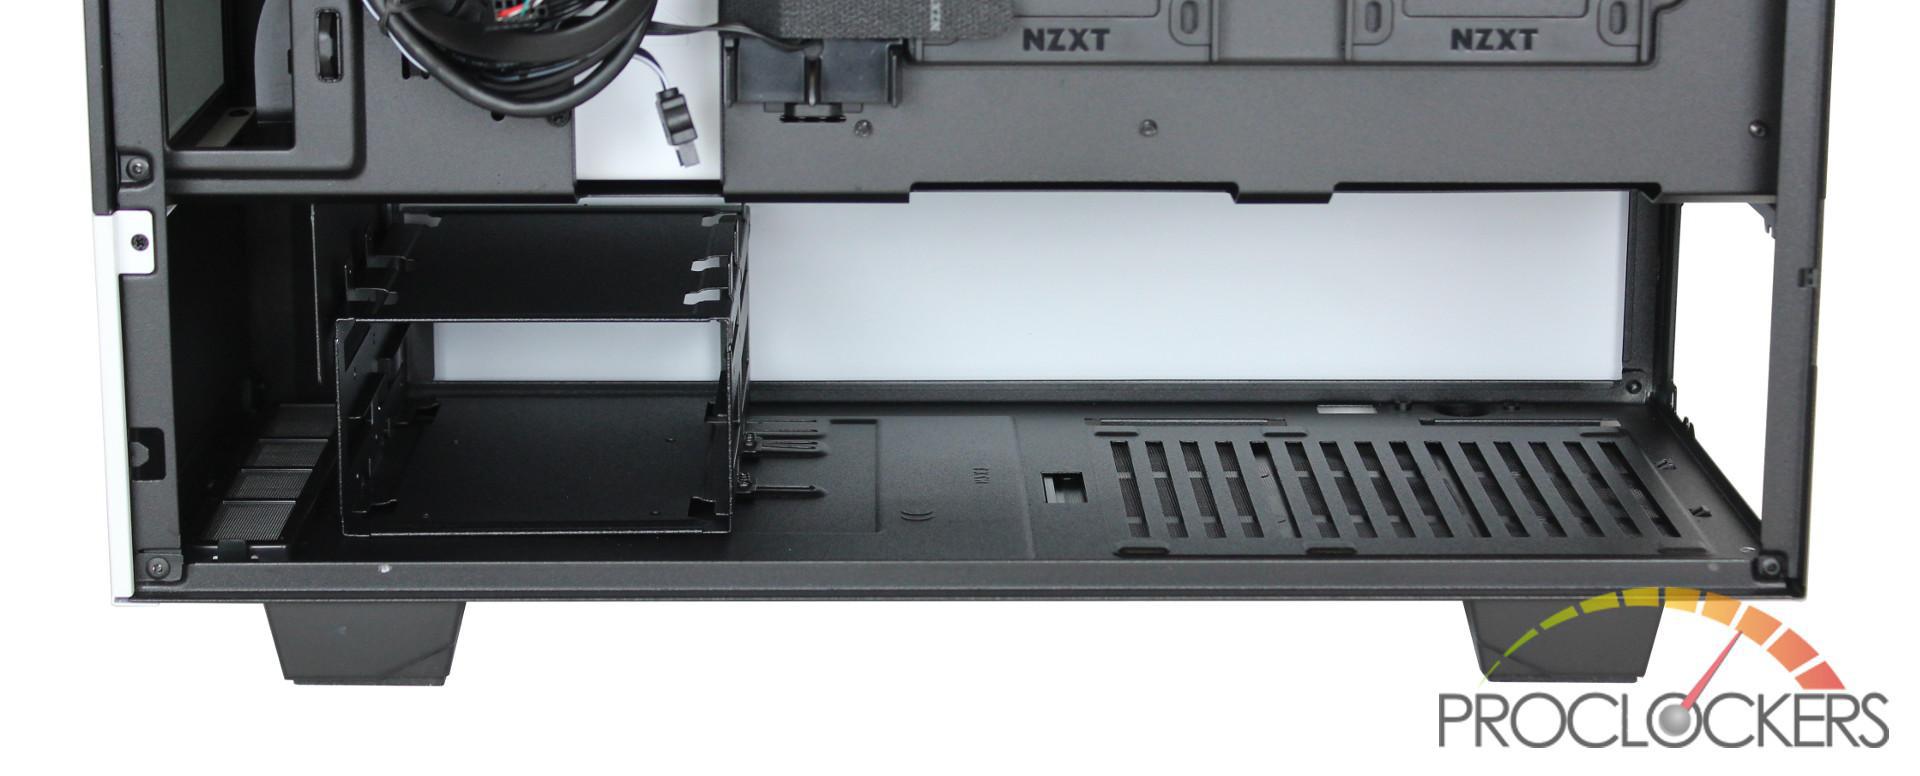
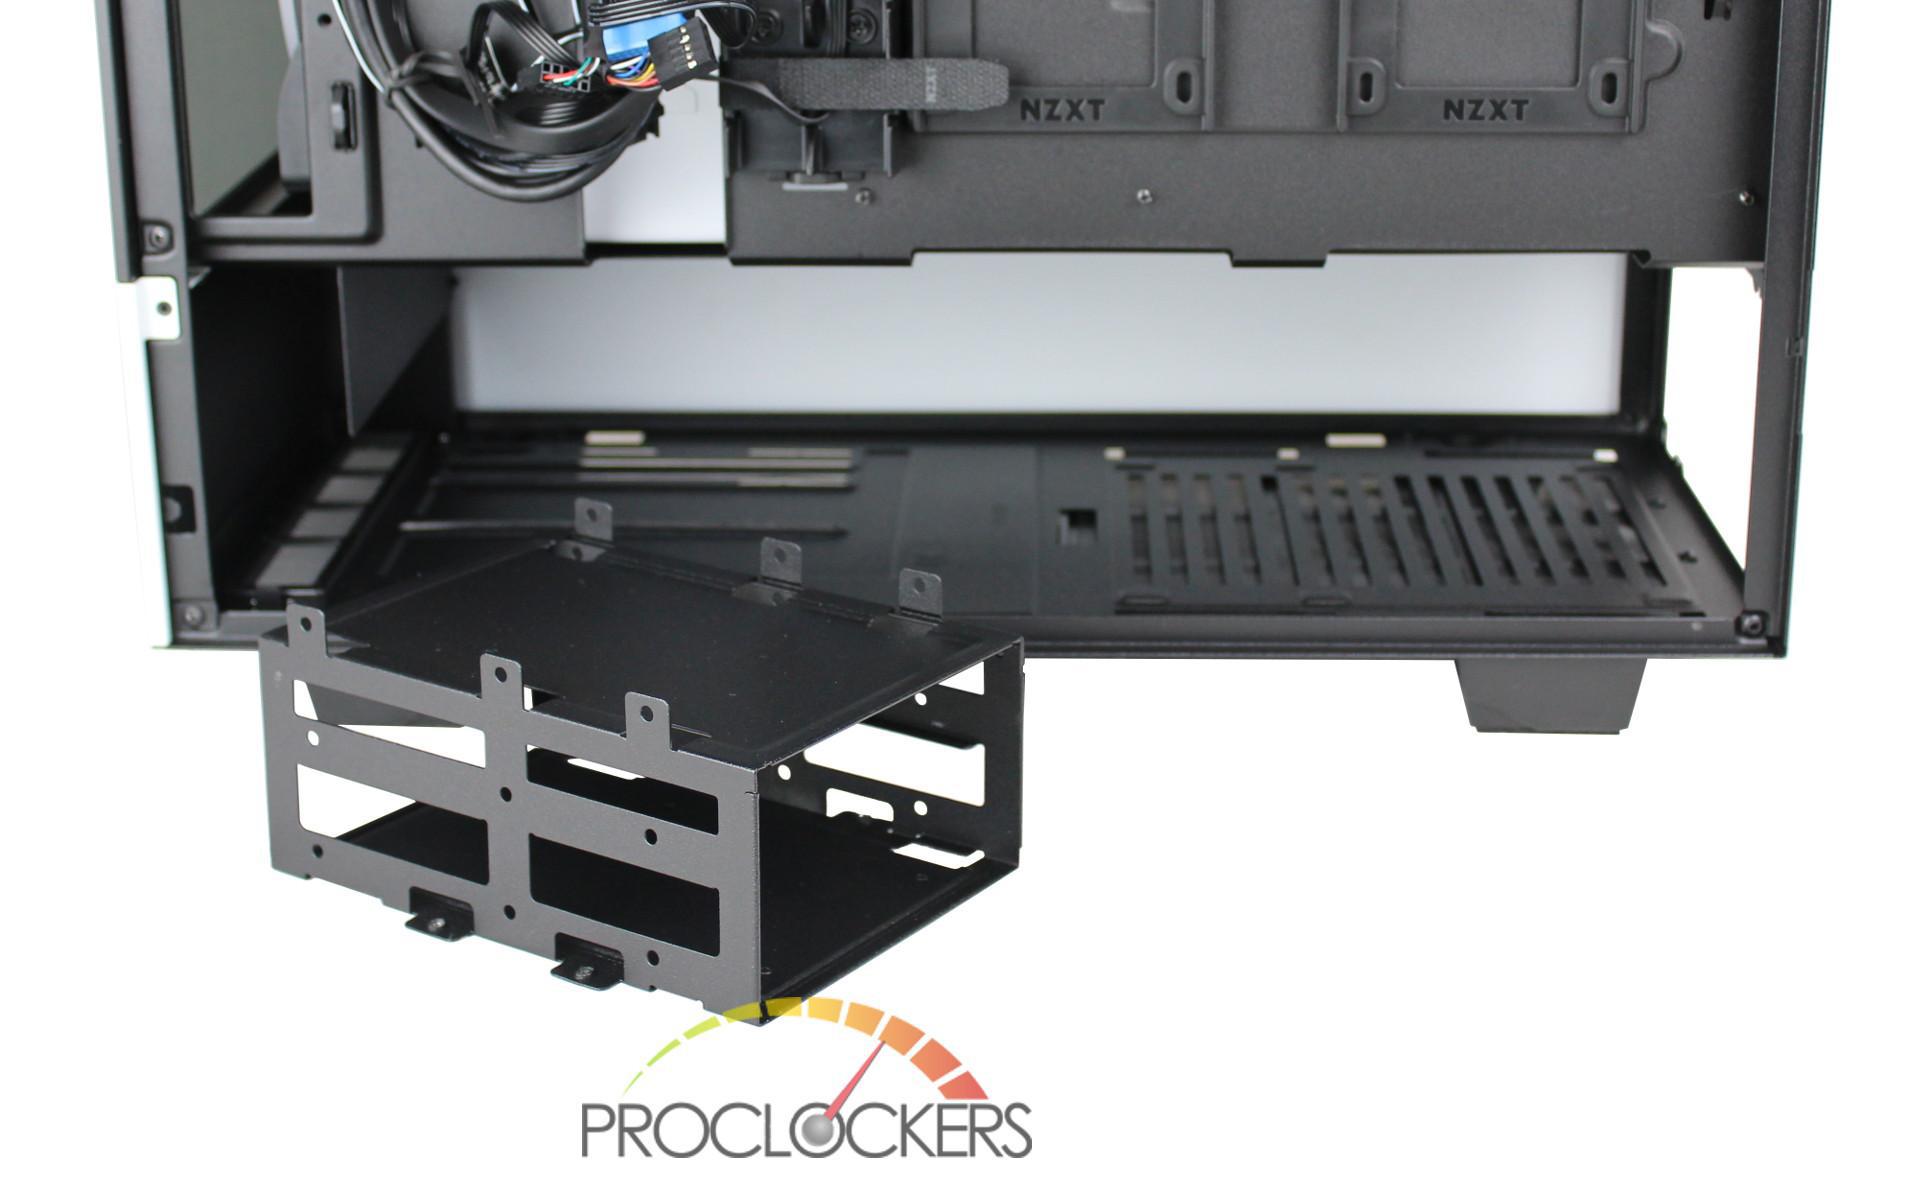
Looking to the basement of the case, there is a removable drive base that supports up to two 3.5” HDDs. To remove the drive bay, you must remove the 4 screws holding it in place from the bottom of the case. If your build doesn’t include any 3.5” drives, removing this cage will give you plenty of room to store slack from your PSU cables.
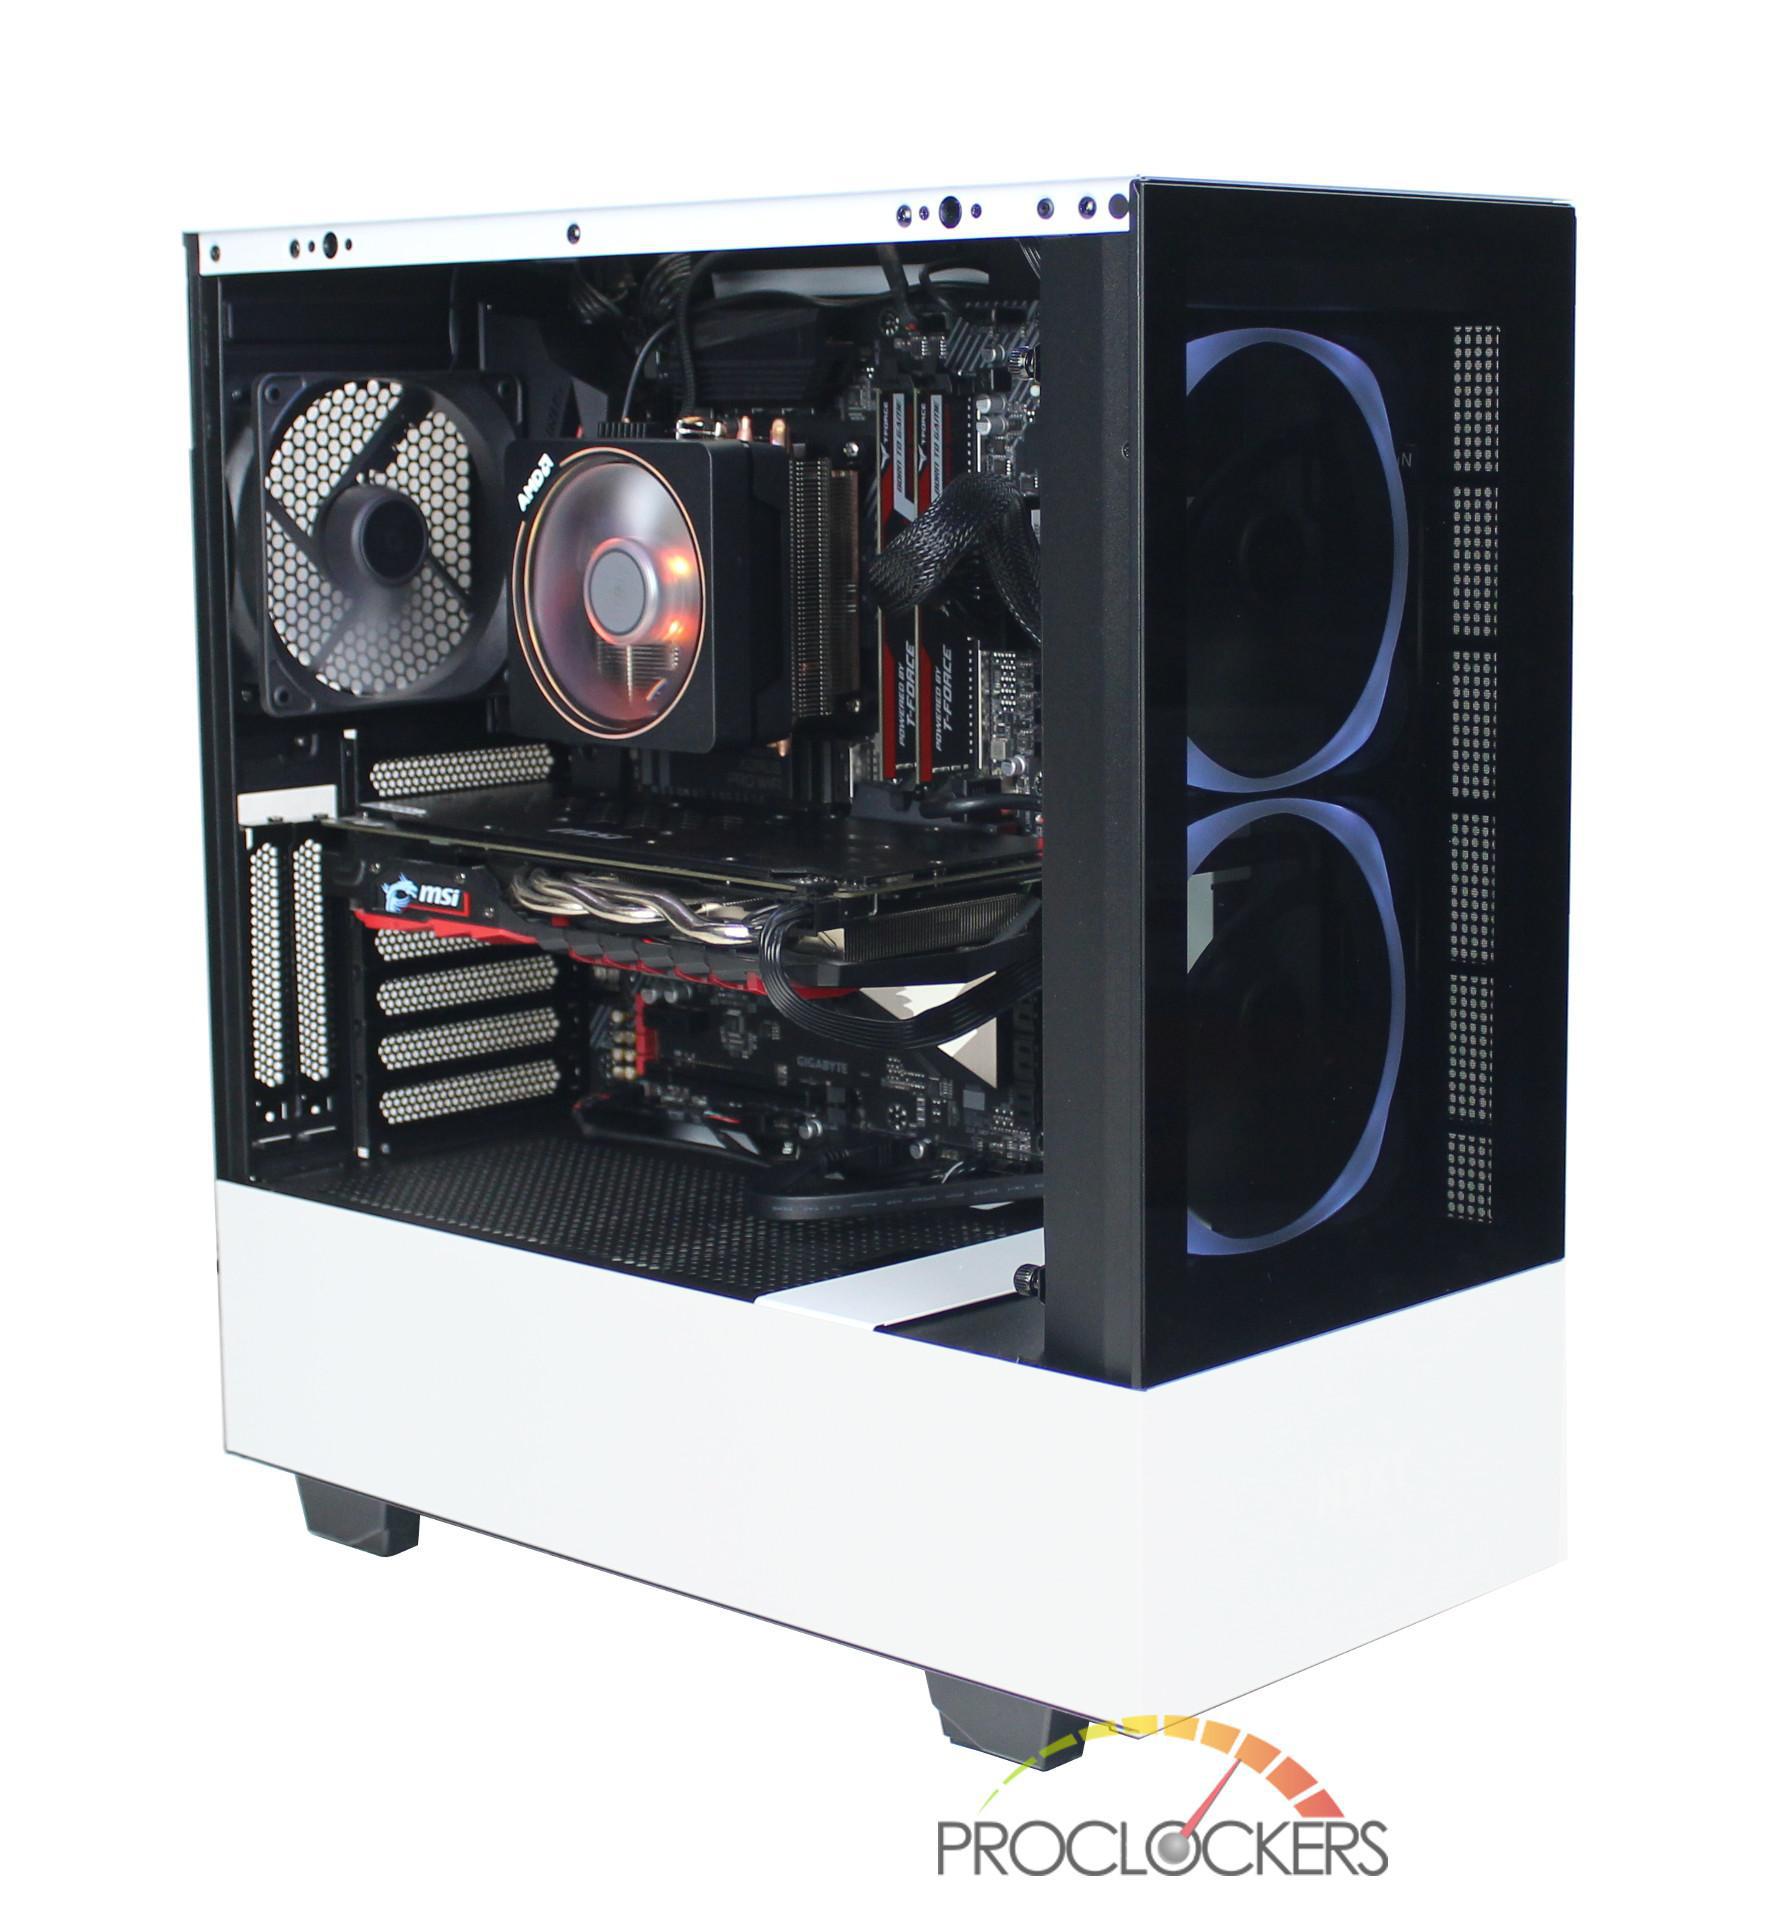
System Build & Installation
The hardware included in this build is:
- Gigabyte x570 AORUS PRO WIFI Motherboard
- AMD Ryzen 3900X Processor
- 2 x 8 GB TeamGroup T1 Gaming DDR4 Memory
- MSI RX480 X Gaming 8GB GPU
- Crucial P1 1TB NVMe M.2 SSD
- Seasonic SnowSlient Platinum 750W
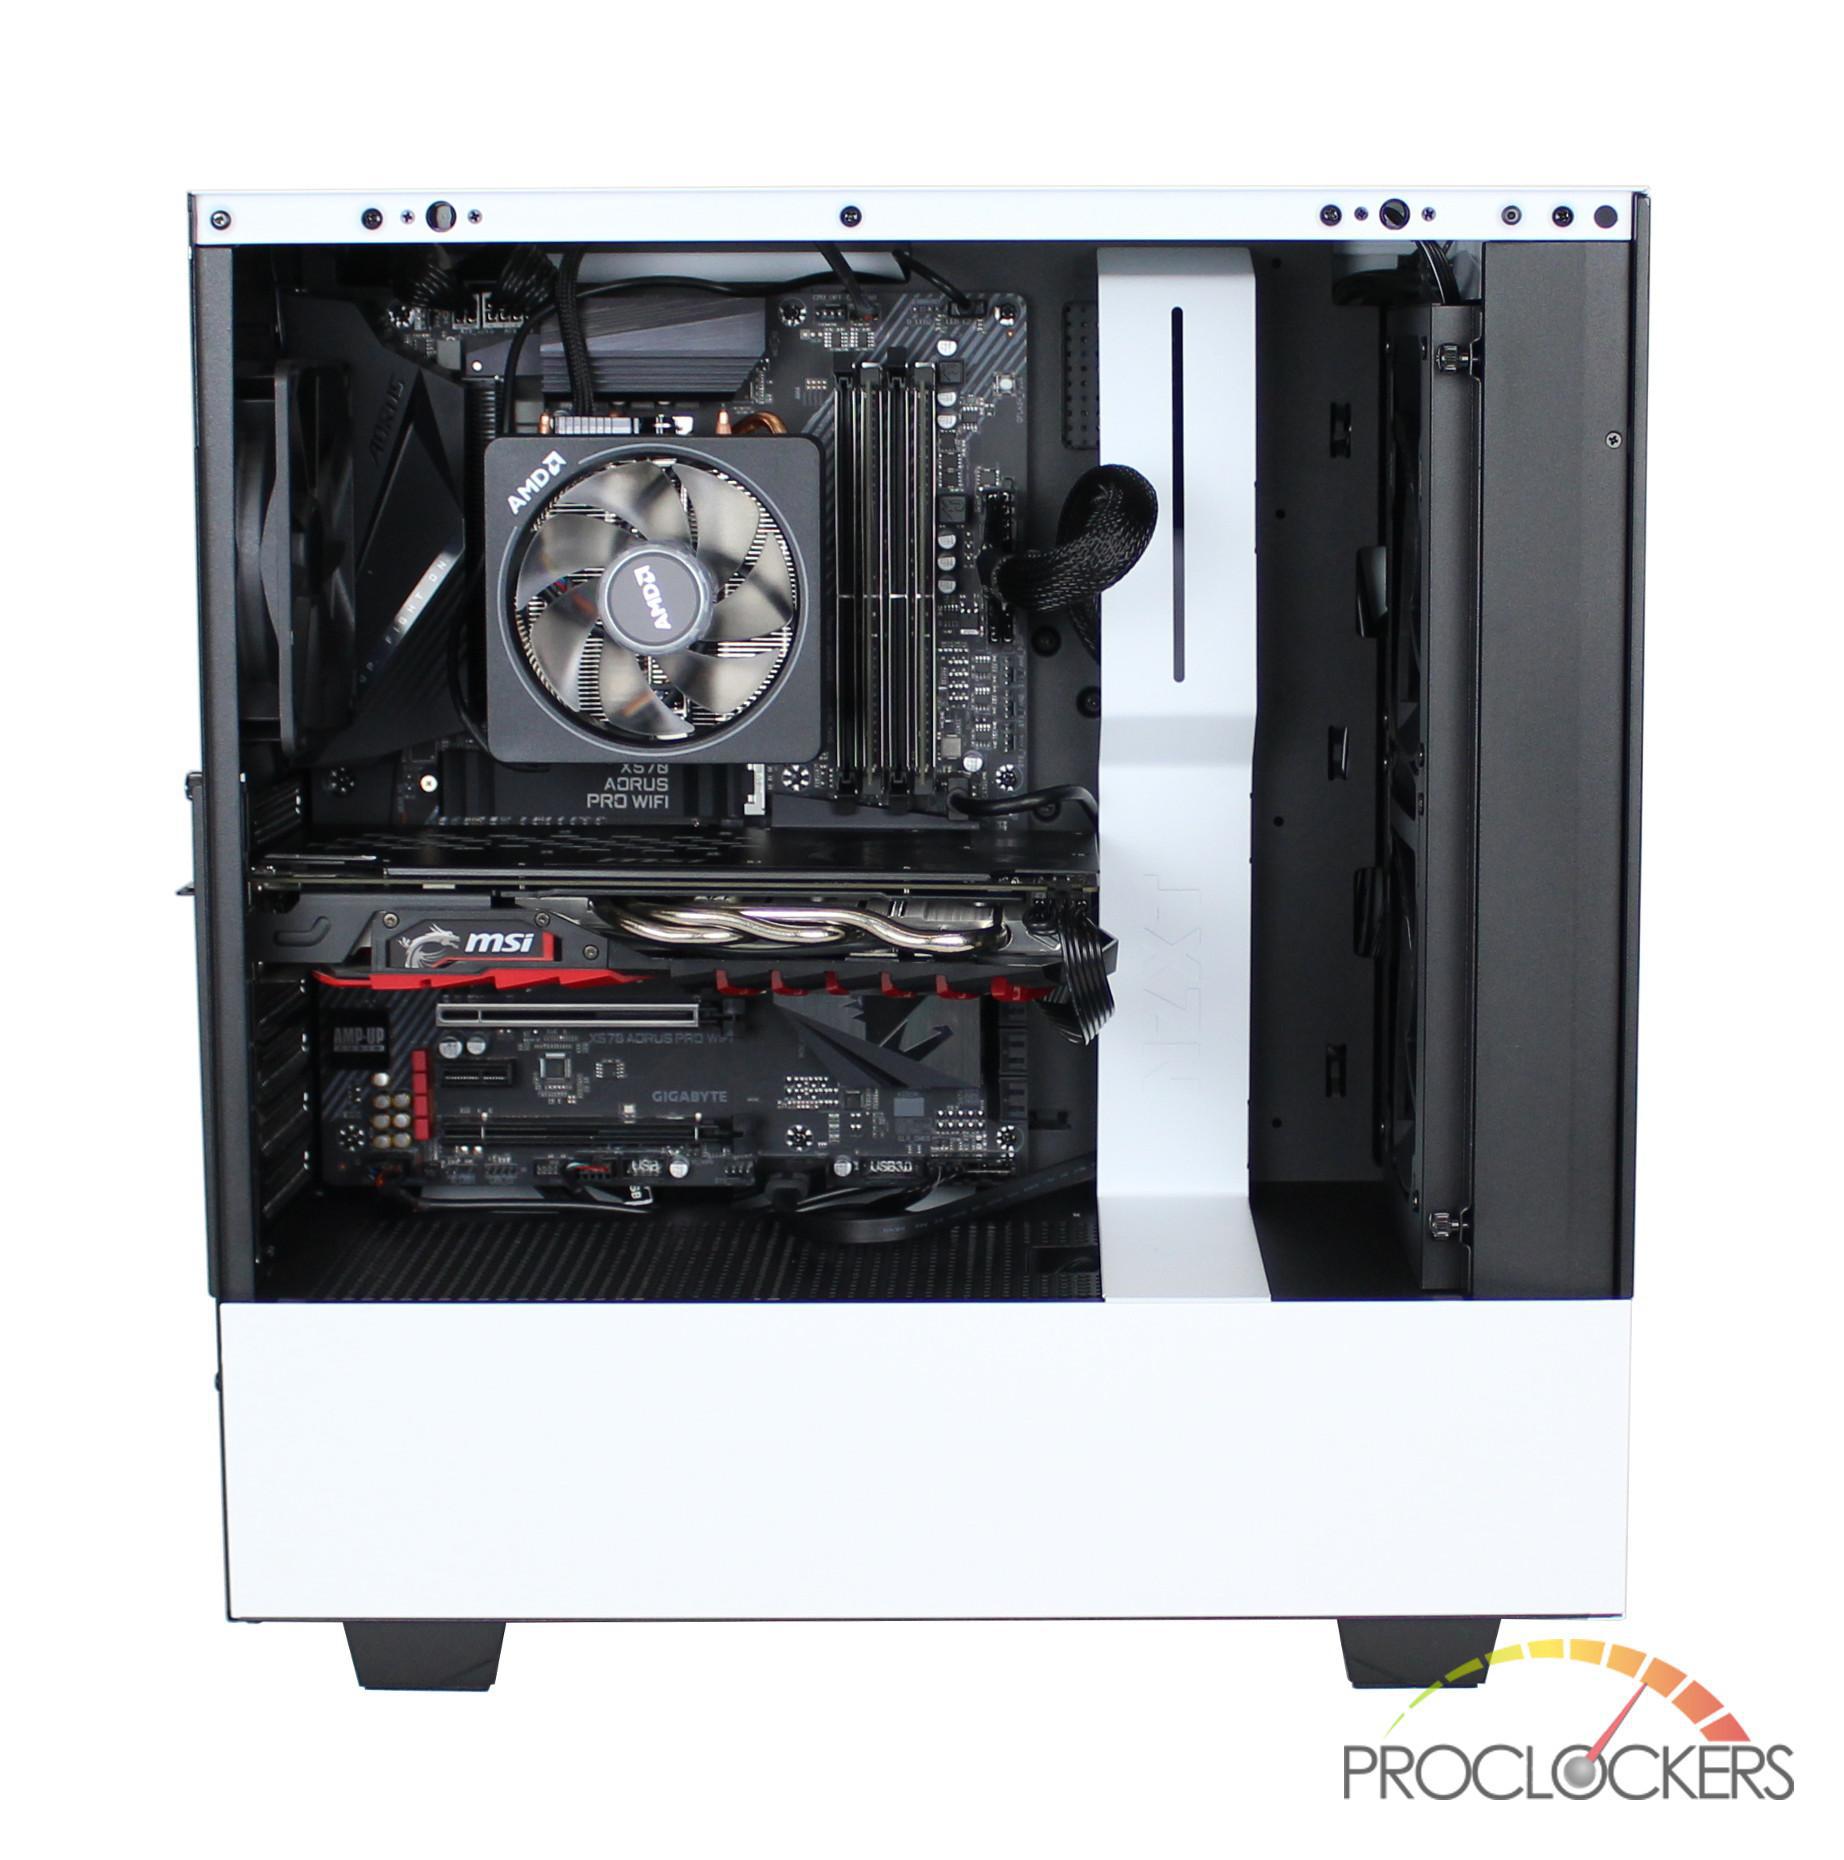
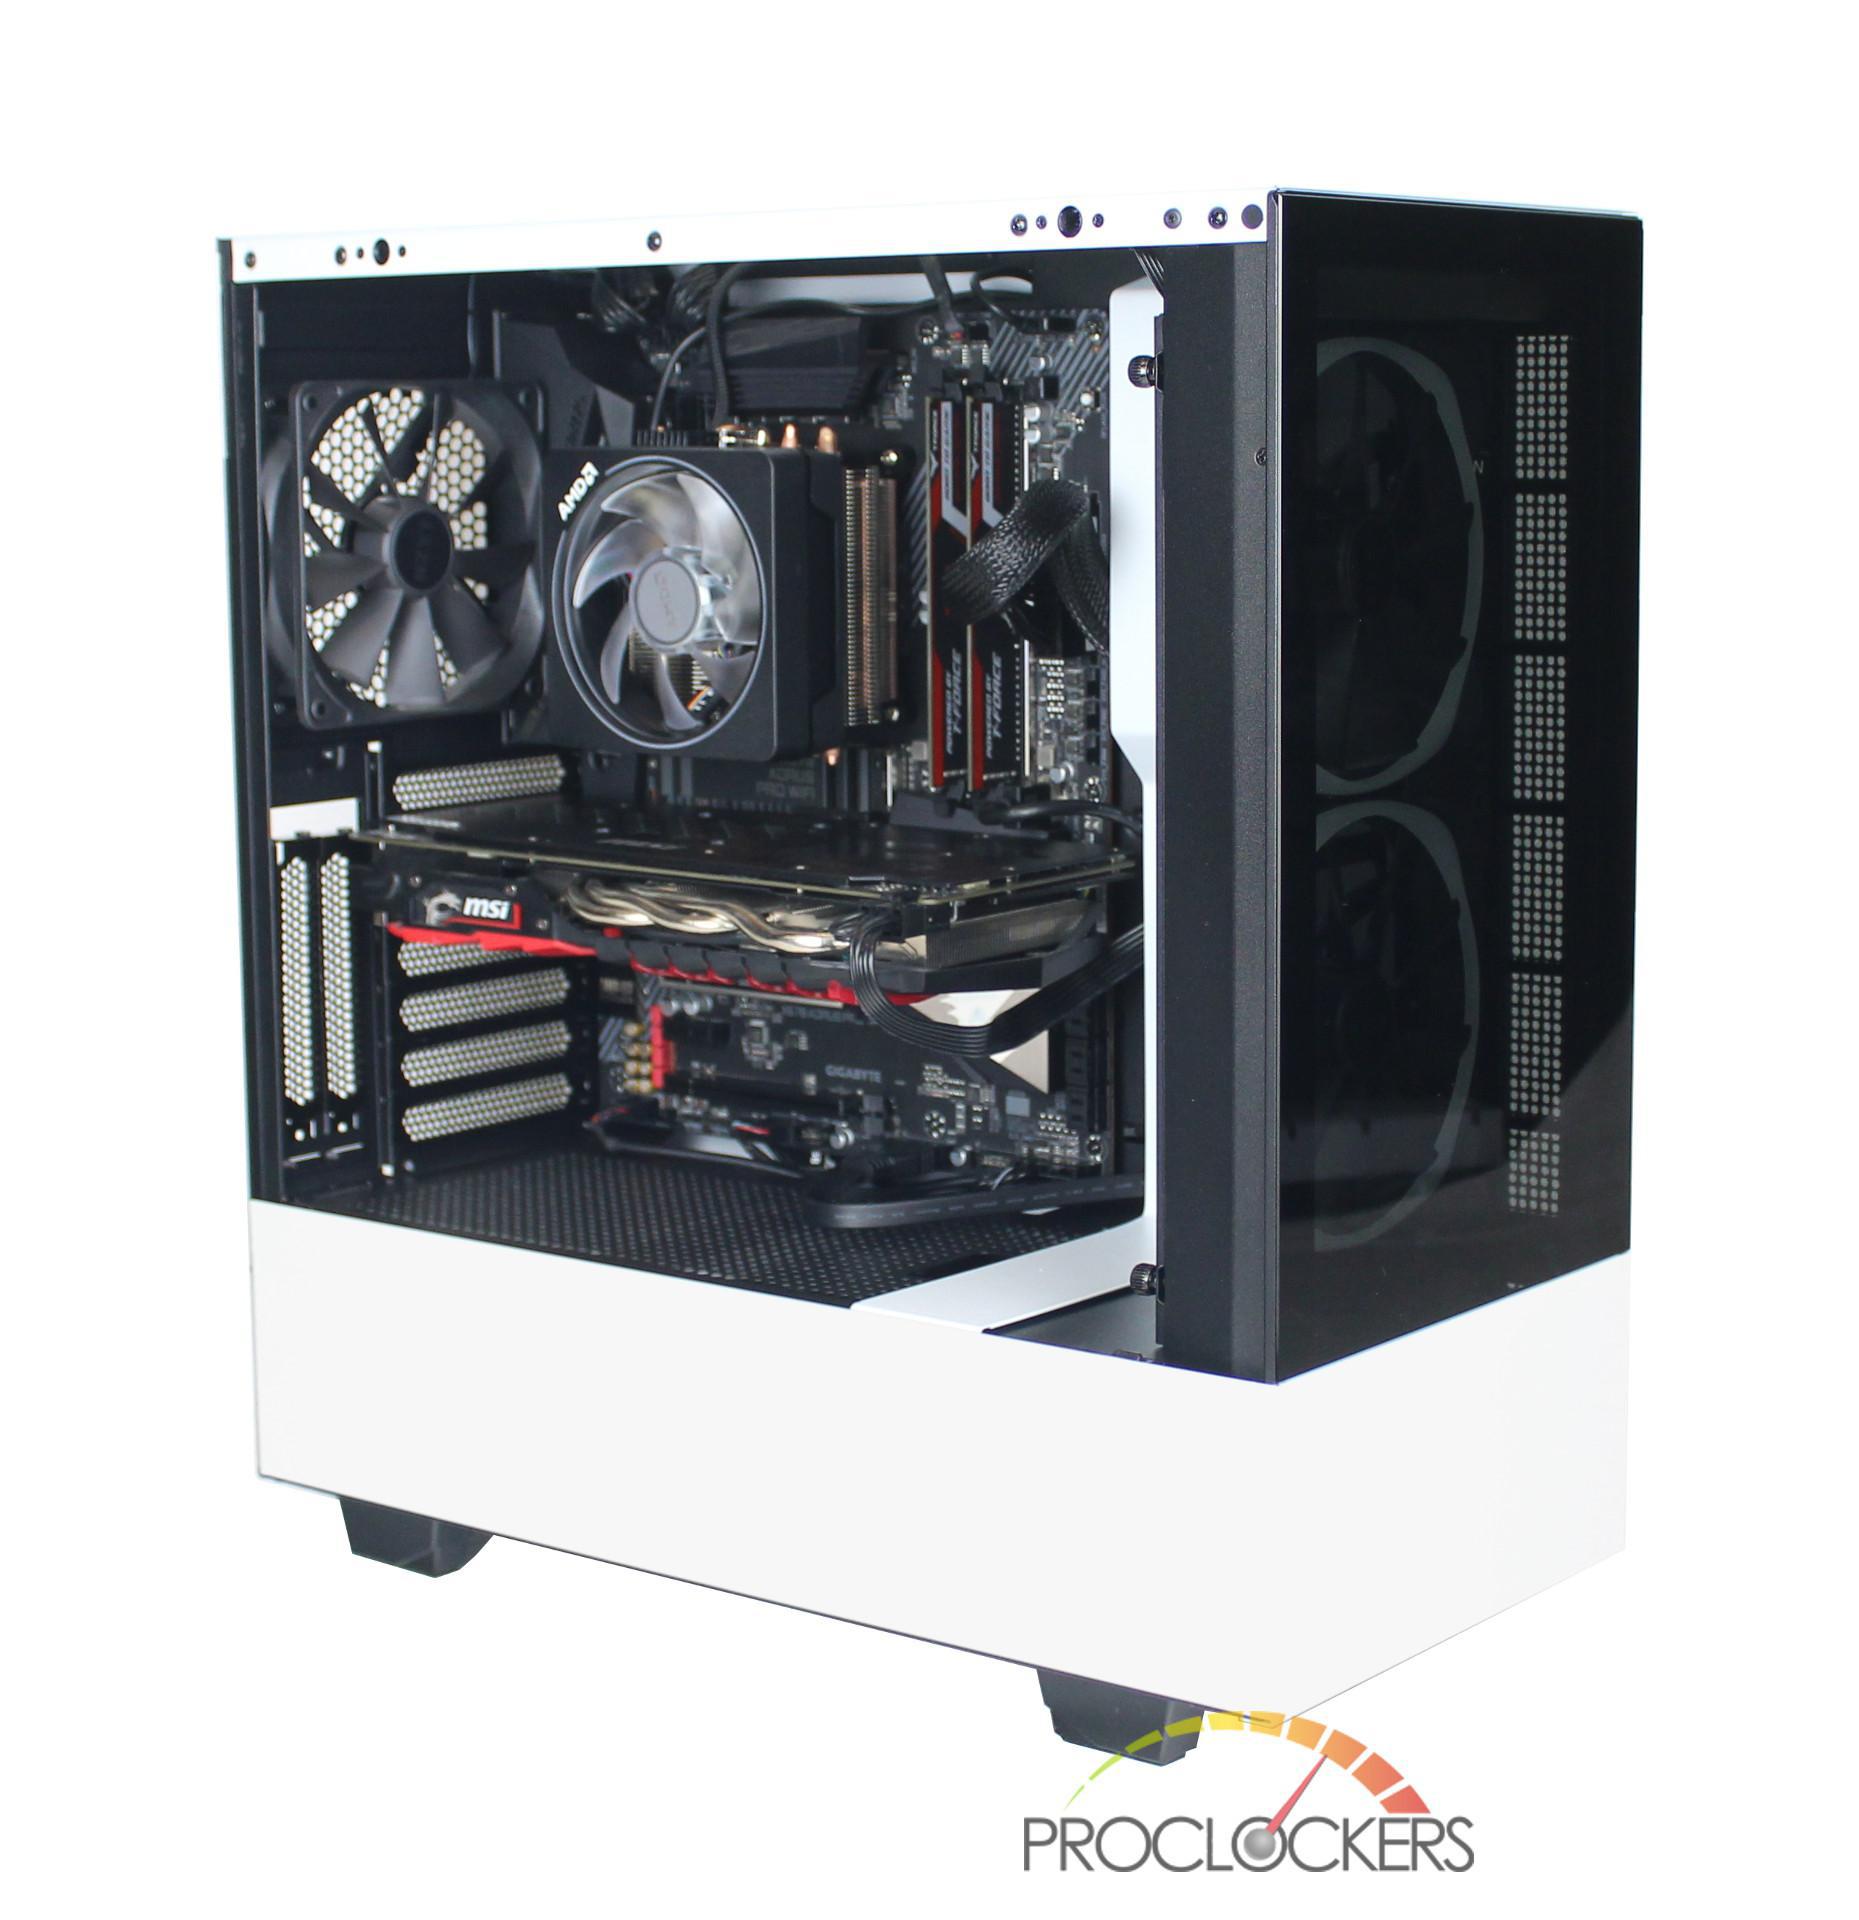
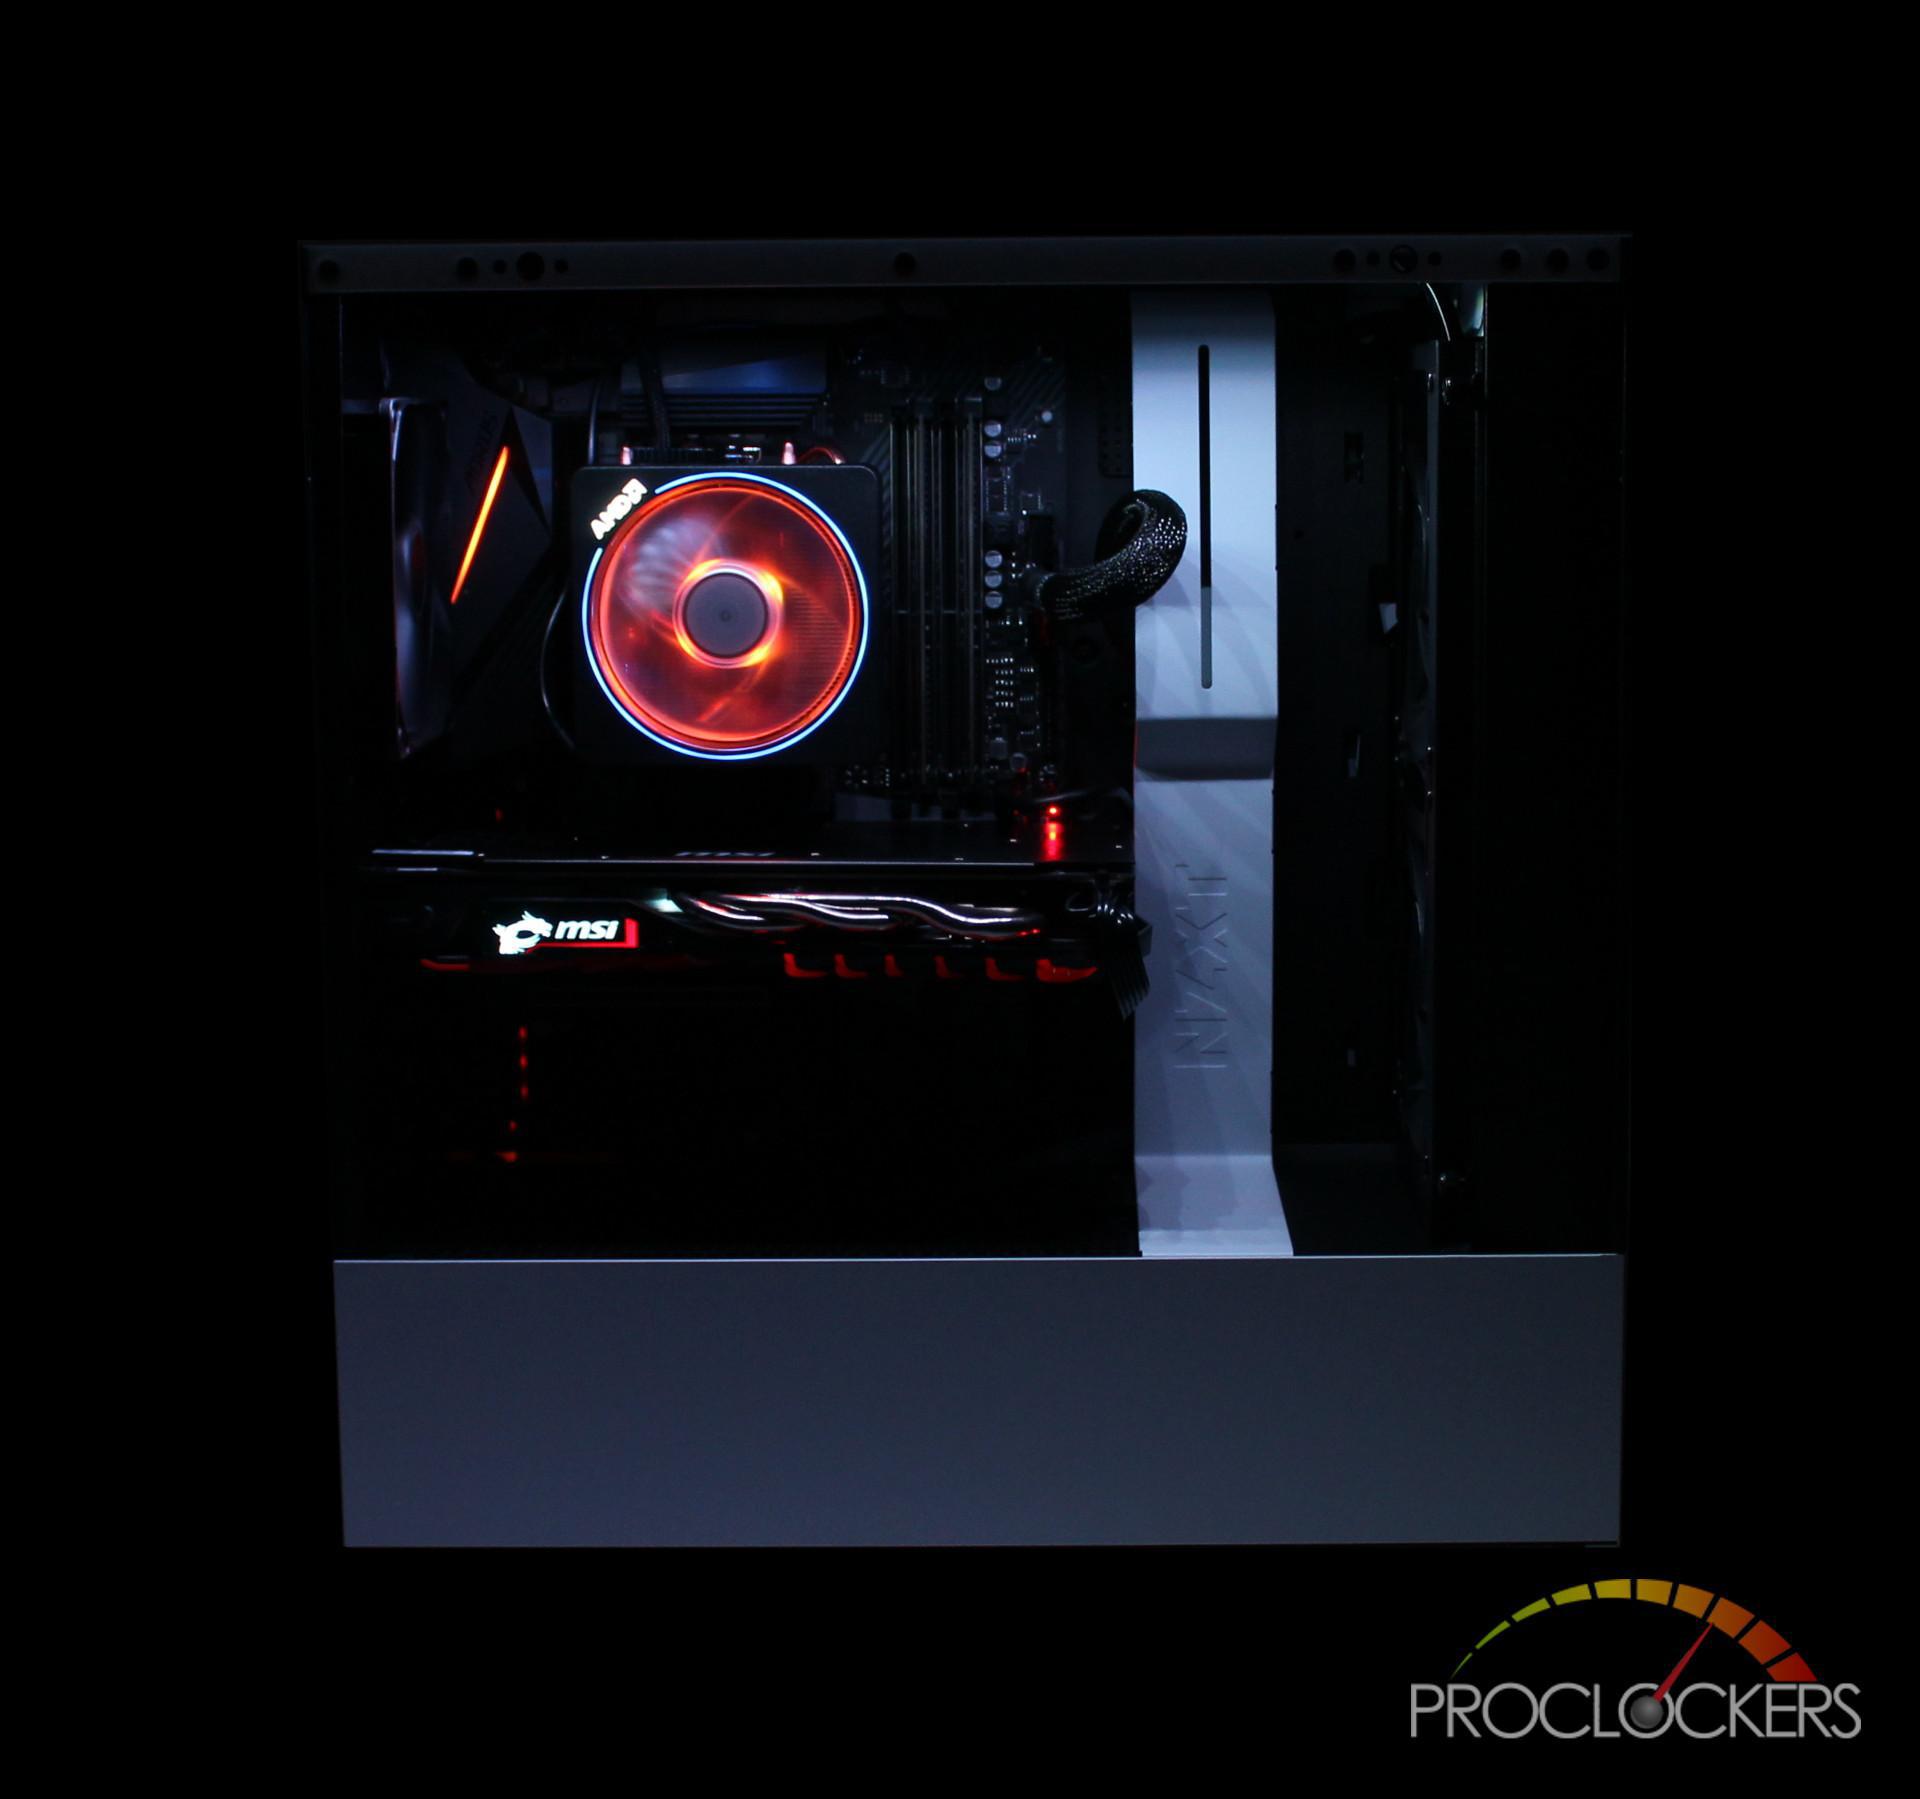
Building in the H510 Elite was painless and the final result is a nice clean build. Like included in all the refreshed H series cases, the cable management bar does an excellent job of hiding my cables and there was enough room to even route my bulky 24 pin cable with ease. In addition to the cutouts covered by the cable management bar, NZXT has included ample cutouts at both the top and bottom of the motherboard tray. This cutout was key in routing all the I/O cables of the H510 Elite as well as the CPU cables powering my x570 board. Even though I left the stock fans installed it’s nice to see that NZXT included a mounting bracket which would make installing a radiator or AIO a breeze.
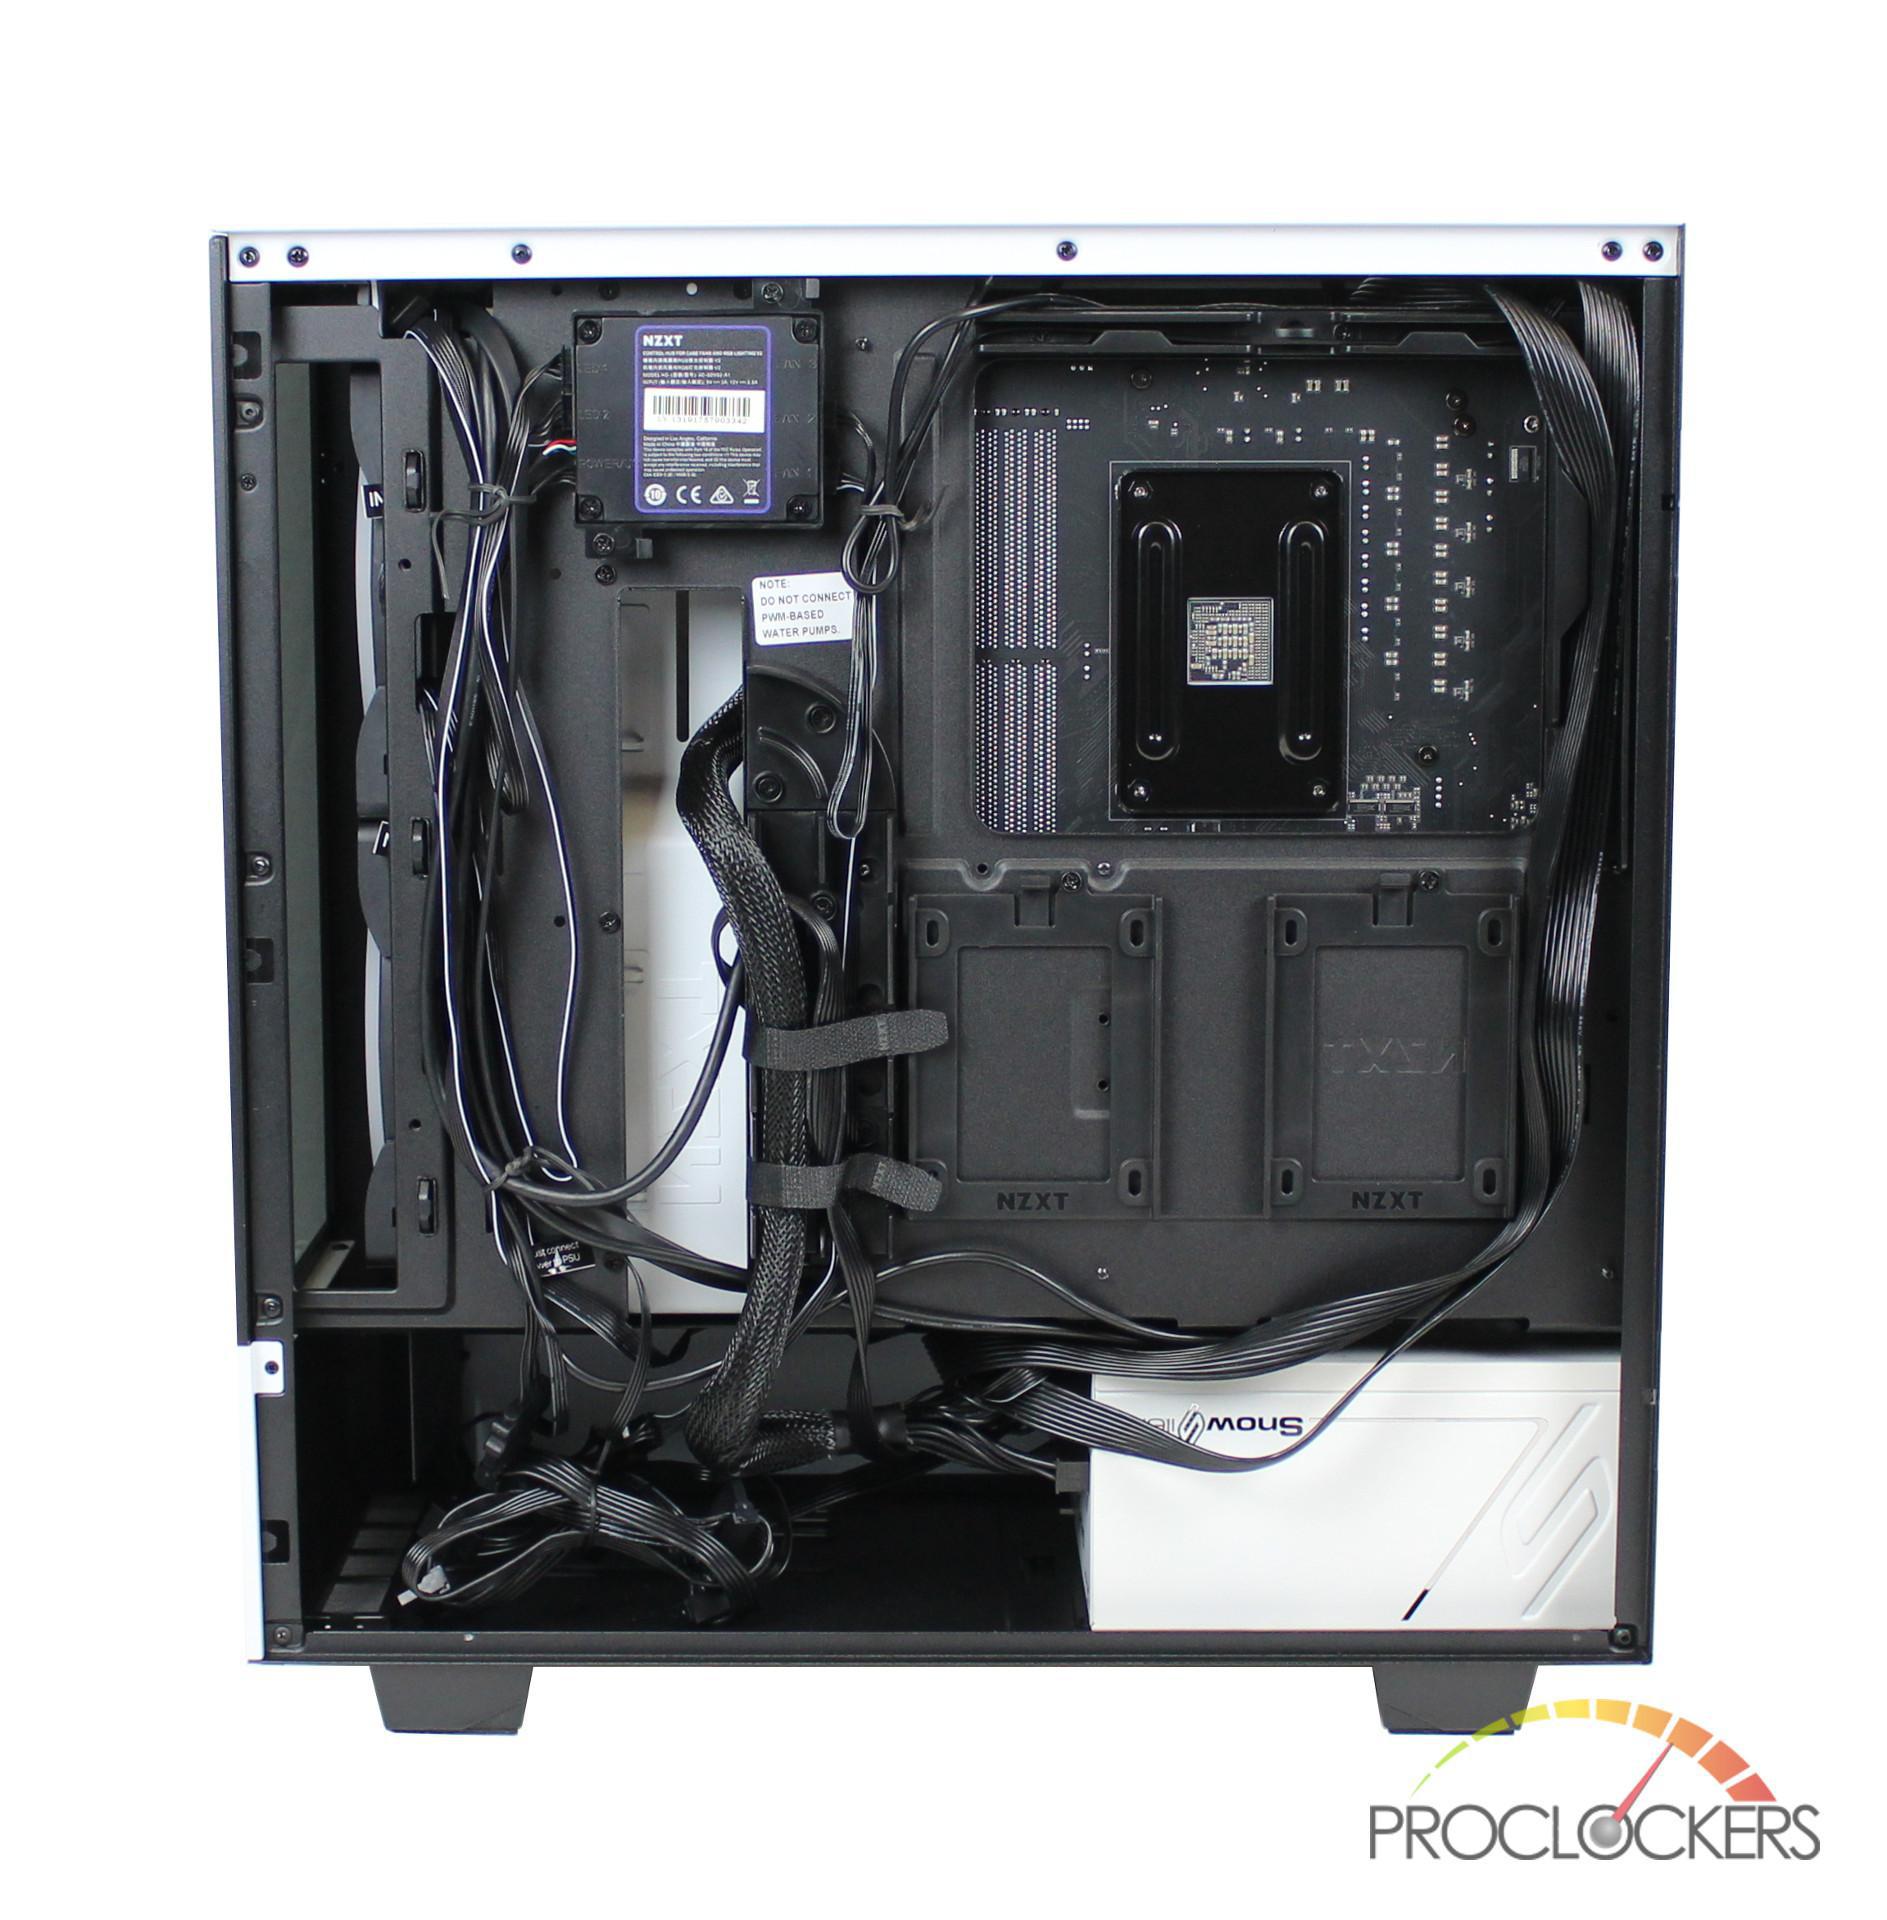
The cleanliness of the build continues to the back of the motherboard tray thanks to the patented cable management system. These routing channels allowed me to easily run my PSU cables where they needed to go with plenty of room to spare if you required additional cables. Since I had no 3.5” drives for this build, it was nice to be able to remove the included HDD case. This gave me more room to plug any cables I needed into the PSU as well as more space to store any slack from the cables.
Once my build was complete, I went ahead and installed NZXT’s Cam software to configure the LED strip and two Aer 2 RGB fans. I went with a white LED strip to showcase my components and “Spectrum Wave” on the Aer 2 fans to give the build a little pop.
Software
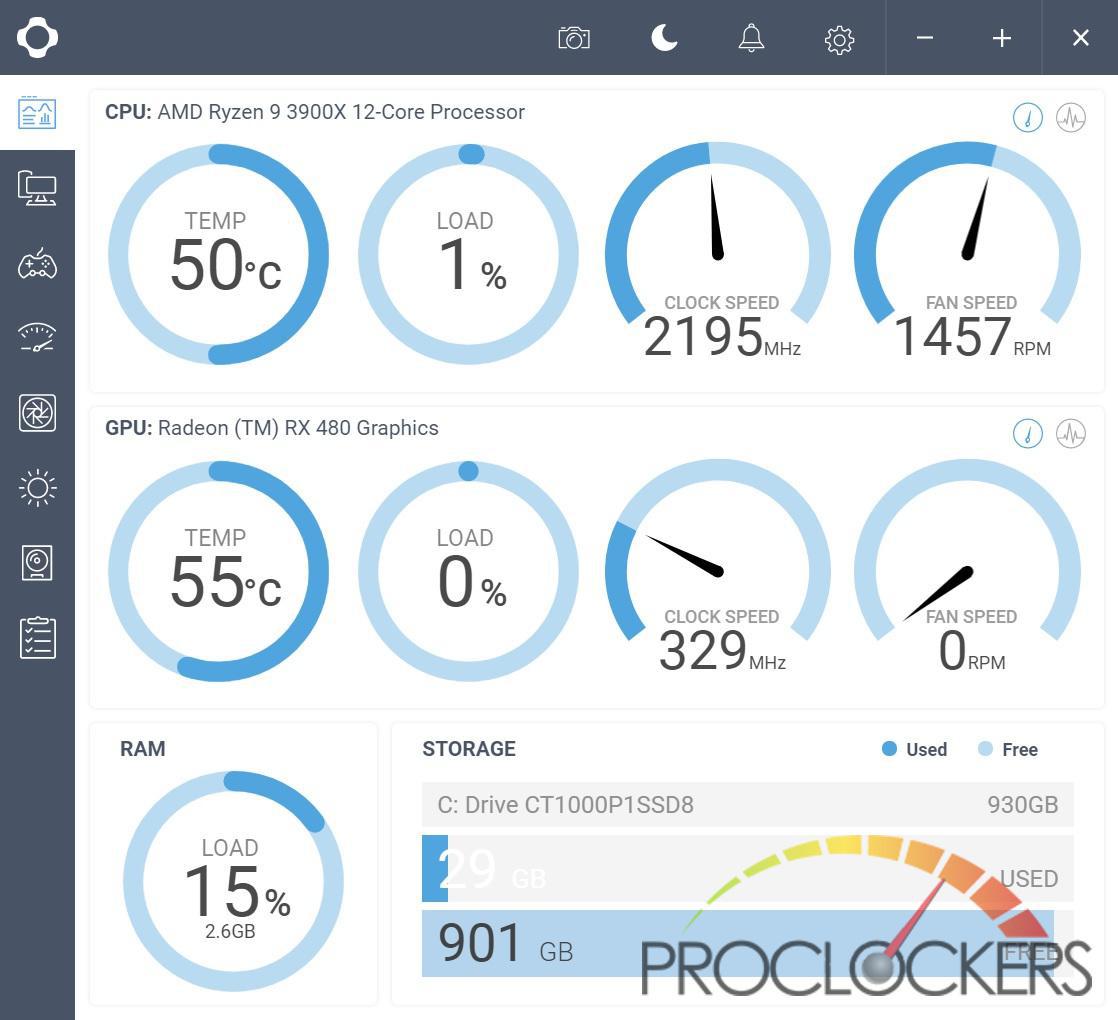
To control the included LED strip and Aer 2 RGB fans, you must download NZXT’s CAM software from their website. This piece of software allows you to view and configure various aspects of your PC and it’s dashboard includes readouts for temperature, CPU/GPU load and your current clock speeds to name a few. In this review, we will focus on the features that pertain to the pre-installed RGB hardware.
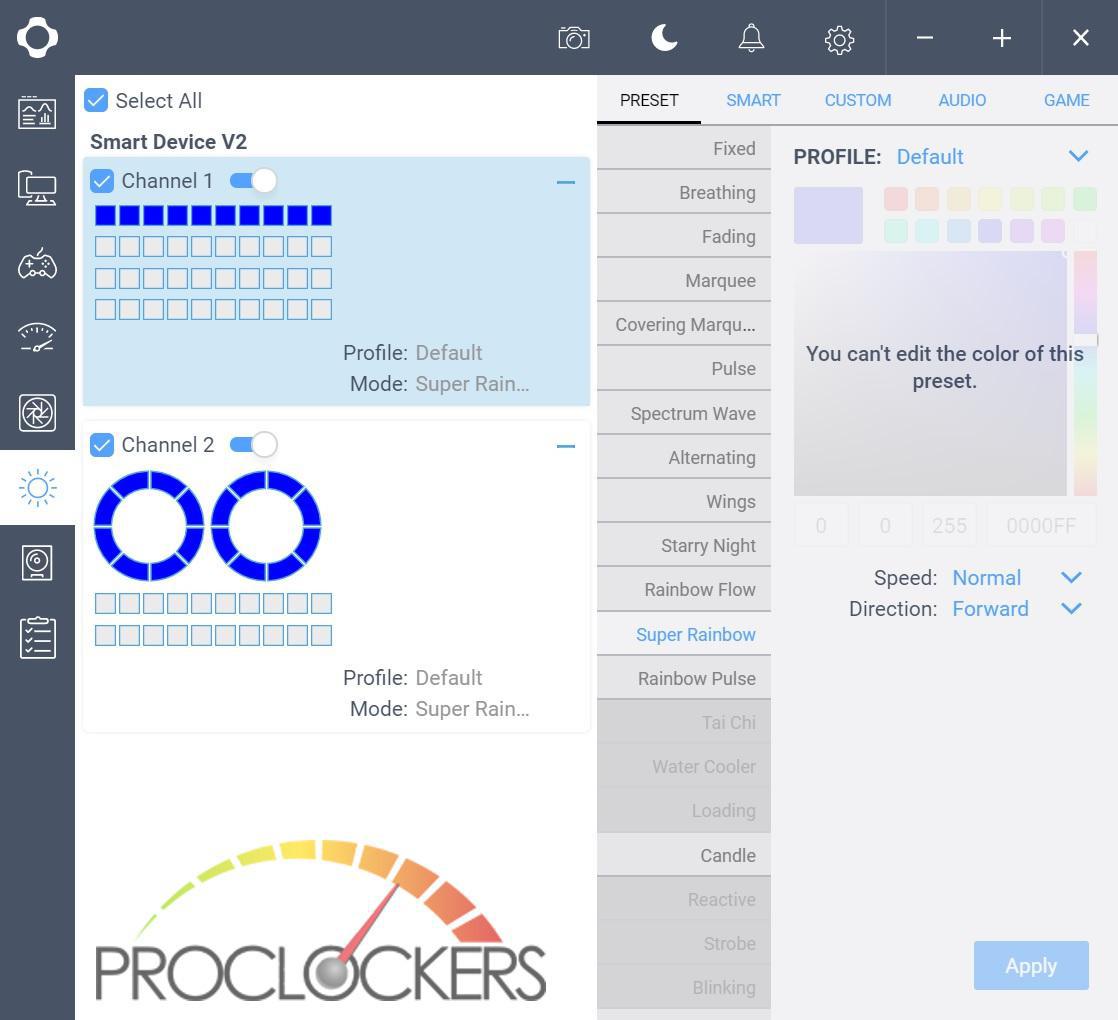
Under the lighting tab of the CAM software NXZT, it comes loaded with 10 presets which can apply a certain lighting pattern to each or all channels of the Smart Device 2 controller. By default, the LED strip is installed on channel one and the two Aer 2 fans on channel two. The lighting presets you can apply to the channels are:
- Fixed – Solid color
- Breathing – Colors fading in and out
- Fading – Fades colors in and out and blending them during the transition
- Marquee – LED chases around attached LED strips
- Covering Marquee – Like Marquee but the LED stays on when the color moves to the next LED
- Pulse – Pulse the color
- Spectrum Wave – RBG Wave going through all colors
- Alternating – Alternates colors each LED between 2 colors
- Wings – 2 chasing LED’s going in opposite directions and bounce off each other.
- Candle – Add a flame effect to the LEDs
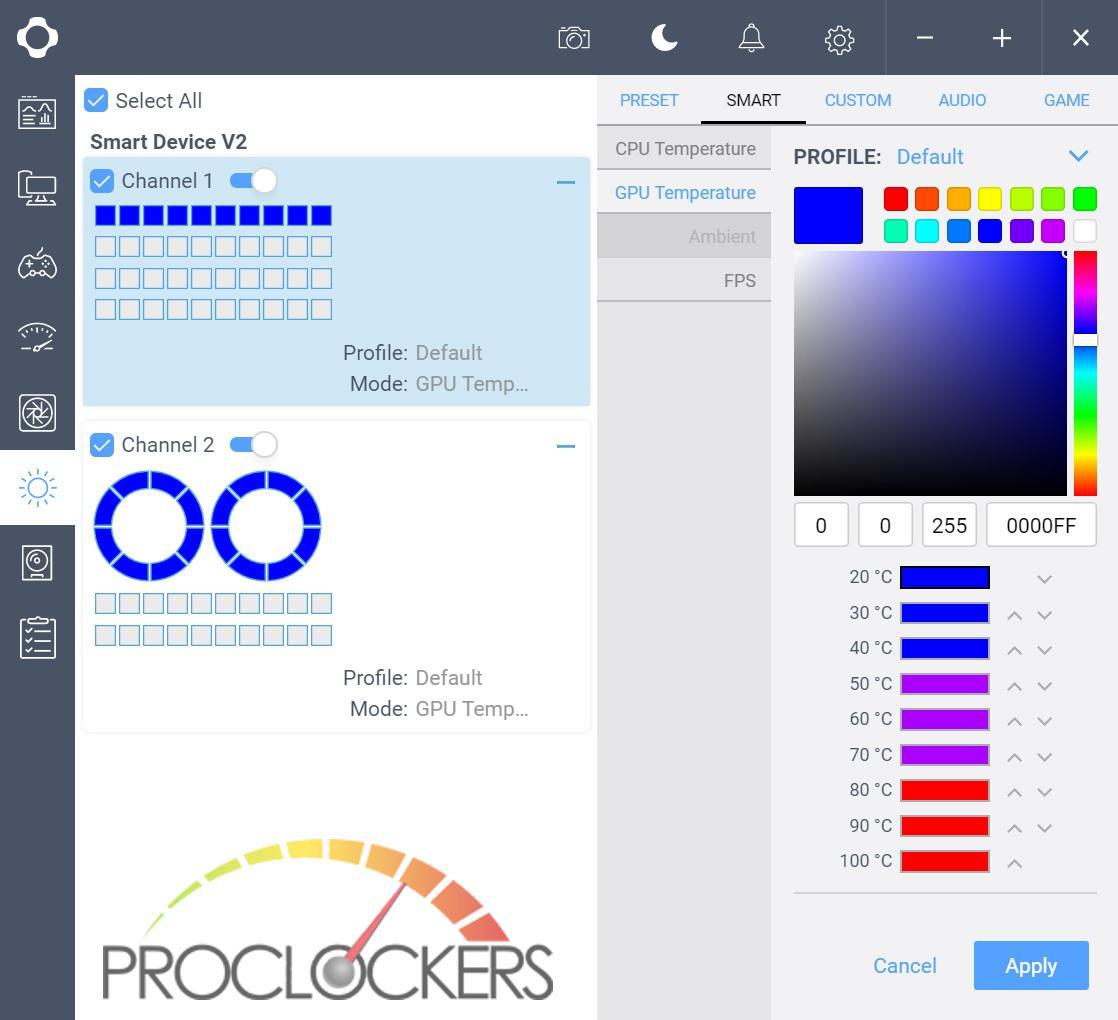
Under the “Smart” tab, you can have the LED’s change base on CPU/ GPU temperature as well as your current FPS.
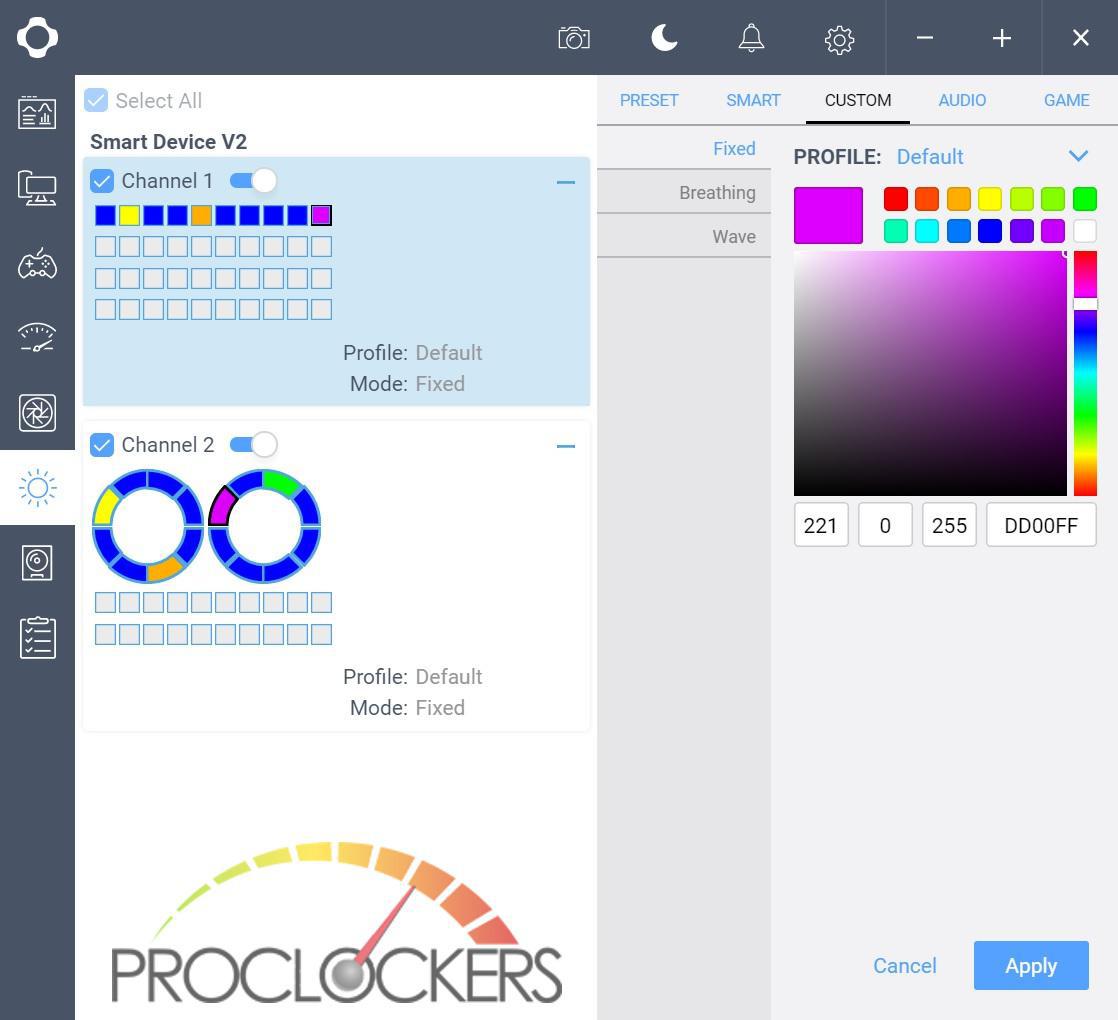
The “Custom” tab allows you to create a custom version of the Fixed, Breathing and Wave presets.
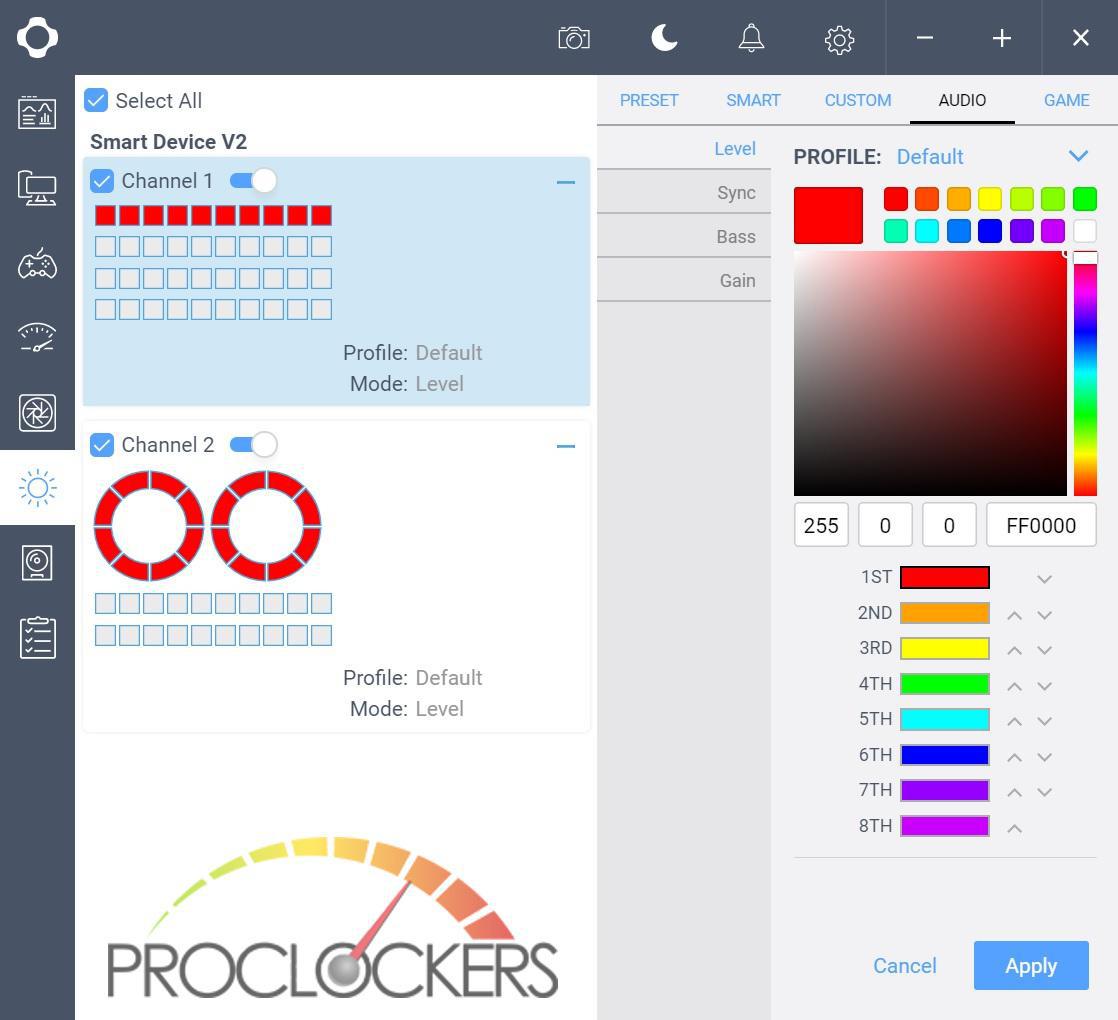
On the “Audio” tab, it allows you to change the LEDs based on various sound presets such as Level, Bass, and Gain.
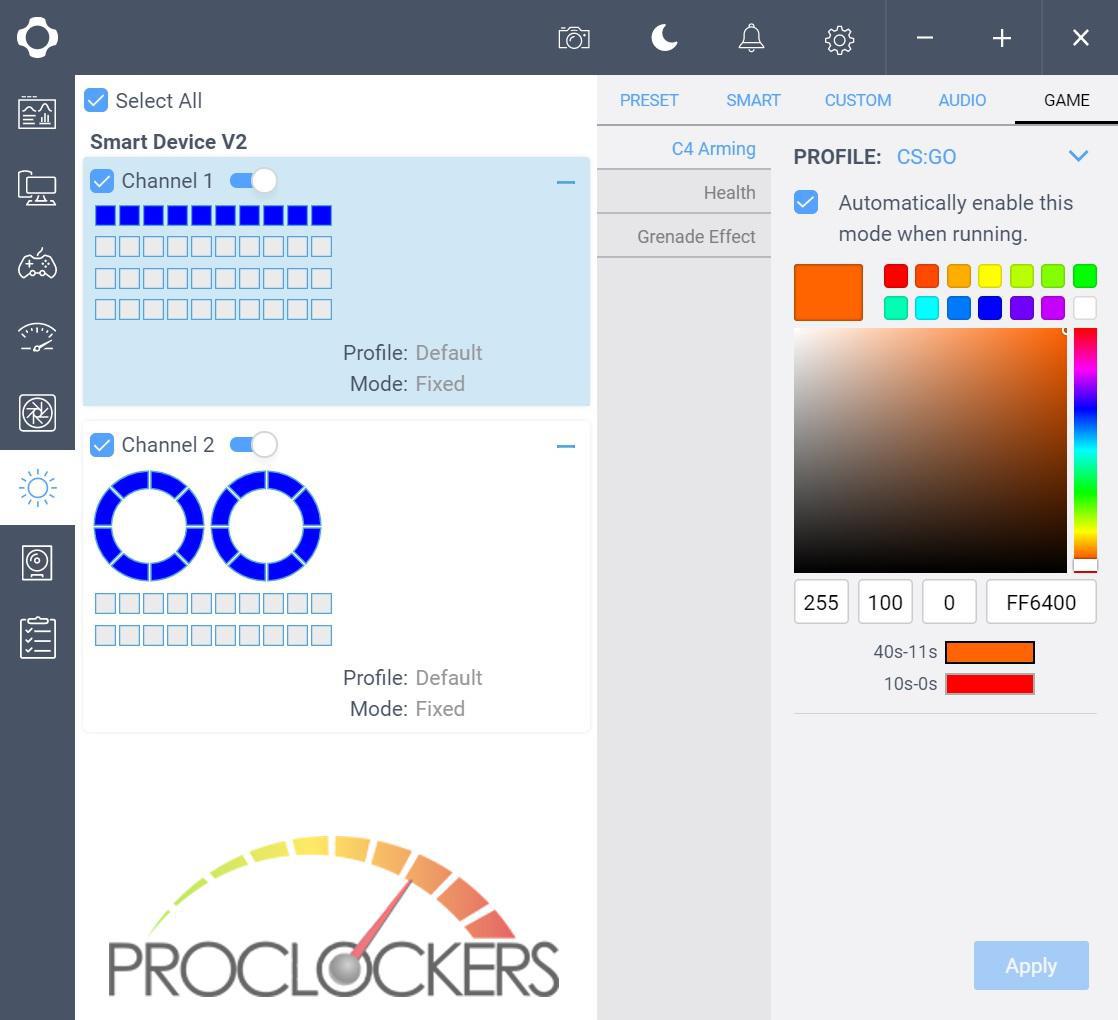
On the last tab, “Game”, you can configure your LEDs to react to various attributes in games. Each game can be configured individually and the software will change the present based on what game you are playing.
Final Thoughts & Conclusion
The H510 Elite is a worthy addition to the NZXT’s H series family and with the addition of the front tempered glass panel with the two Aer 2 RGB fan, it really sets it apart from the rest. The H510 Elite is also packed with other features I appreciate such as the vertical cable management bar, fully covered PSU shroud, vertical GPU mount option, RGB controller, and the cable management channels. These features were paramount in me achieving an exceptionally clean and great looking build on both sides of the motherboard tray.
My favorite feature of the H510 Elite has to be the front tempered glass panel, it just looks stunning with the included Aer 2 RGB fans. The only drawback to this panel is the limited intake ventilation on the back panel. This may be somewhat constricting for the airflow, so it would have been nice to see a mesh panel included. This wasn’t an issue for me because I normally go for the better aesthetic look but it’s always nice to have the option.
Like other NZXT cases I have reviewed, I really enjoyed building in the H510 Elite. It was effortless to achieve a super clean build and with the addition of the two Aer 2 RGB fans, it also looked great the moment I turned it on. Anyone who is a fan of RGB or just looking for a solid case, make sure to check out the H510 Elite.


The 25 Best Anime Cats, Ranked
What are the best anime cats? Cats are something you either love with every fiber of your being or vehemently...


The 25 Best Anime Teachers, Ranked
Who are the best anime teachers? With high school being such a prevalent setting in anime, it makes sense that...


The 25 Best Orange Hair Anime Girls, Ranked
Who are the best orange hair anime girls? Orange hair is interesting in anime because it can either be a...