
Hardware
AZZA Ragnarok 801 Dual System Case Review
Introduction
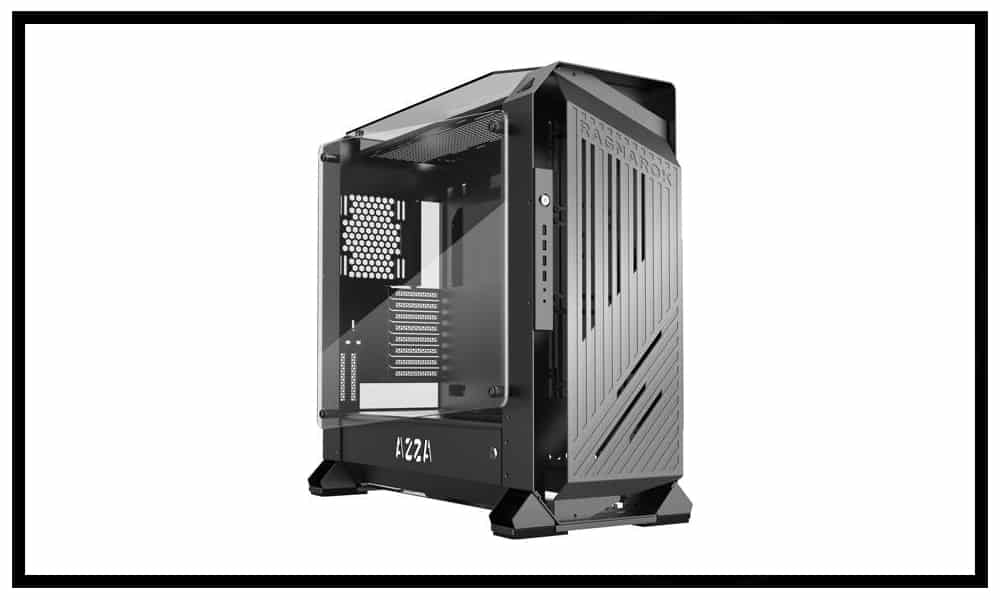
More and more we are seeing case manufacturers design their cases to incorporate more than one system in 1 case, AZZA decided they wanted to jump on board this trend as well. You may ask yourself “Why would I want a PC case that can fit more than one system?”
Well, if you are a streamer, you most likely would like one PC that would be your main gaming PC and one PC that would do all your heavy lifting and legwork like encoding, broadcasting, ETC. Maybe you’re a media buff that likes to have all your movies, pictures, etc. on one NAS (network attached storage) and you’ve run out of desk space for 2 separate PC towers so you build two pcs into one tower that can handle both of your tasks needed, without having 2 towers to place on a desk or walk around. Meet the Ragnarok 801 by AZZA, this full-size PC tower can fit two full systems. The main system can handle motherboards up to E-ATX and on the PSU shroud, there are mounting points for a smaller ITX system. We will take a look at the specs further down the review.
Pro Clockers would like to thank AZZA for sending us the Ragnarok 801 to review.
About AZZA:
Founded in 1996, AZZA launched its business as a motherboard manufacturer for the PC industry.
The Company was one of the top ten leading suppliers globally in the 90’s. Jumpstarted in 2004 with the technology to build PC cases, AZZA expanded its business scope into the gaming industry and manufactured various OEM products including computer cases and power supplies for XION. In 2009, the Company restructured to establish its own label and began distributing products under AZZA’s very own trademark. Gaming needs are at the heart of its offering. For every product designed and developed, AZZA goes to its consumer for inspiration and ideas.
When a product reaches the production phase, the manufacturing process meticulously tests every product at each stage of the assembly and involves a detailed final inspection before the product is packaged and ready for distribution. From the early phase of design and development to the final phase of quality control, AZZA makes no compromise on performance, functionality, and value. Our company now provides a growing and successful range of products to meet the demands of the gaming market. Since the launch of its very first case Solano 1000, AZZA is known for the quality, innovation, and value of its product offering.
Features & Specifications
▪Supports up to 400mm long video card.
▪Available Fan Ports:
4x120mm or 3x140mm ports on the Top
3x120mm or 2x140mm ports in the front
4x120mm or 3x140mm ports on the Bottom
1x120mm or 1x140mm Fan port in the rear
▪Supports radiators up to 280-420mm on top/240-360mm in front/240 on the bottom.
| Model | |
|---|---|
| Model Name | Ragnarok 801 |
| Model Number | CSAZ-801 |
| Specifications | |
| Type | E-ATX, ATX, Mini ITX, XL-ATX, Dual System |
| Color | Black (exterior)/Black (interior) |
| Side Panel Window | The left、Right、top side of the panel: Tempered Glass With Rubber Mounts |
| Max CPU Cooler Height | Up to 175mm |
| Max video Card Length | Up to 400mm long video card |
| Power Supply | Not Included, supports dual power supplies |
| Motherboard Compatibility | E-ATX、ATX、Micro ATX、Mini ITX、 XL-ATX |
| Expansion | |
| External 5.25″ Drive Bays: | 0 |
| Internal 2.5″ Drive Bays | Up to 4 |
| Internal 3.5″ Drive Bays | Up to 4 |
| Expansion slots | 10 |
| Top Ports | 2 x USB 3.0, 2 x USB 2.0,HD Audio |
| Physical Specs | |
| Dimensions(HxWxD) | 630mmx300mmx655mm / 24.8 x11.8 x 25.8 inches |
| Weight | 21.5Kg / 47.4 lbs |
| Features | |
| Front Panel | Aluminum plate |
| Tempered Glass Windows On Three Sides | High-quality tempered glass side window allows for clear visuals to inner components |
| Available Fan Ports | 4x120mm or 3x140mm ports on the Top |
| 3x120mm or 2x140mm ports in the front | |
| 4x120mm or 3x140mm ports on the Bottom | |
| 1x120mm or 1x140mm Fan port in the rear | |
| Dual System Mode | Mini-ITX & ATX |
| Water Cooling | Supports radiators up 280-420mm on top/240-360mm in front/240 on the bottom. |
| Isolated Chamber | The power supply is housed inside its own isolated chamber, preventing its heat from affecting other components |
| Easy Installation Cooler | A pre-cut hole for easy installation of CPU Cooler, eliminating the need to remove the motherboard |
Packaging & Unboxing
The Ragnarok 801 comes packaged in a brown box with black writing and a couple of pictures of the product. It is packaged flat with support pieces on the outside of the outside top corners to help protect during shipping. This case shipped is a total of 47lbs.
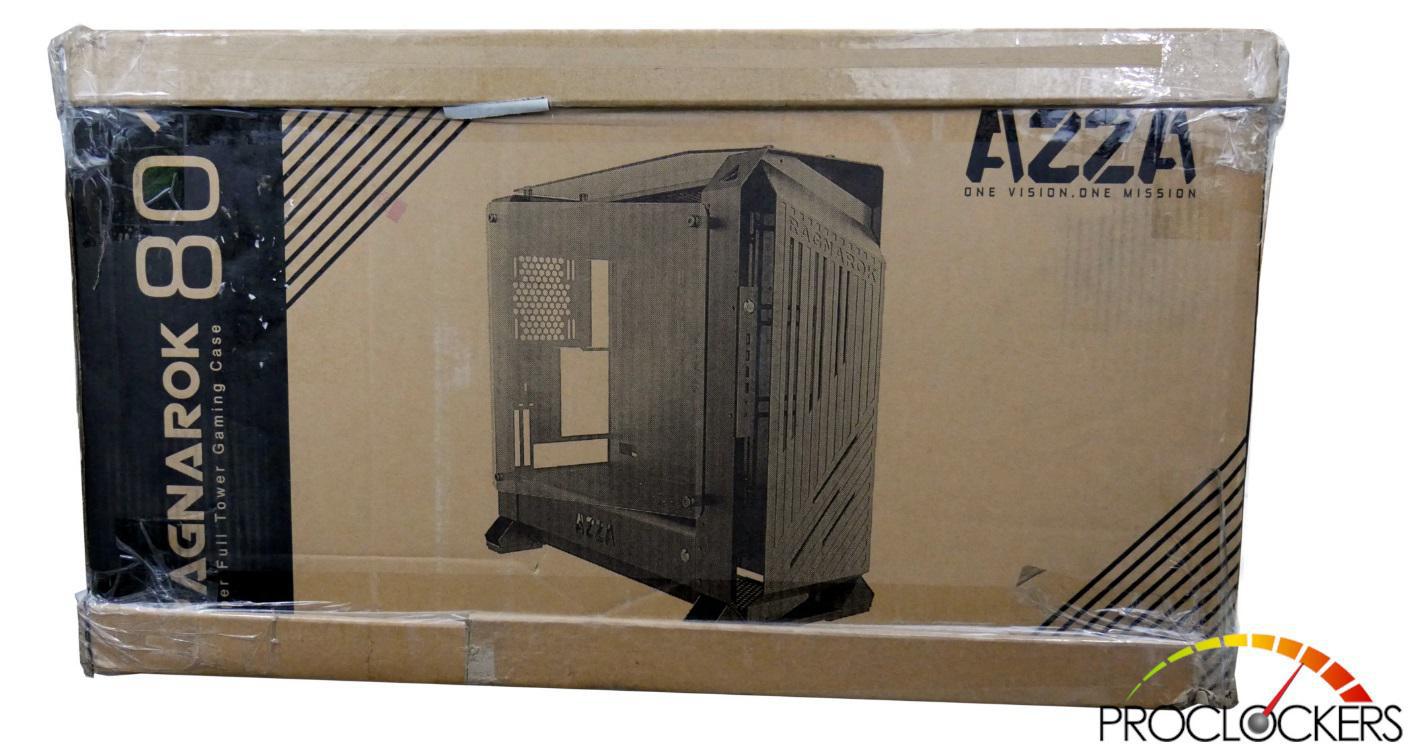
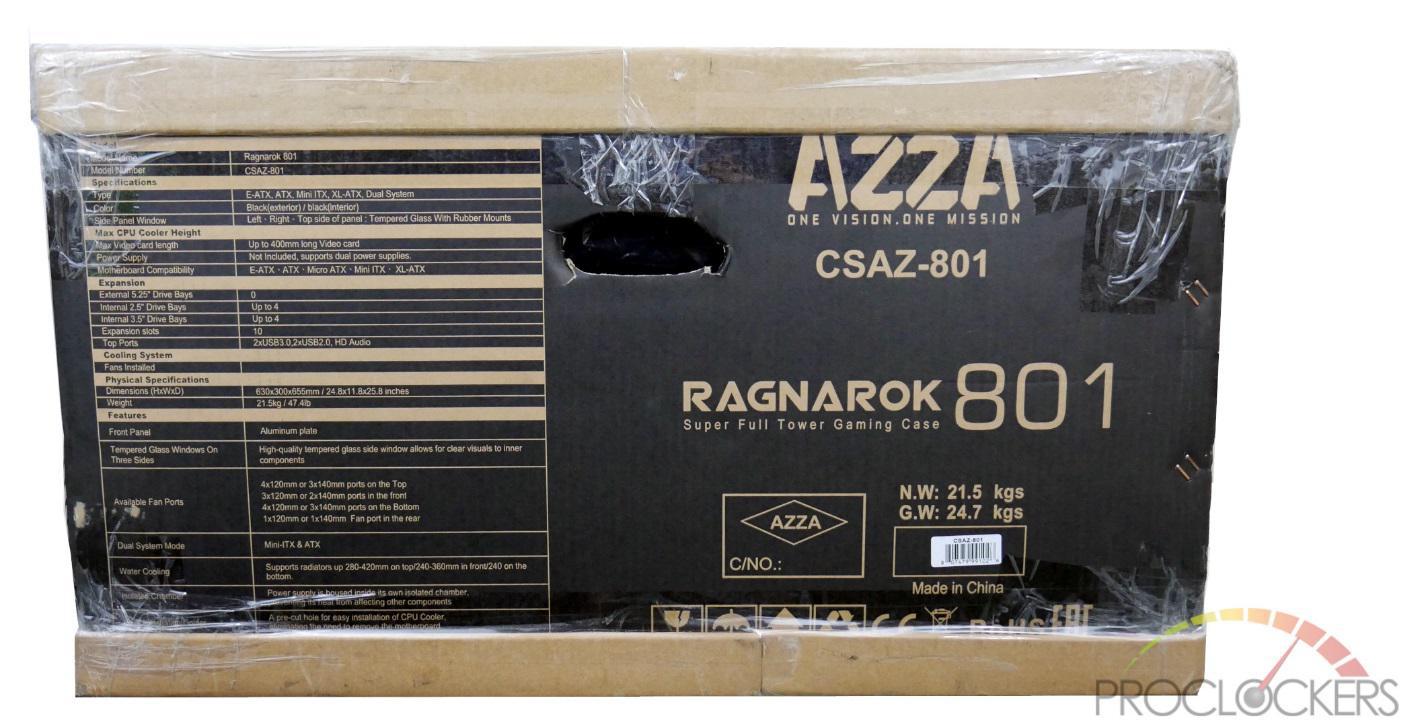
The packaging is similar on the front and back of the box. The 2 opposite sides of the box have technical specs on them.
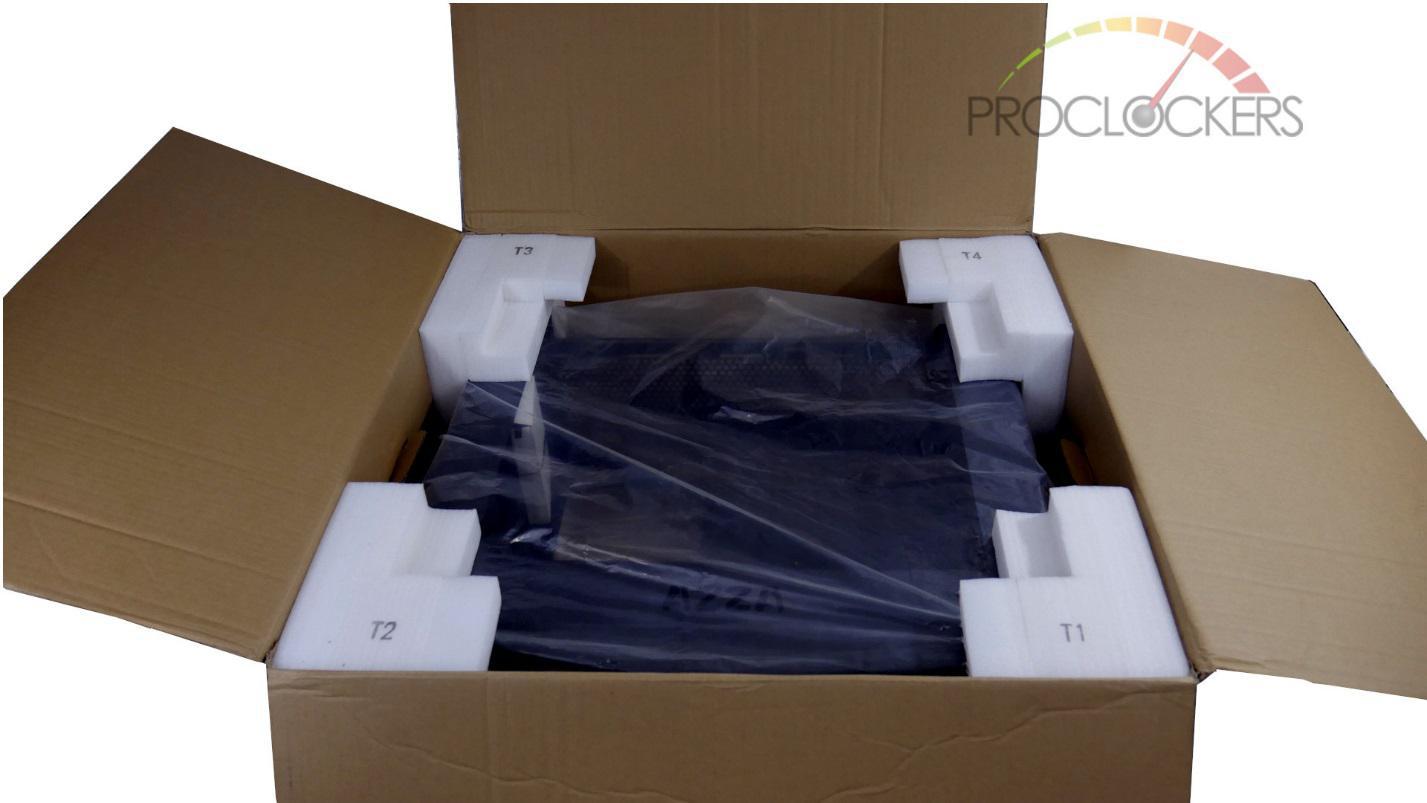
Taking a peek inside we are greeted with the tempered glass secured in their own packaging for safe keeping.
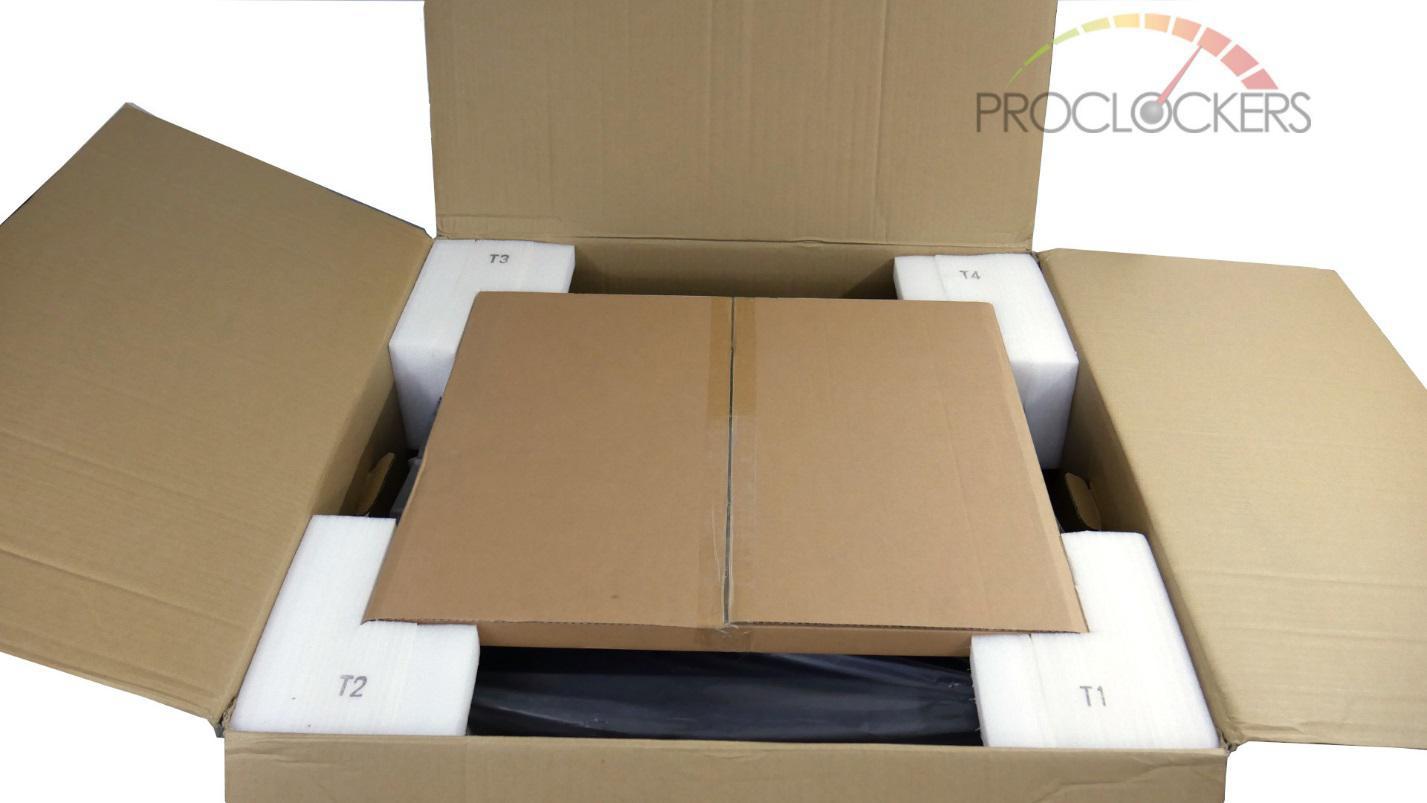
Under the glass, we see the case, secured with 4 foam corner pieces on top and 4 foam corner pieces on the bottom. The case itself is wrapped in plastic.
Included accessories with the Ragnarok 801. Grommets for the tempered glass windows. Standoffs for the included windows. A couple of screws to secure the front panel to the case. Various screws for your power supply, motherboard, 2.5” SSD, and 3.5” HDD. Also included in the accessories are an Allen wrench, 1 Velcro cable tie and a couple of cable management ties with adhesive to place yourself in the best place for proper cable management.

A Closer Look: Exterior
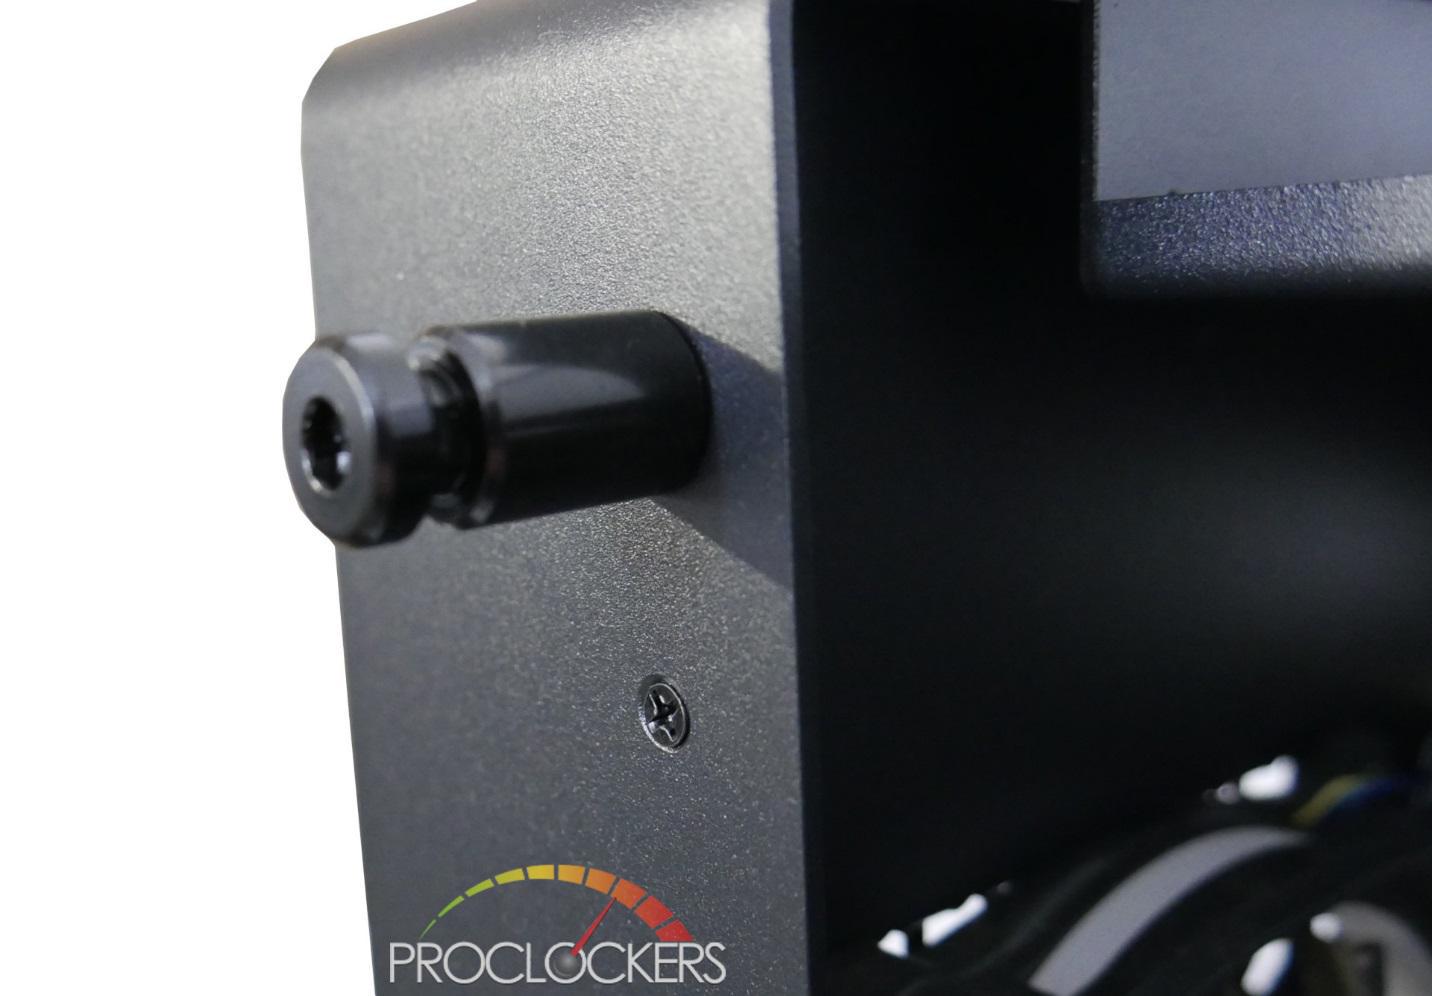
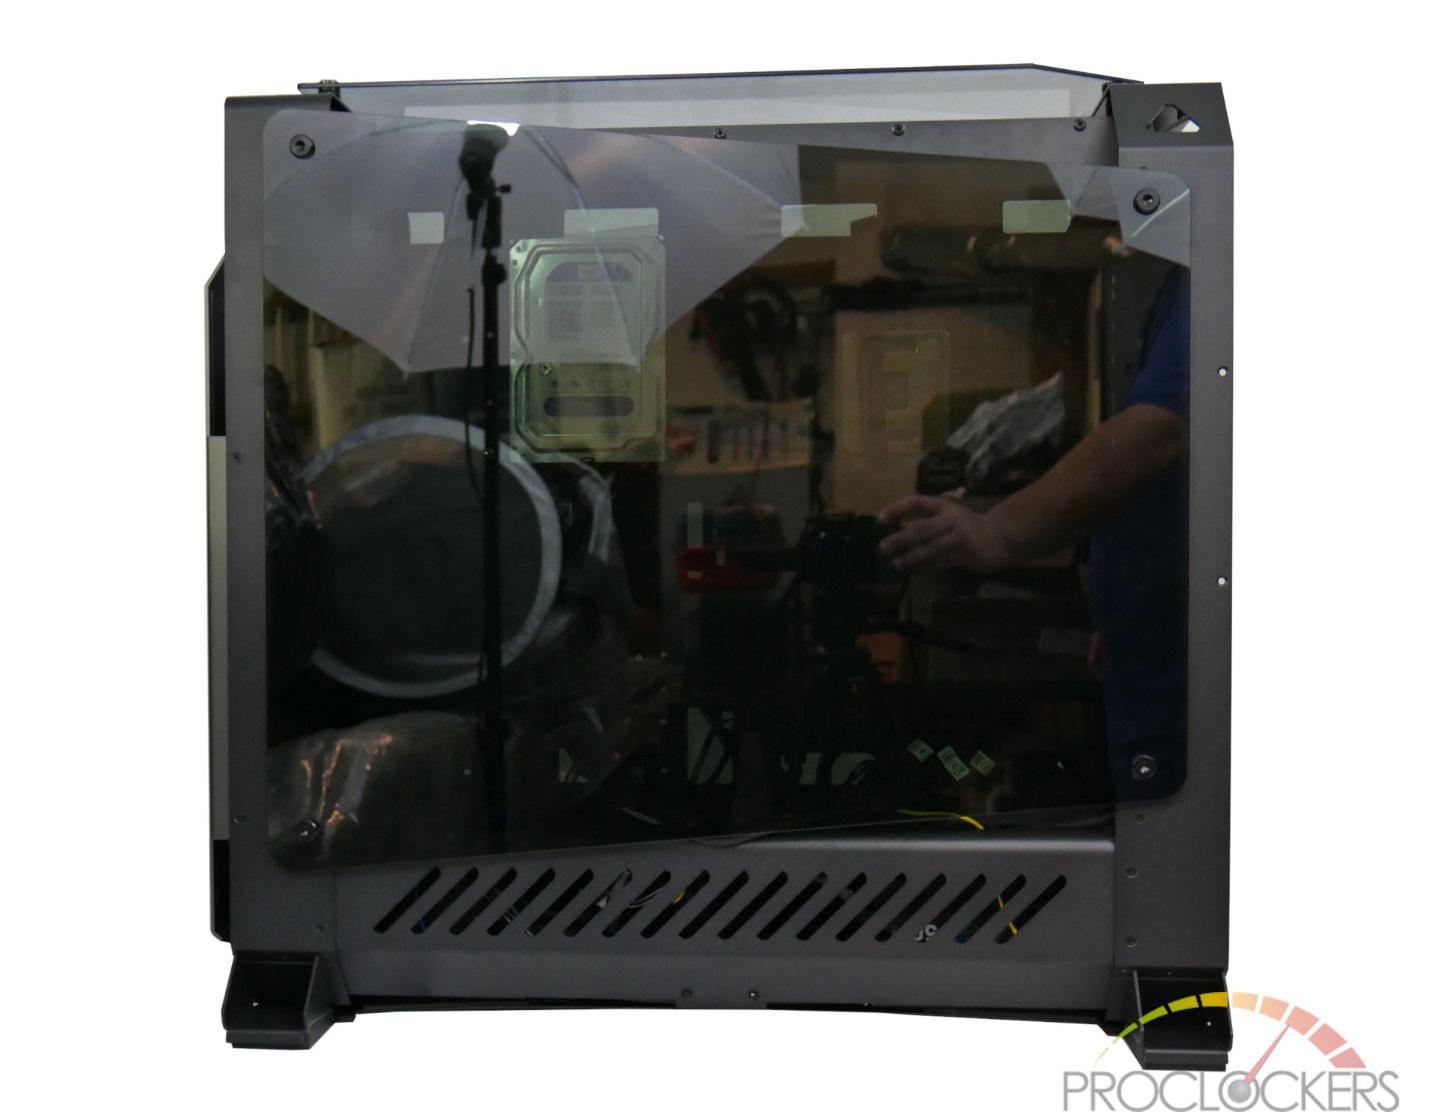
Let’s take a look at the exterior of the case. This first shot we have is of the side of the case with the tempered glass on. Mind you, there are 2 different shades of tempered glass panels. One is darker and should be used on the back side of the case to help with cable management. The tempered glass is held in place by 4 large threaded standoffs. Each one of these standoffs has a rubber grommet that goes over the middle to help protect the glass. This is why AZZA includes an Allen wrench in the accessories package.

Here we can see the standoffs that are used to attach the tempered glass. AZZA includes 2 sizes, the larger of the two are for the front panel glass. The shorter of the two is for the top glass and rear glass.

Onto the back of the case, near the top, we see the I/O shield cutout. Next, to that, we see the rear exhaust fan mount. This location can hold either 1x 120mm fan or 1x140mm fan. Below that we see the PCI-E covers, there are 8 covers here. Below these, we see the I/O cutout for the ITX system as well as 2 vertical PCI-E slots for a vertical mount graphics card for the ITX system.
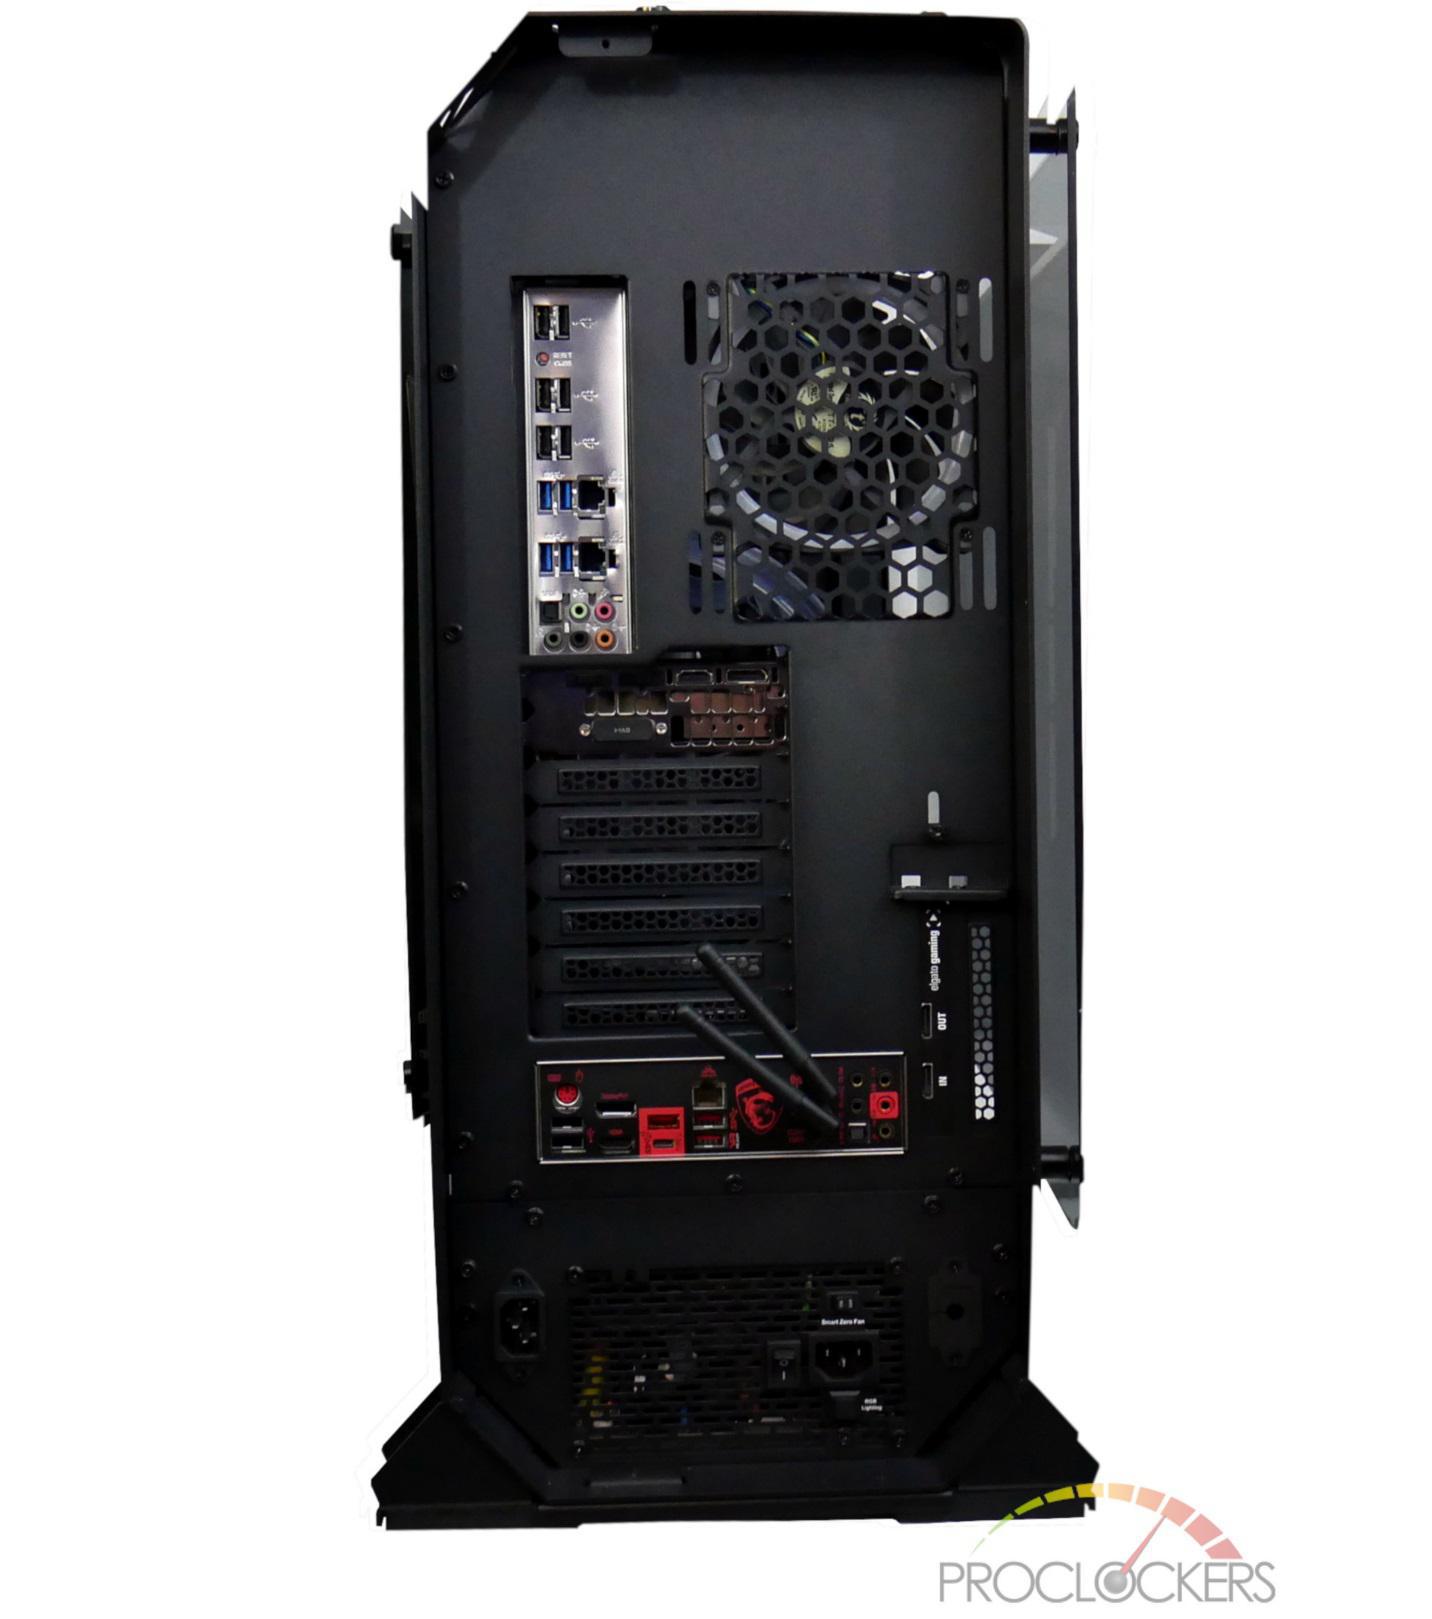
Below the I/O cutout for the ITX system is the PSU shroud. This can be accessed by taken 6 screws out and removing the plate. This plate is then attached to the PSU via 4 screws. This side shows the second power cord extension so you can install 2 PSU’s in the case under the shroud. The second PSU gets installed in the front of the case behind the front panel. The extension routes through the PSU shroud so that both plugs can be on the same side of the case.
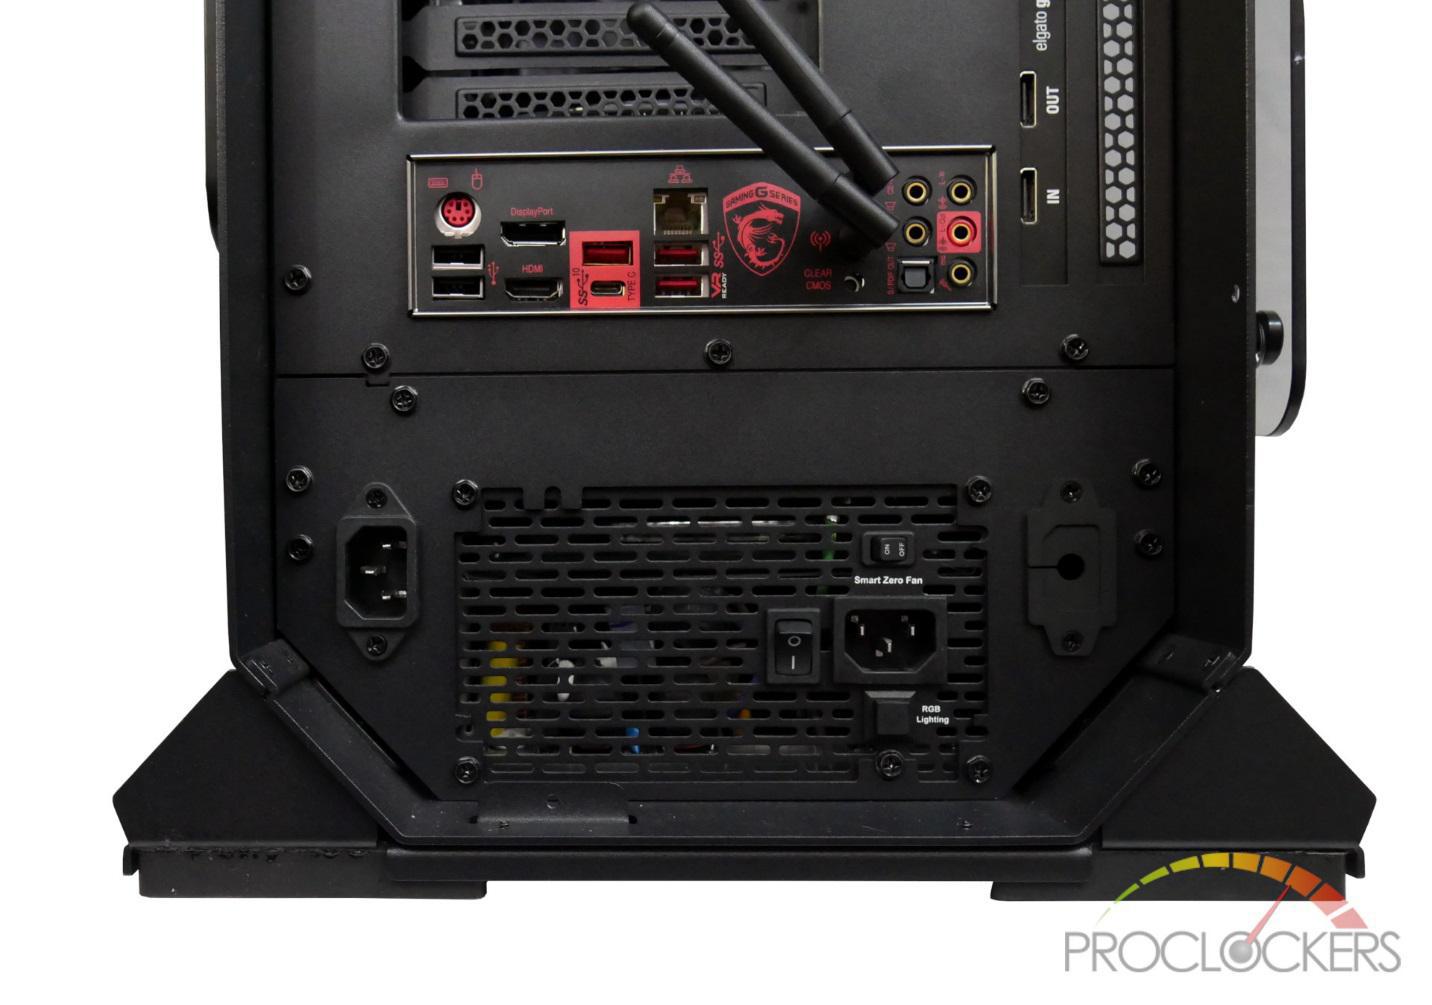
Moving onto the back side of the case we see the back tempered glass, again held in place by 4 standoffs. These are the smaller standoffs that are used on the top of the case as well. In this picture, we can see the venting in the PSU shroud. This is beneficial because, with 2 power supplies in the shroud, it can get very warm.
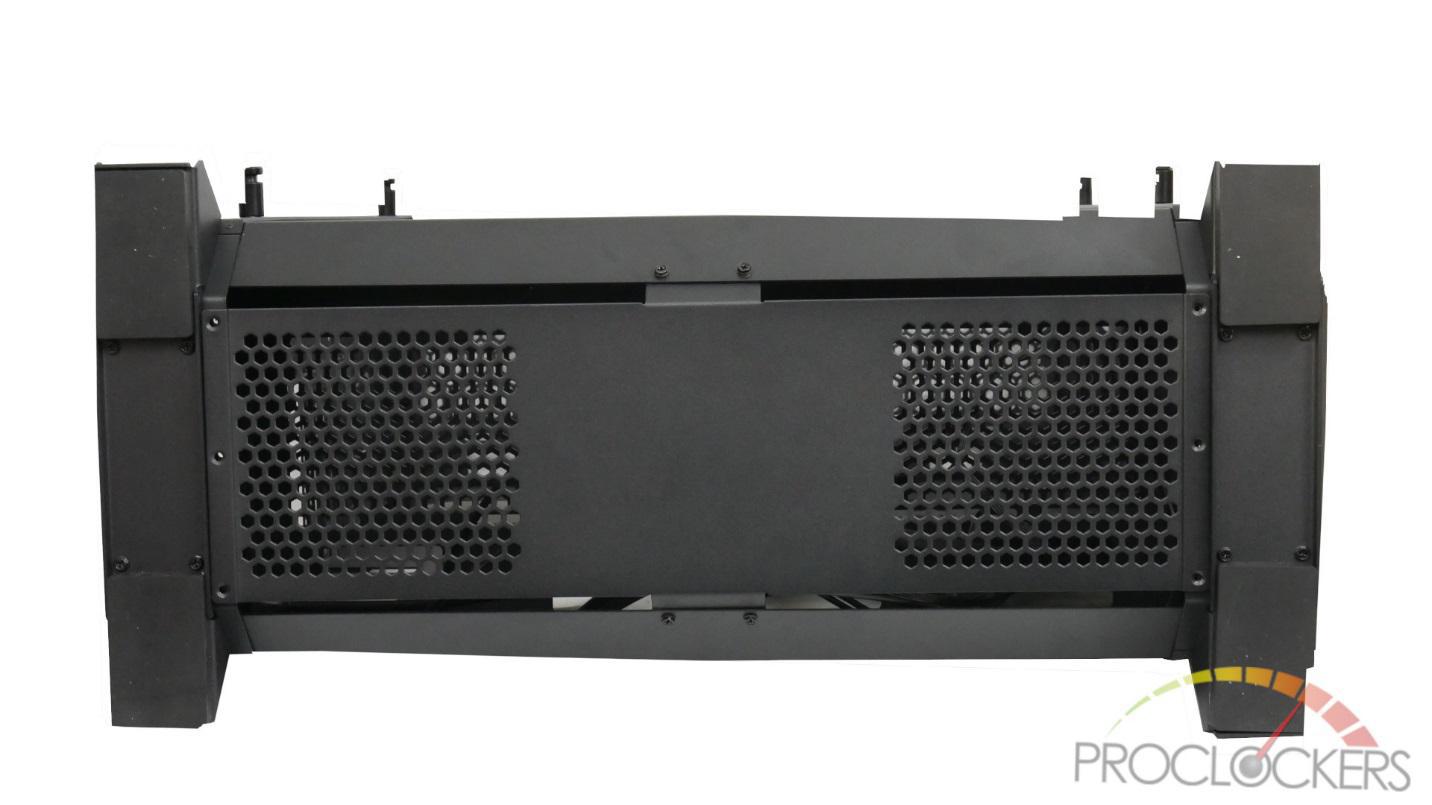
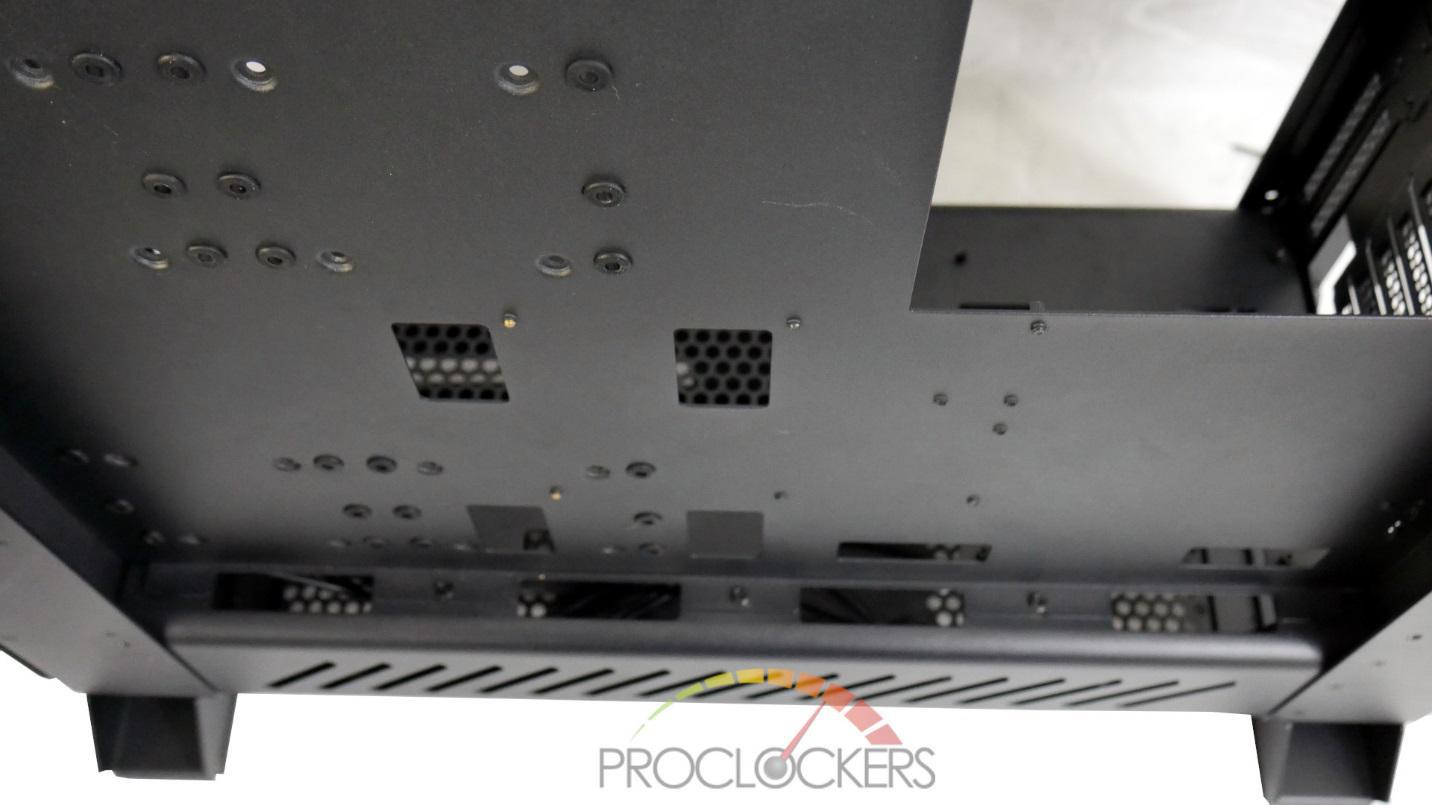
Taking a look at the bottom of the case we can see 2 more vents for the PSU. This area can be accessed through the bottom of the case from a couple of screws.
Moving onto the front of the case. We see the front panel here with the Ragnarok branding as well as vent holes for air movement. We also see the front panel I/O here. Here is a list of the I/O on the front panel:
● Power Button
●2 USB 2.0 Ports
●2 USB 3.0 Ports
●HD Audio Jacks
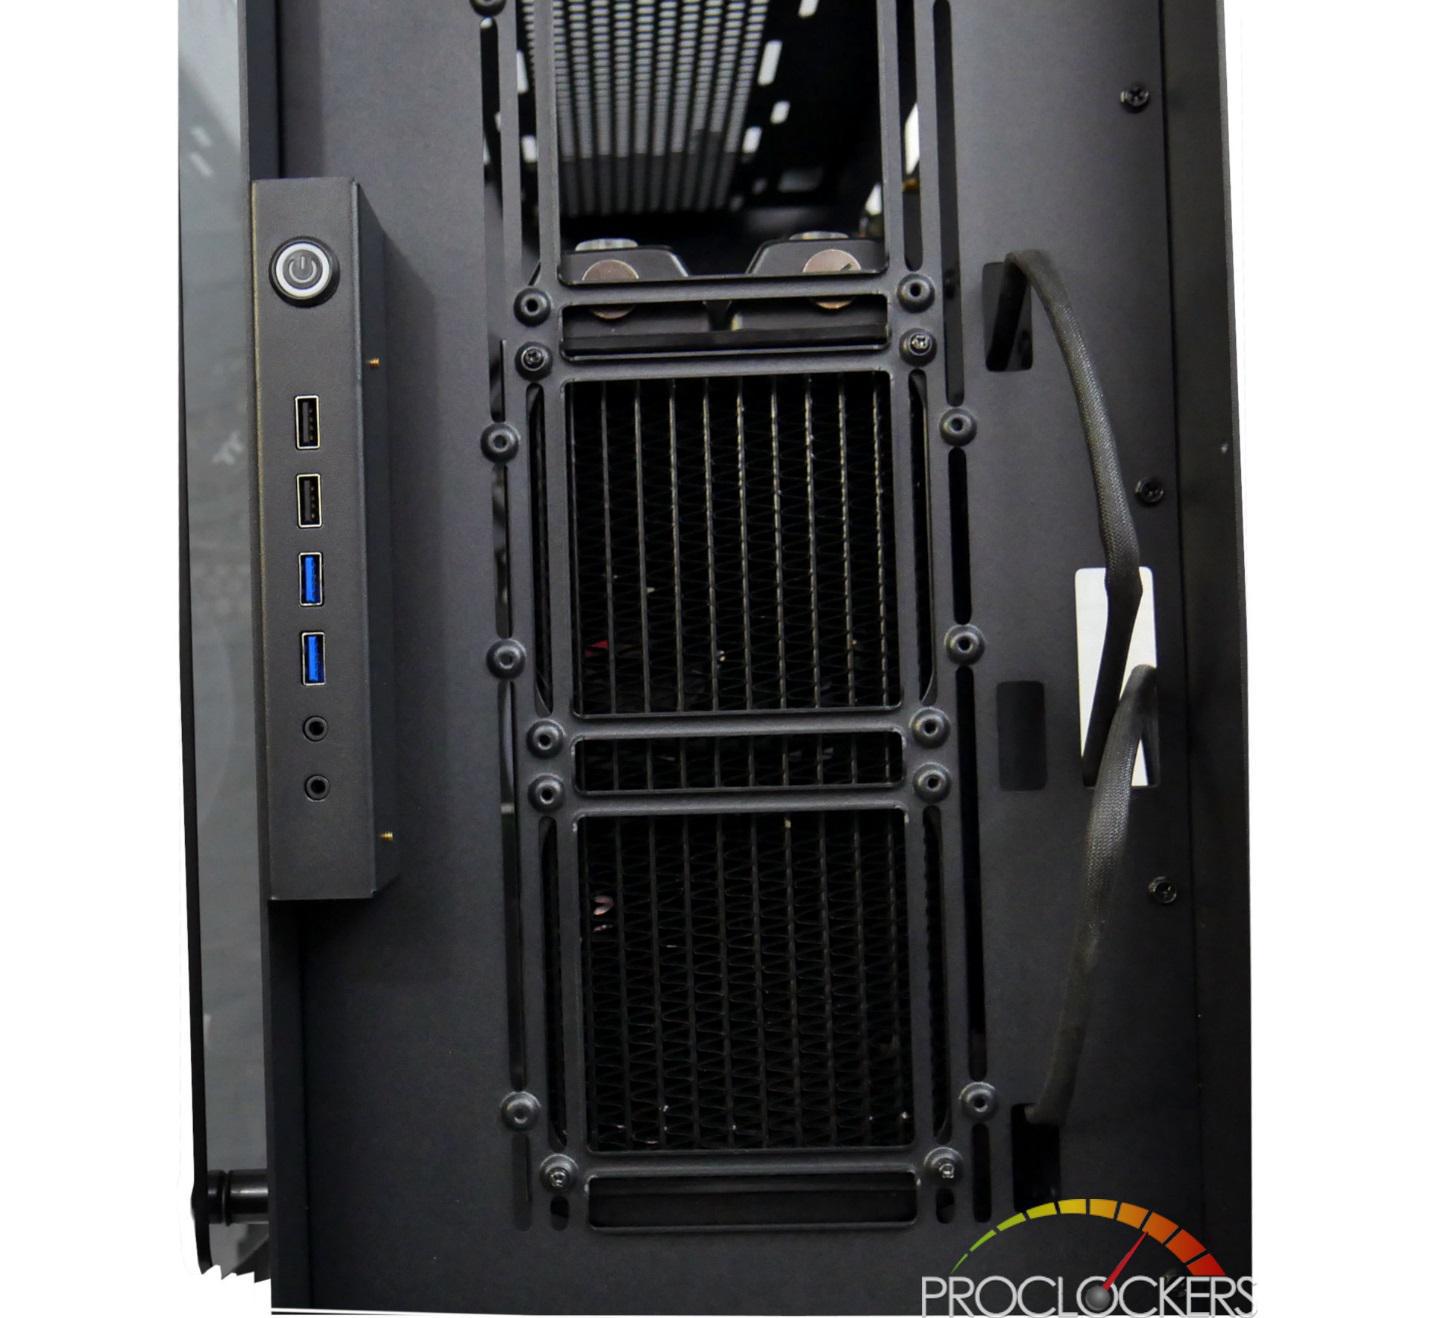
In this picture without the front panel on we can see the mounting system for the front fans or radiators. The front of this case can fit up to 3x 120mm fans or 2 140mm fans. Next, to the fans, there are a couple of passthrough holes to route cables. There is also the ability to install up to a 360mm radiator in the front. The front panel is removed by 2 screws, one on the top and one on the bottom. Included in the accessories pack was 2 additional screws to better secure the front panel to the case. In the front, under the PSU shroud is the other mounting system for the second PSU.

A Closer Look: Interior
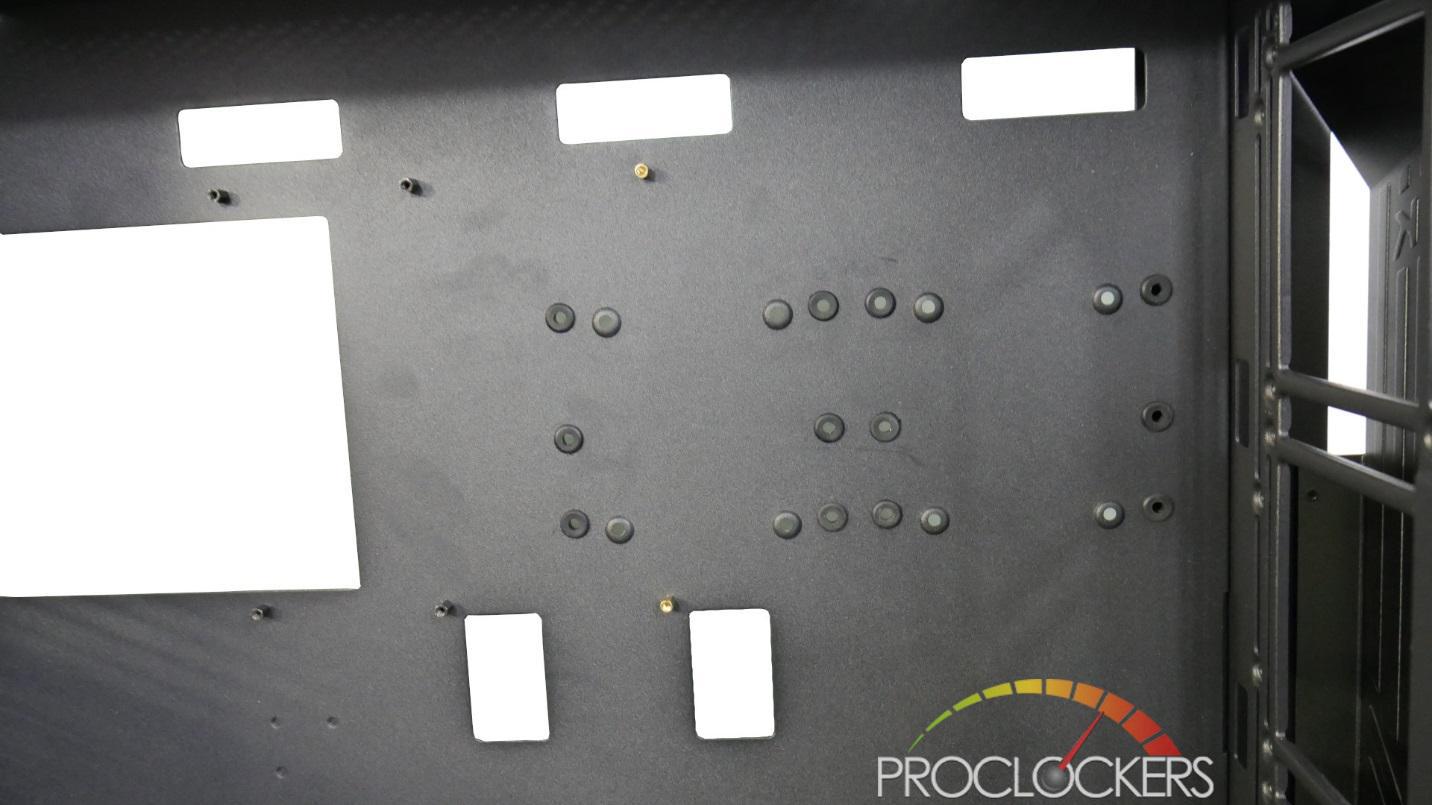
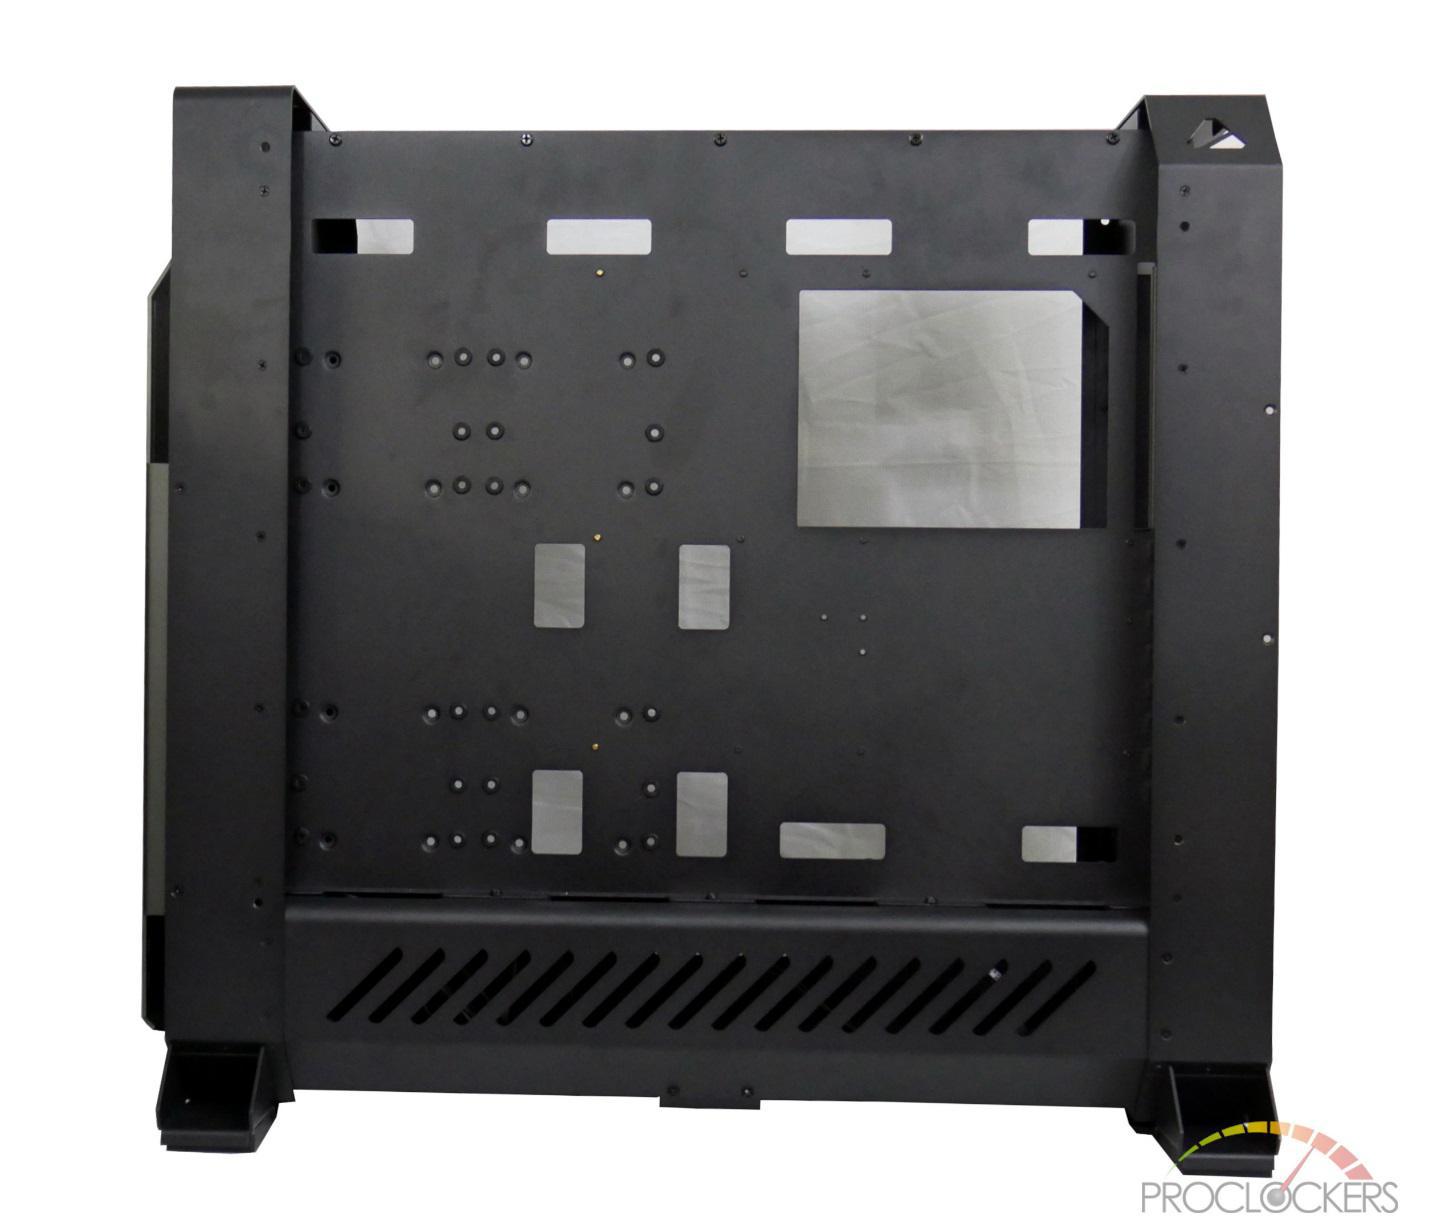
Inside the tempered glass panel, we are met with the motherboard tray. This motherboard tray is outfitted with multiple standoff locations for different size motherboards. This case can fit the following size motherboards: ATX, Micro ATX, Mini ITX, E-ATX, and XL-ATX. We also can see multiple cable routing holes as well.
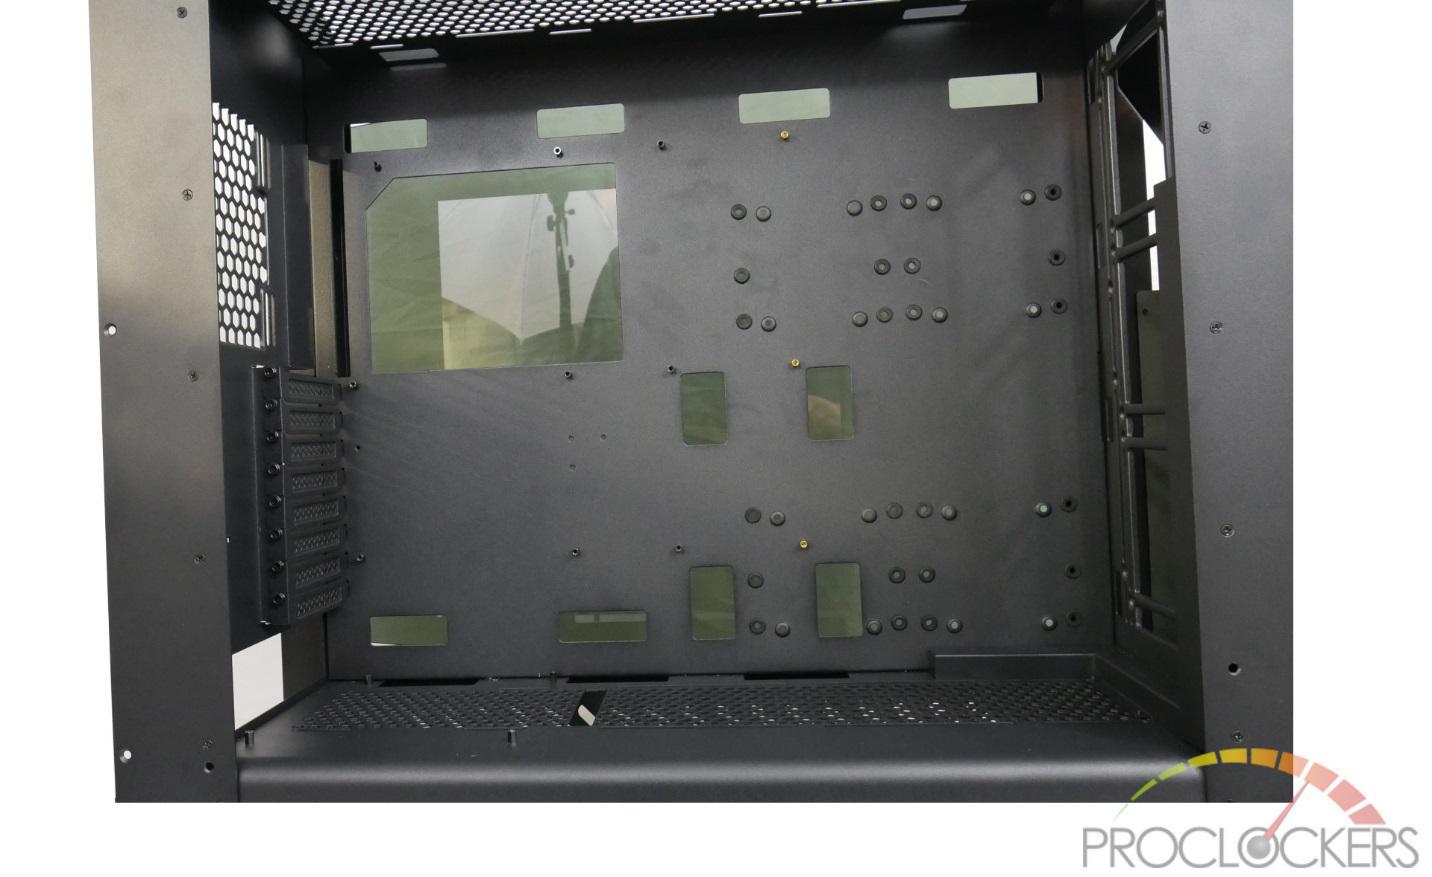
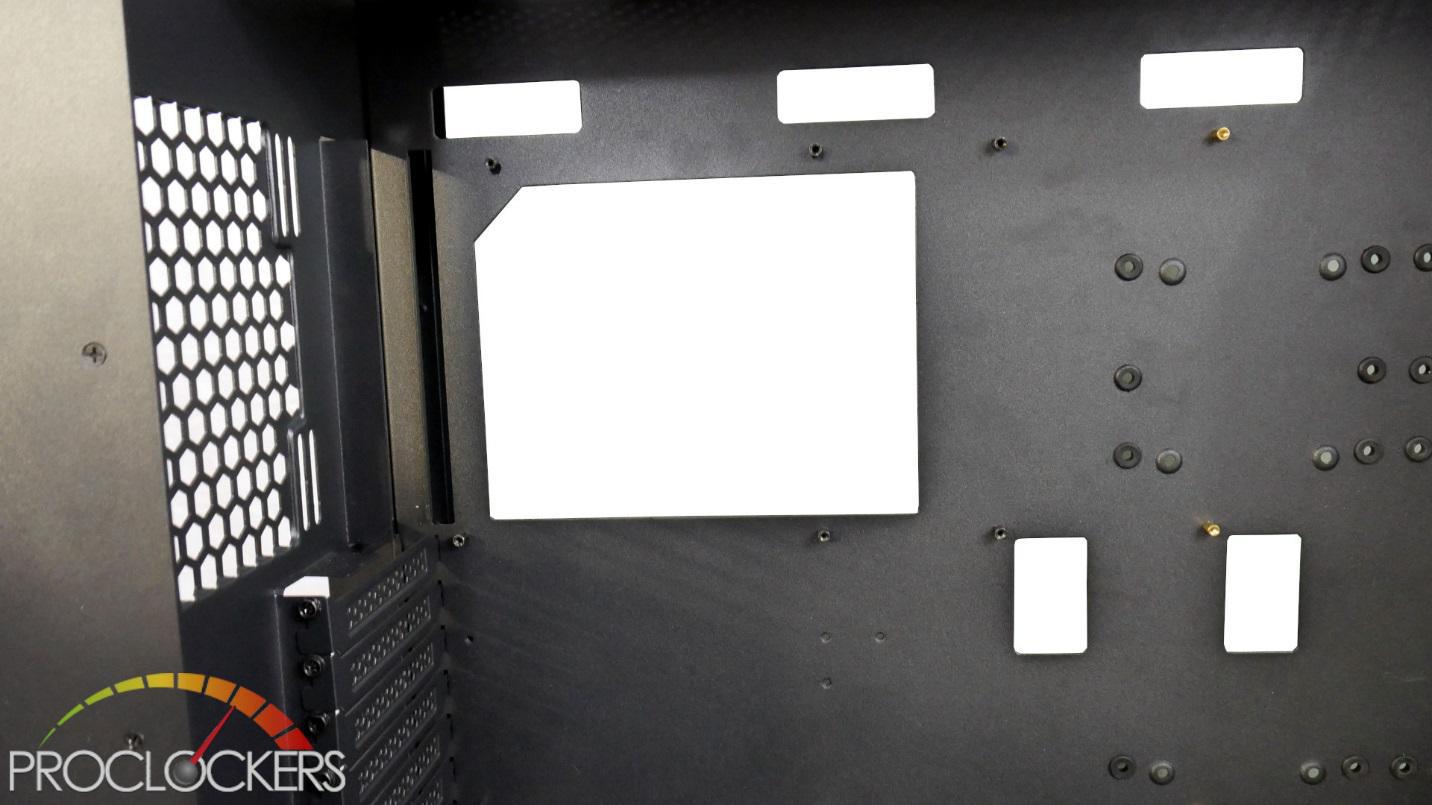
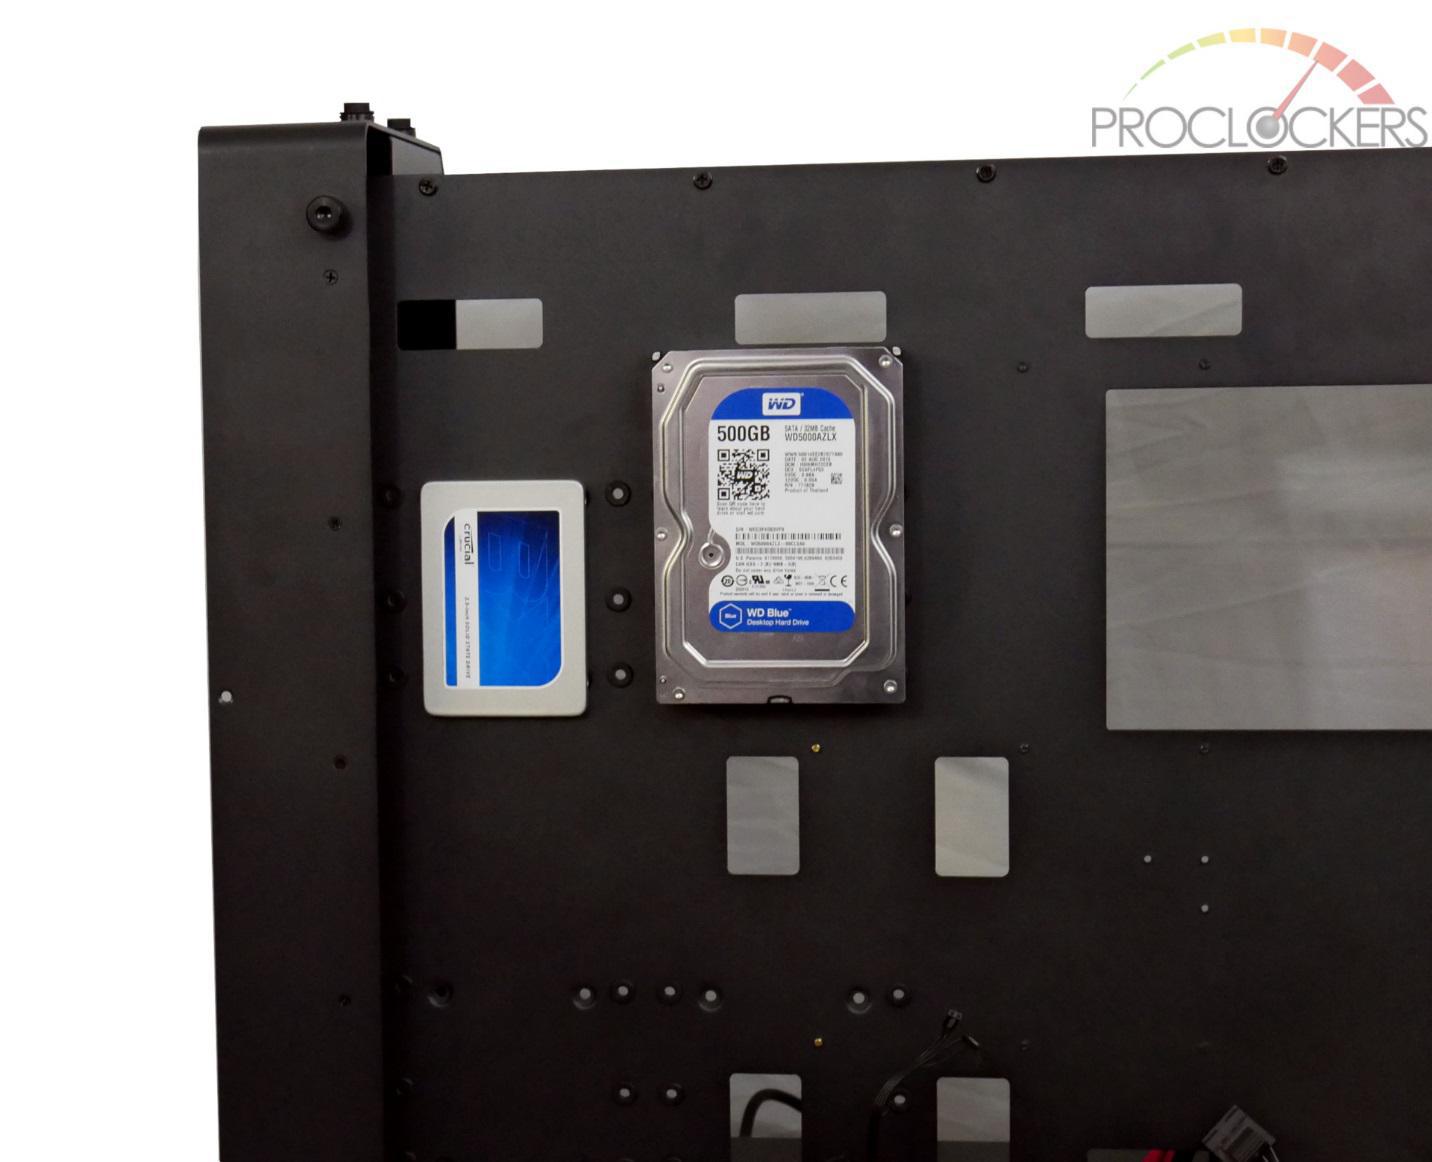
Next to the motherboard standoffs are the mounting holes for the HDD’s and the SSD’s. These can be mounted in either orientation whether you want your drives in the front of your case visible or the rear of the case. We do have a couple of cutouts as well to route cables to said items. This case can fit up to 4 HDD’s or 4 SSD’s, however, you cannot mount them in the same spots as the mounting holes are in the same position.
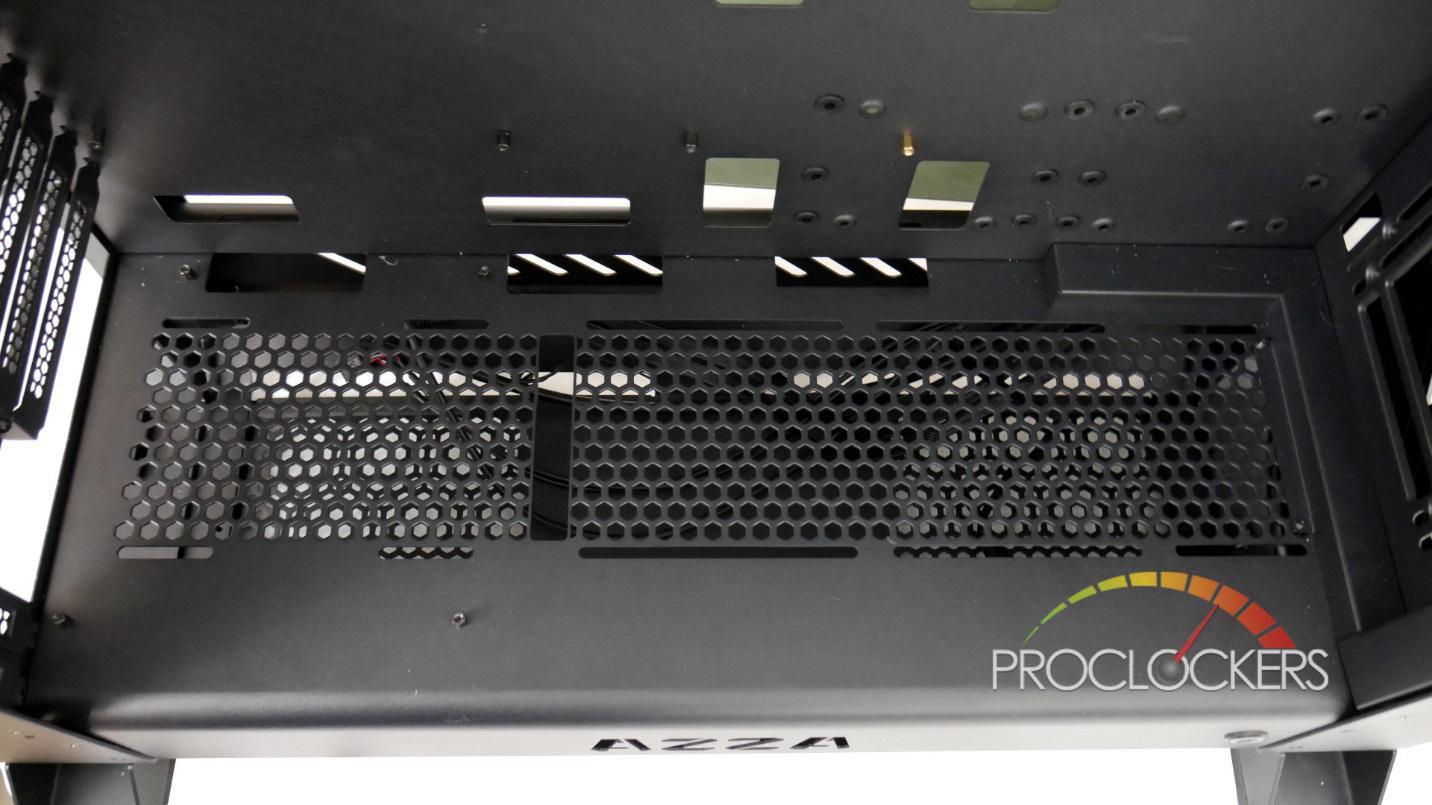
This case can fit multiple fans in it. The top of the case can support up to 4x 120mm fans or a 280mm-420mm radiator. The front of the case can fit up to 3x120mm fans or 2x140mm fans. If you don’t run the 2nd system, you can place 4x120mm fans on the PSU shroud. In the back for rear exhaust, you can install 1x120mm fan or 1x140mm fan.
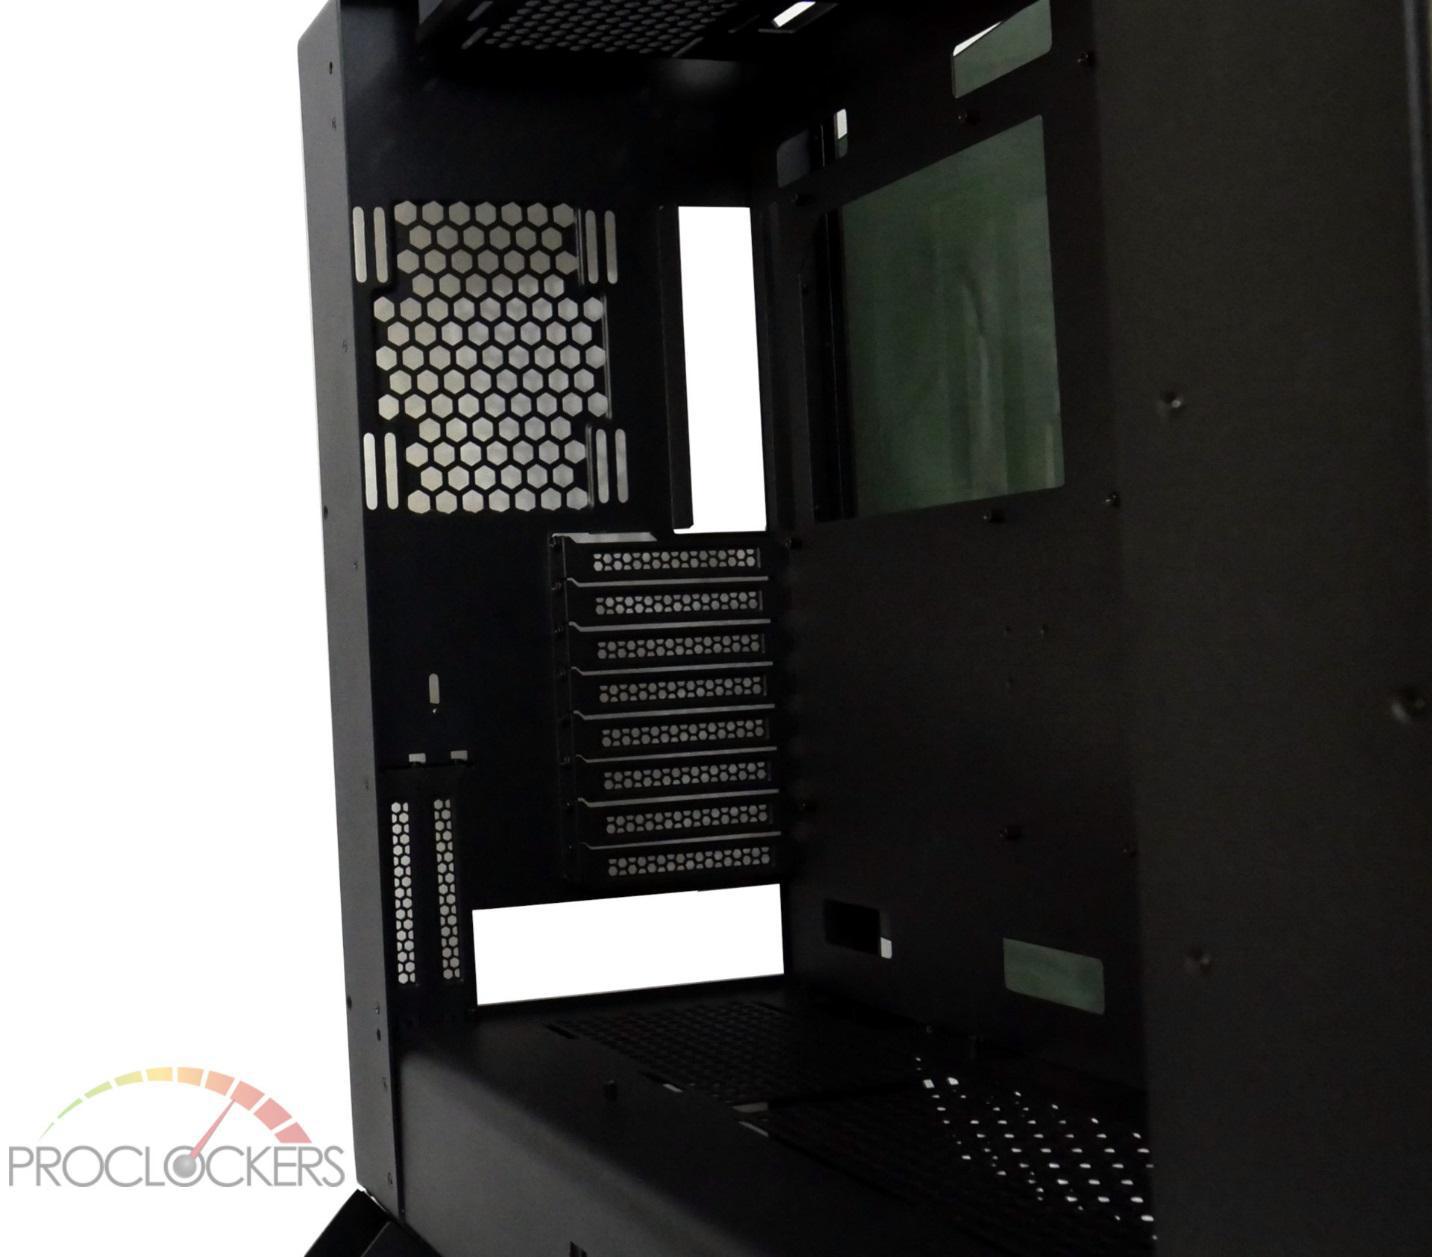
On top of the PSU shroud is where you see additional mounting points for the secondary system. This space can only fit an ITX system. We can see on the backside of the case the I/O cutout as well as the vertical PCI-E brackets.
Going to the back side of the case we can see that we have a decent amount of space back here to route cables. With multiple cable holes in the front, we can easily route multiple cables to look nice and neat. The PSU shroud also works as a place to hide some cables with the added “troughs” in the back area of the PSU shroud.
System Configuration & Build
Items used in this build:
Main system
● EVGA x99 classified EATX Motherboard with 5820k
● EVGA 980ti SC graphics card
● Thermaltake Ttoughpower RGB 750w PSU
● EKWB Supremacy Evo x99 water block
● XSPC photon 170 w/pump reservoir
● Alphacool NexXxoS UT60 Full Copper 240mm Radiator
● 3x Thermaltake Riing Plus 120mm RGB fans
ITX System
● MSI Gaming Pro Carbon AC with 7700k
● Cooler Master MA G100M RGB Low Profile CPU Air Cooler
● Samsung m.2
● Rosewill 550w PSU
● Elgato hd60
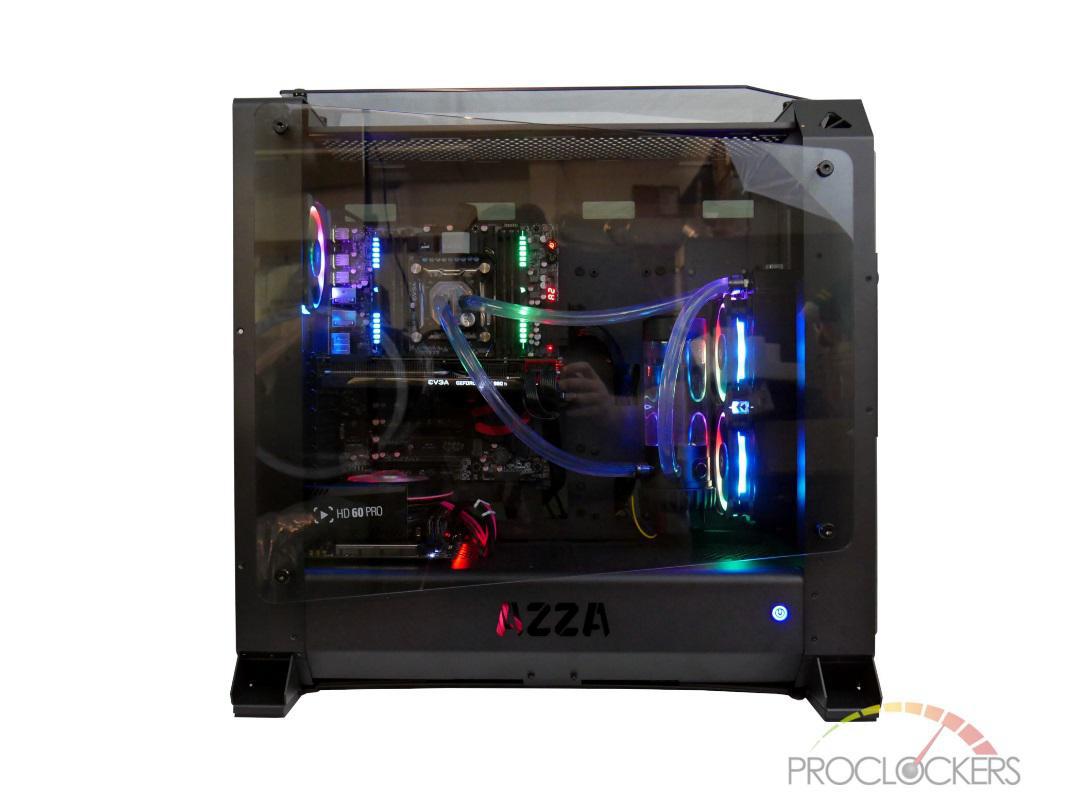
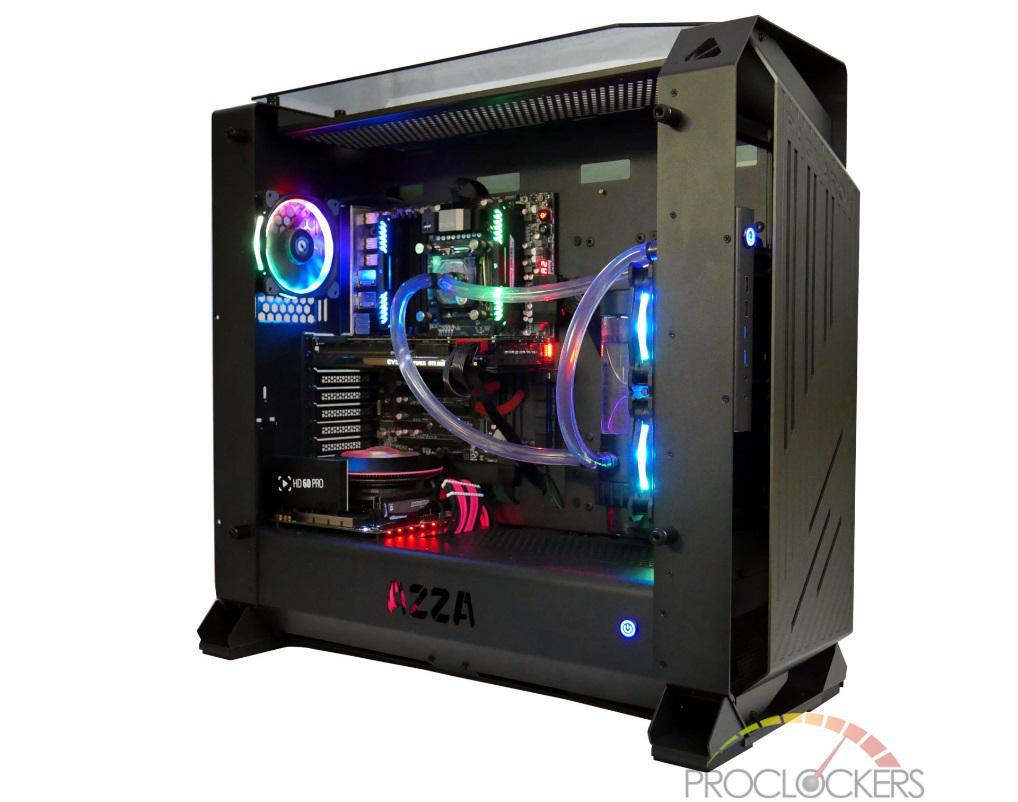
I grabbed and installed the biggest motherboard that I own I still had a ton of space for extra things. The only thing that I could think of doing was to water cool this case. I found my thickest radiator that I had and mounted that in the case with some Thermaltake Riing Plus fans for the added RGB glow. Next was to figure out the easiest orientation for the large pump/res combo that I had. Best case scenario for this large pump/res was to mount it standing up next to the radiator. That still left a ton of space in the case for hard drives or SSD’s. If I had enough gear, I was contemplating watercooling the ITX system as well. One thing to note, make sure that you install the ITX system first if you are planning on using one. I ran into some clearance issues with the large E-ATX motherboard covering some of the screw holes for the standoffs. Luckily the main system didn’t cover any major connectors needed, but based on your motherboard this could become and issues. Keep that in mind when determining the proper hardware for this case. Here are a couple of shots with the systems powered up.

Final Thoughts & Conclusion
Overall, we are very impressed with this case. The quality and craftsmanship of this case are above most that I have used and built in. The dual system feature is nice for a fairly decent group of people. We think that AZZA has put a lot of thought into this case. We greatly appreciate the fact that AZZA doesn’t have one single rivet on this case. This case can be taken completely apart with a Philips head screwdriver. My only complaint on this case is the AZZA logo in the shroud, the fact that it is see-through means that while cable managing in the shroud you can see the wires there. Overall this case met and exceeded our expectations. Keep AZZA in mind the next time you are ready to purchase a new case.


The 25 Best Anime Cats, Ranked
What are the best anime cats? Cats are something you either love with every fiber of your being or vehemently...


The 25 Best Anime Teachers, Ranked
Who are the best anime teachers? With high school being such a prevalent setting in anime, it makes sense that...


The 25 Best Orange Hair Anime Girls, Ranked
Who are the best orange hair anime girls? Orange hair is interesting in anime because it can either be a...