
Hardware
Cooler Master MasterBox MB530P Case Review
Introduction
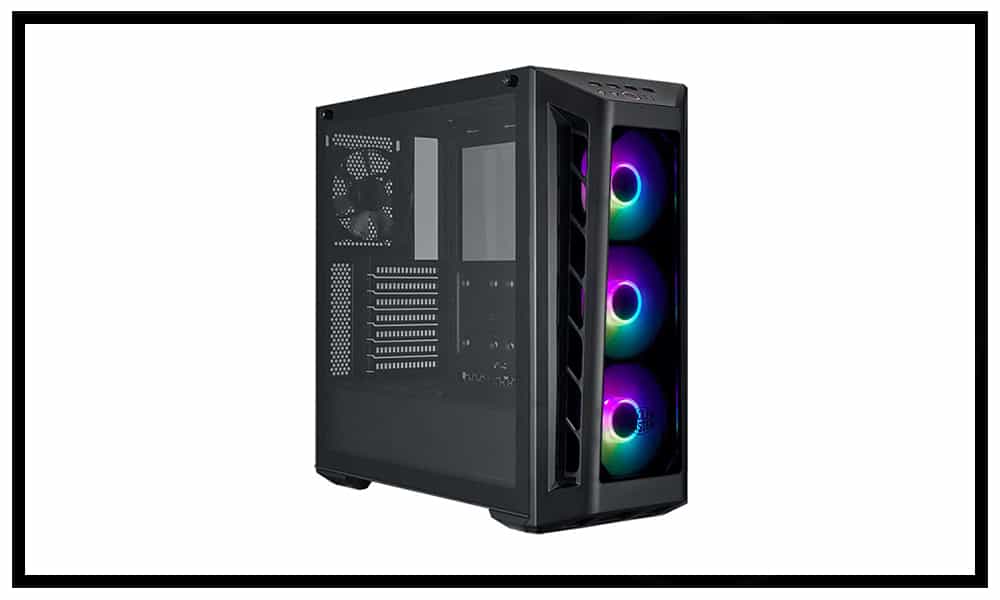
More and more, we are starting to see cases that include multiple tempered glass panels. This is usually reserved for cases in the $150+ price range but Cooler Master has extended its MasterBox line to include the MB530P, which sports 3 tempered glass panels for an MSRP of only $109.99. Having so much tempered glass means everything is on show and you must take extra care with your cable management. Thankfully the MB530P has included such features like a full PSU shroud, removable cable cover and silkscreened back panel to help with this. In addition to these cable management features the MB530P also includes lighting with a built in RGB controller and 3 pre-installed 120mm ARGB AB front fans. With all these aesthetic enhancing elements it should be almost effortless to create a great looking build that shines through those tempered glass panels.
About Cooler Master
Back in 1992, when the internet was in its early stages and CPU’s were measured in MHz rather than GHz, a company called ORYX was born. ORYX later became Cooler Master, which we know the company as today. Started by a rogue product manager who had no funding and no support except a single administrative secretary, he set out to create, innovate and improve products for the PC industry. Starting with its first product, a Socket 7 CPU heat sink in 1993, their product line has since grown to Cases, Peripherals, Fans, and much more. Over the past 25+ years they brought many advancements and firsts to the PC industry (such as the first all copper heat sink) and today, they continue to innovate by bringing new and exciting products to market.
Features & Specifications
Notable Features:
- 3 tempered glass panels
- 3 x RGB fans with lighting control
- Cable cover
Technical Specifications:
| Product Name | MasterBox MB530P |
| Model number | MCB-B530P-KHNN-S01 |
| Available Color | Black |
| Materials | Steel, Plastic, Tempered Glass |
| Dimensions (L x W x H) | 489 x 229 x 469mm |
| Motherboard Support | ATX, Micro-ATX, Mini-ITX |
| Expansion Slots | 7 |
| 5.25″ Drive Bays | N/A |
| 3.5″ Drive Bays | 2 |
| 2.5″ Drive Bays | 4 |
| I/O Panel | USB 3.0 x 2, USB2.0 x2, Audio In / Out, ARGB control button |
| ARGB Controller | ARGB Controller included |
| ARGB Cable | 2 to 3 ARGB Splitter cable included |
| Pre-installed Fan(s) | Front: 120mm ARGB AB fans x 3 (9 blades fan 1200rpm) |
| Rear: 120mm Non-Led fan x 1 (7 blades fan 1200rpm) | |
| Fan Support | Front: 120mm x 3 / 140mm x 2 |
| Top: 120mm x 2 / 140mm x 2 | |
| Rear: 120mm x 1 | |
| Radiator Support | Front: 120 / 140 / 240 / 280 / 360mm |
| Top: 120 / 240mm | |
| Rear: 120mm | |
| Clearances | CPU Cooler: 165mm / 6.49″ |
| PSU: 180mm / 7.08″ | |
| Graphics card: 410mm / 16.14″ | |
| Cable Routing | Behind M/B Tray space: 18-25mm |
| Dust Filters | Front, Top, Bottom |
| Power Supply Support | Bottom Mount, ATX |
| EAN Code | 4719512074640 |
| UPC Code | 884102047138 |
Packaging & Unboxing
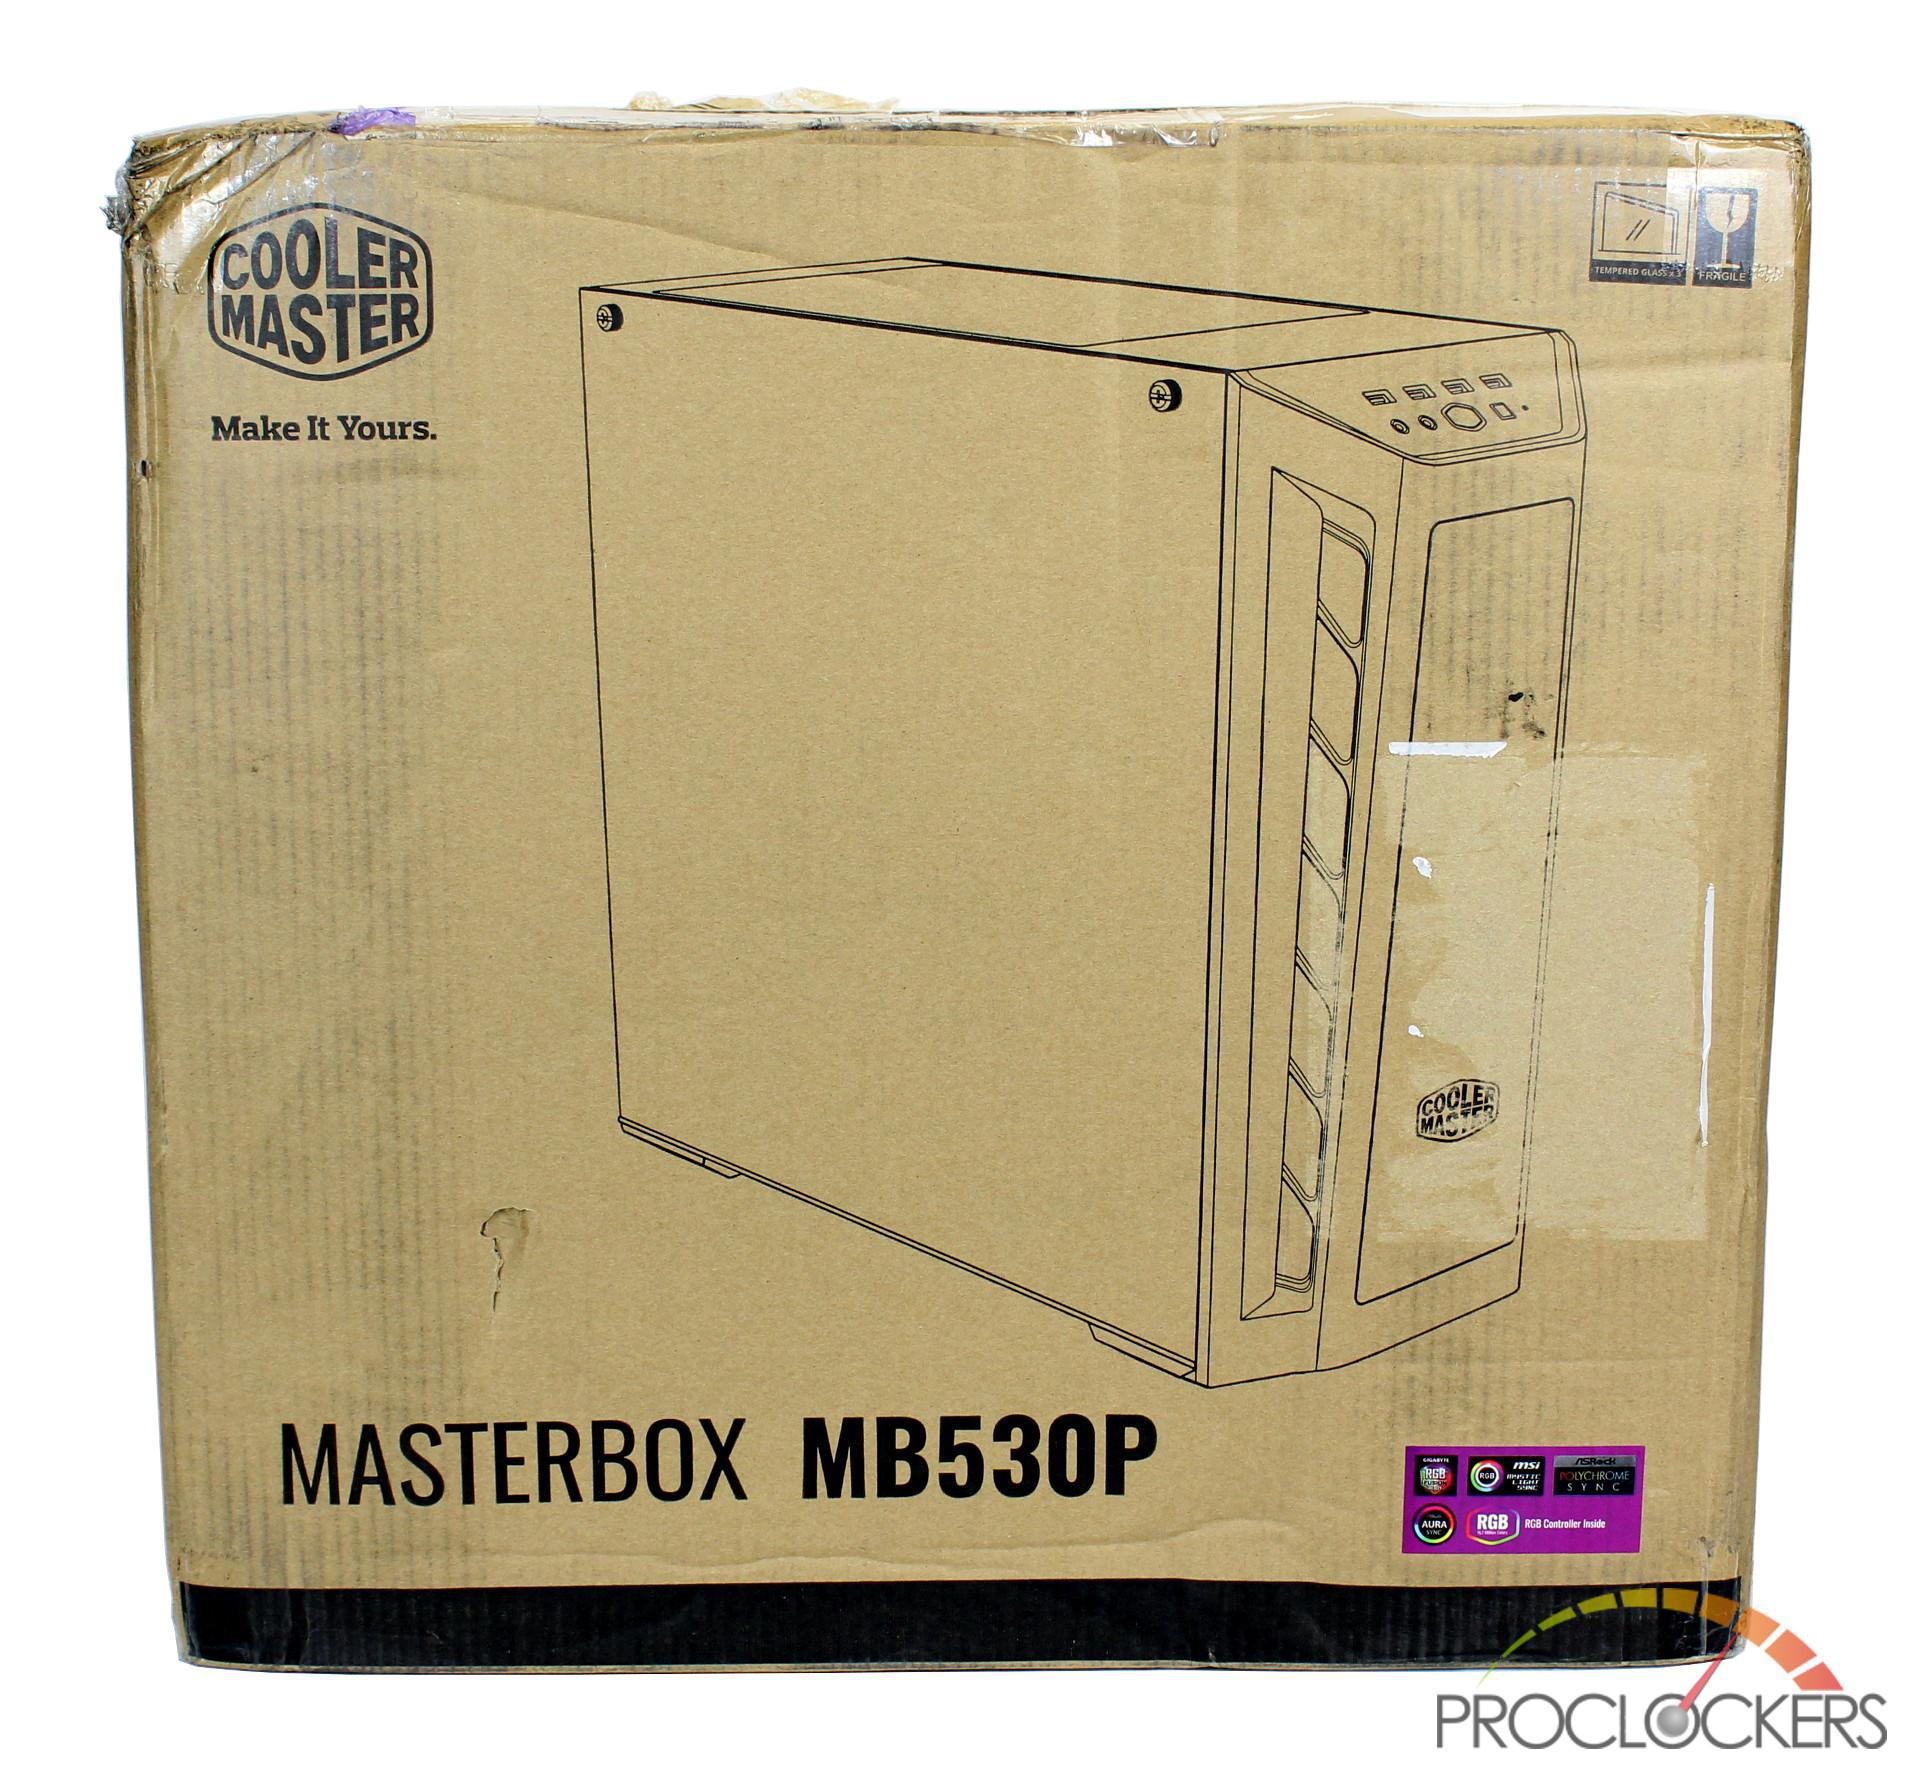
The Cooler Master MB530P arrives in a standard brown cardboard box with the front sporting an outline of the case. In the lower right-hand corner, you get a splash of color with a purple sticker that includes notable features of the case.
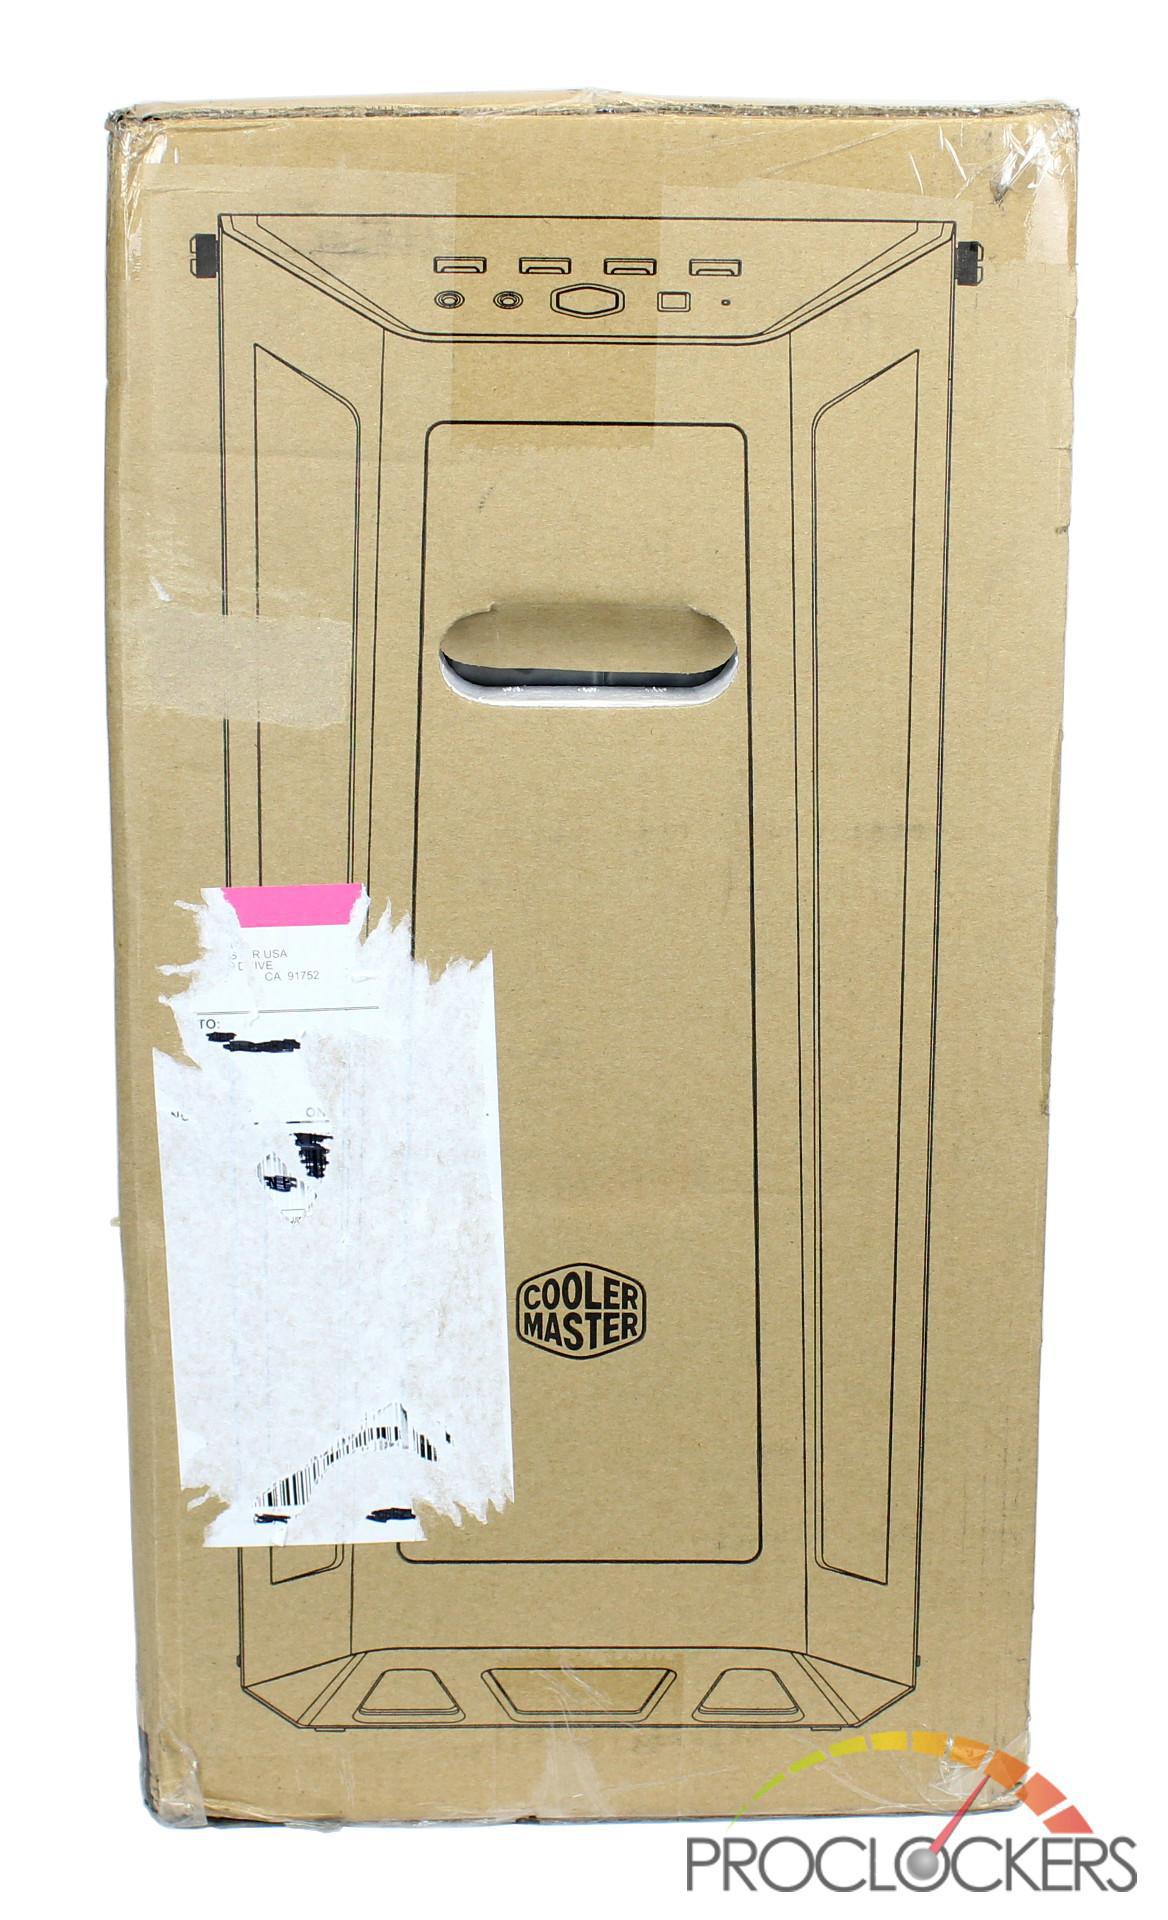
Looking on the side of the box the case outlines continue with a front view of the MB530P.
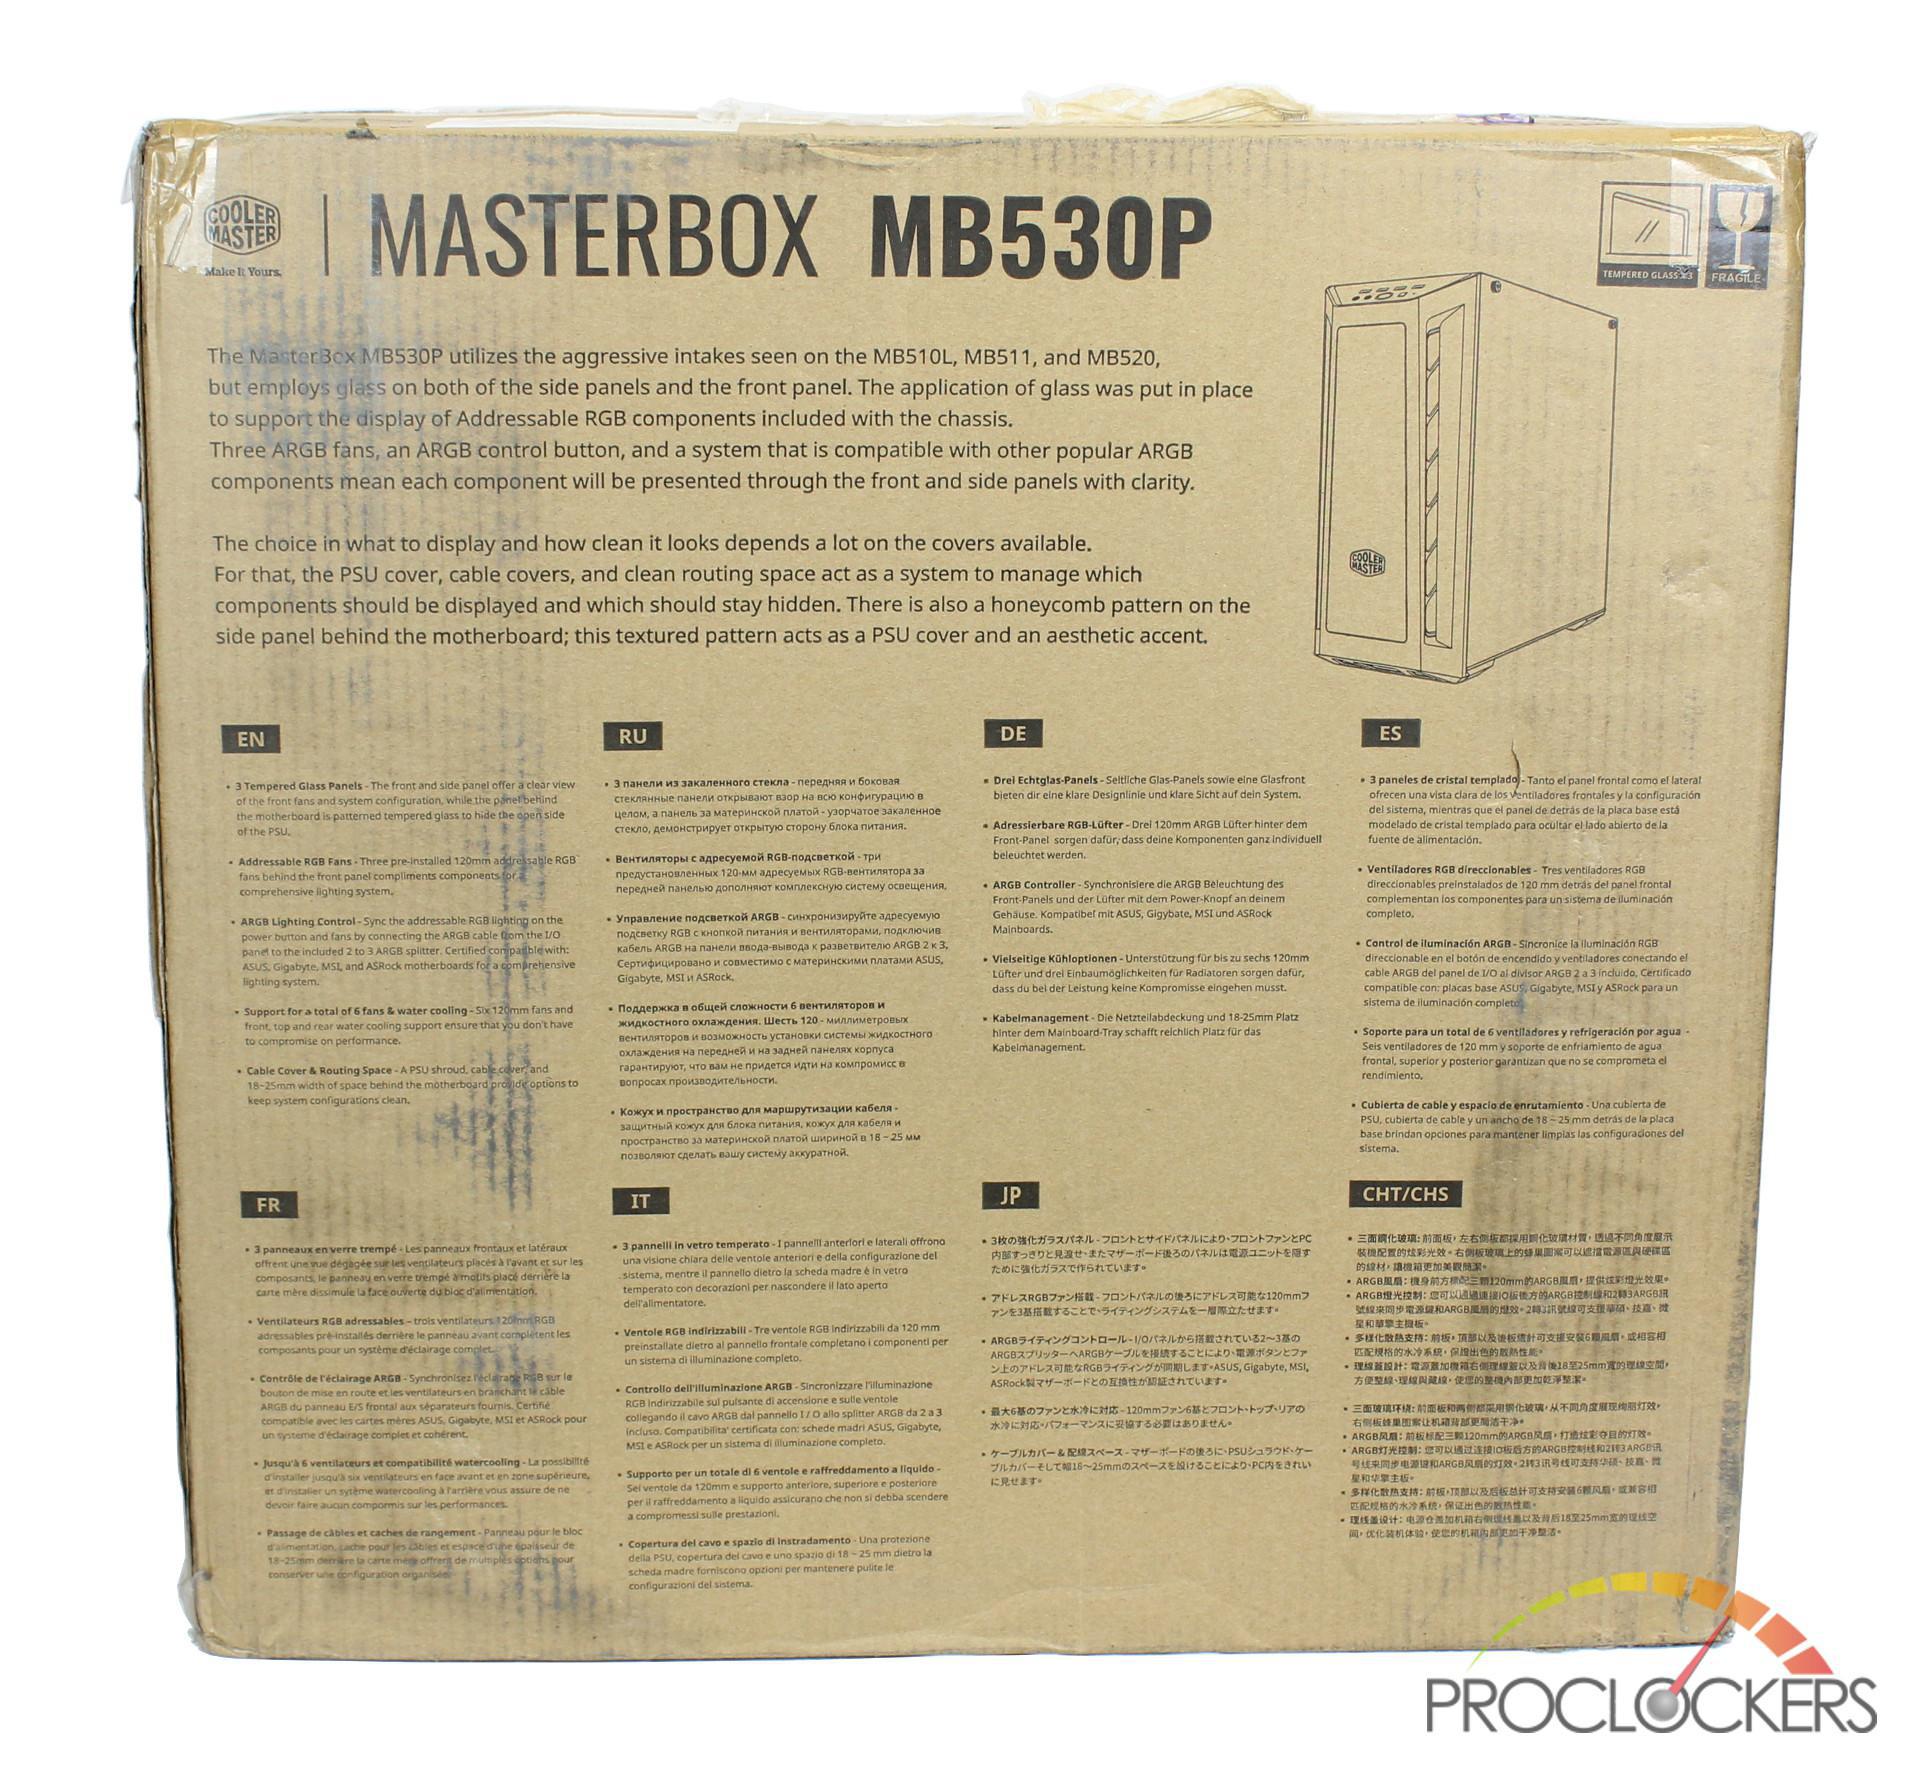
Moving to the back, you’re given a description of the MB530P as well as a writing list of its most prominent features in 8 different languages. In the upper right you have another outline of the case from another view point looking at the back panel.
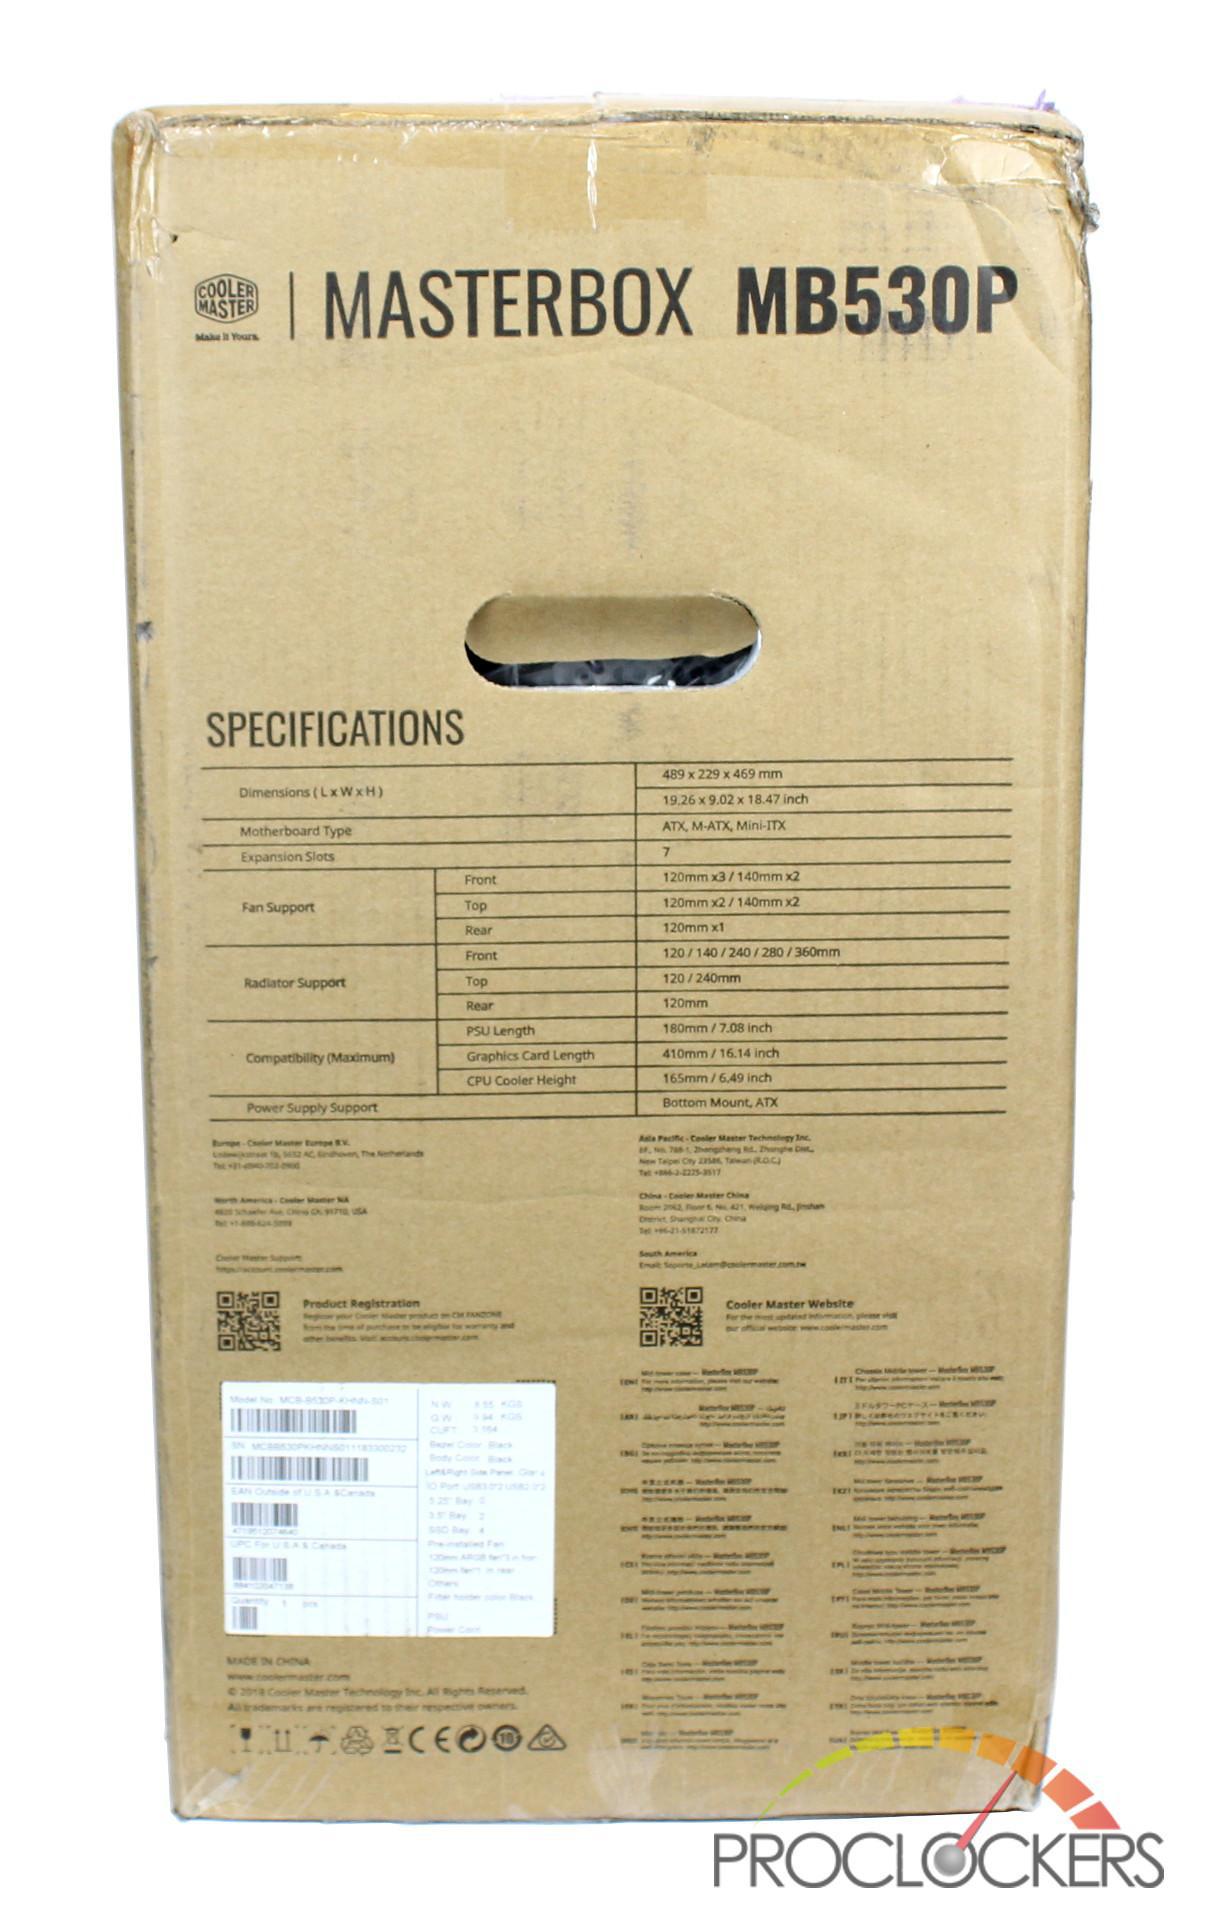
The other side of the box gives you the complete list of case specifications.
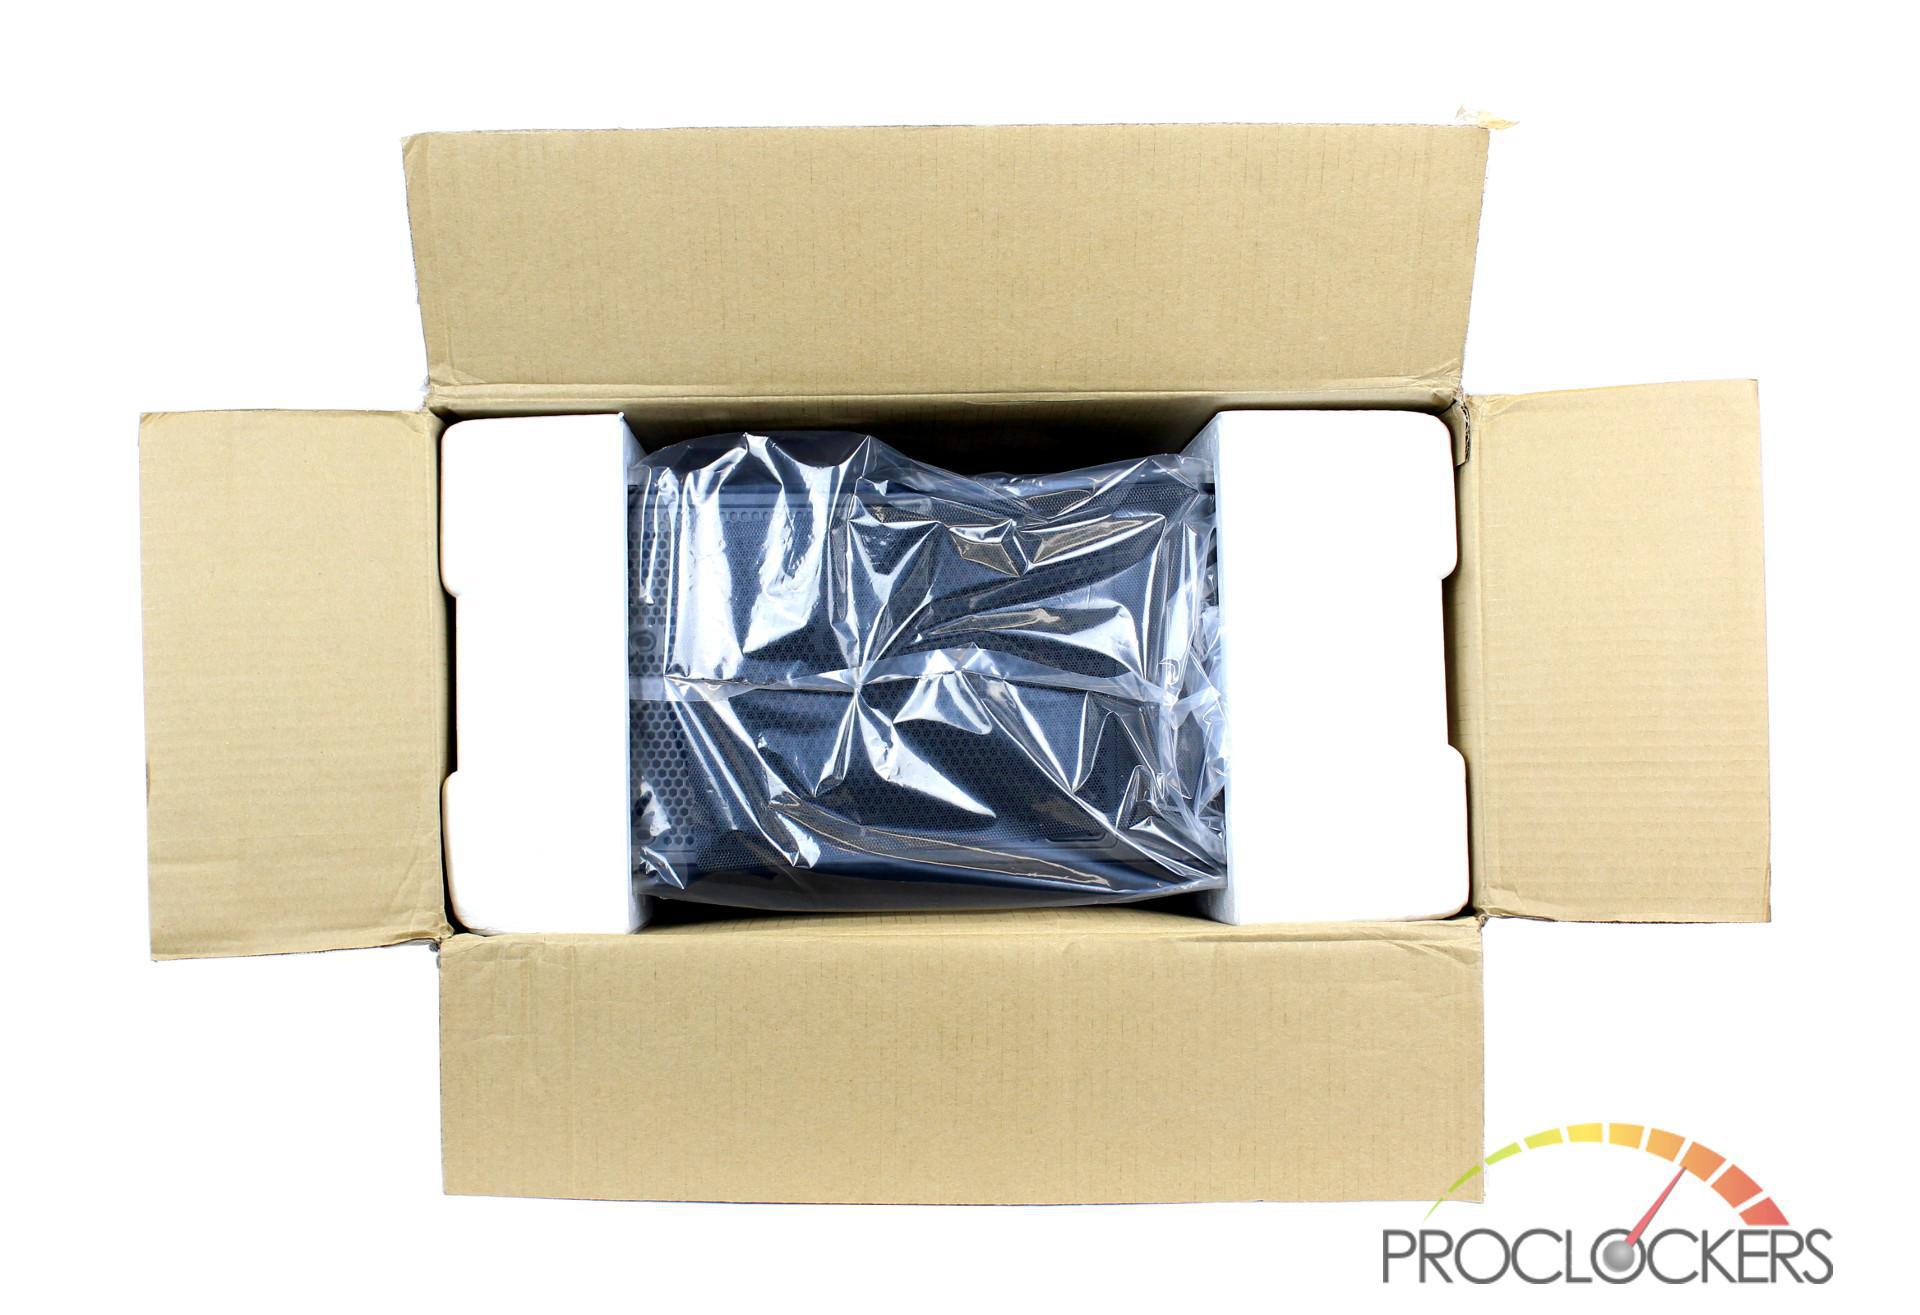
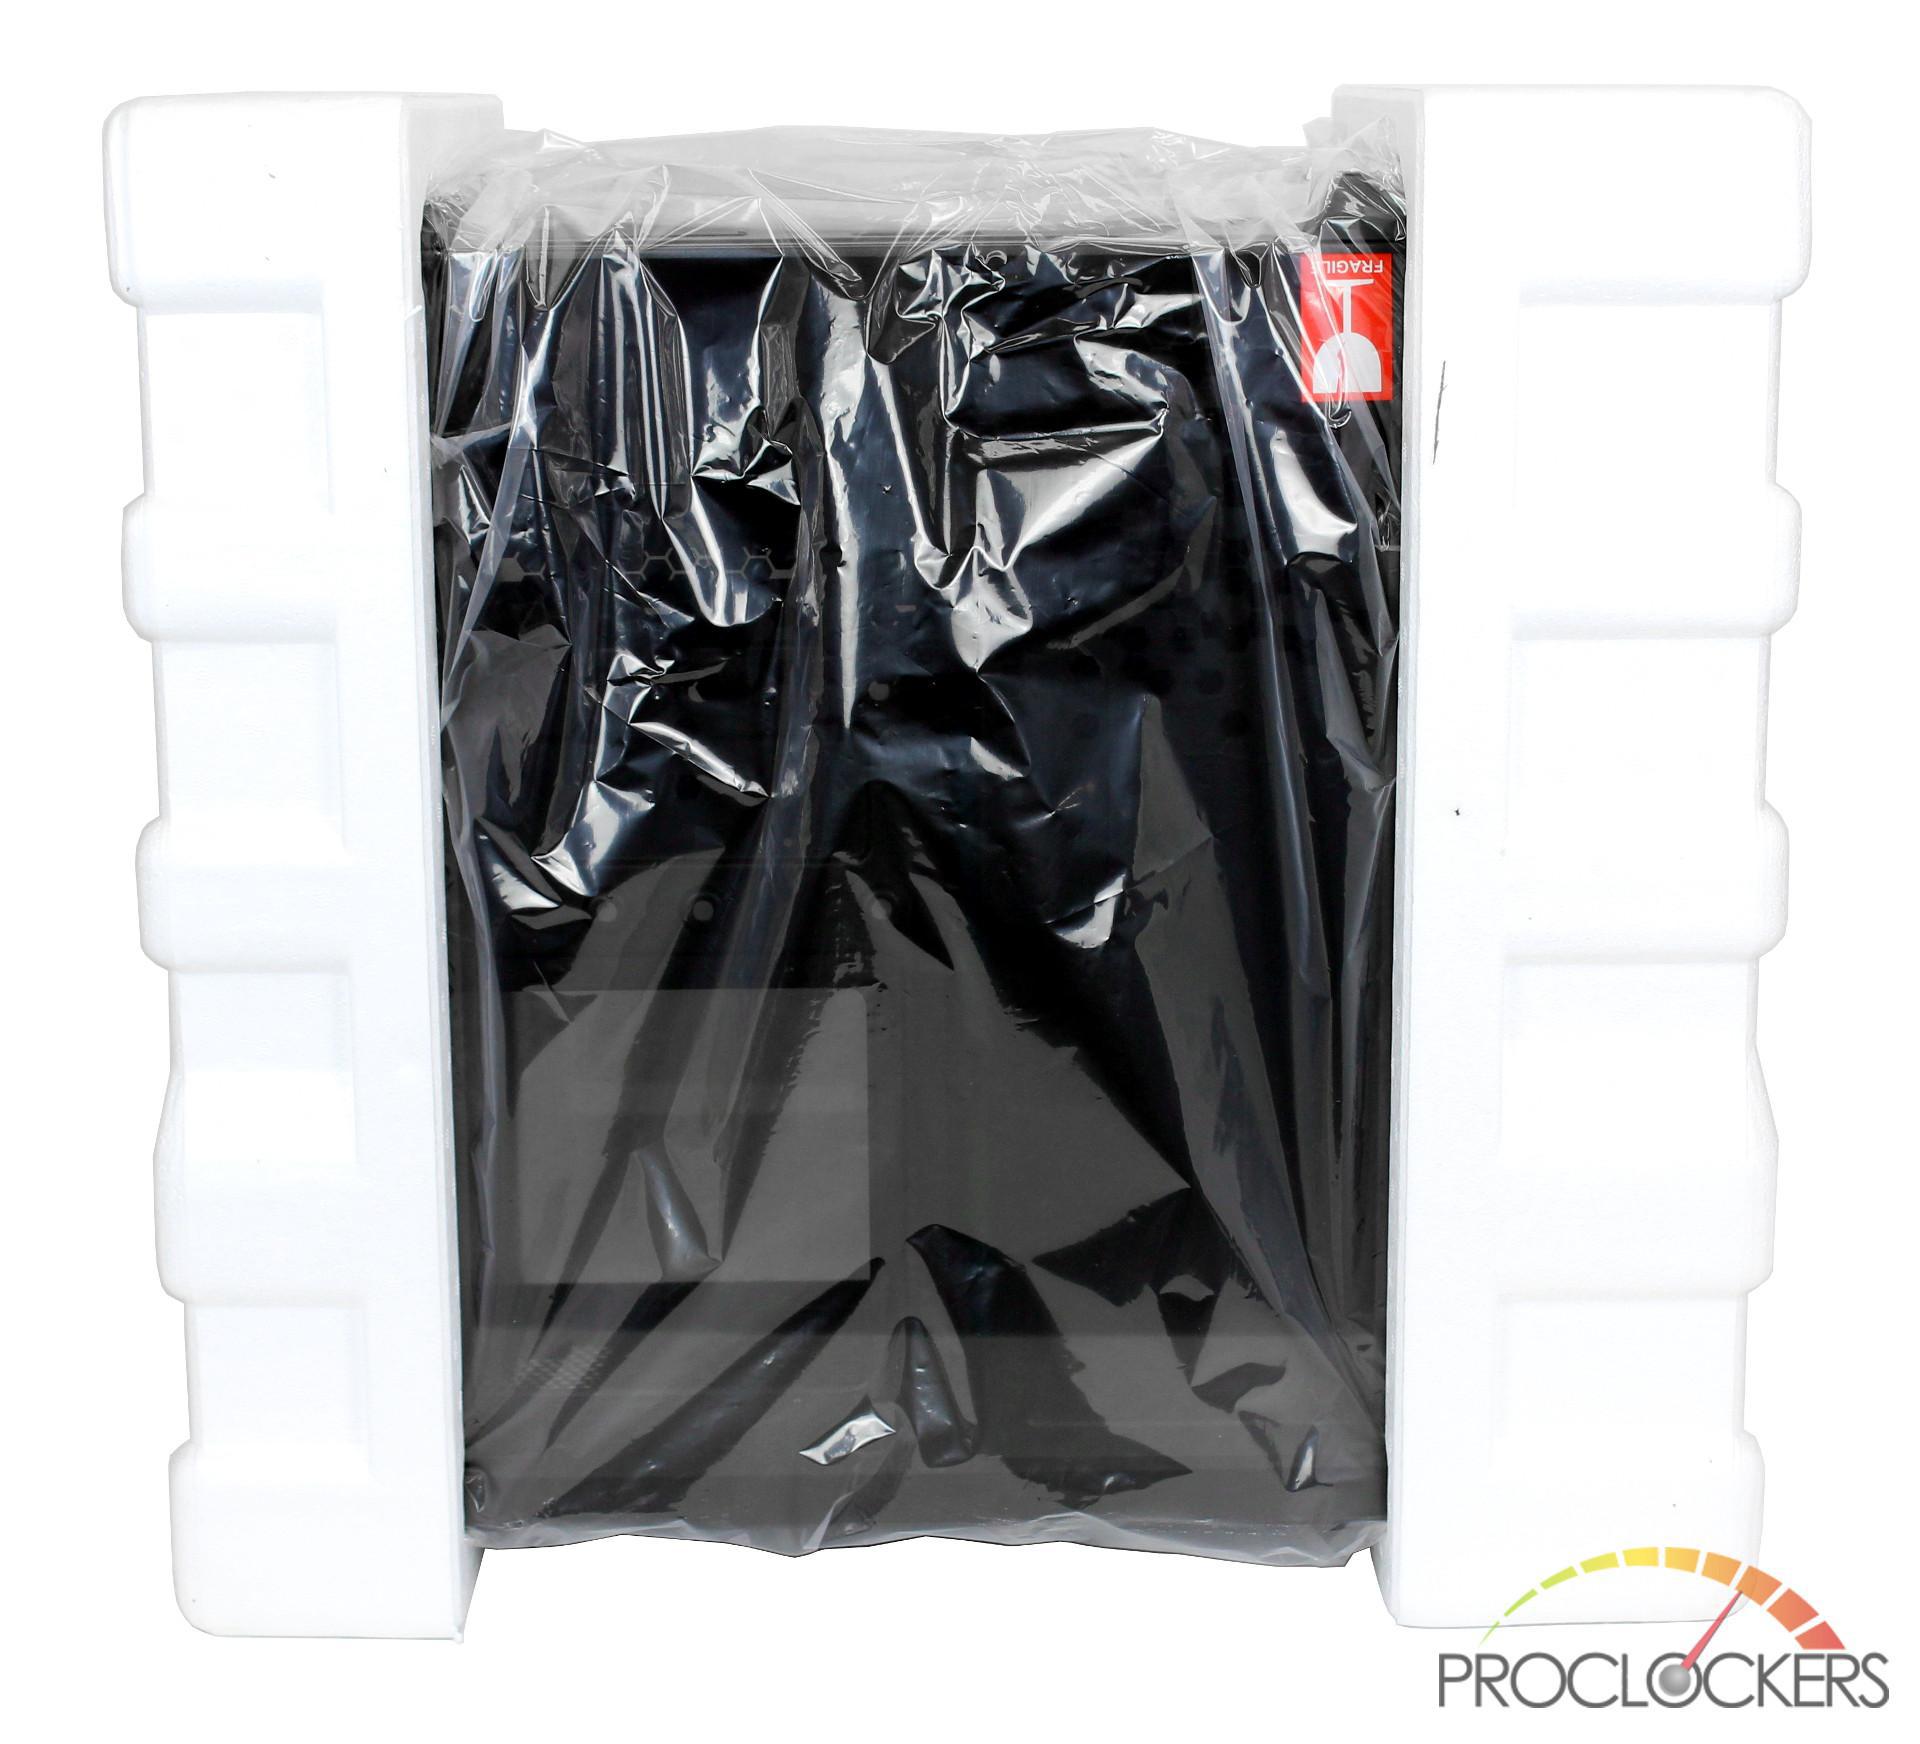
Opening the box, the MB530P can be seen sandwiched between 2 pieces of styrofoam and covered with a plastic bag.
As you can see from the beat-up outer box, the styrofoam did a great job protecting the installed tempered glass panels.
Cooler Master also included a bag of accessories which include zip ties, rubber SSD mounts, bag of screws and an instruction booklet.

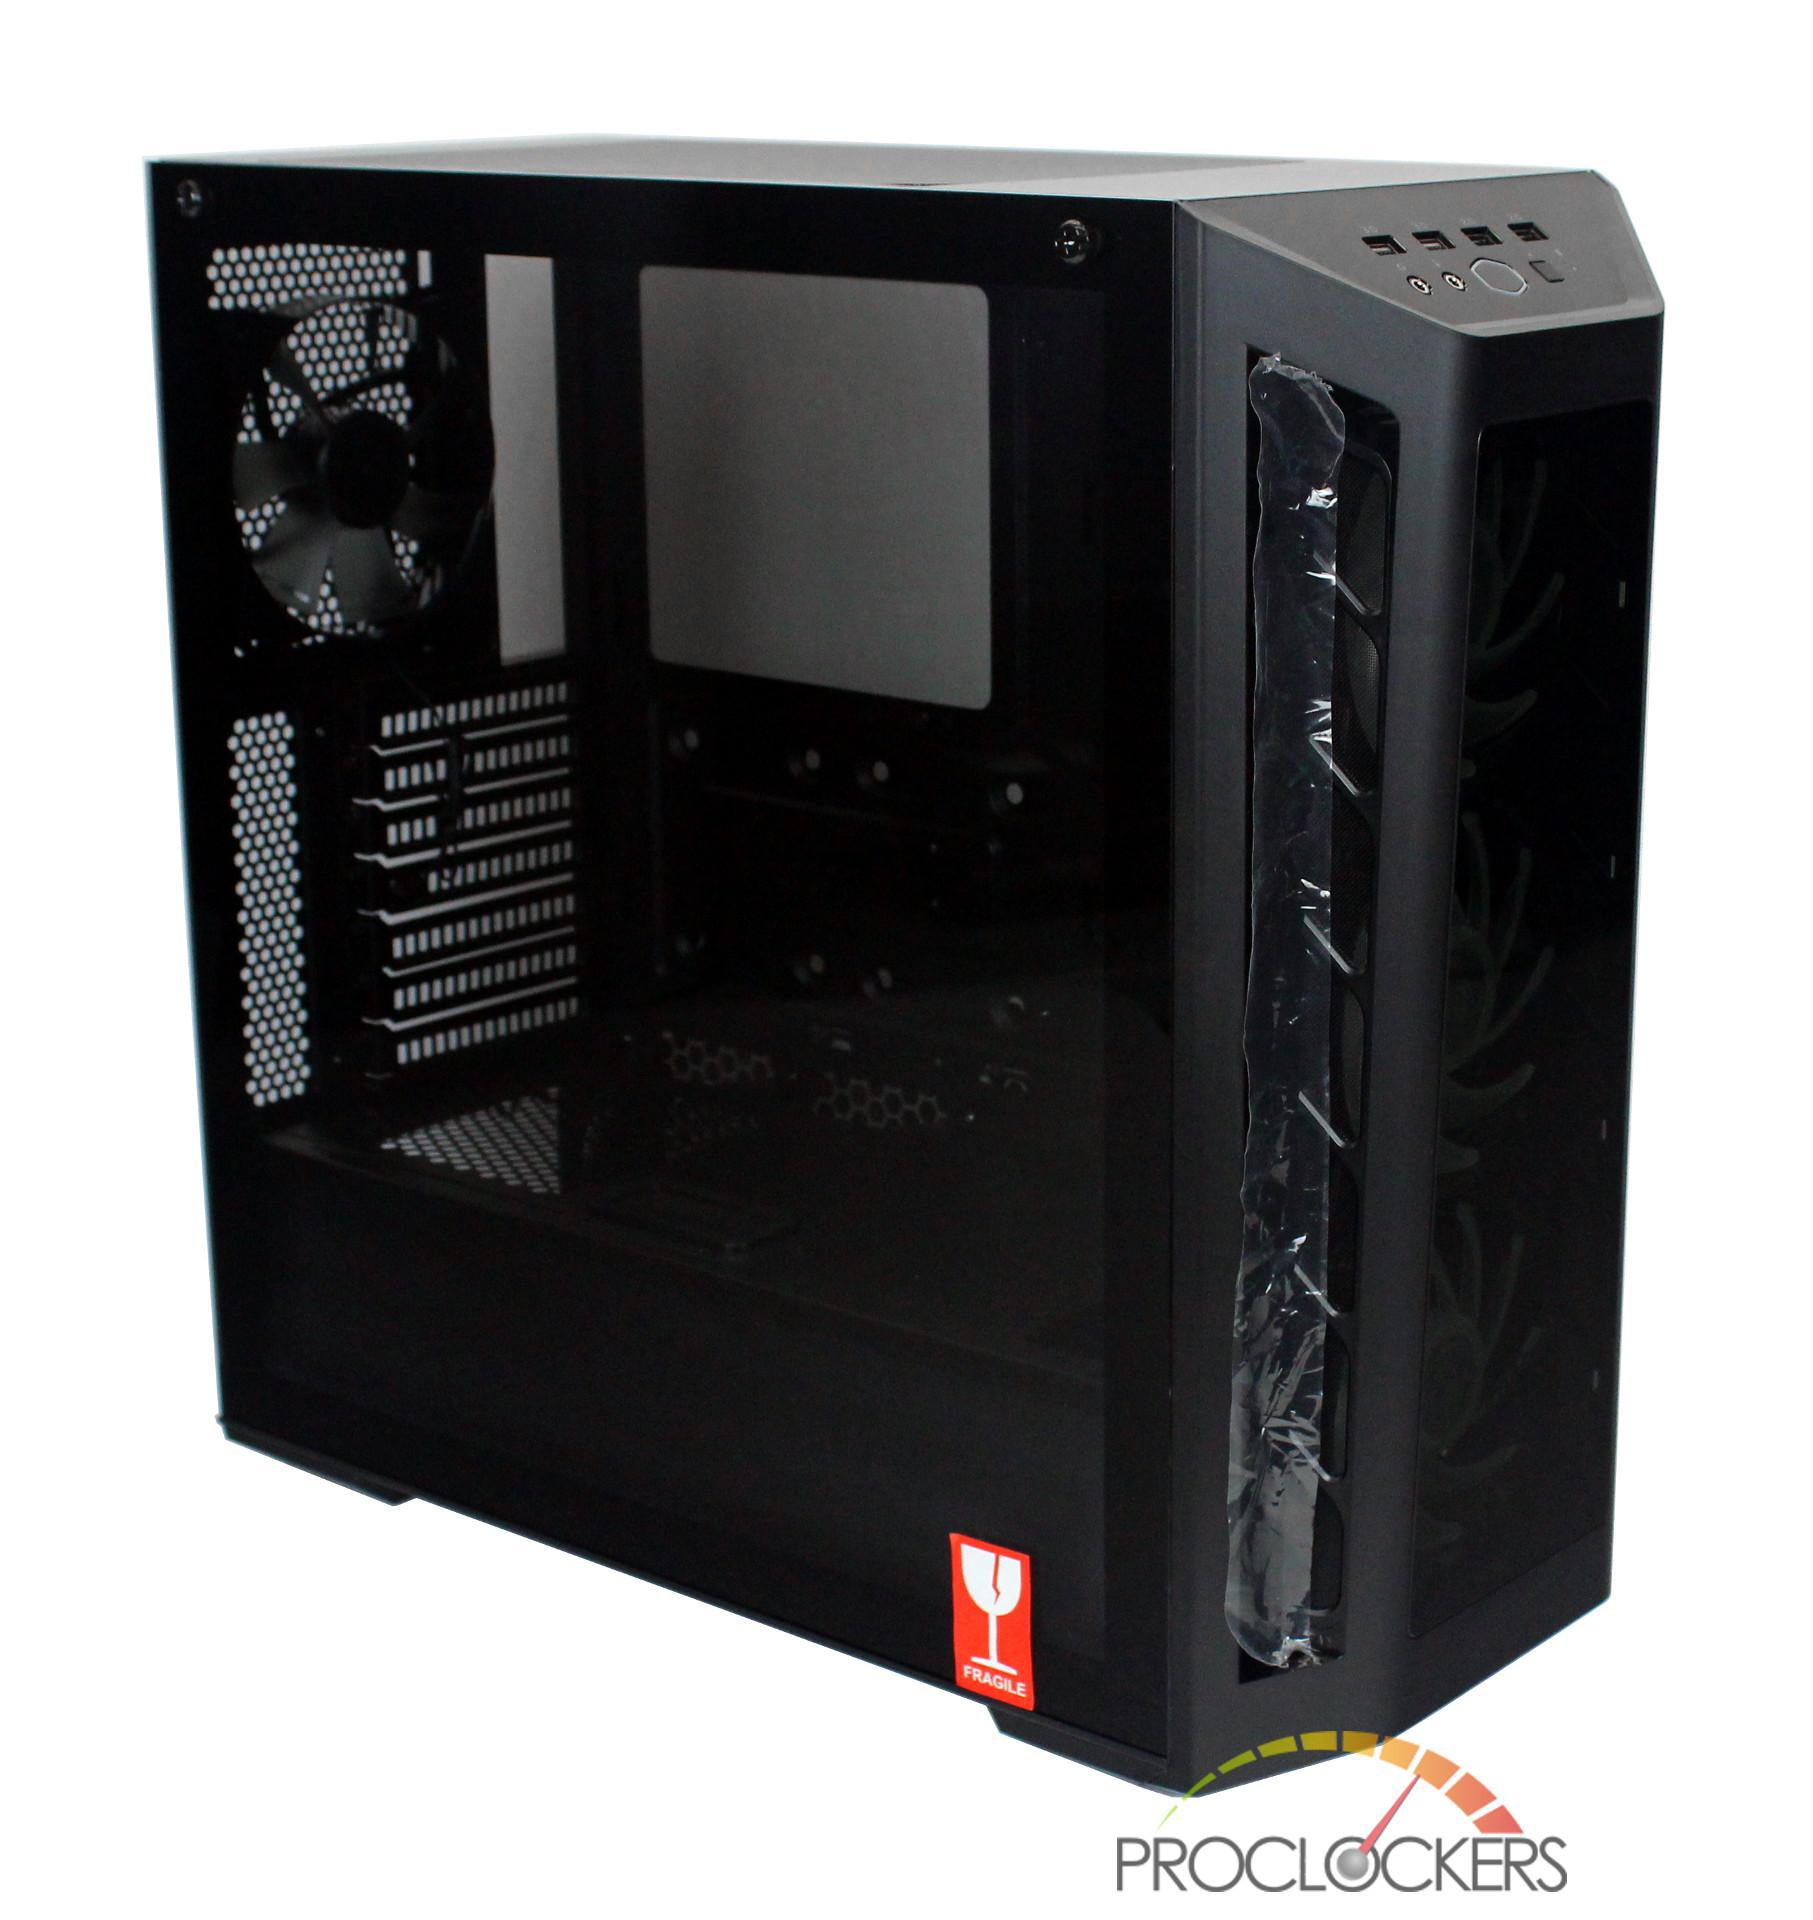
Once all packaging has been removed you get your first look at the MB530P. It even includes a little bit of film at the front for your peeling pleasure.
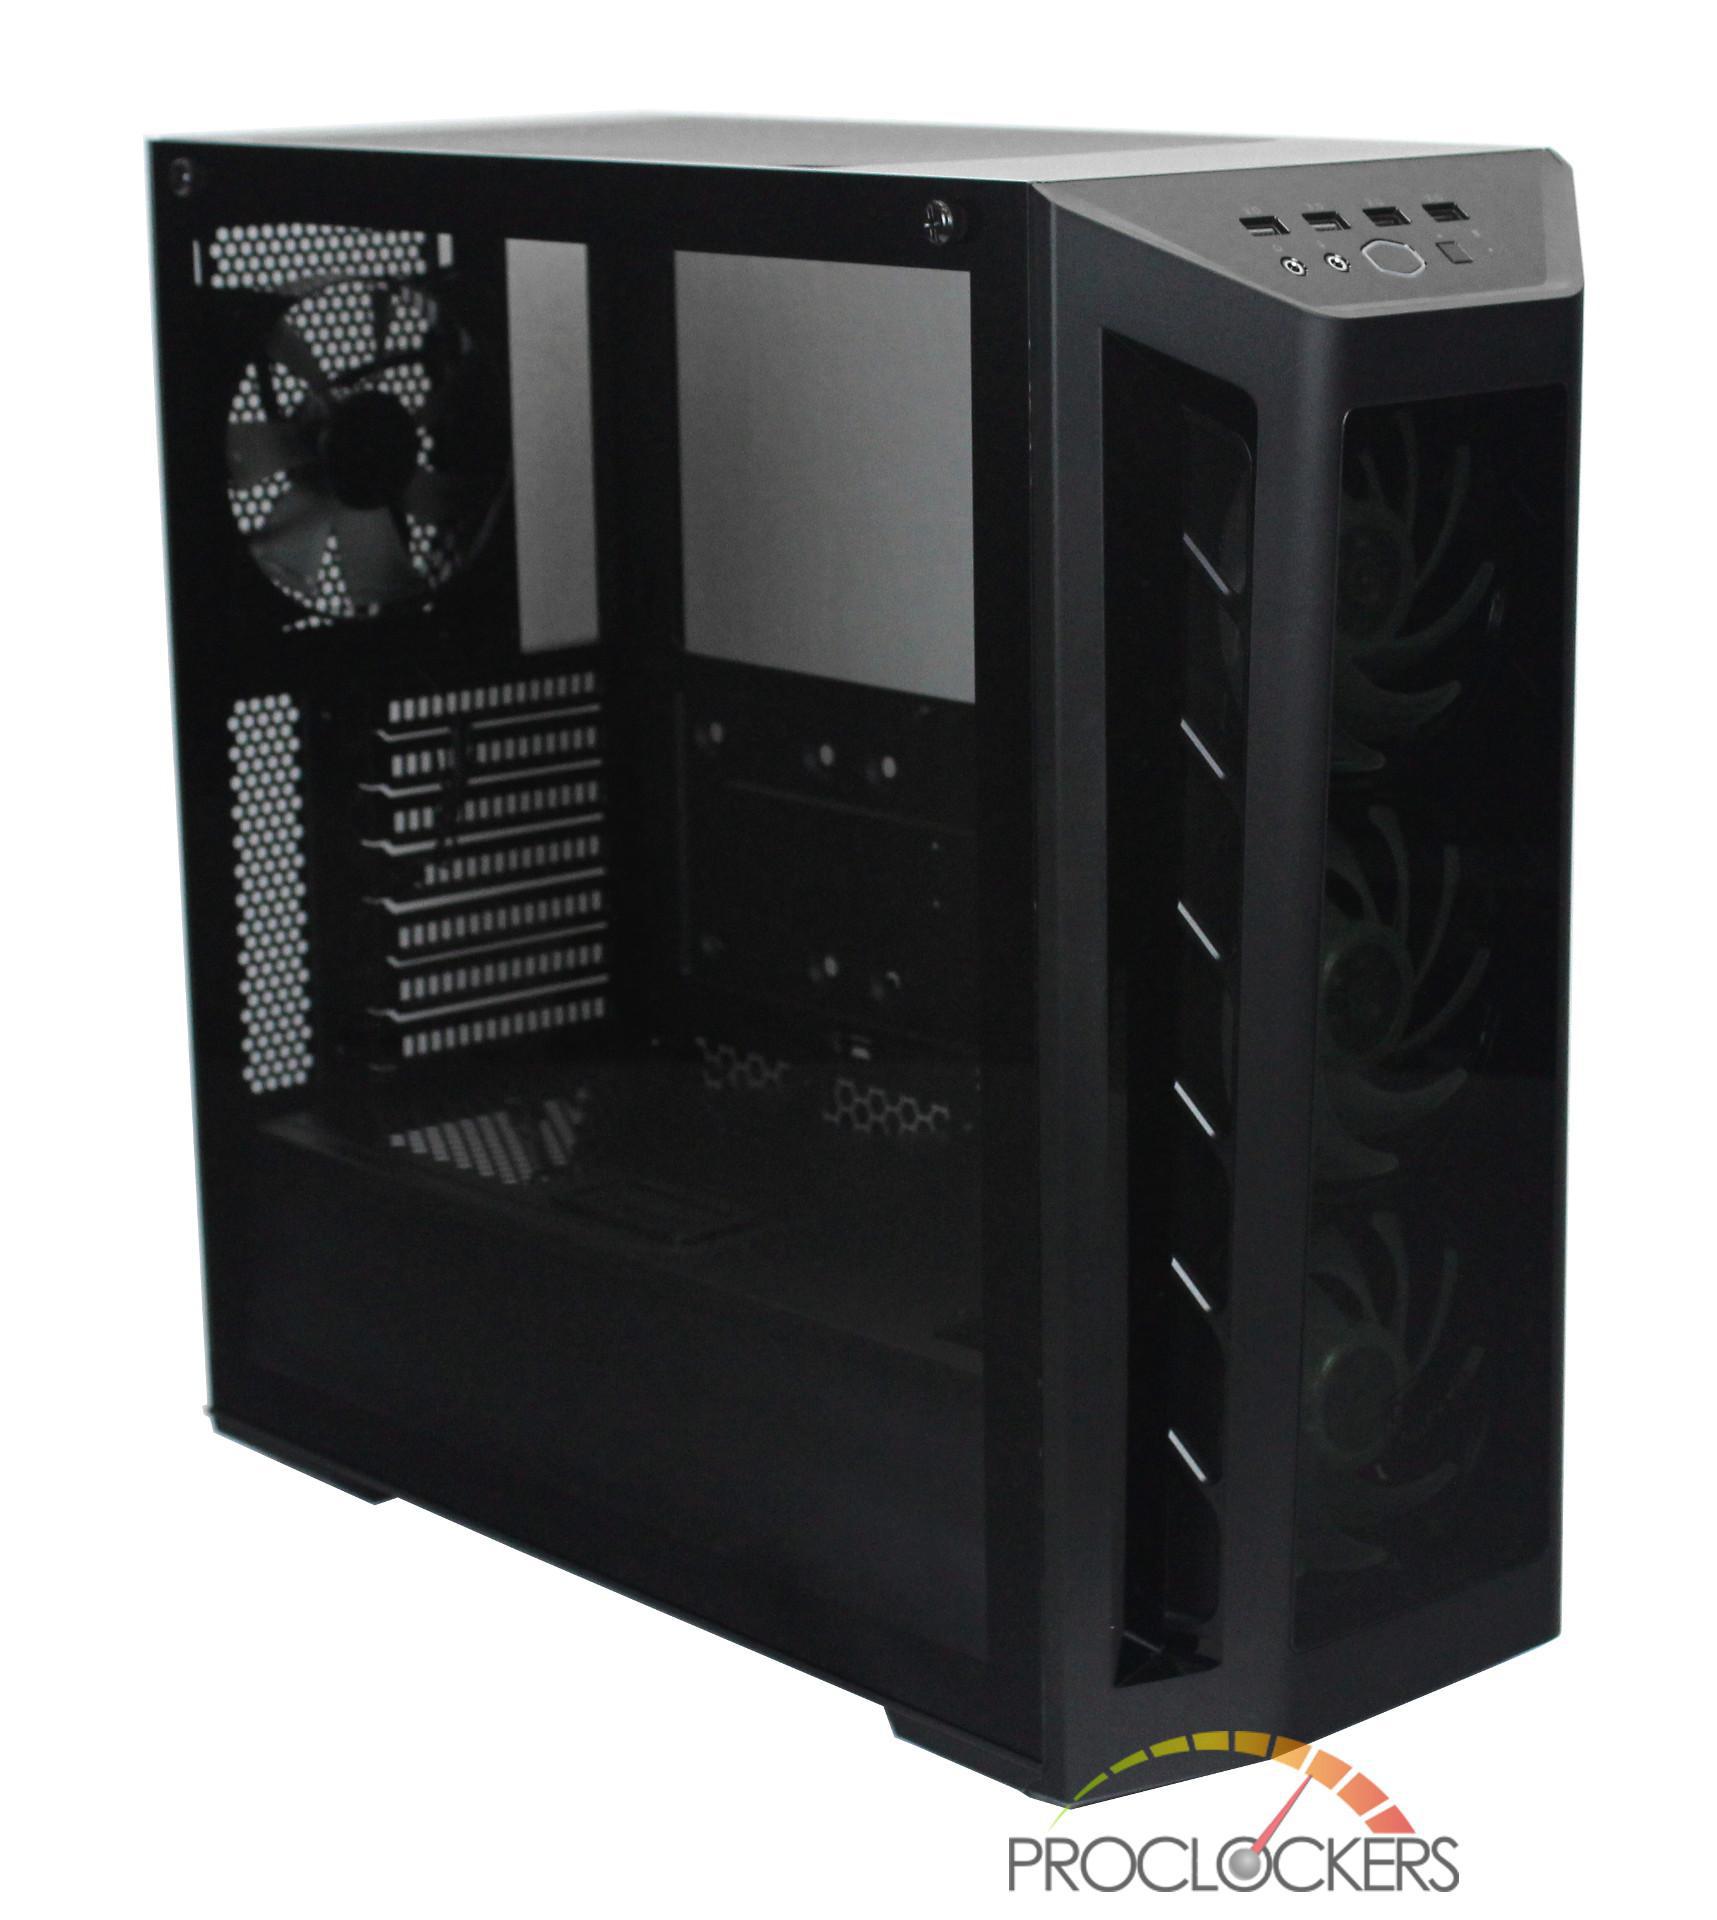
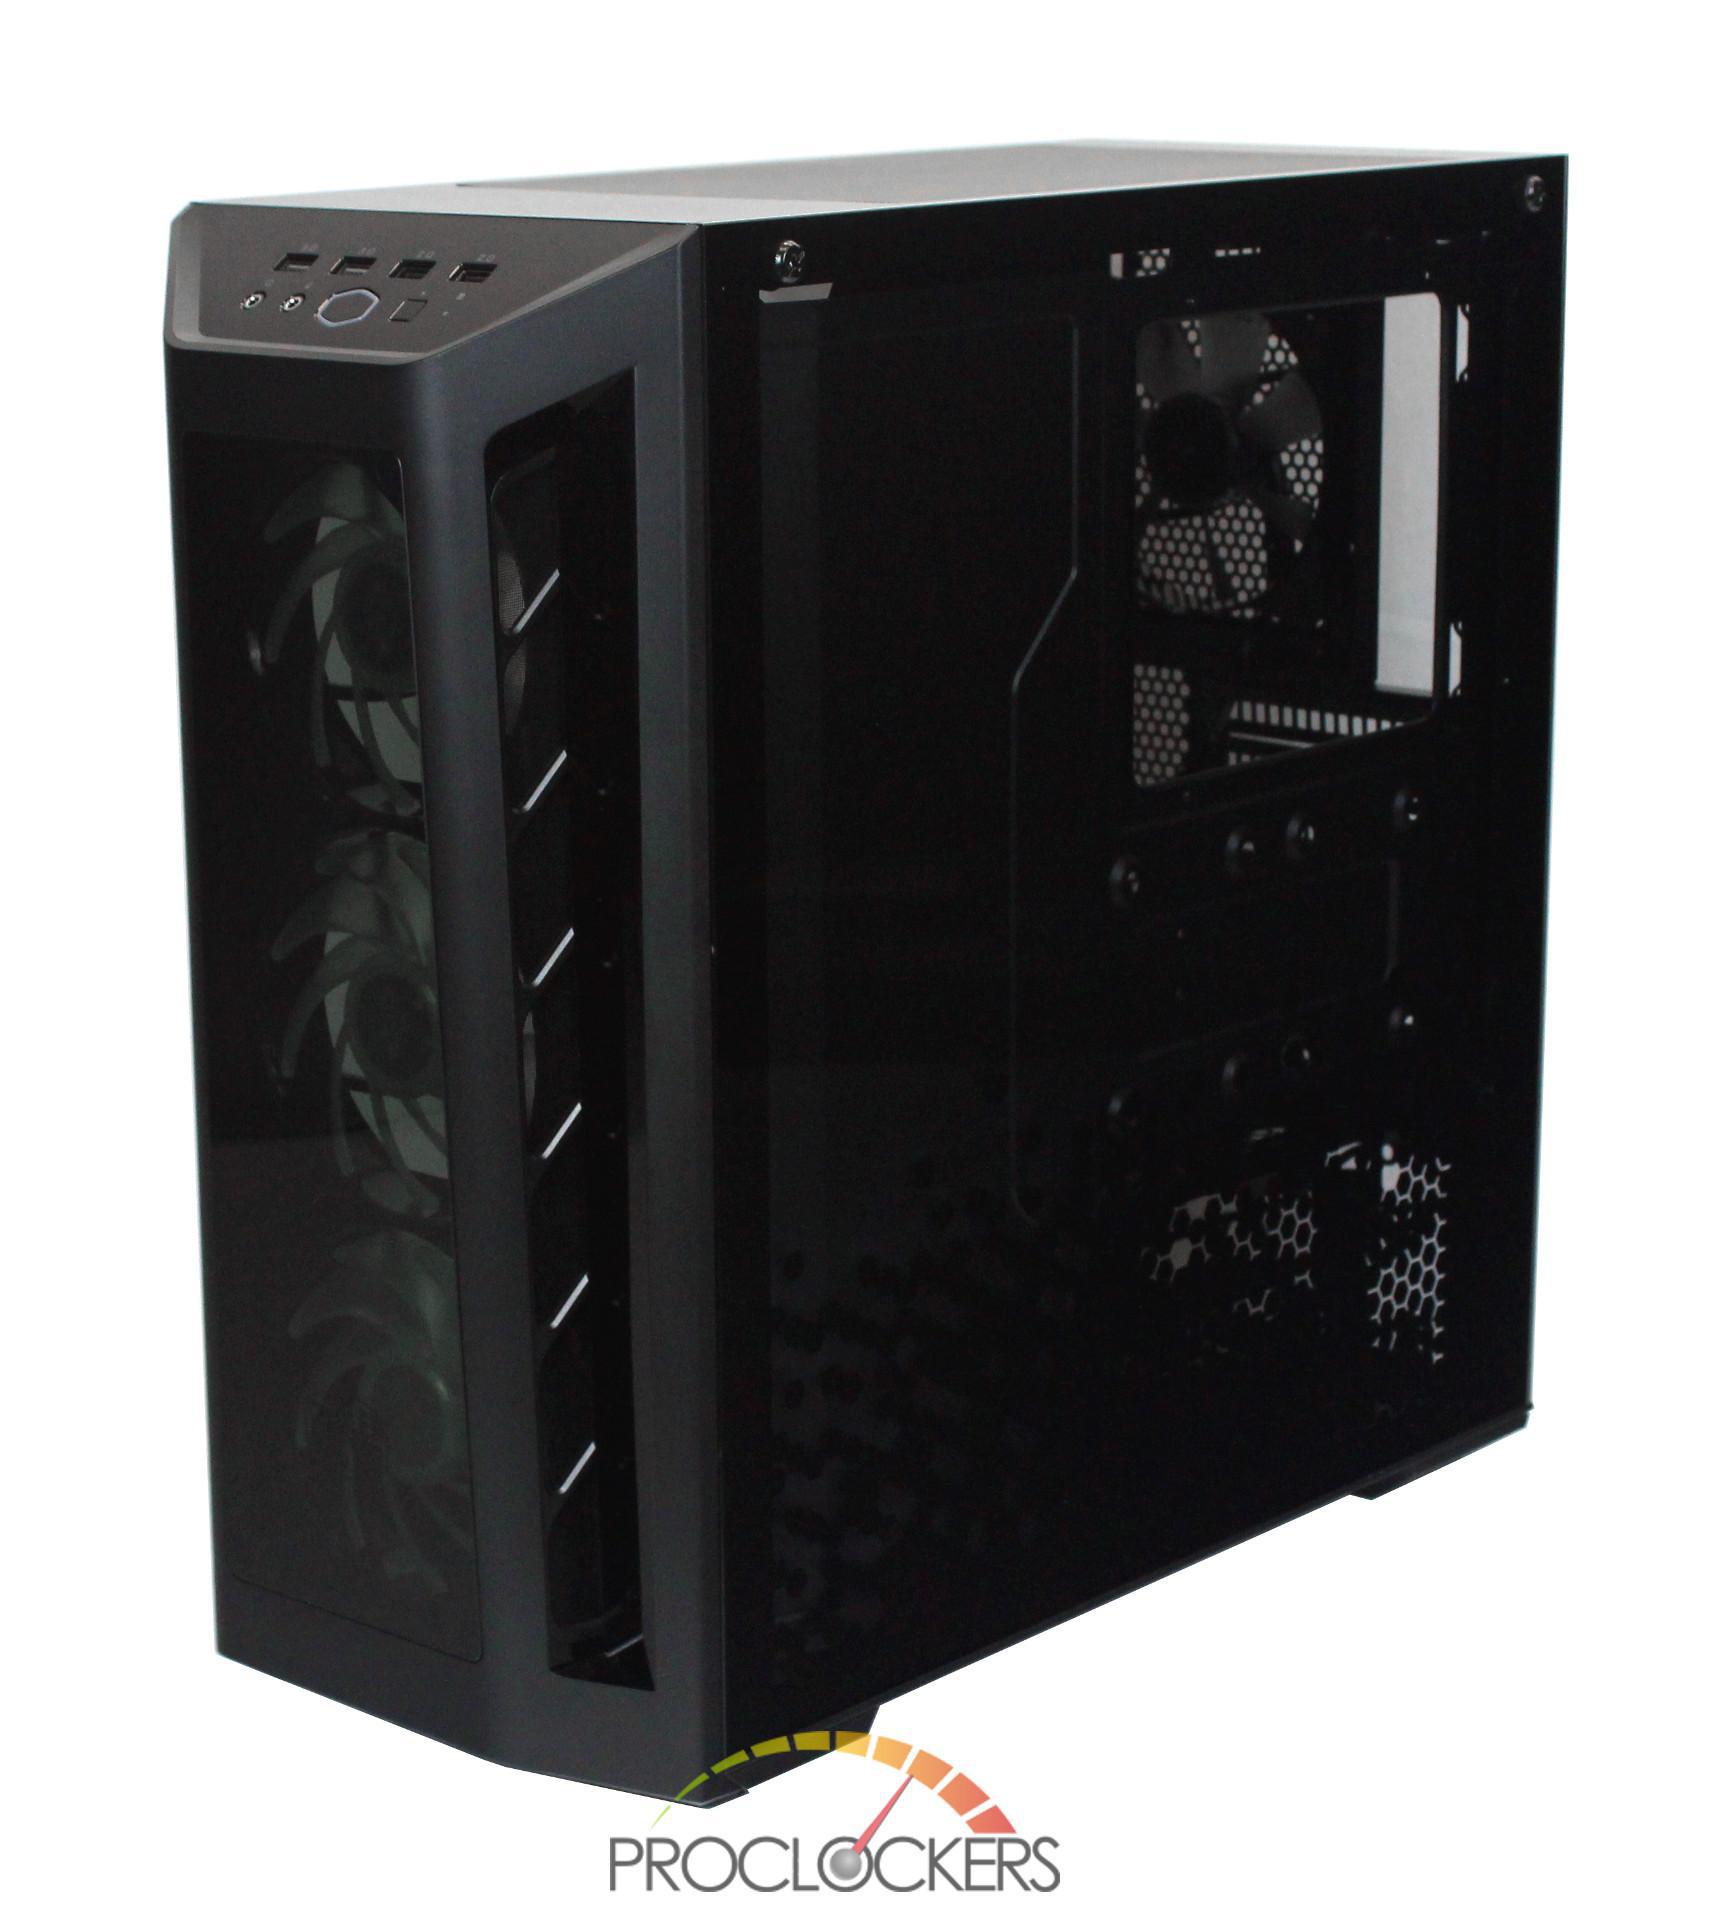
A Closer Look: Exterior
The MB530P offers a matte black finish top to bottom and has clean lines throughout. The side of the case is covered with a full tempered glass panel that can be removed using two thumb screws at the top.
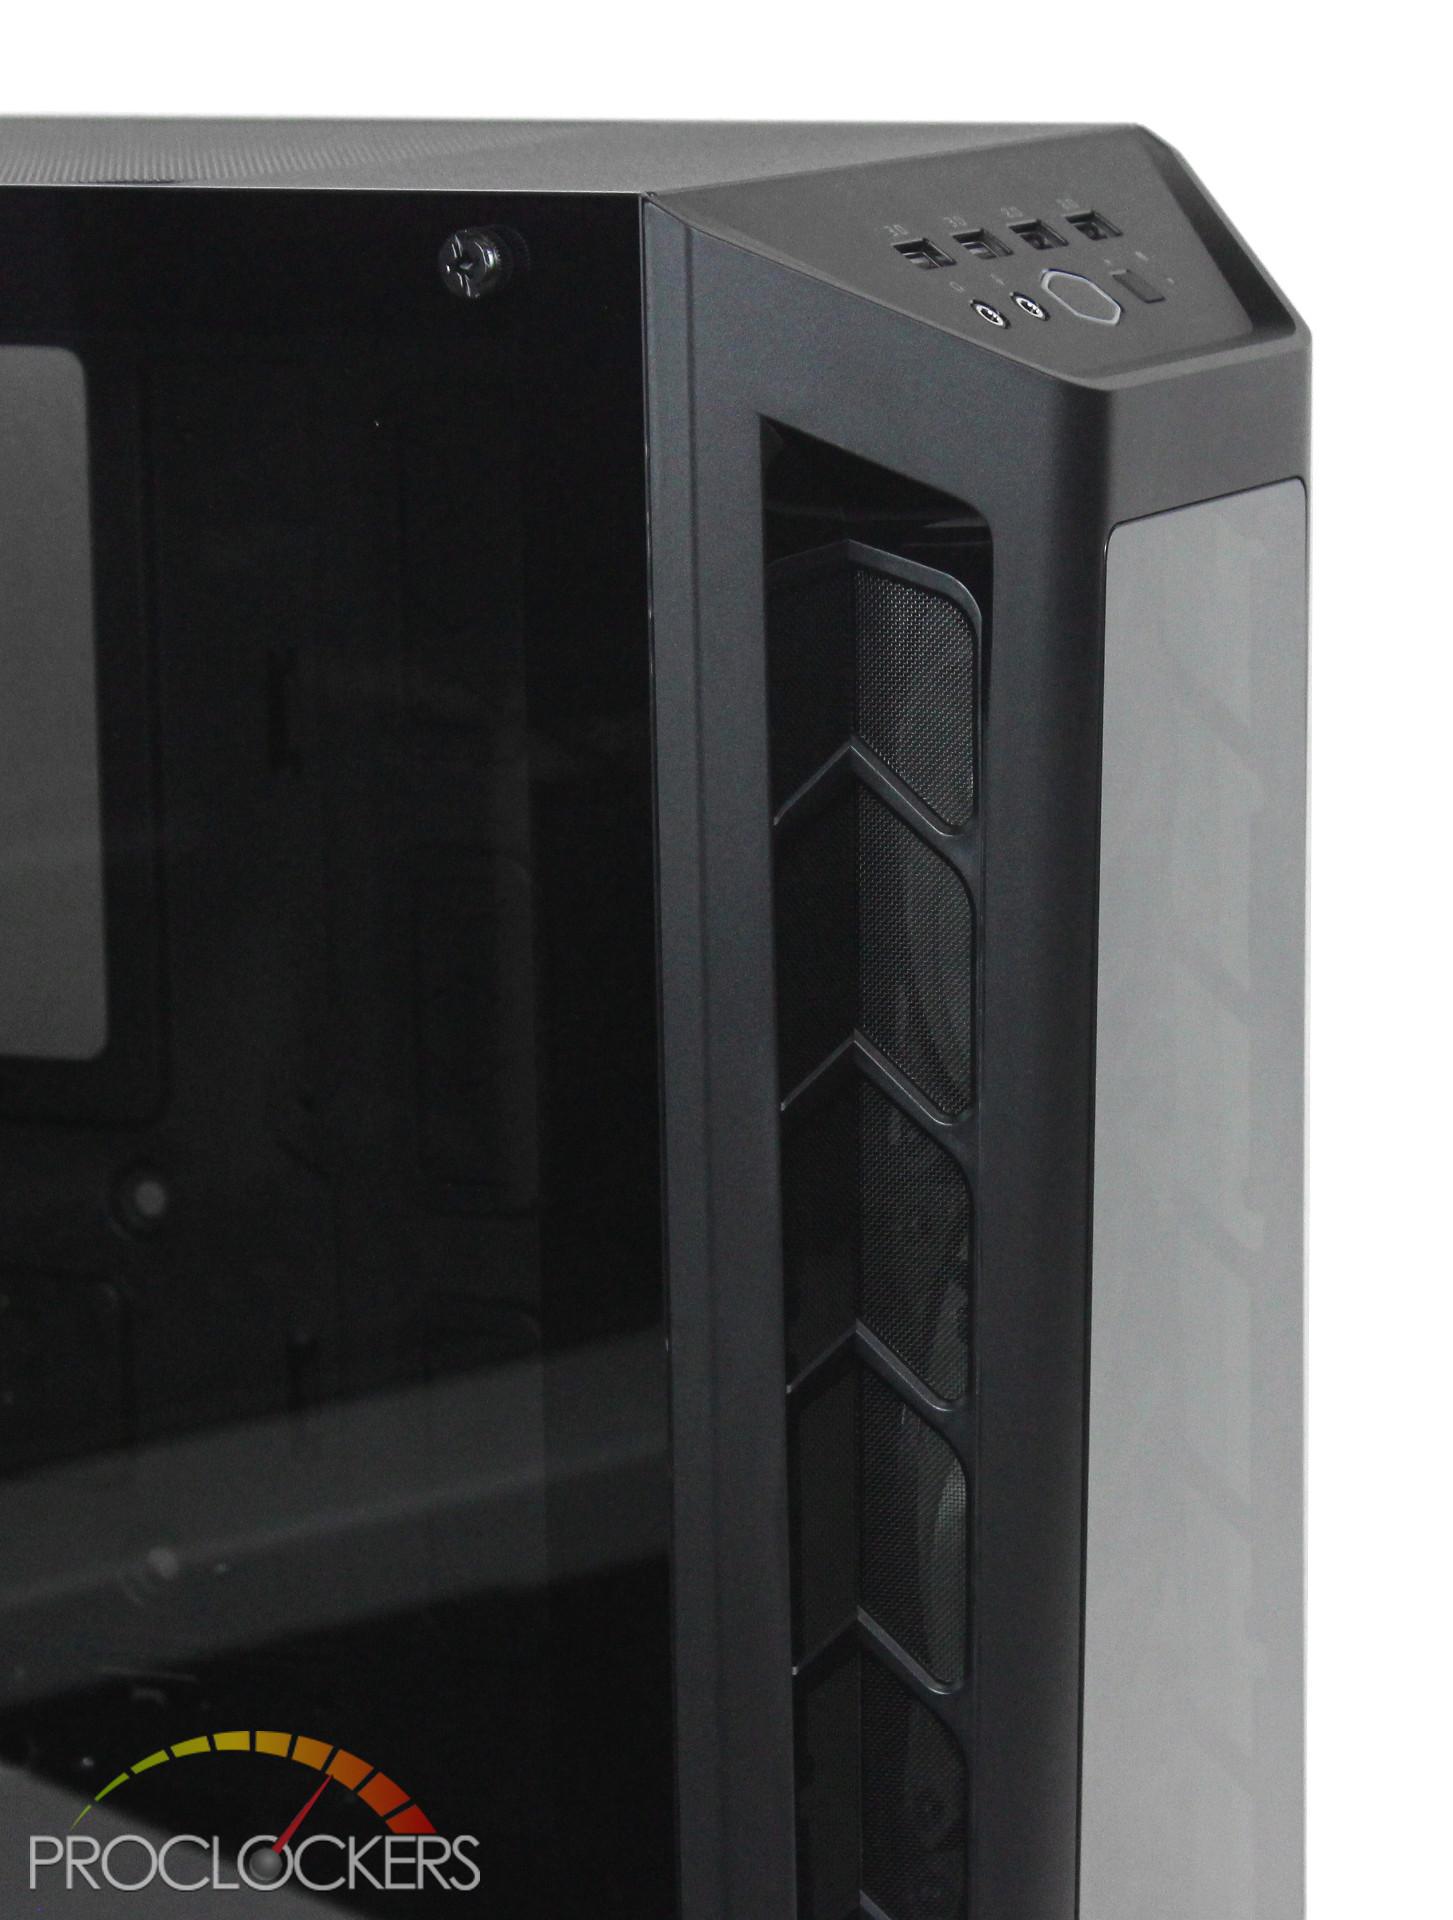
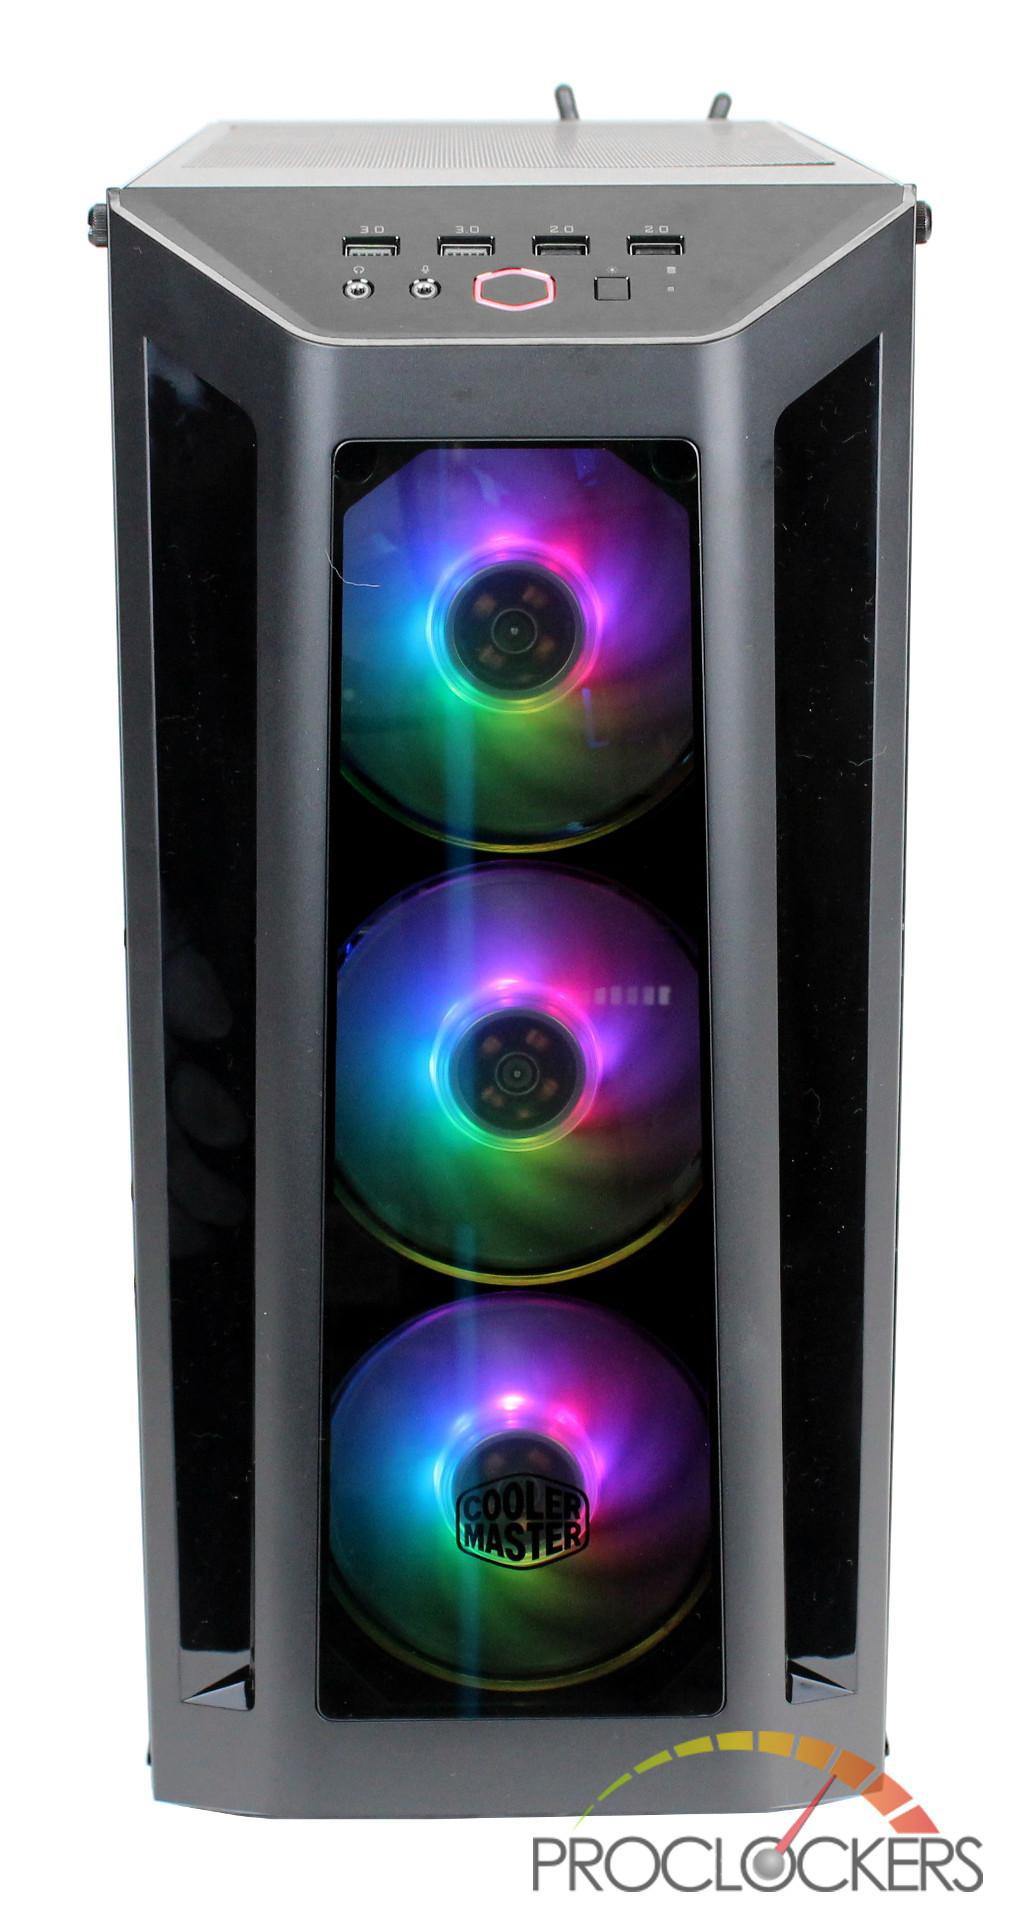
The front of the case features a curved body with a tempered glass front. The front glass does an excellent job of showcasing the 3 pre-installed ARGB 120mm fans.

On the sides of the curved front body, Cooler Master has included aggressive intakes which should provide great airflow for the installed fans.
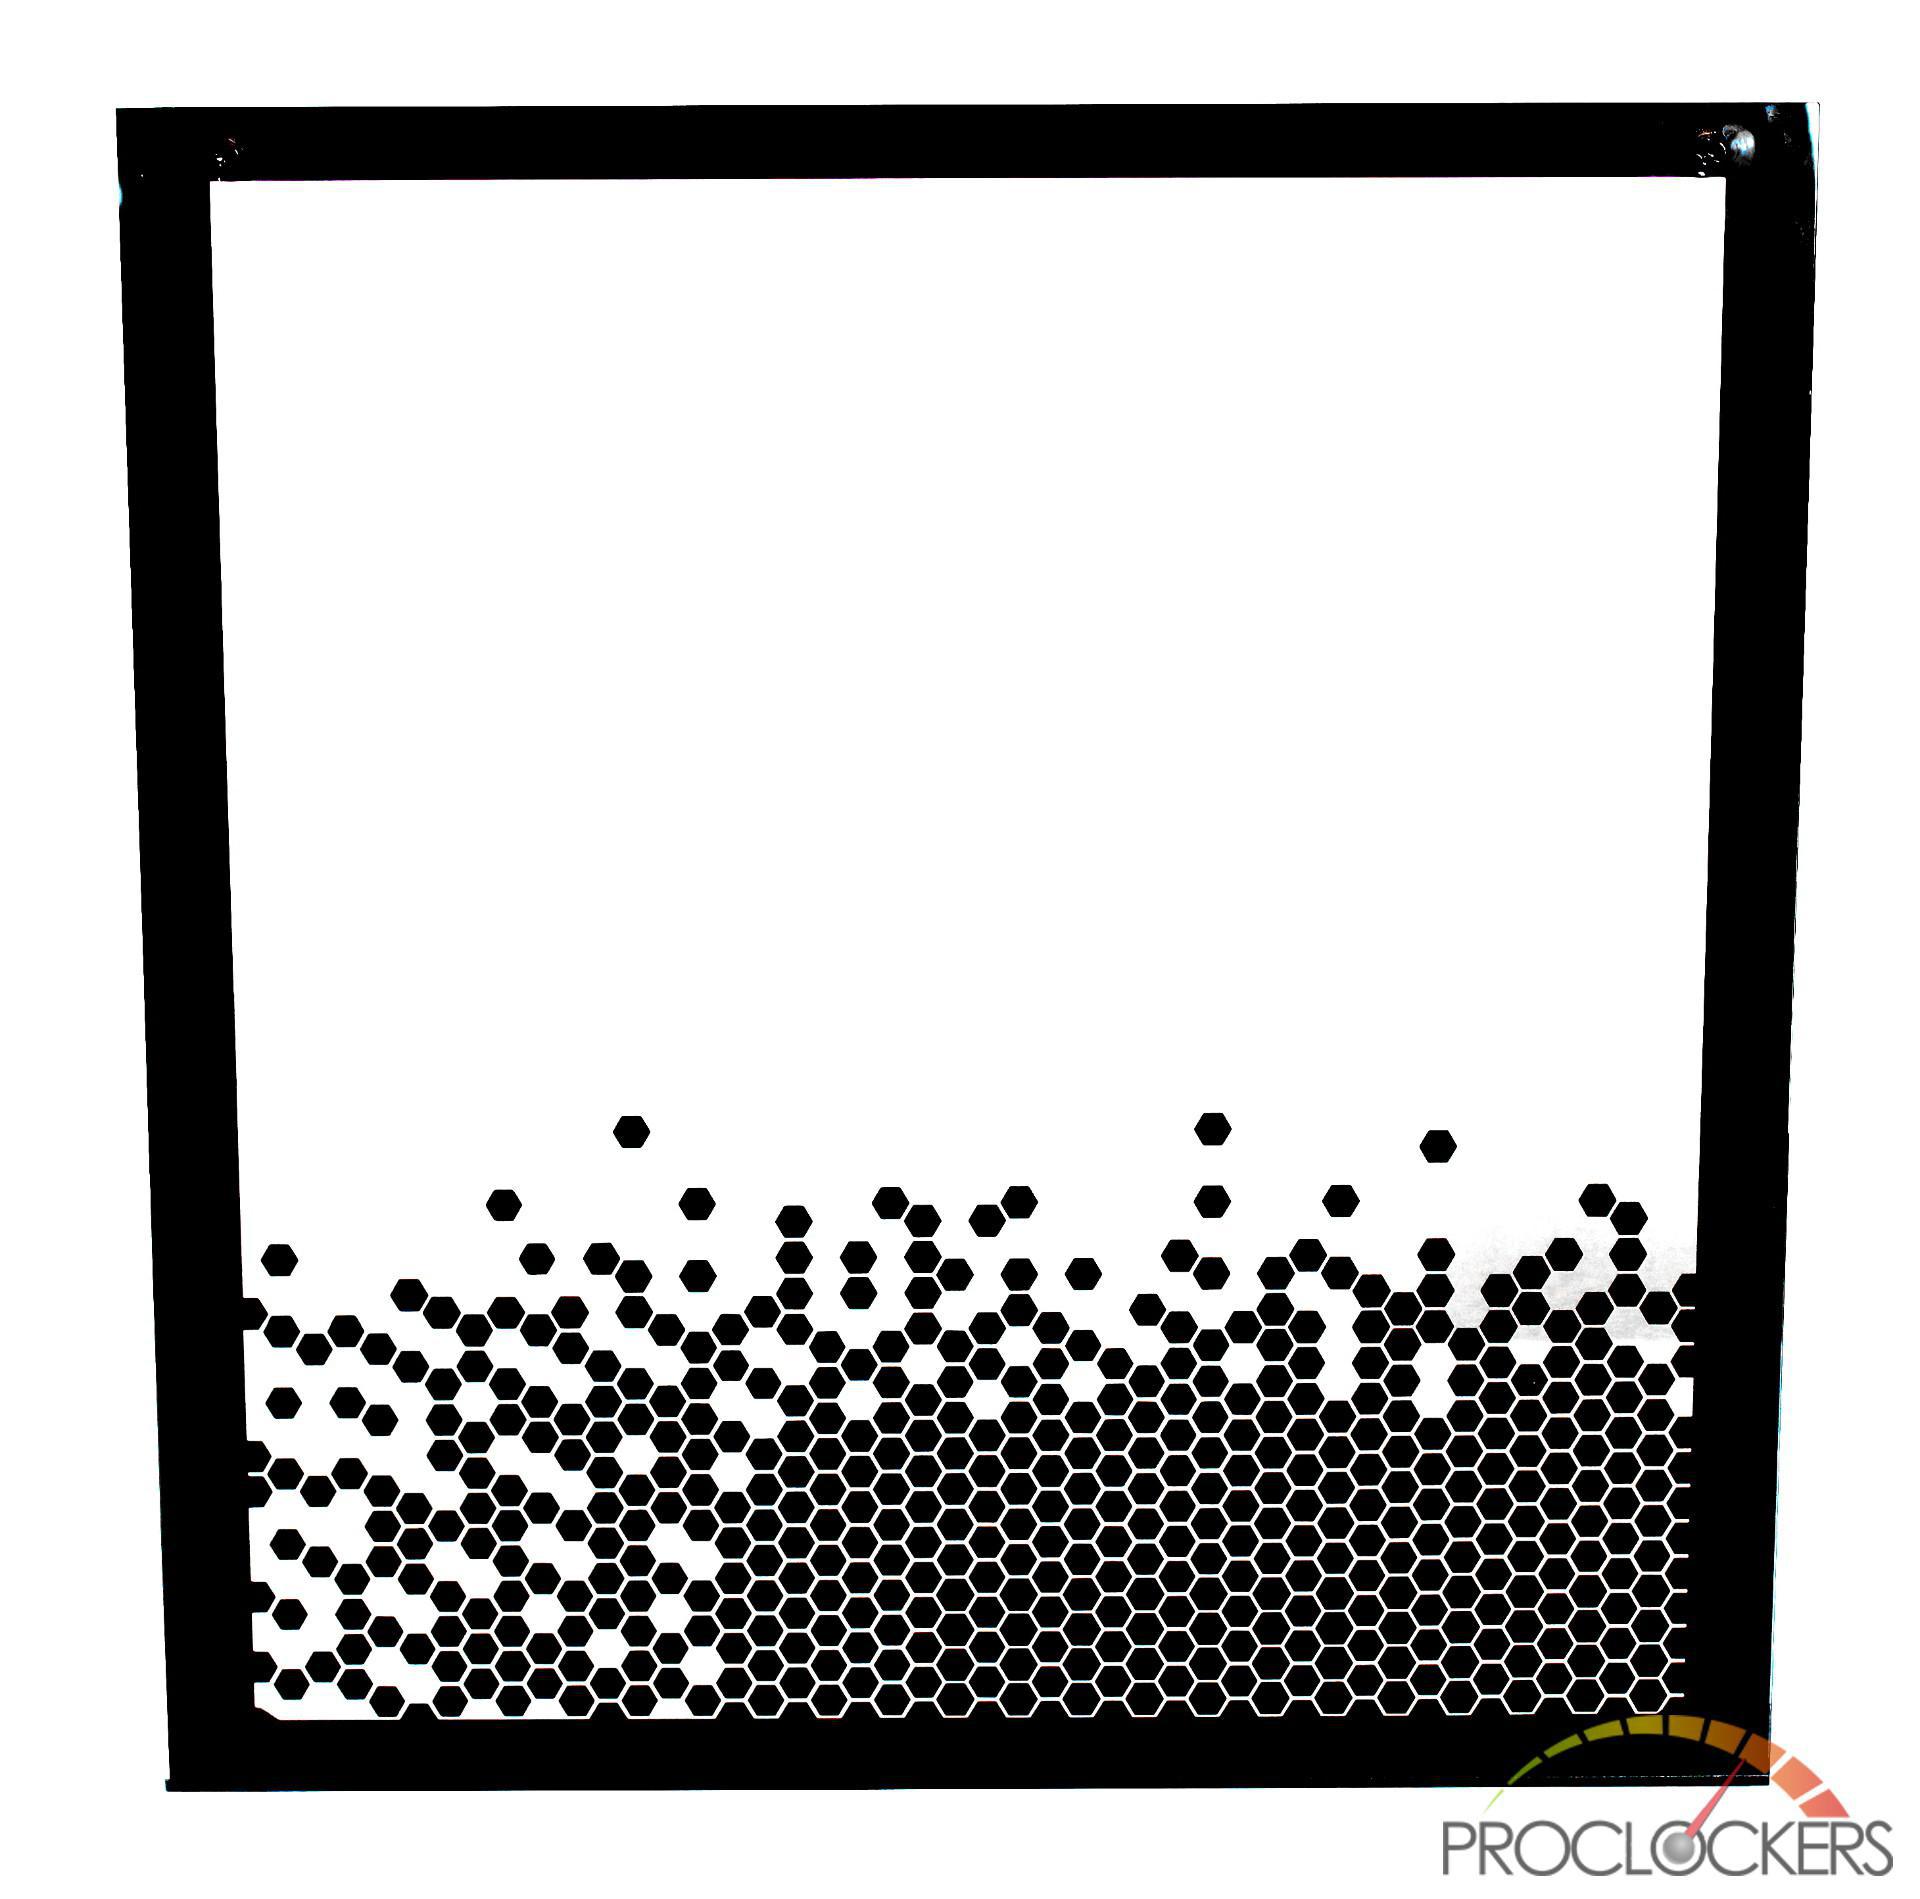
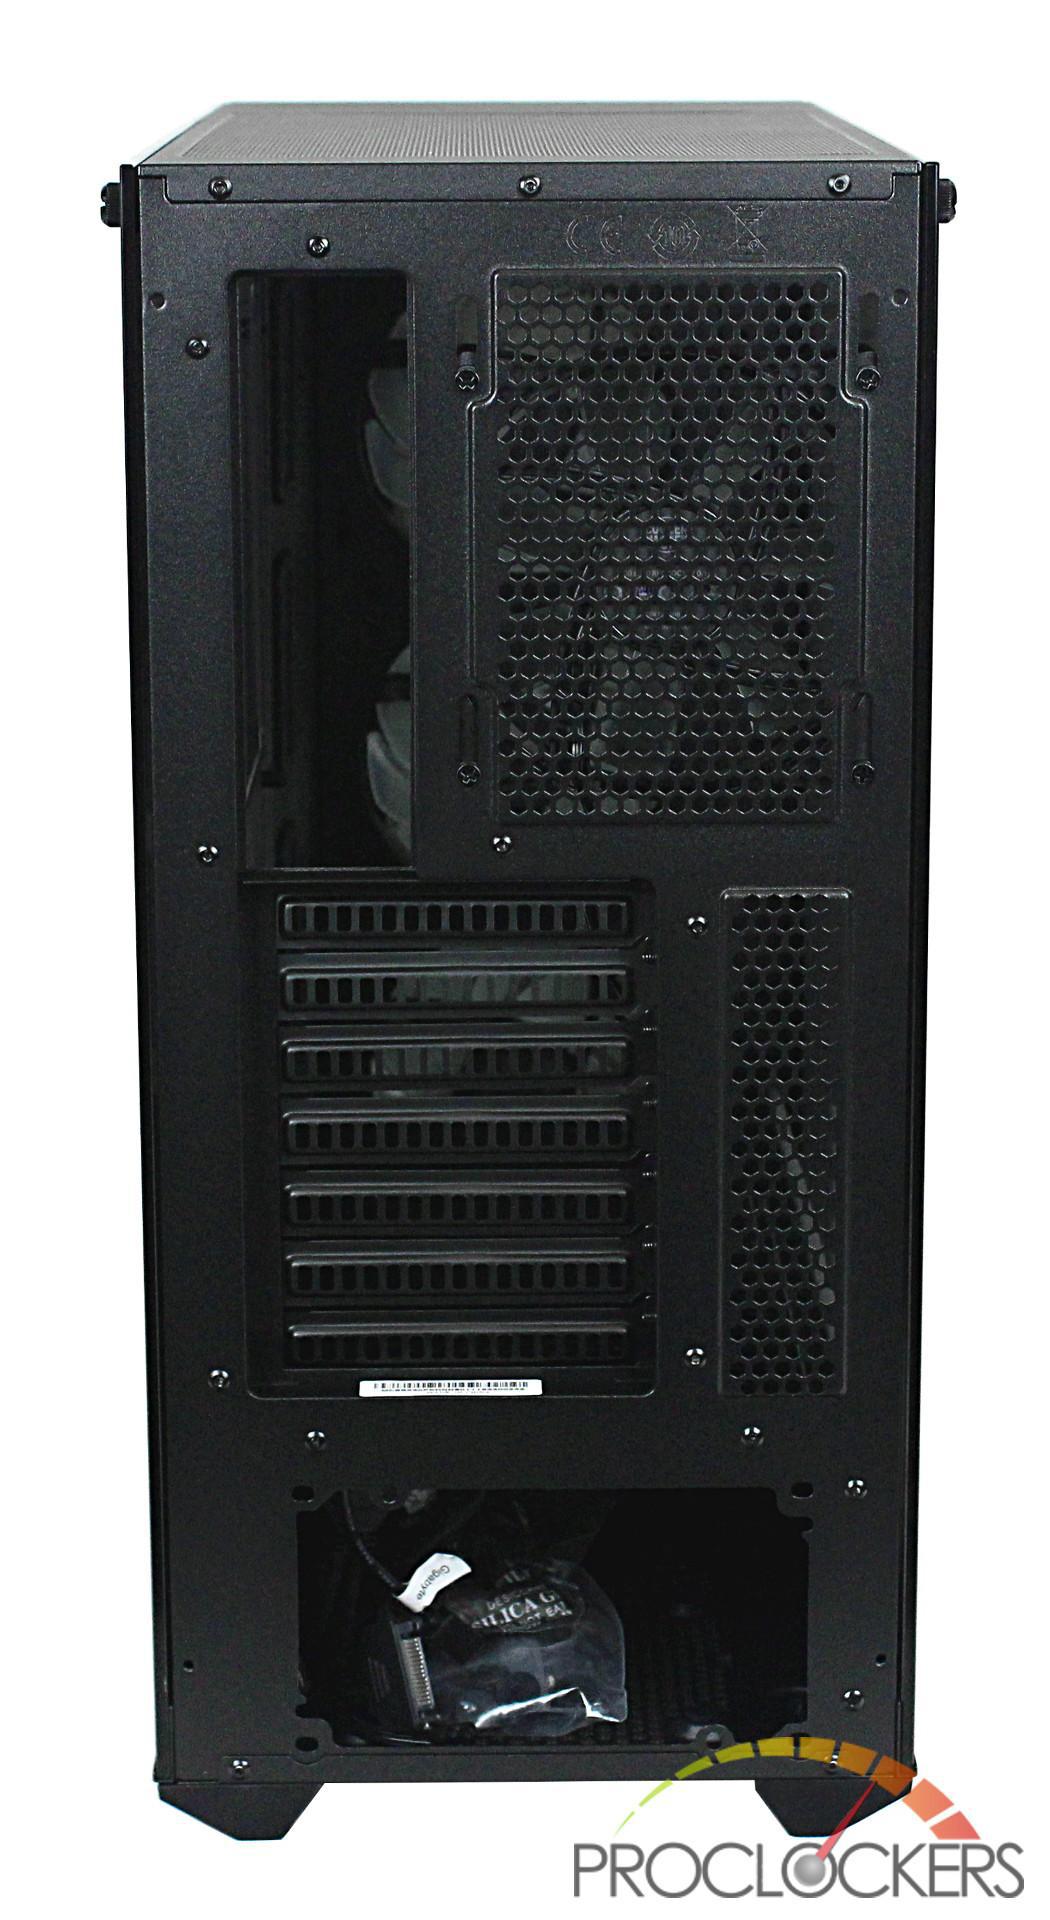
Moving to the back-side panel, it very much mirrors the front side panel with the exception of the silk screening on the bottom.
Taking a closer look at the back tempered glass panel, you can see that the honeycomb design effectively covers the whole back PSU area. This should give you enough cover so that you will not see you PSU cables through the tempered glass.
The back of the MP530P has your standard I/O, PCIE and PSU cutouts as well as room for a 120mm exhaust fan.
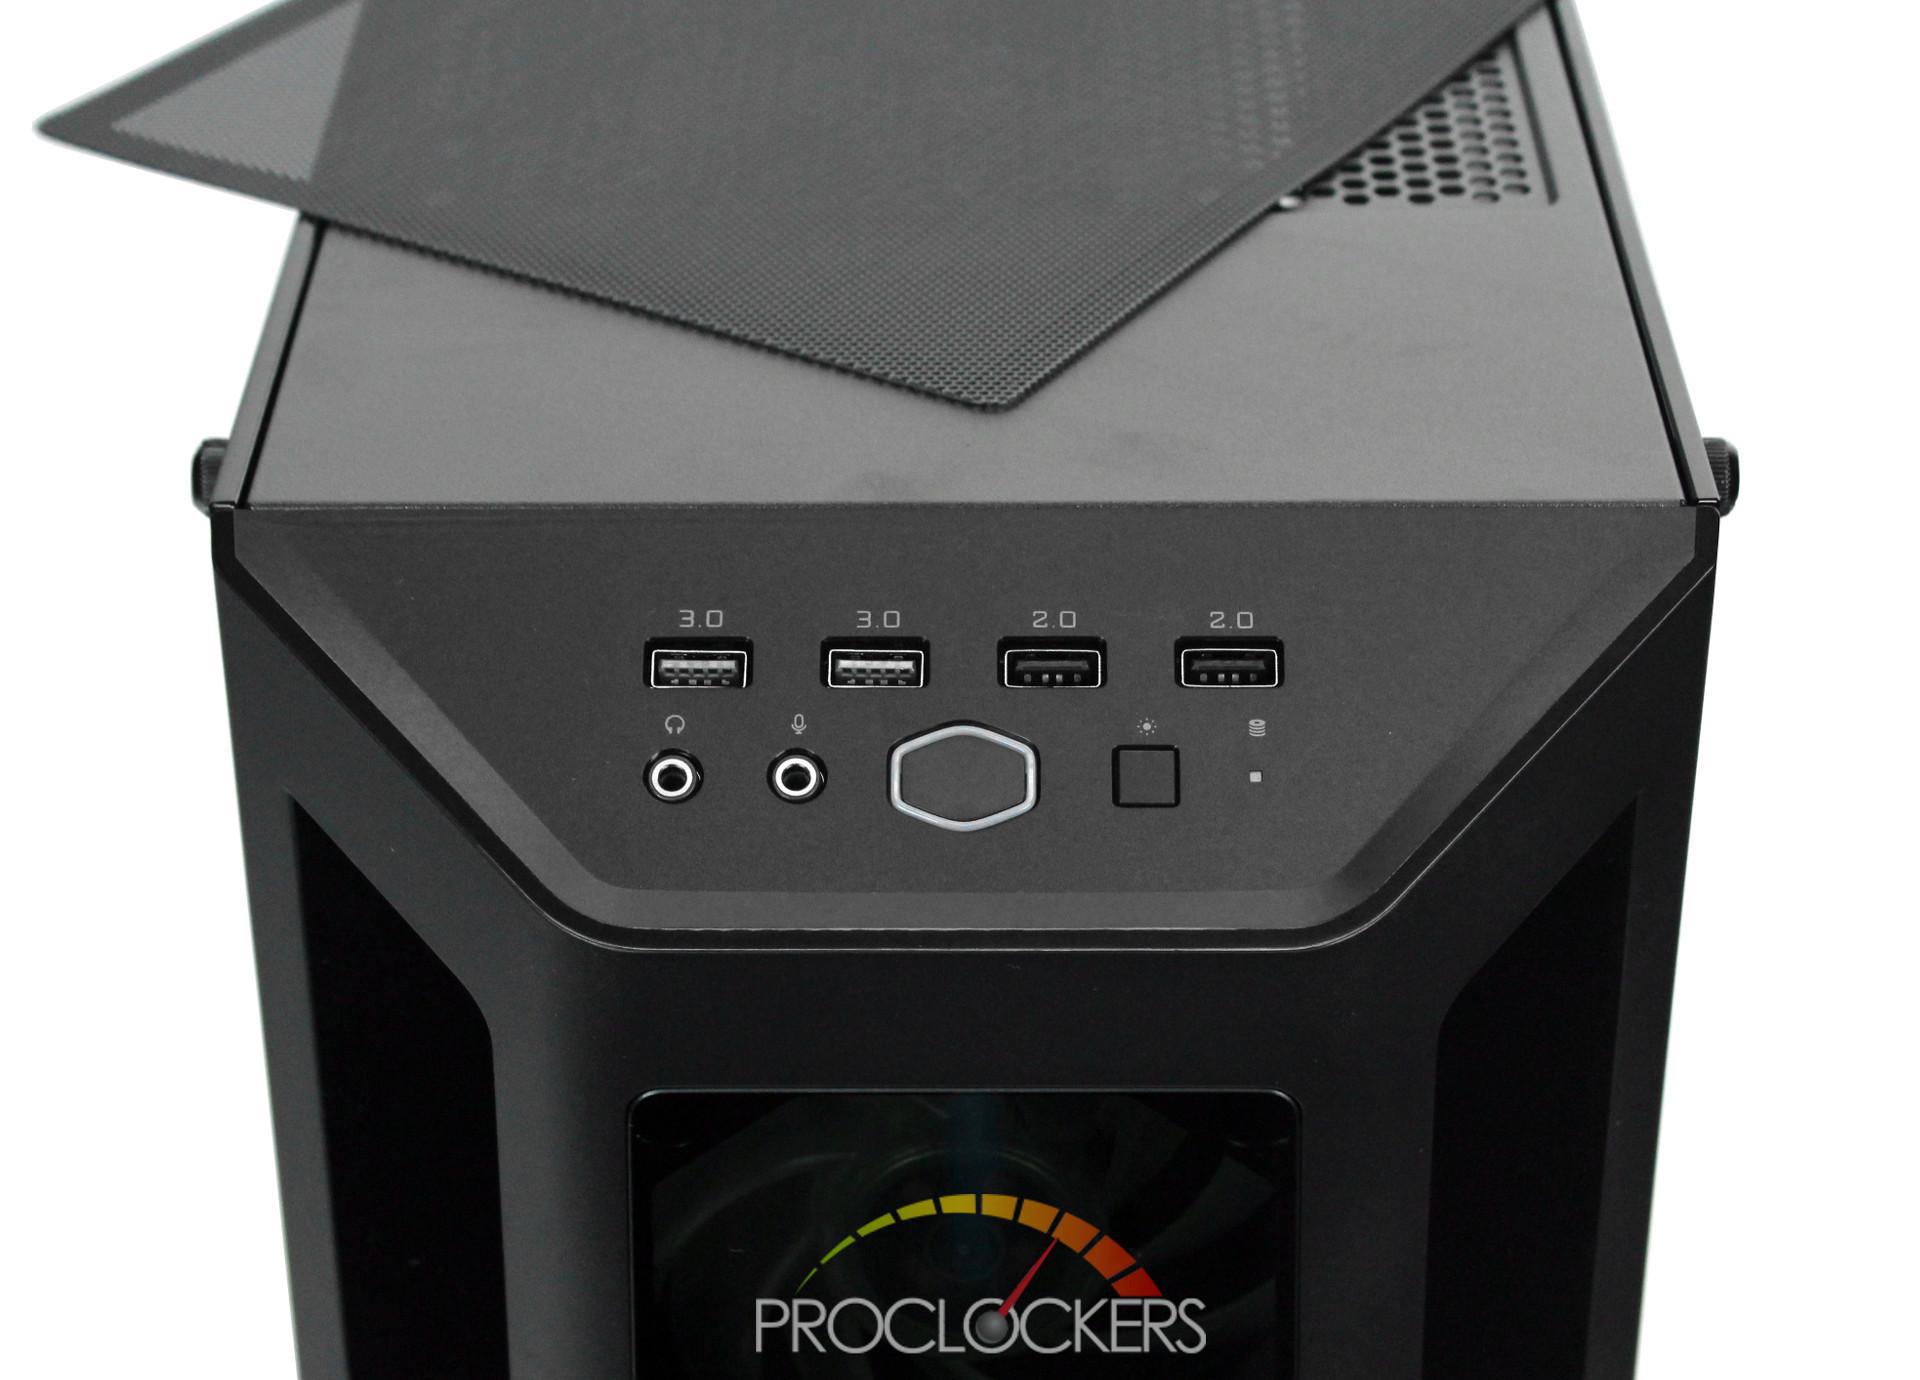
The top has enough room for a 240mm radiator and includes a magnetic removable dust filter.
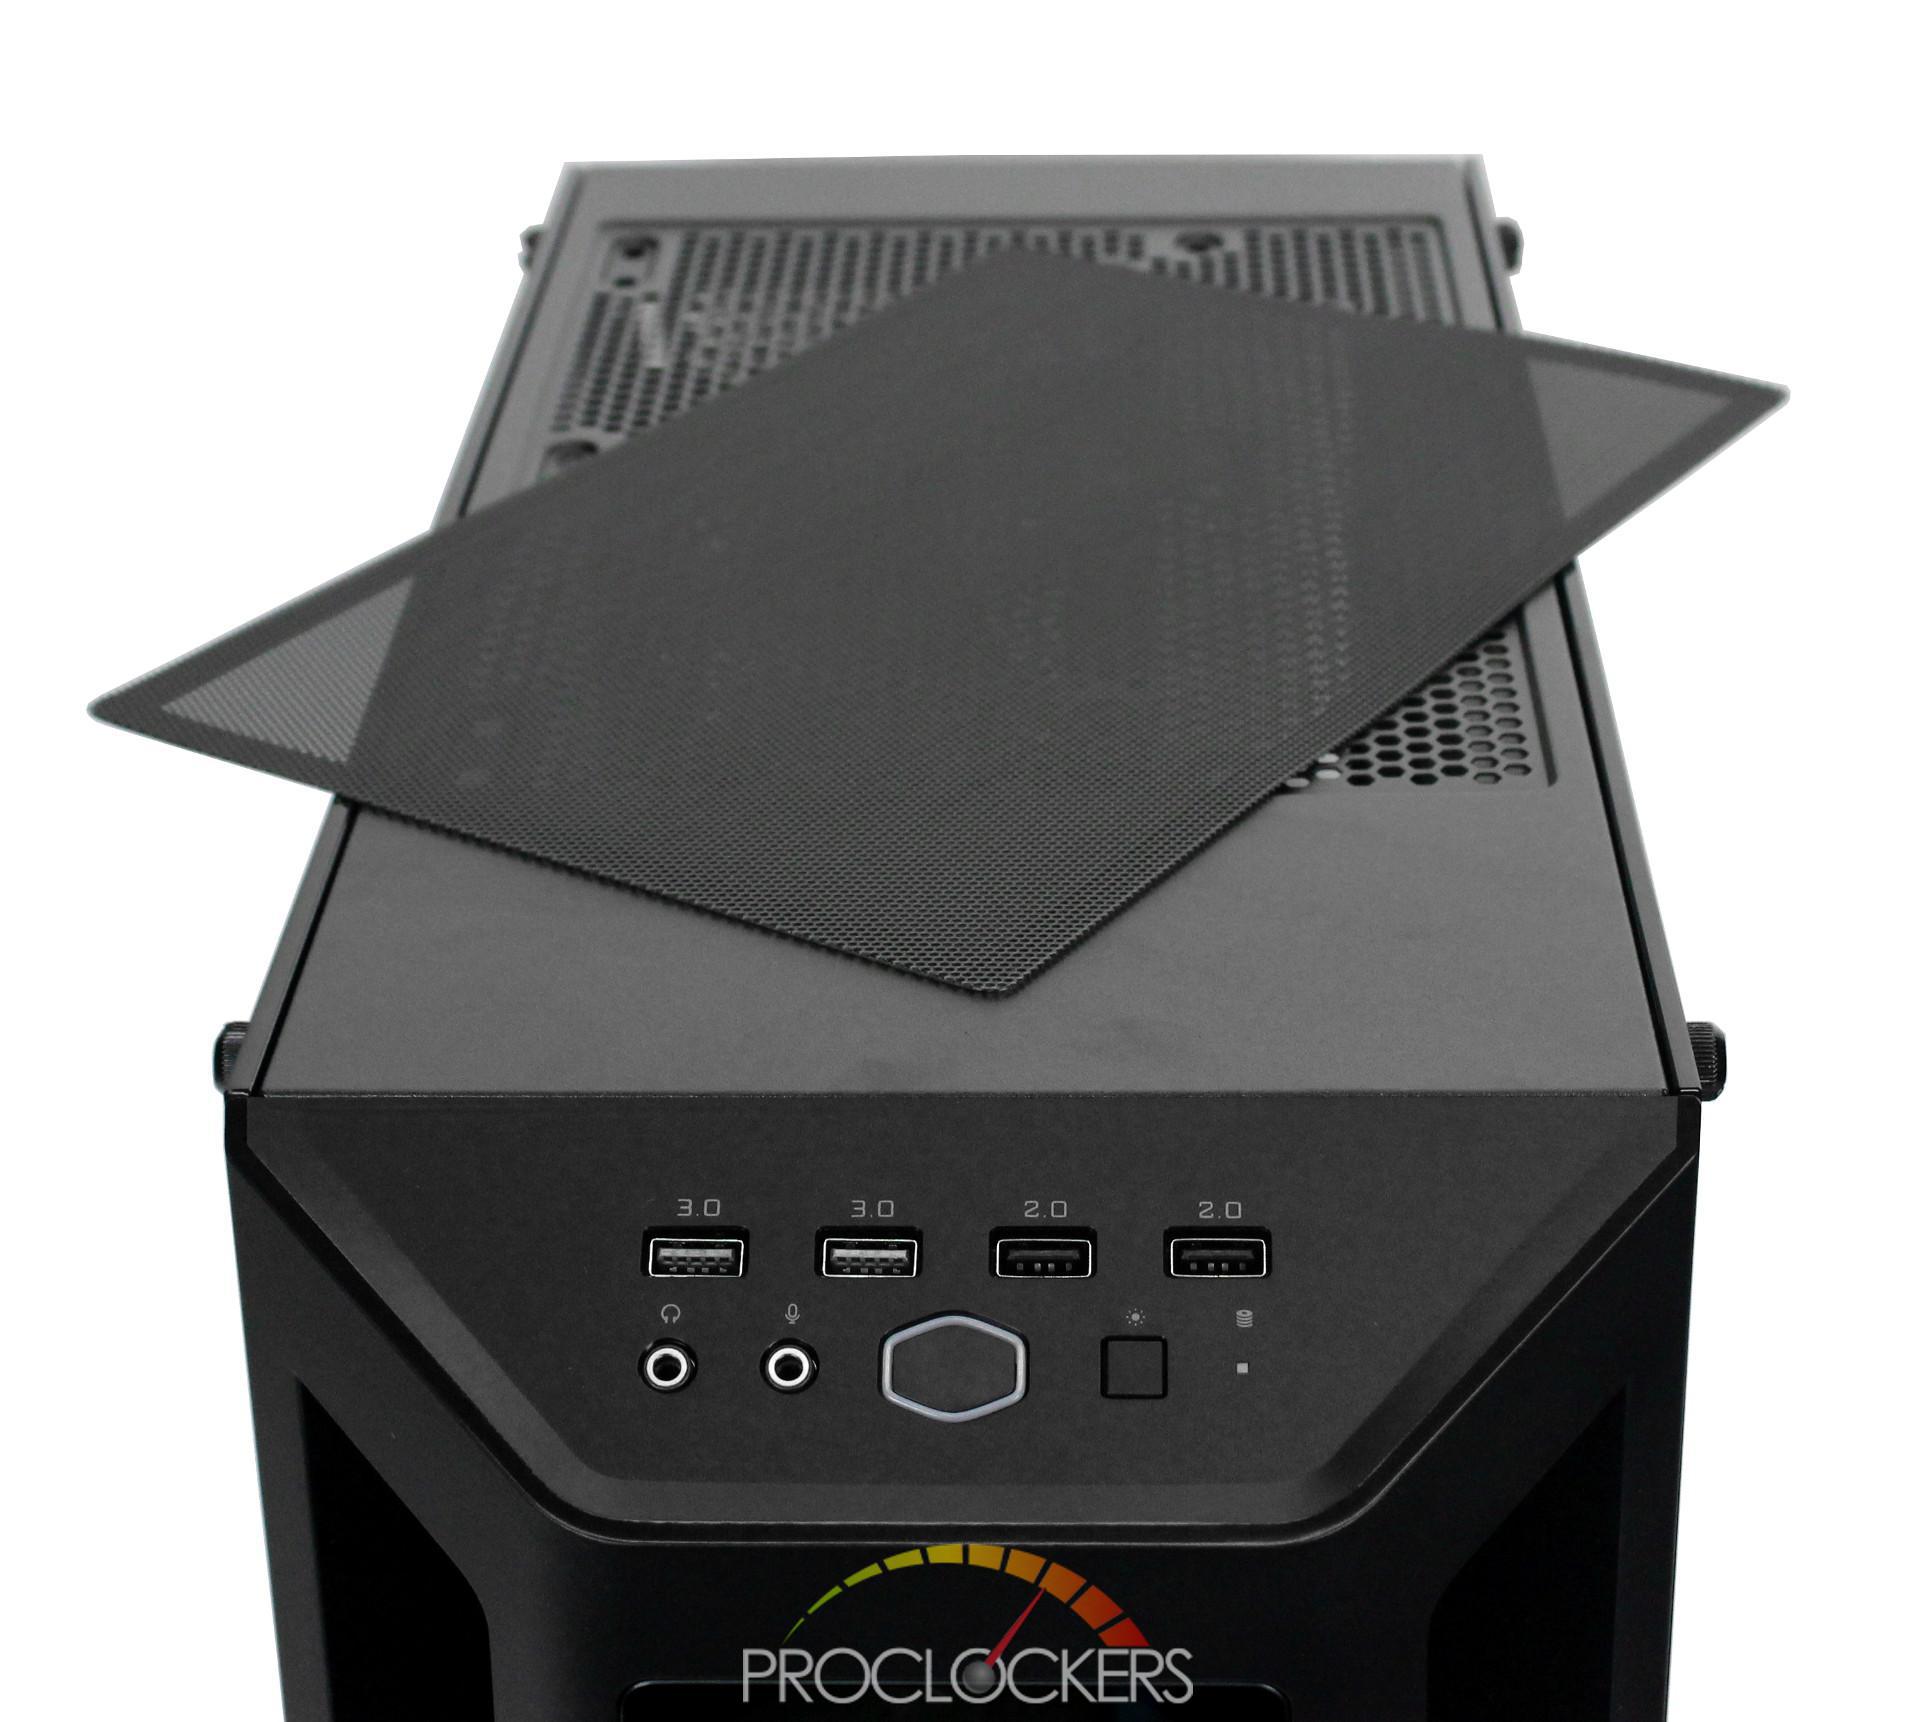
Taking a look at the front, I/O Cooler Master has included:
- 2 x USB 2.0 ports
- 2 x USB 3.0 ports
- 3.5mm Headphone and microphone jack
- Power button with RGB outline illumination
- RGB lighting button
- HDD activity LED
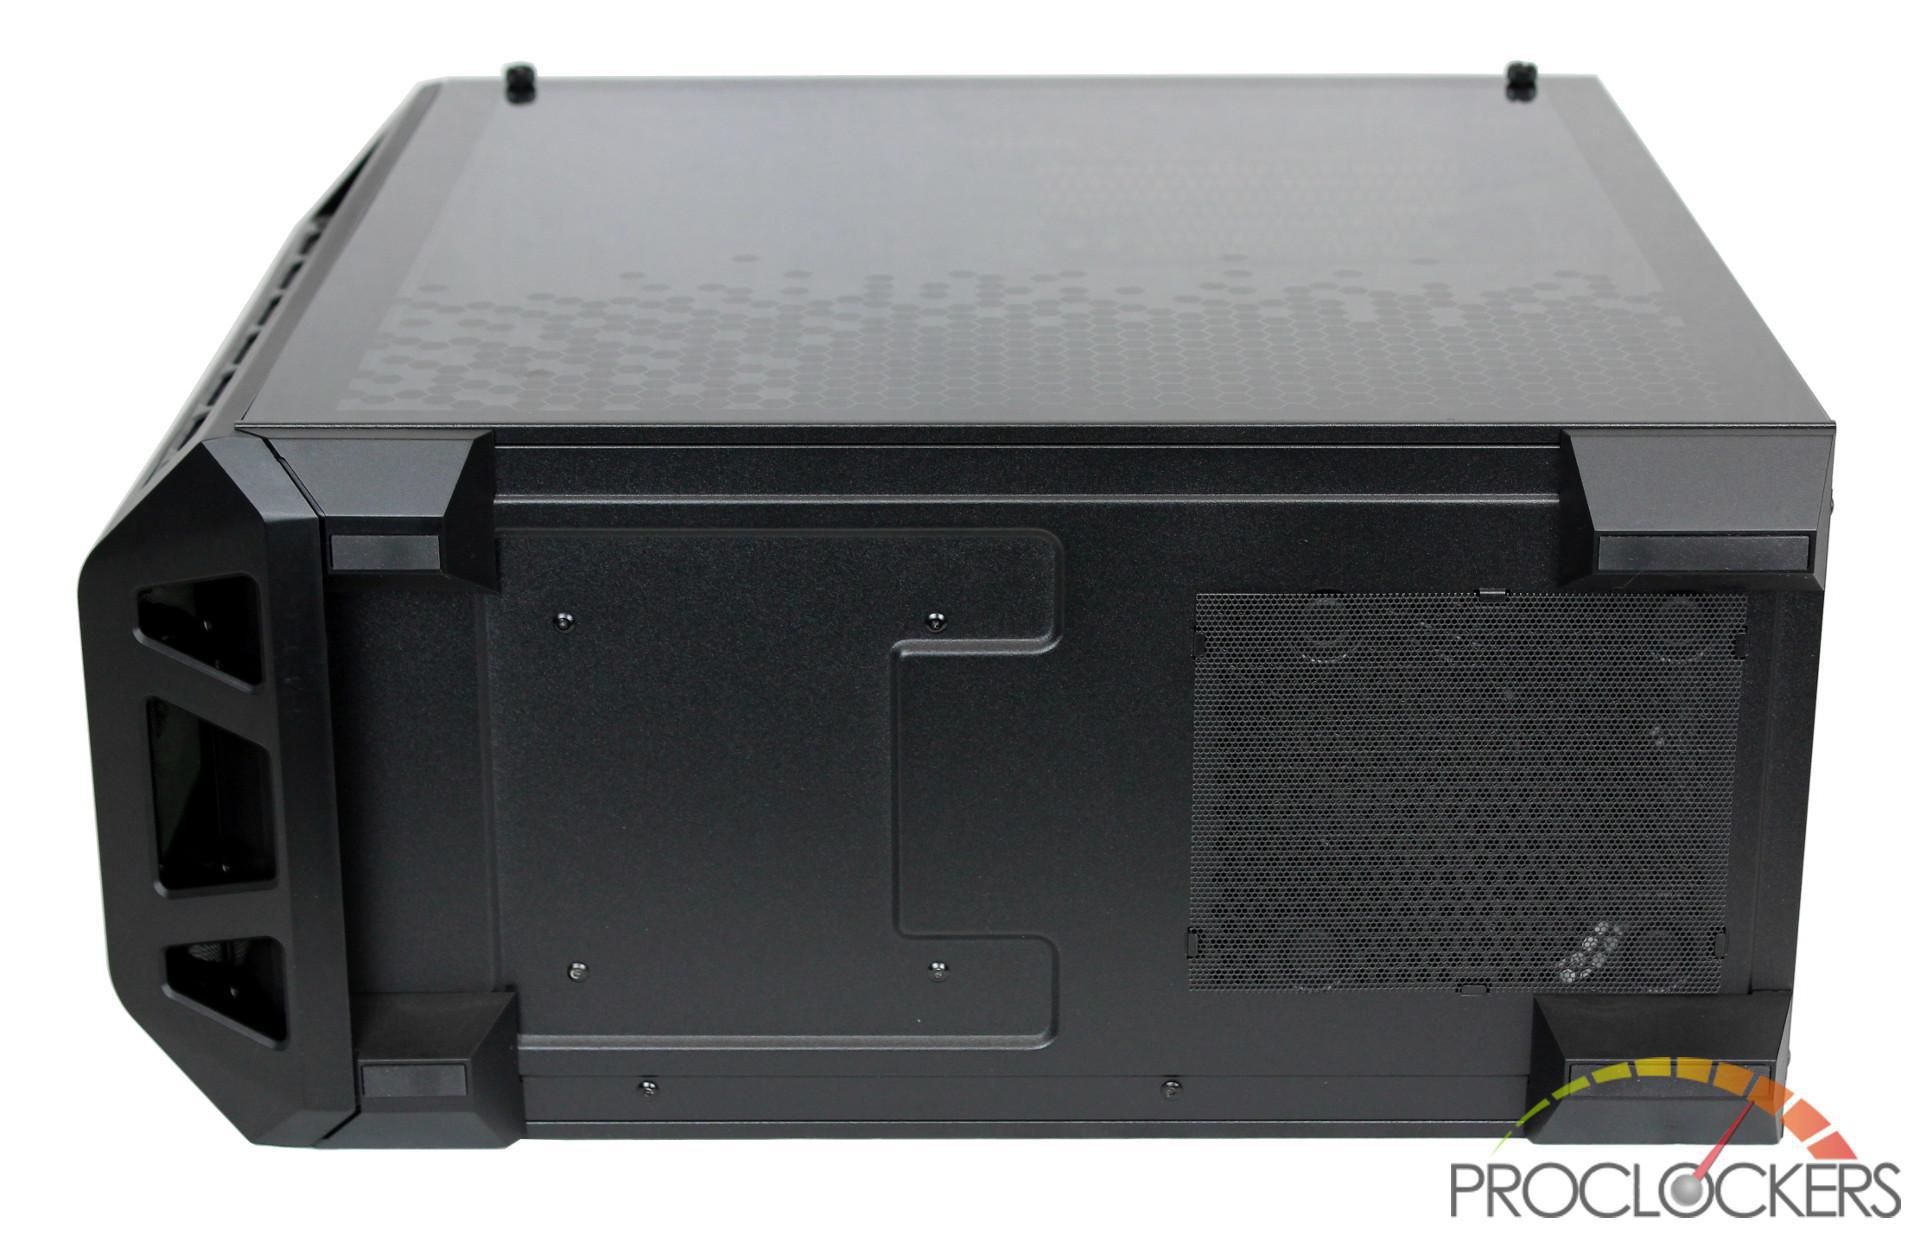
Putting the case on its side to take a peek at the bottom, the MB530P has 2 rubberized feet on both the front and back of the case as well as a removable PSU intake filter.
A Closer Look: Interior
The same matte black from the exterior is carried into the interior of the MP530P. The motherboard tray includes 3 well sized grommets to the right as well as additional cutouts at the top and bottom. The tray itself is able to accommodate Mini-ITX, Micro-ATX and ATX motherboards. It also includes a full-length PSU shroud which is always nice to see in a mid-tower case with minimal space to manage wires.
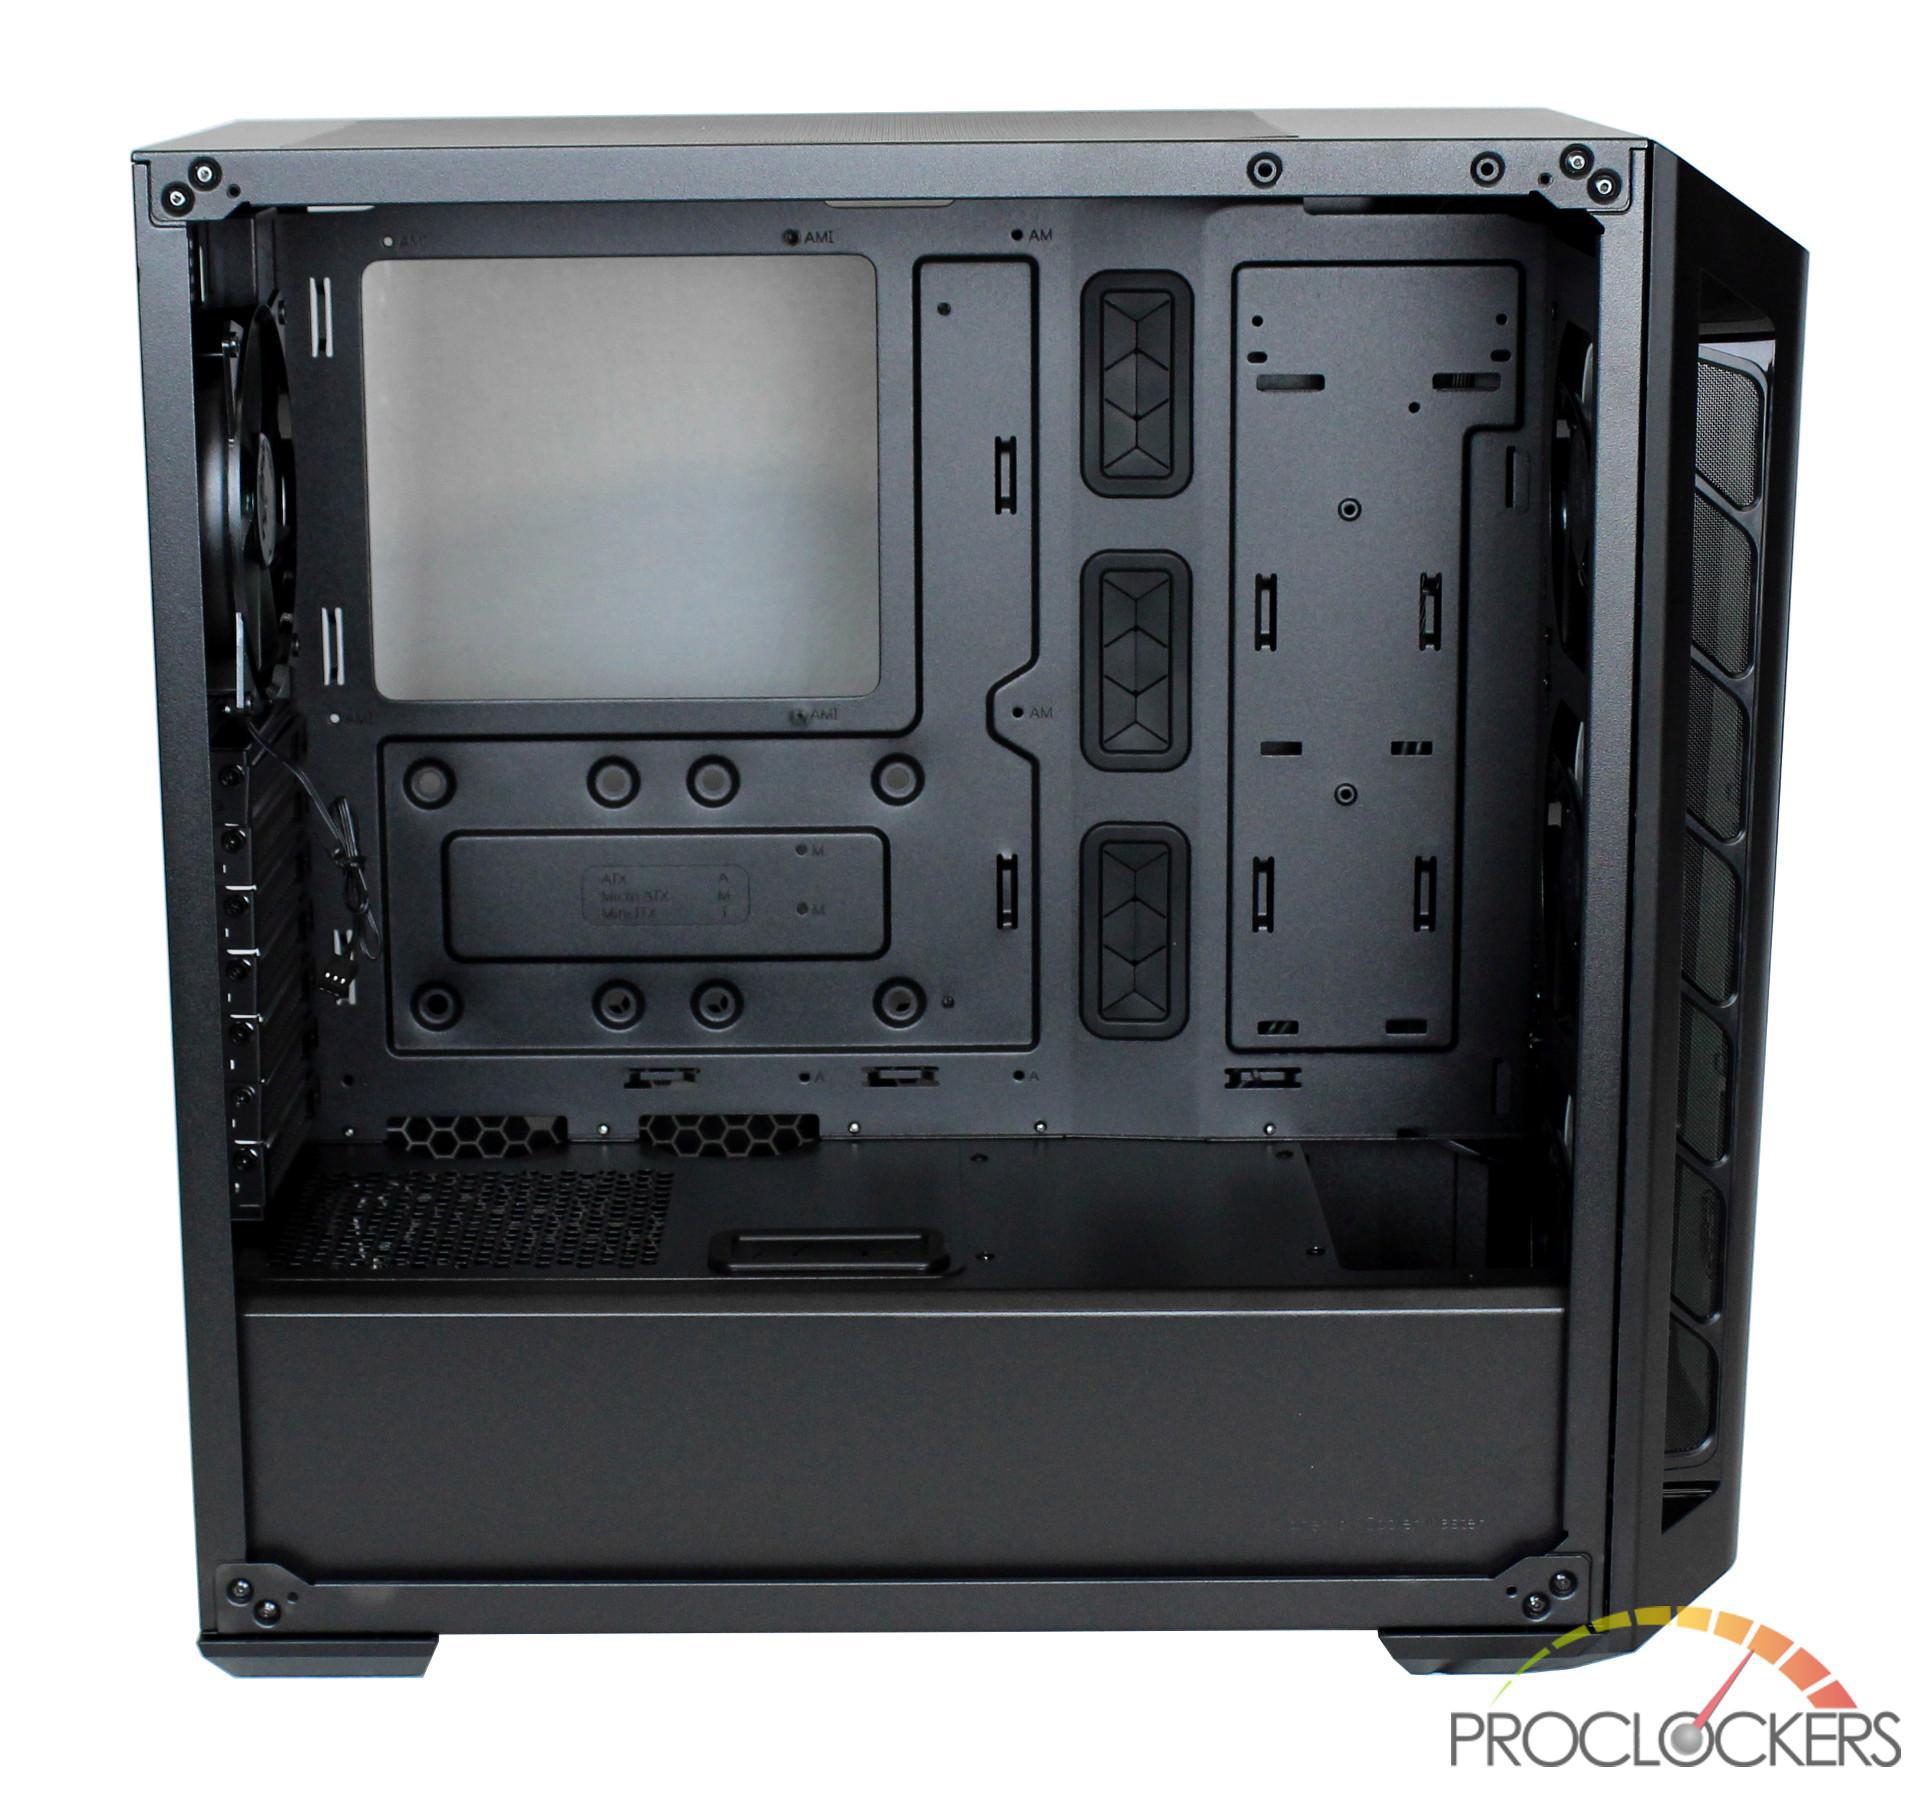
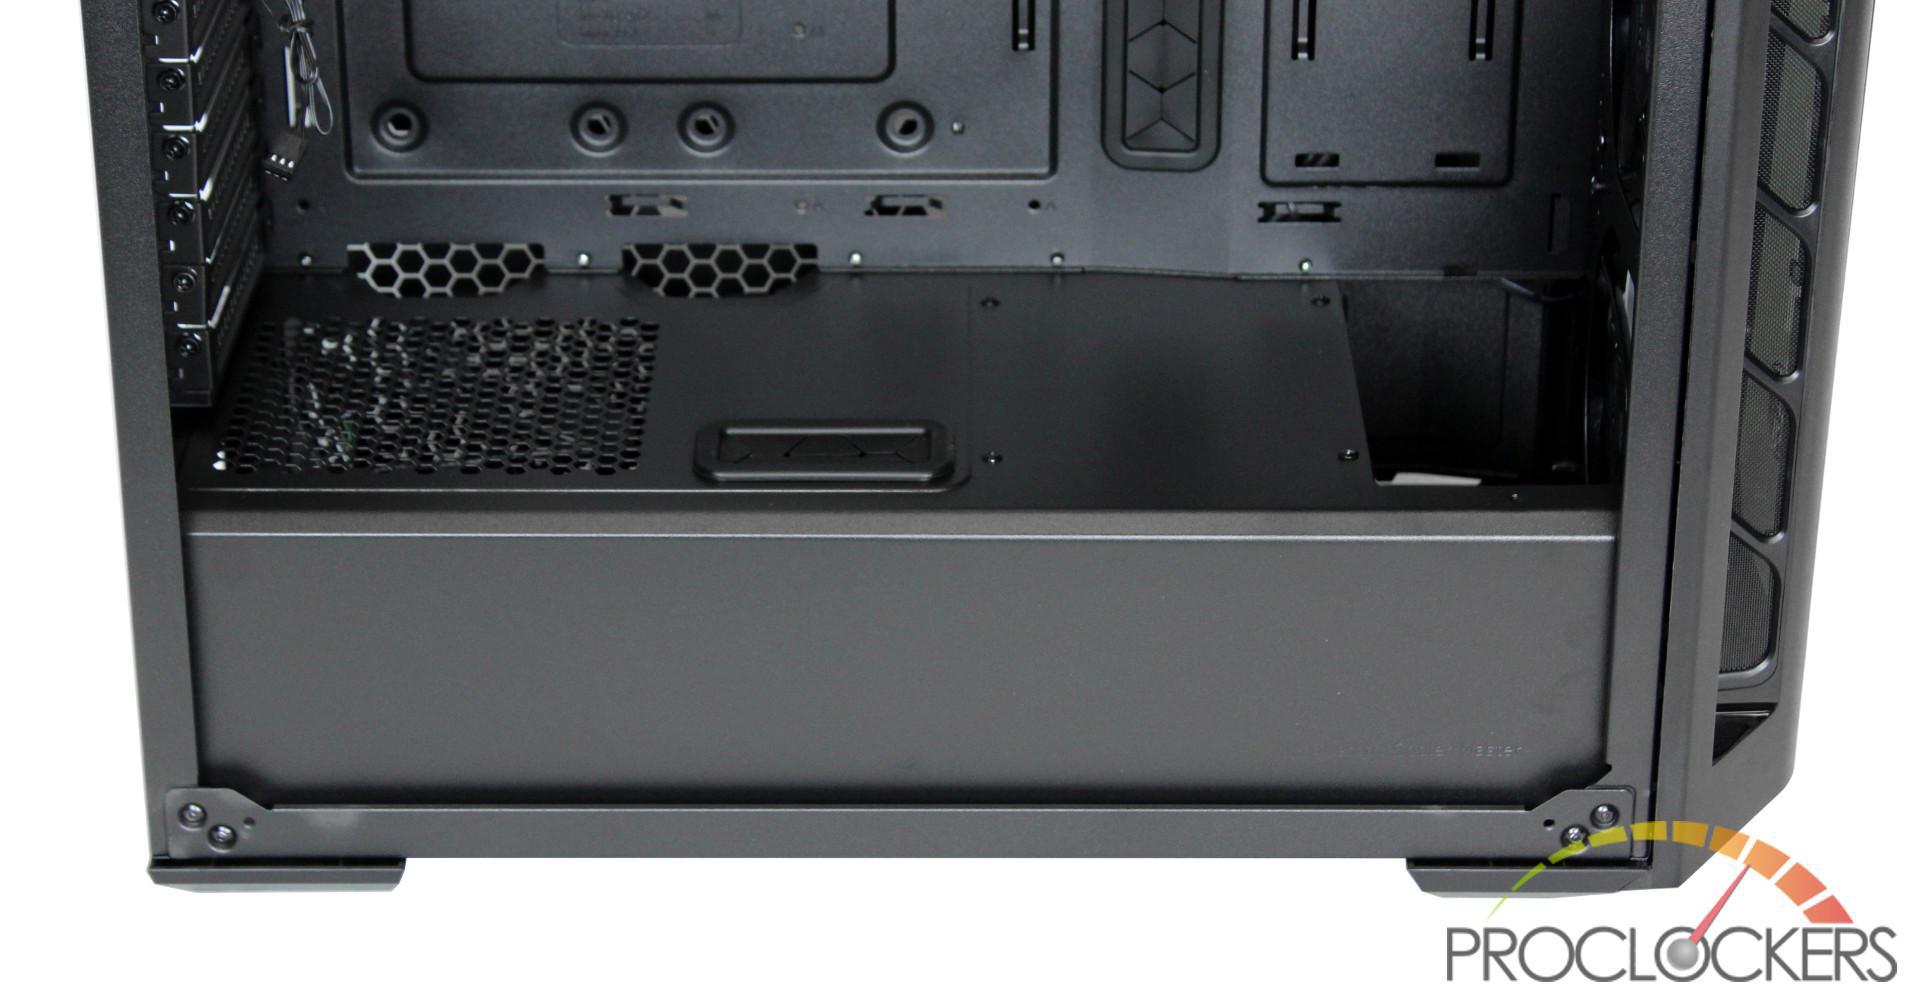
Taking a closer look at the PSU shroud, it has ventilation on the left-hand side and a full-sized grommet on top which can be used for your GPU cables. On the right side, you have a 75mm radiator cutout which is large enough for a 50mm radiator with 25mm fan for a push/pull configuration.
At the front of the interior you have the 3 pre-installed 120mm fans and mount points for a 120/140/240/280/360 AIO or radiator.
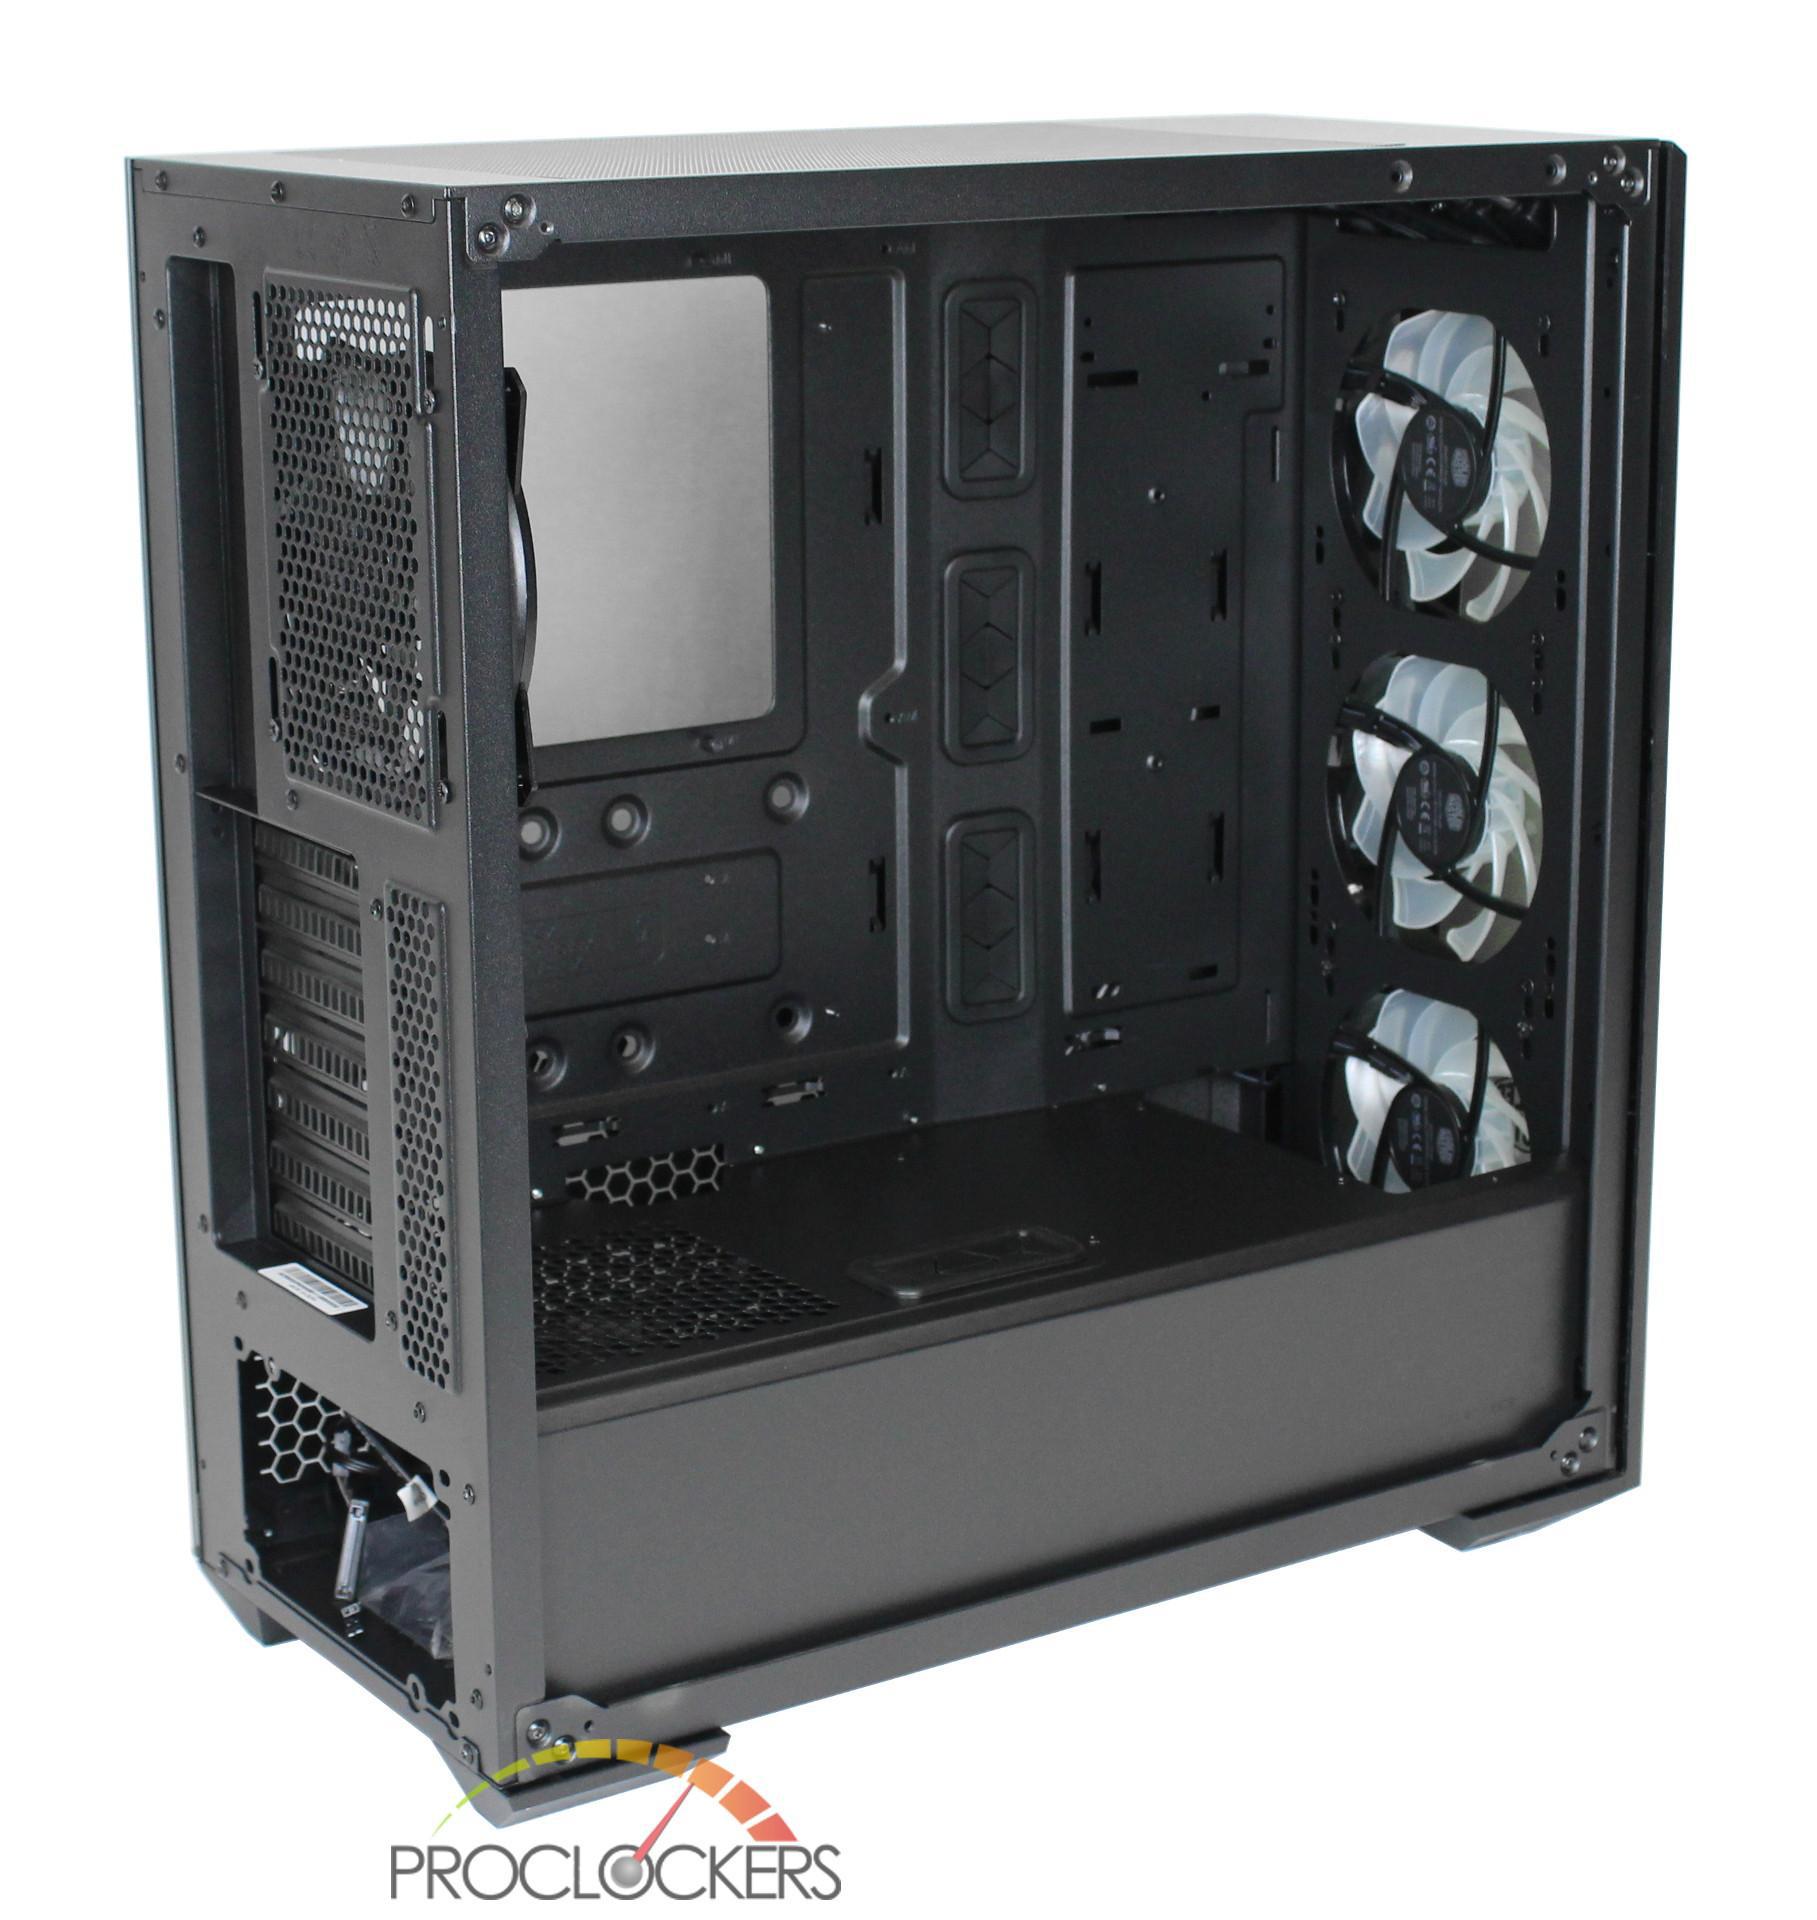
The back of the case comes with a pre-installed 120mm non-RGB fan.

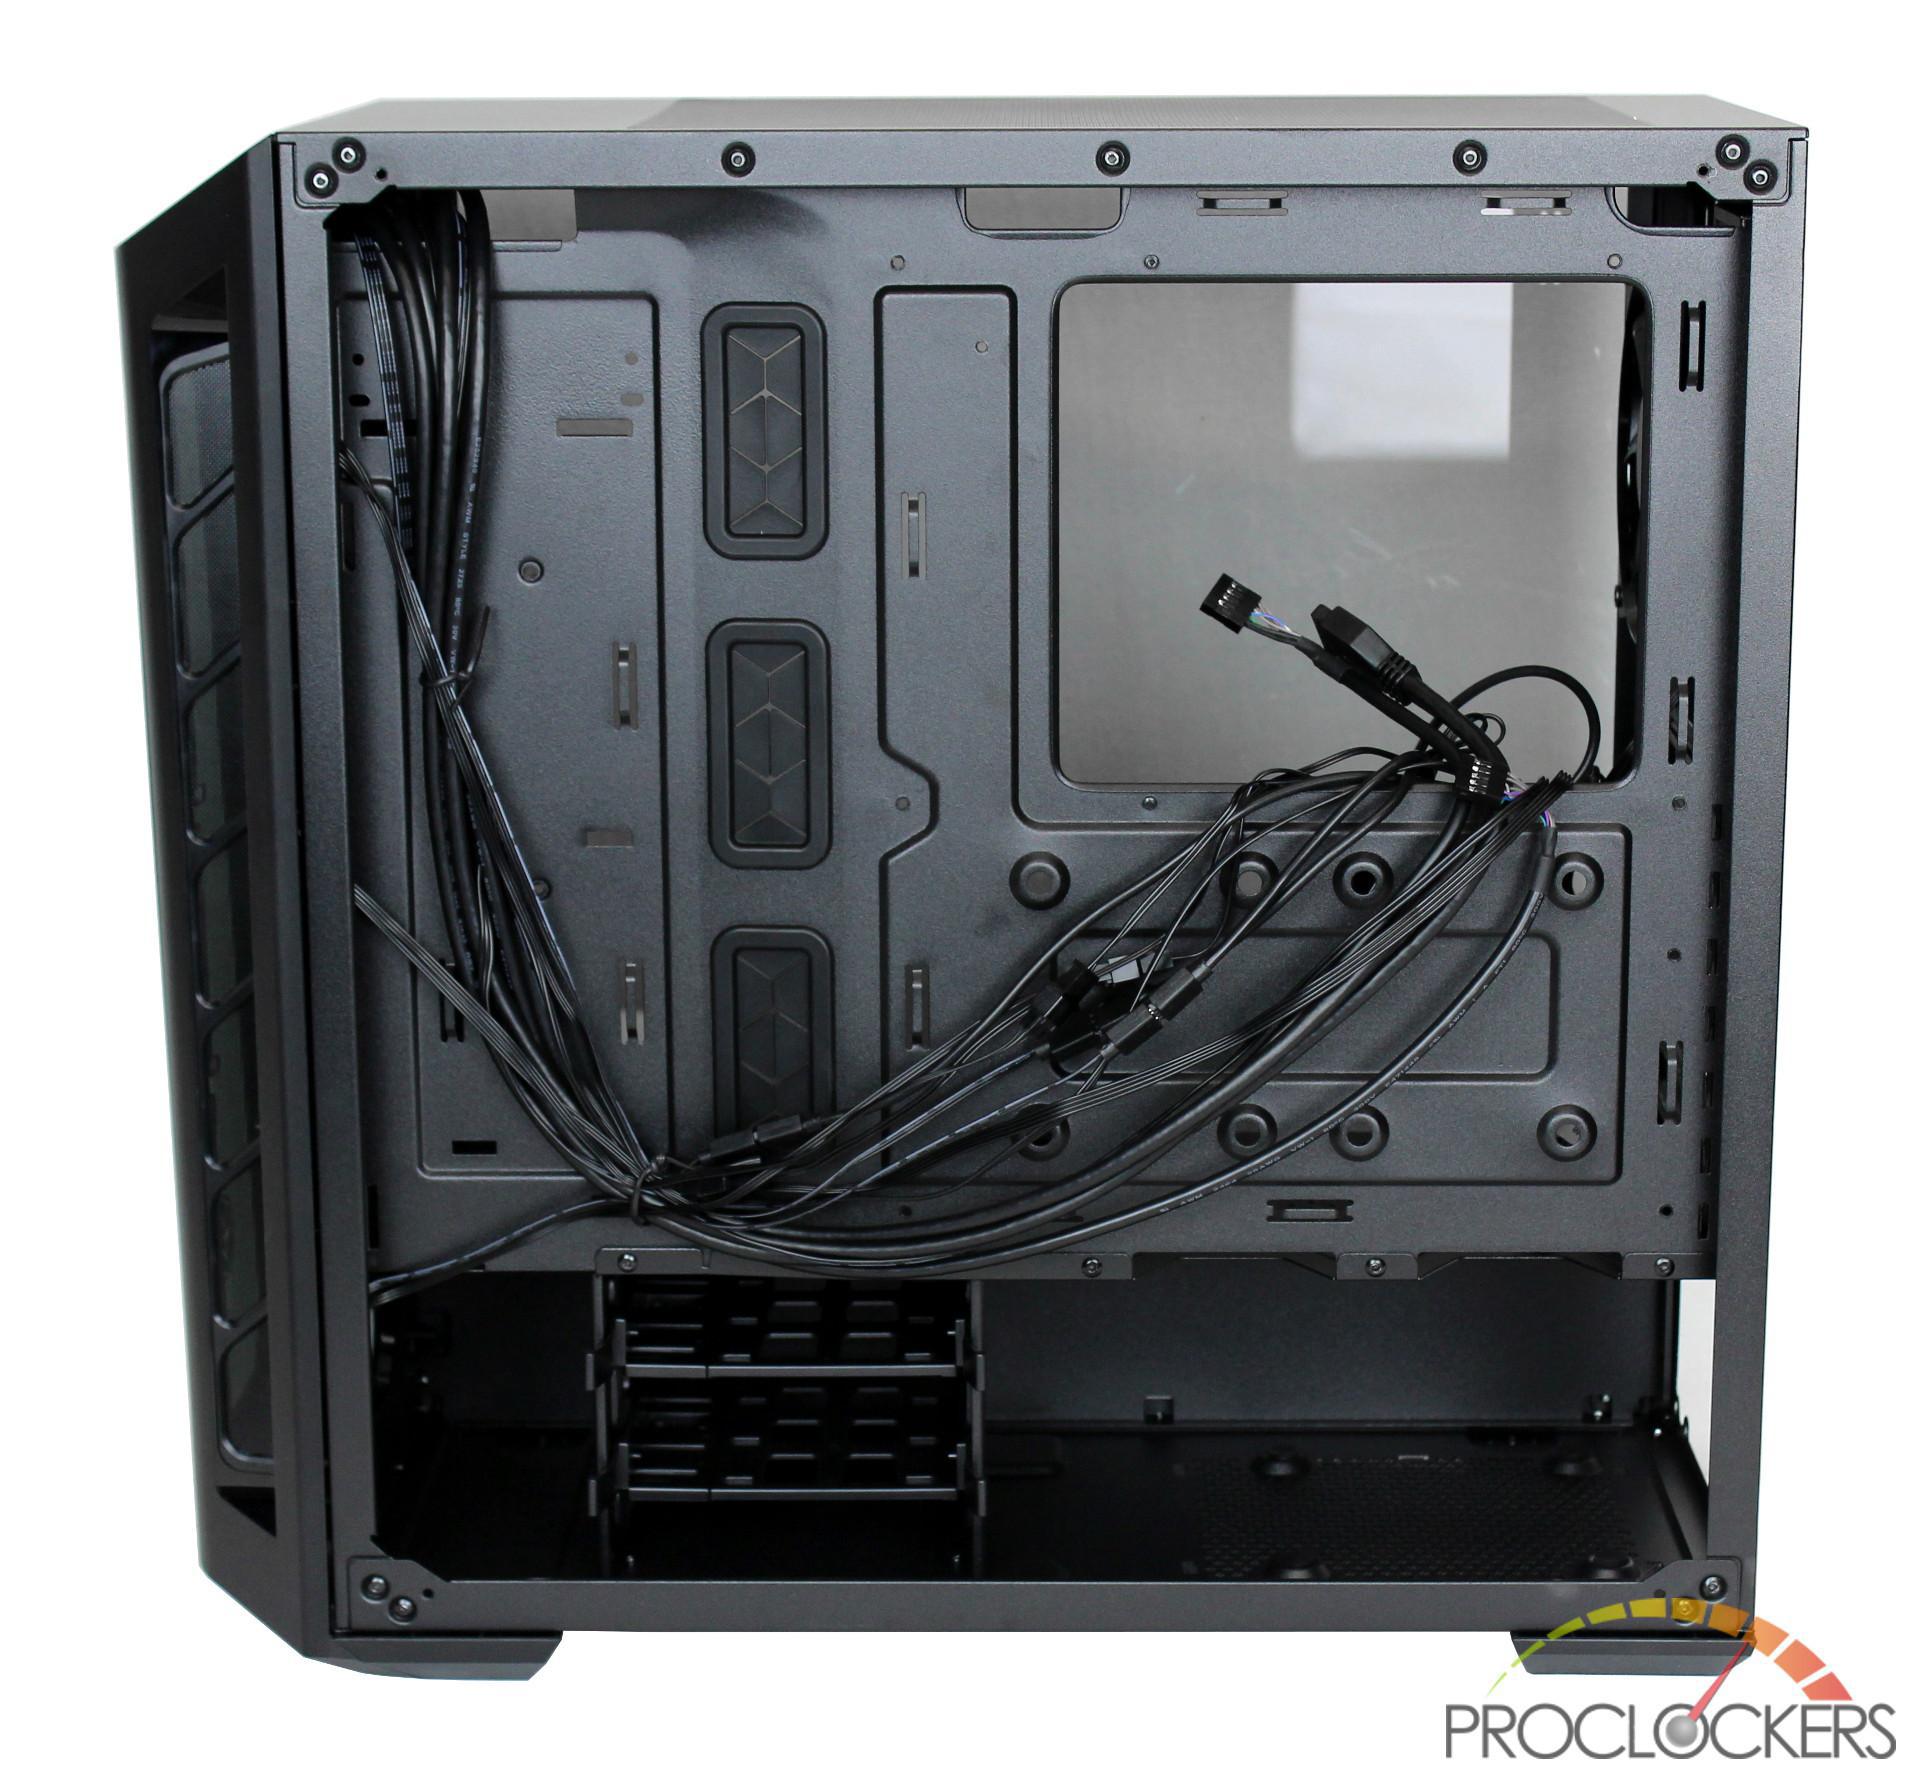
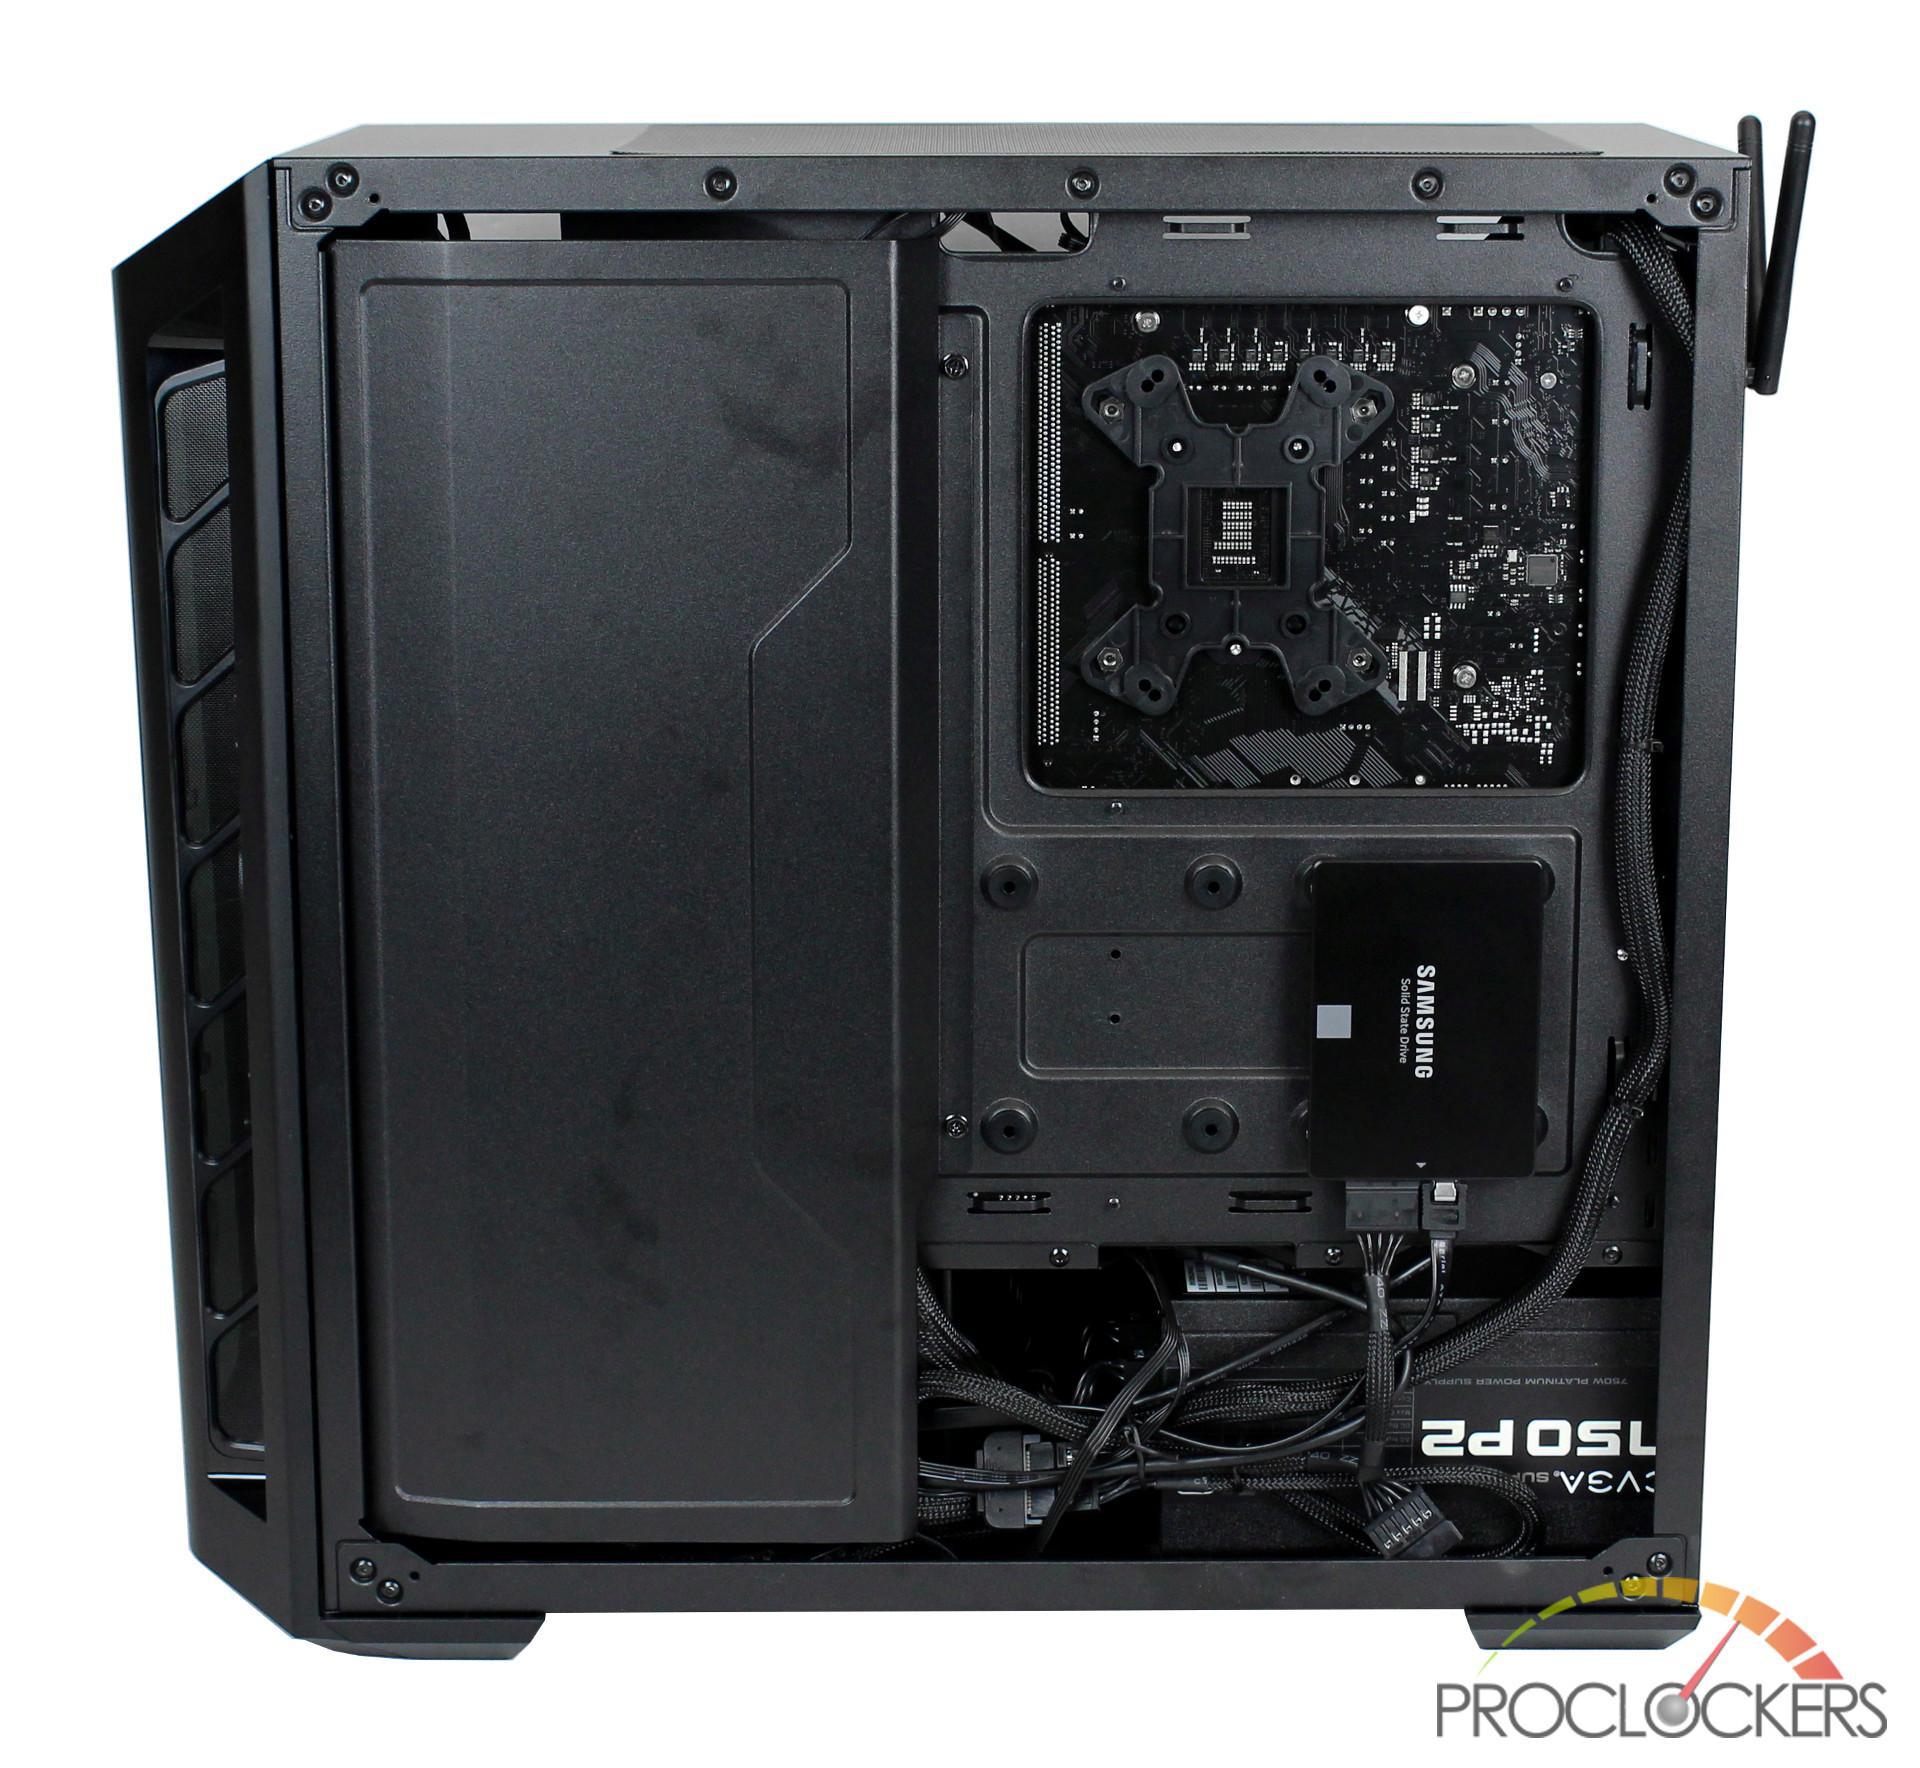
Going to the back side, it’s nice to see that Cooler Master has brought over a similar cable cover that we saw on the H500M on the left-hand side. On the bottom right, you have an exposed PSU bay which is covered using the silk screen on the tempered glass.
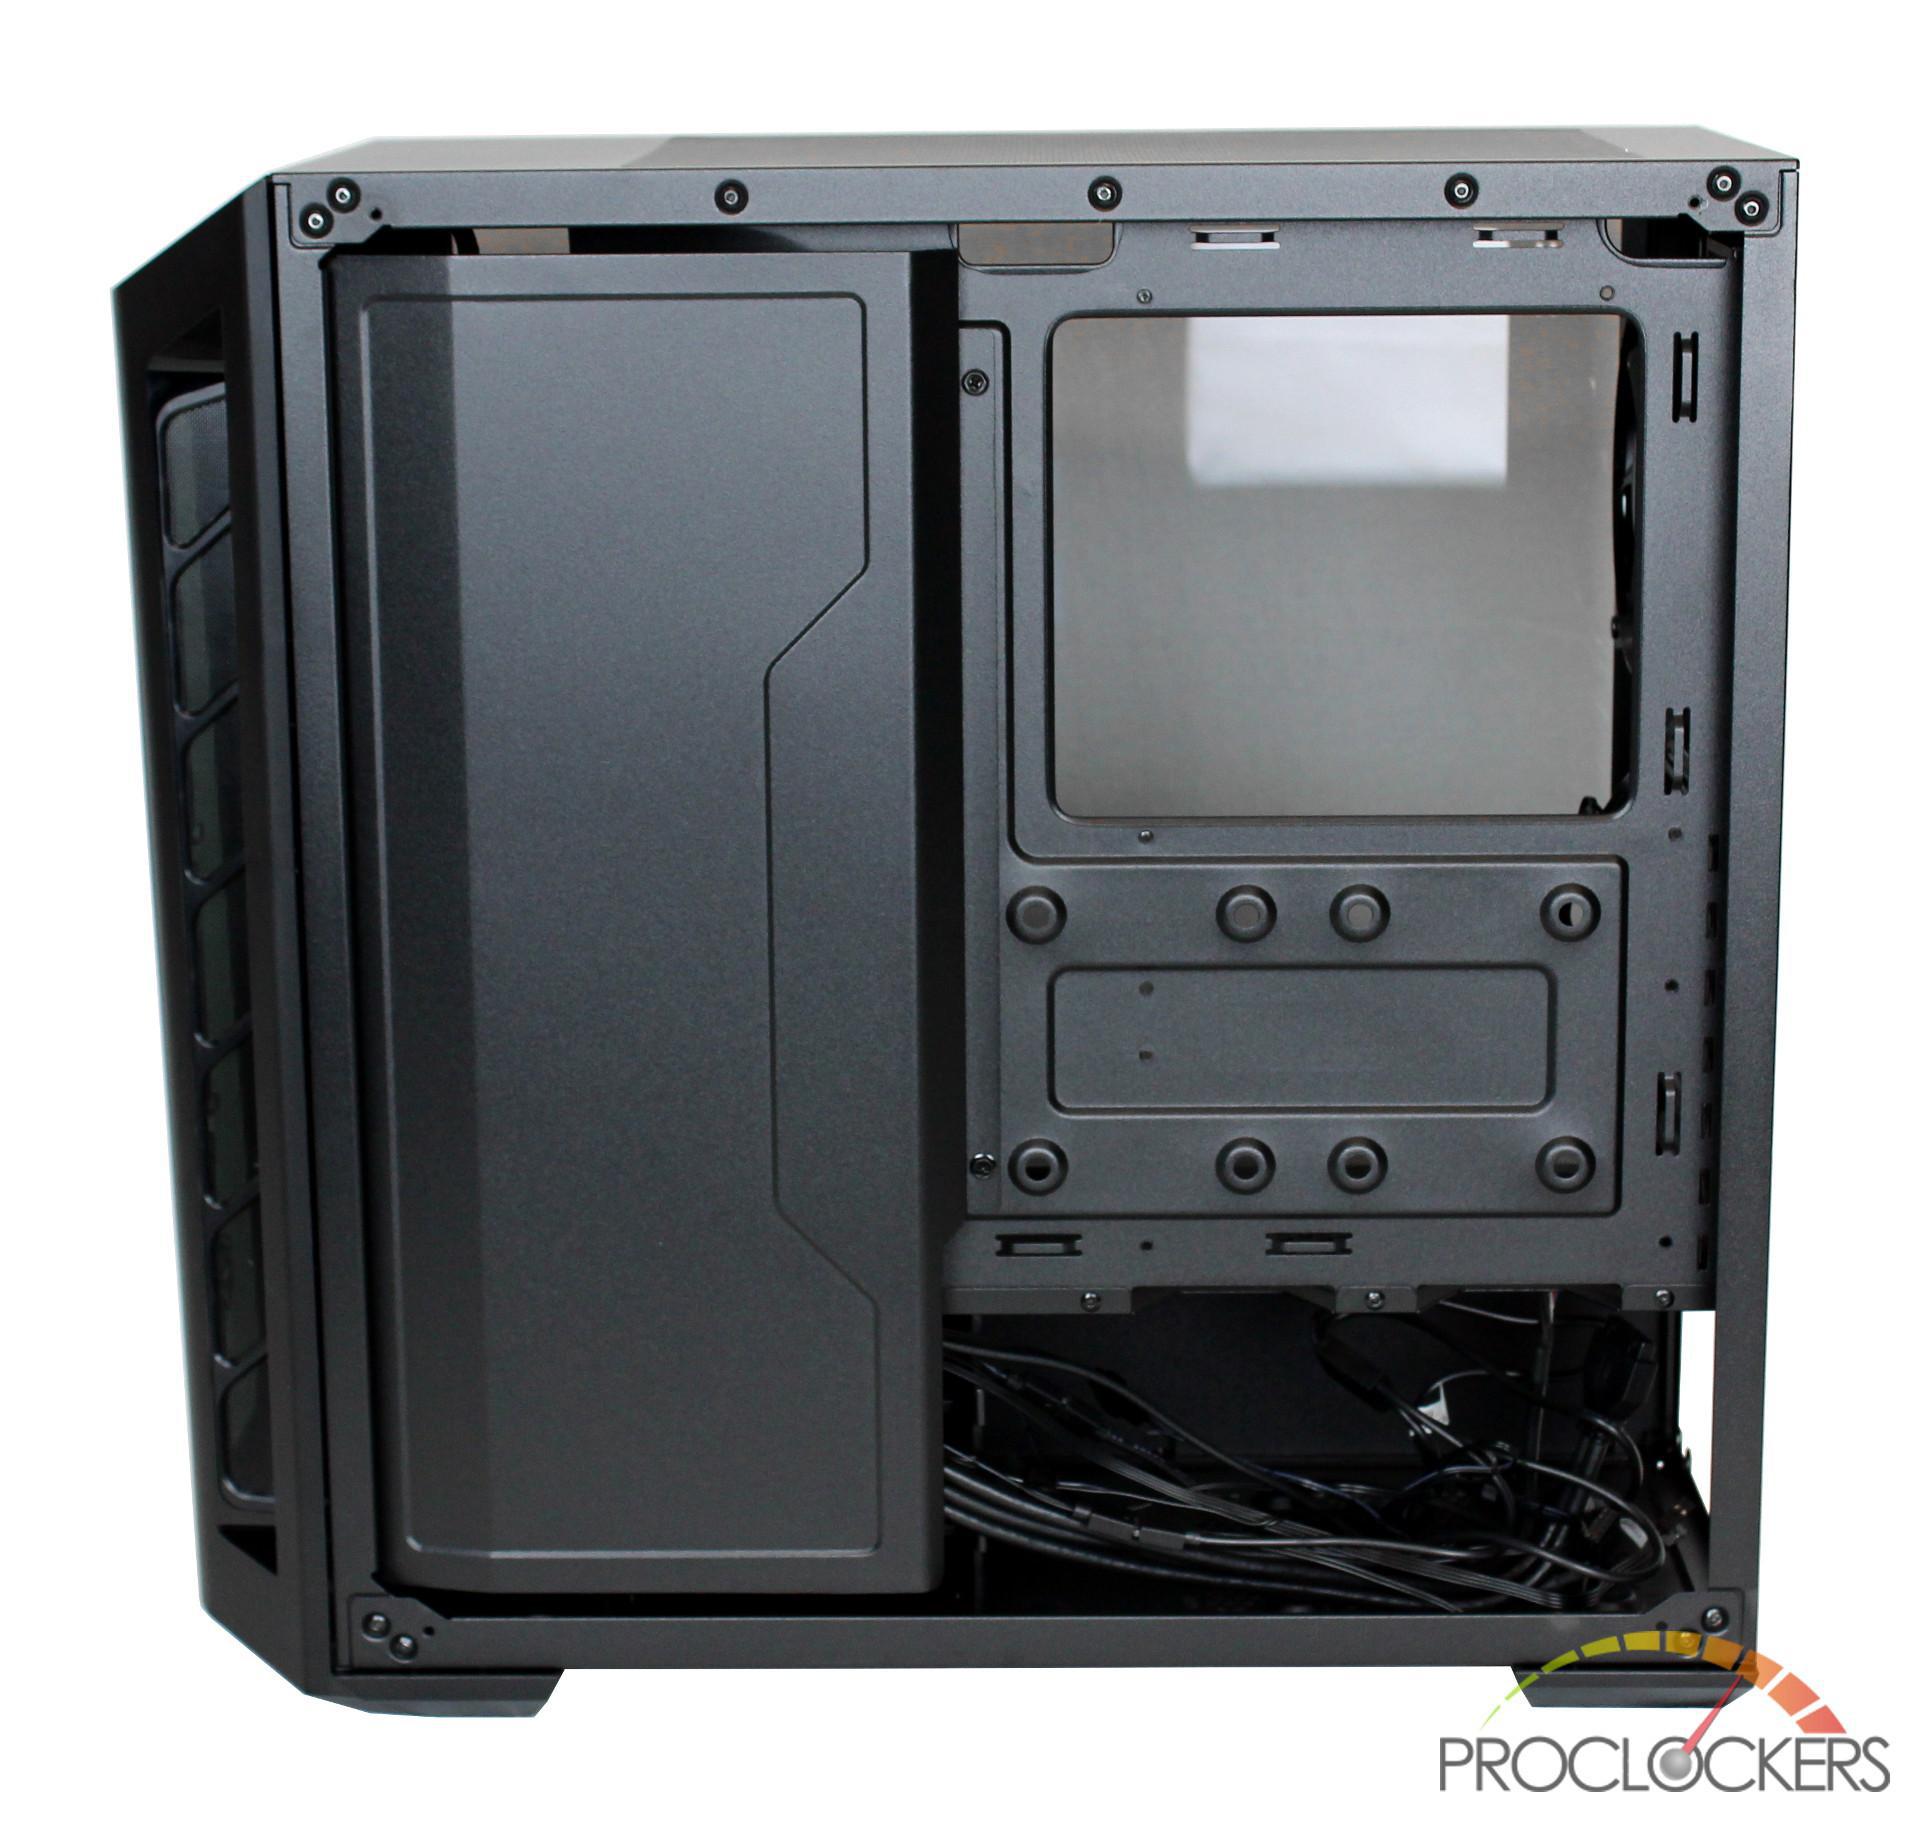
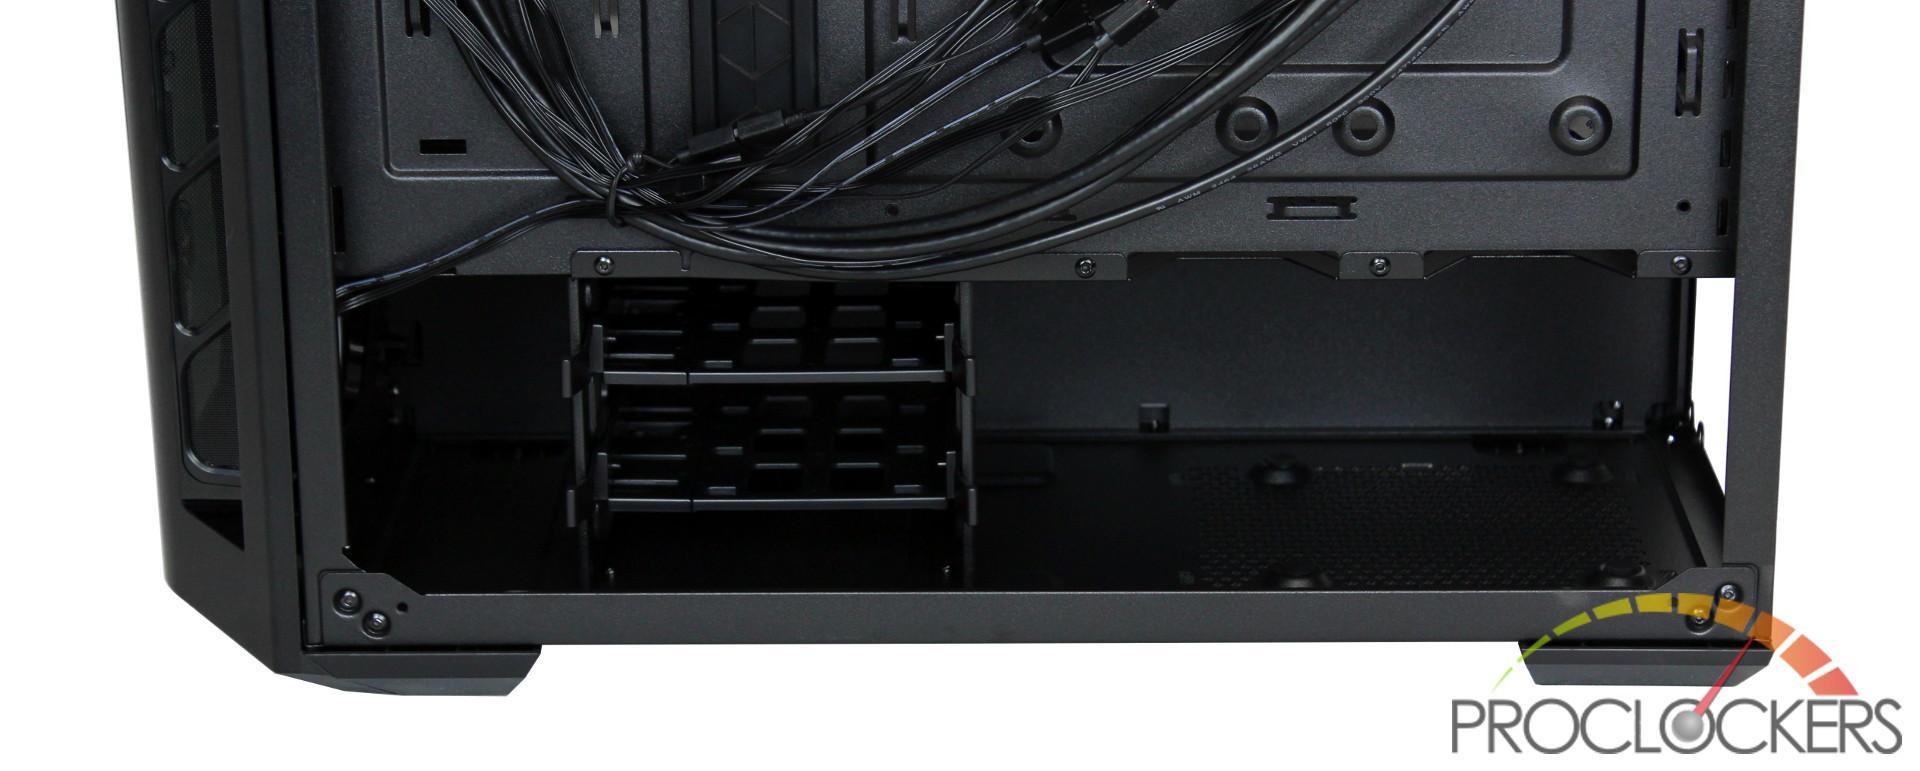
After removing the cable cover, it reveals the included drive bay which has been riveted to the bottom of the case. I do wish this was removable to be able to increase the PSU bay length, but cage might provide some support for the PSU shroud’s mid-section.
The PSU drive bay is rather small with a clearance of 180mm which may cause problems with beefier PSUs.
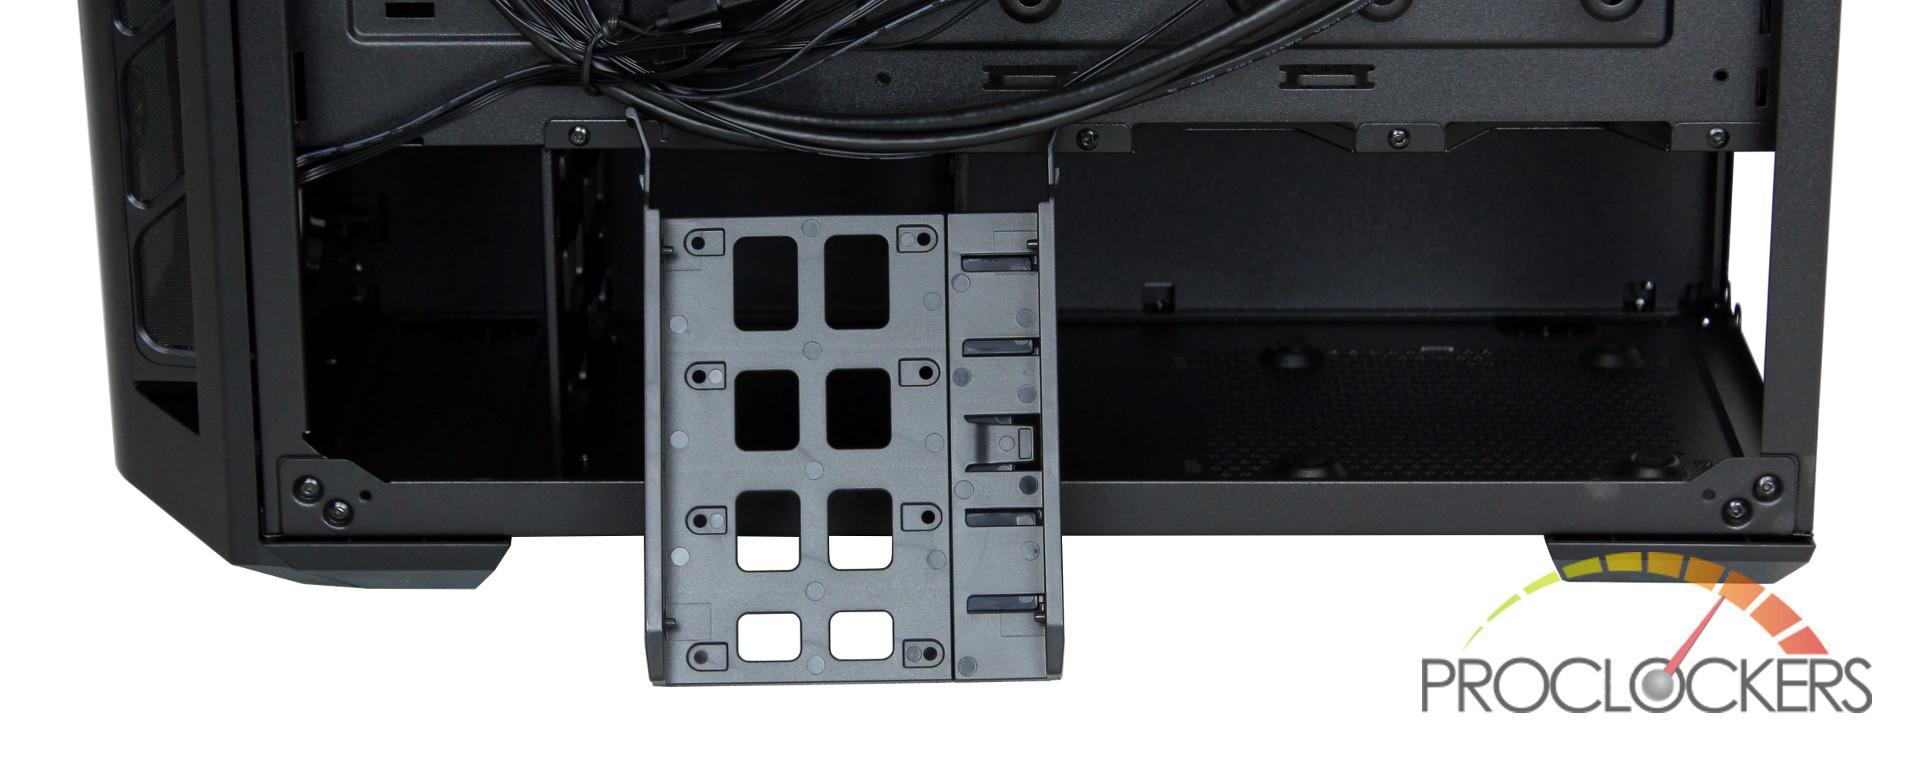
The included drive cage supports up to two 3.5” or 2.5” drives and has easy to remove trays.
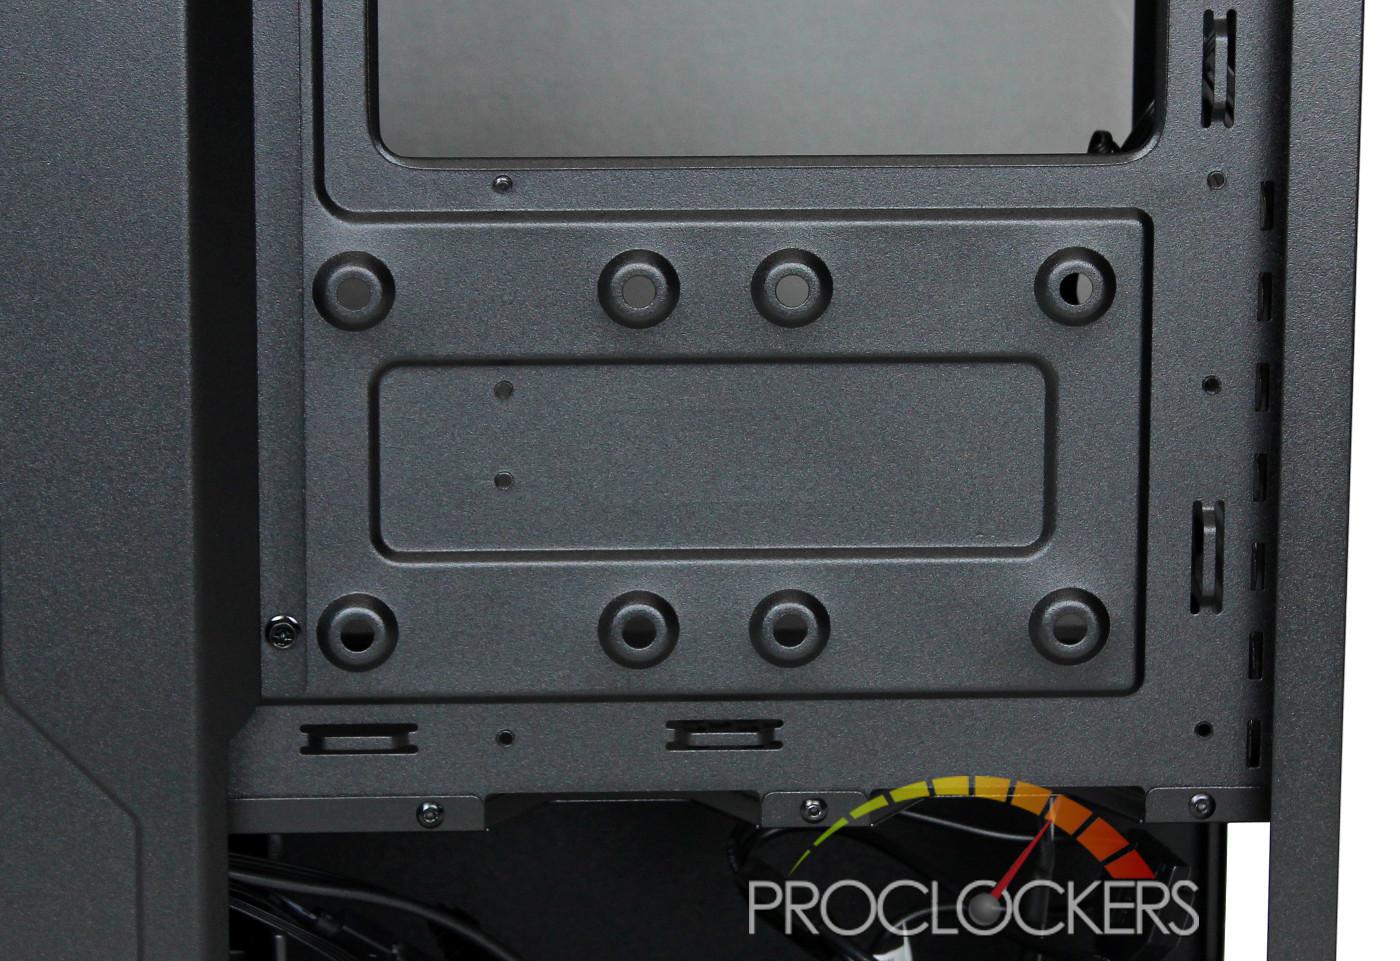
Below the motherboard cutout, you have room for an additional two SSD’s. It’s the same tool-less design as the H500M and can be used by installing the included rubber mounts and attaching the SSD screws to your drive.
System Build & Installation
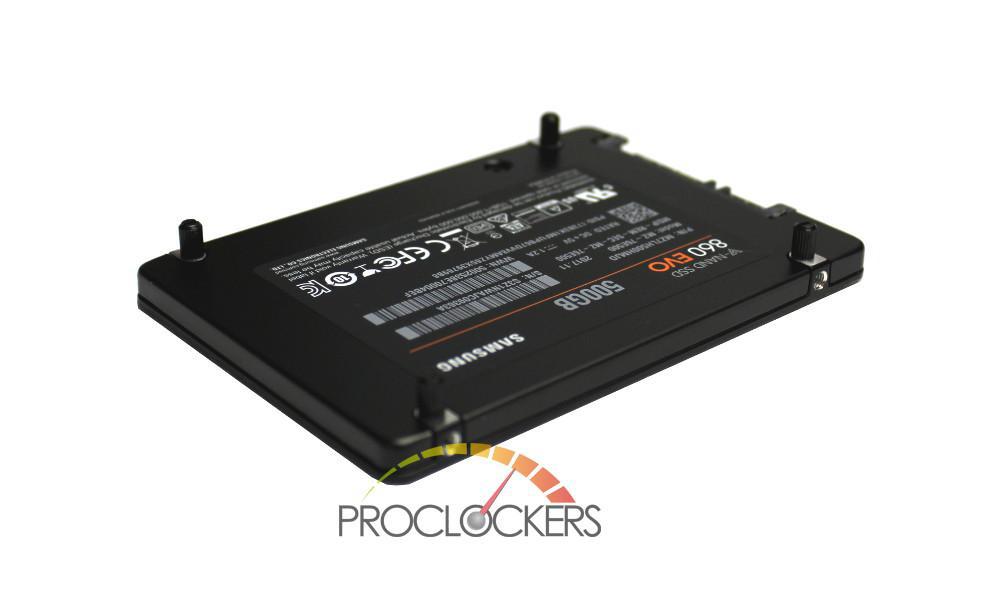
The hardware provided includes:
- ASRock Z370 Tachi Motherboard
- Intel 8700K Processor
- 4 x 4GB Team Group T-Force Delta RGB Ram
- EVGA 1070 FTW GPU
- DeepCool GAMMAXX GT CPU Cooler
- EVGA 750W P2 PSU
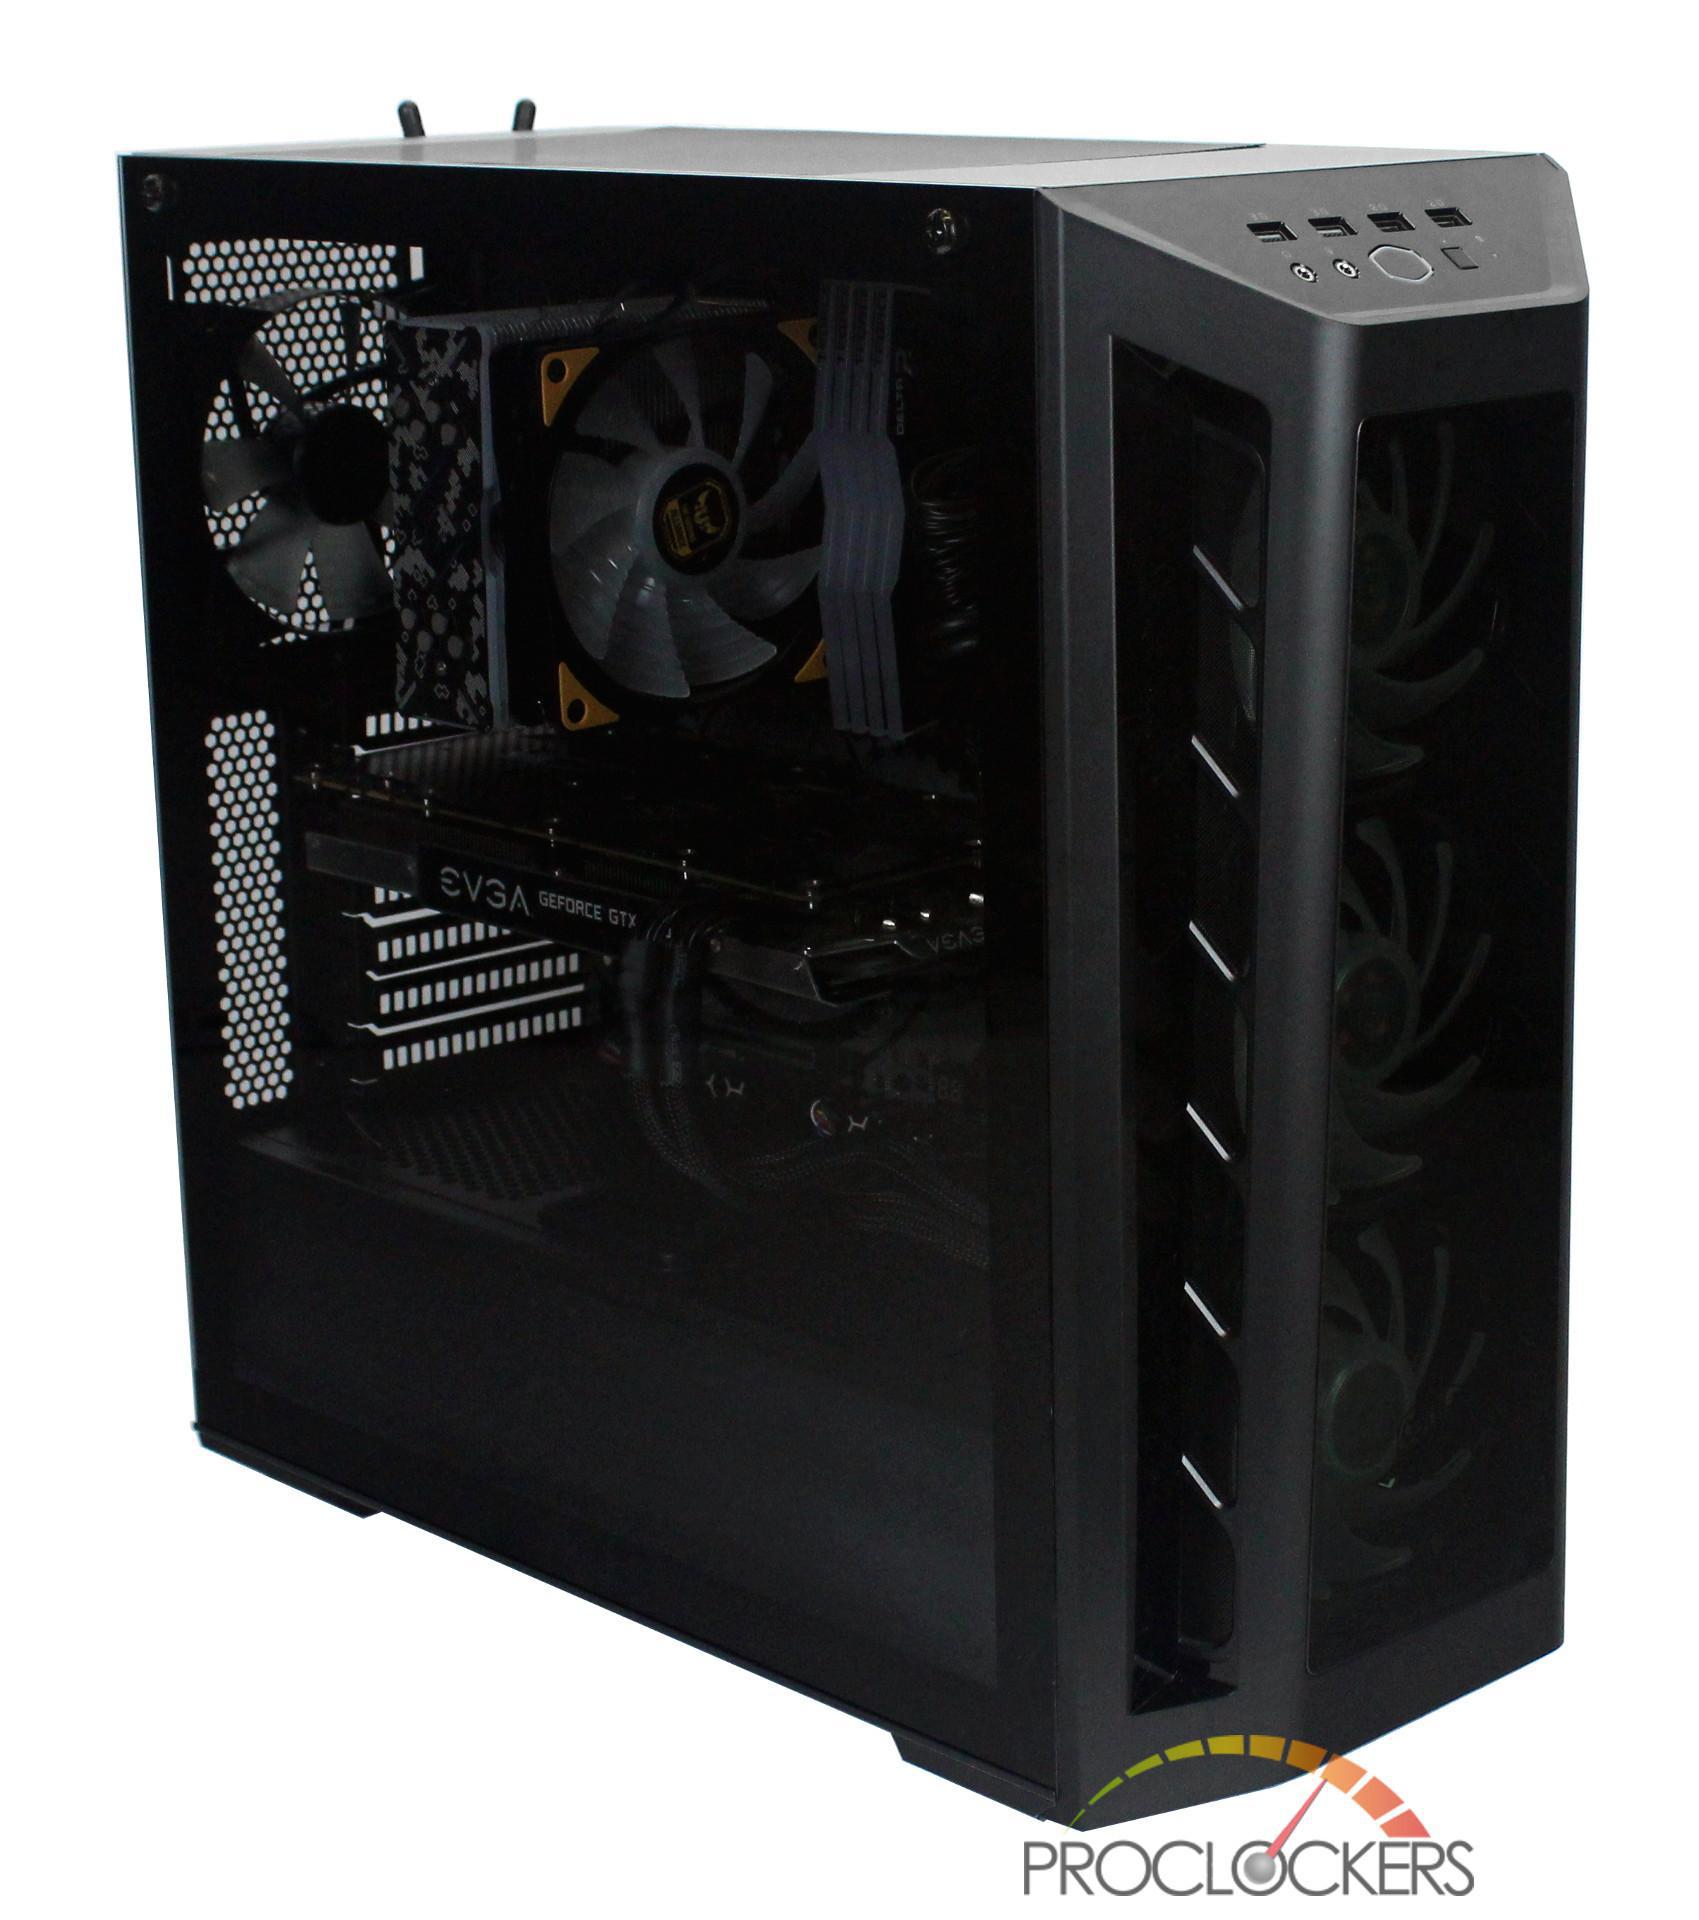
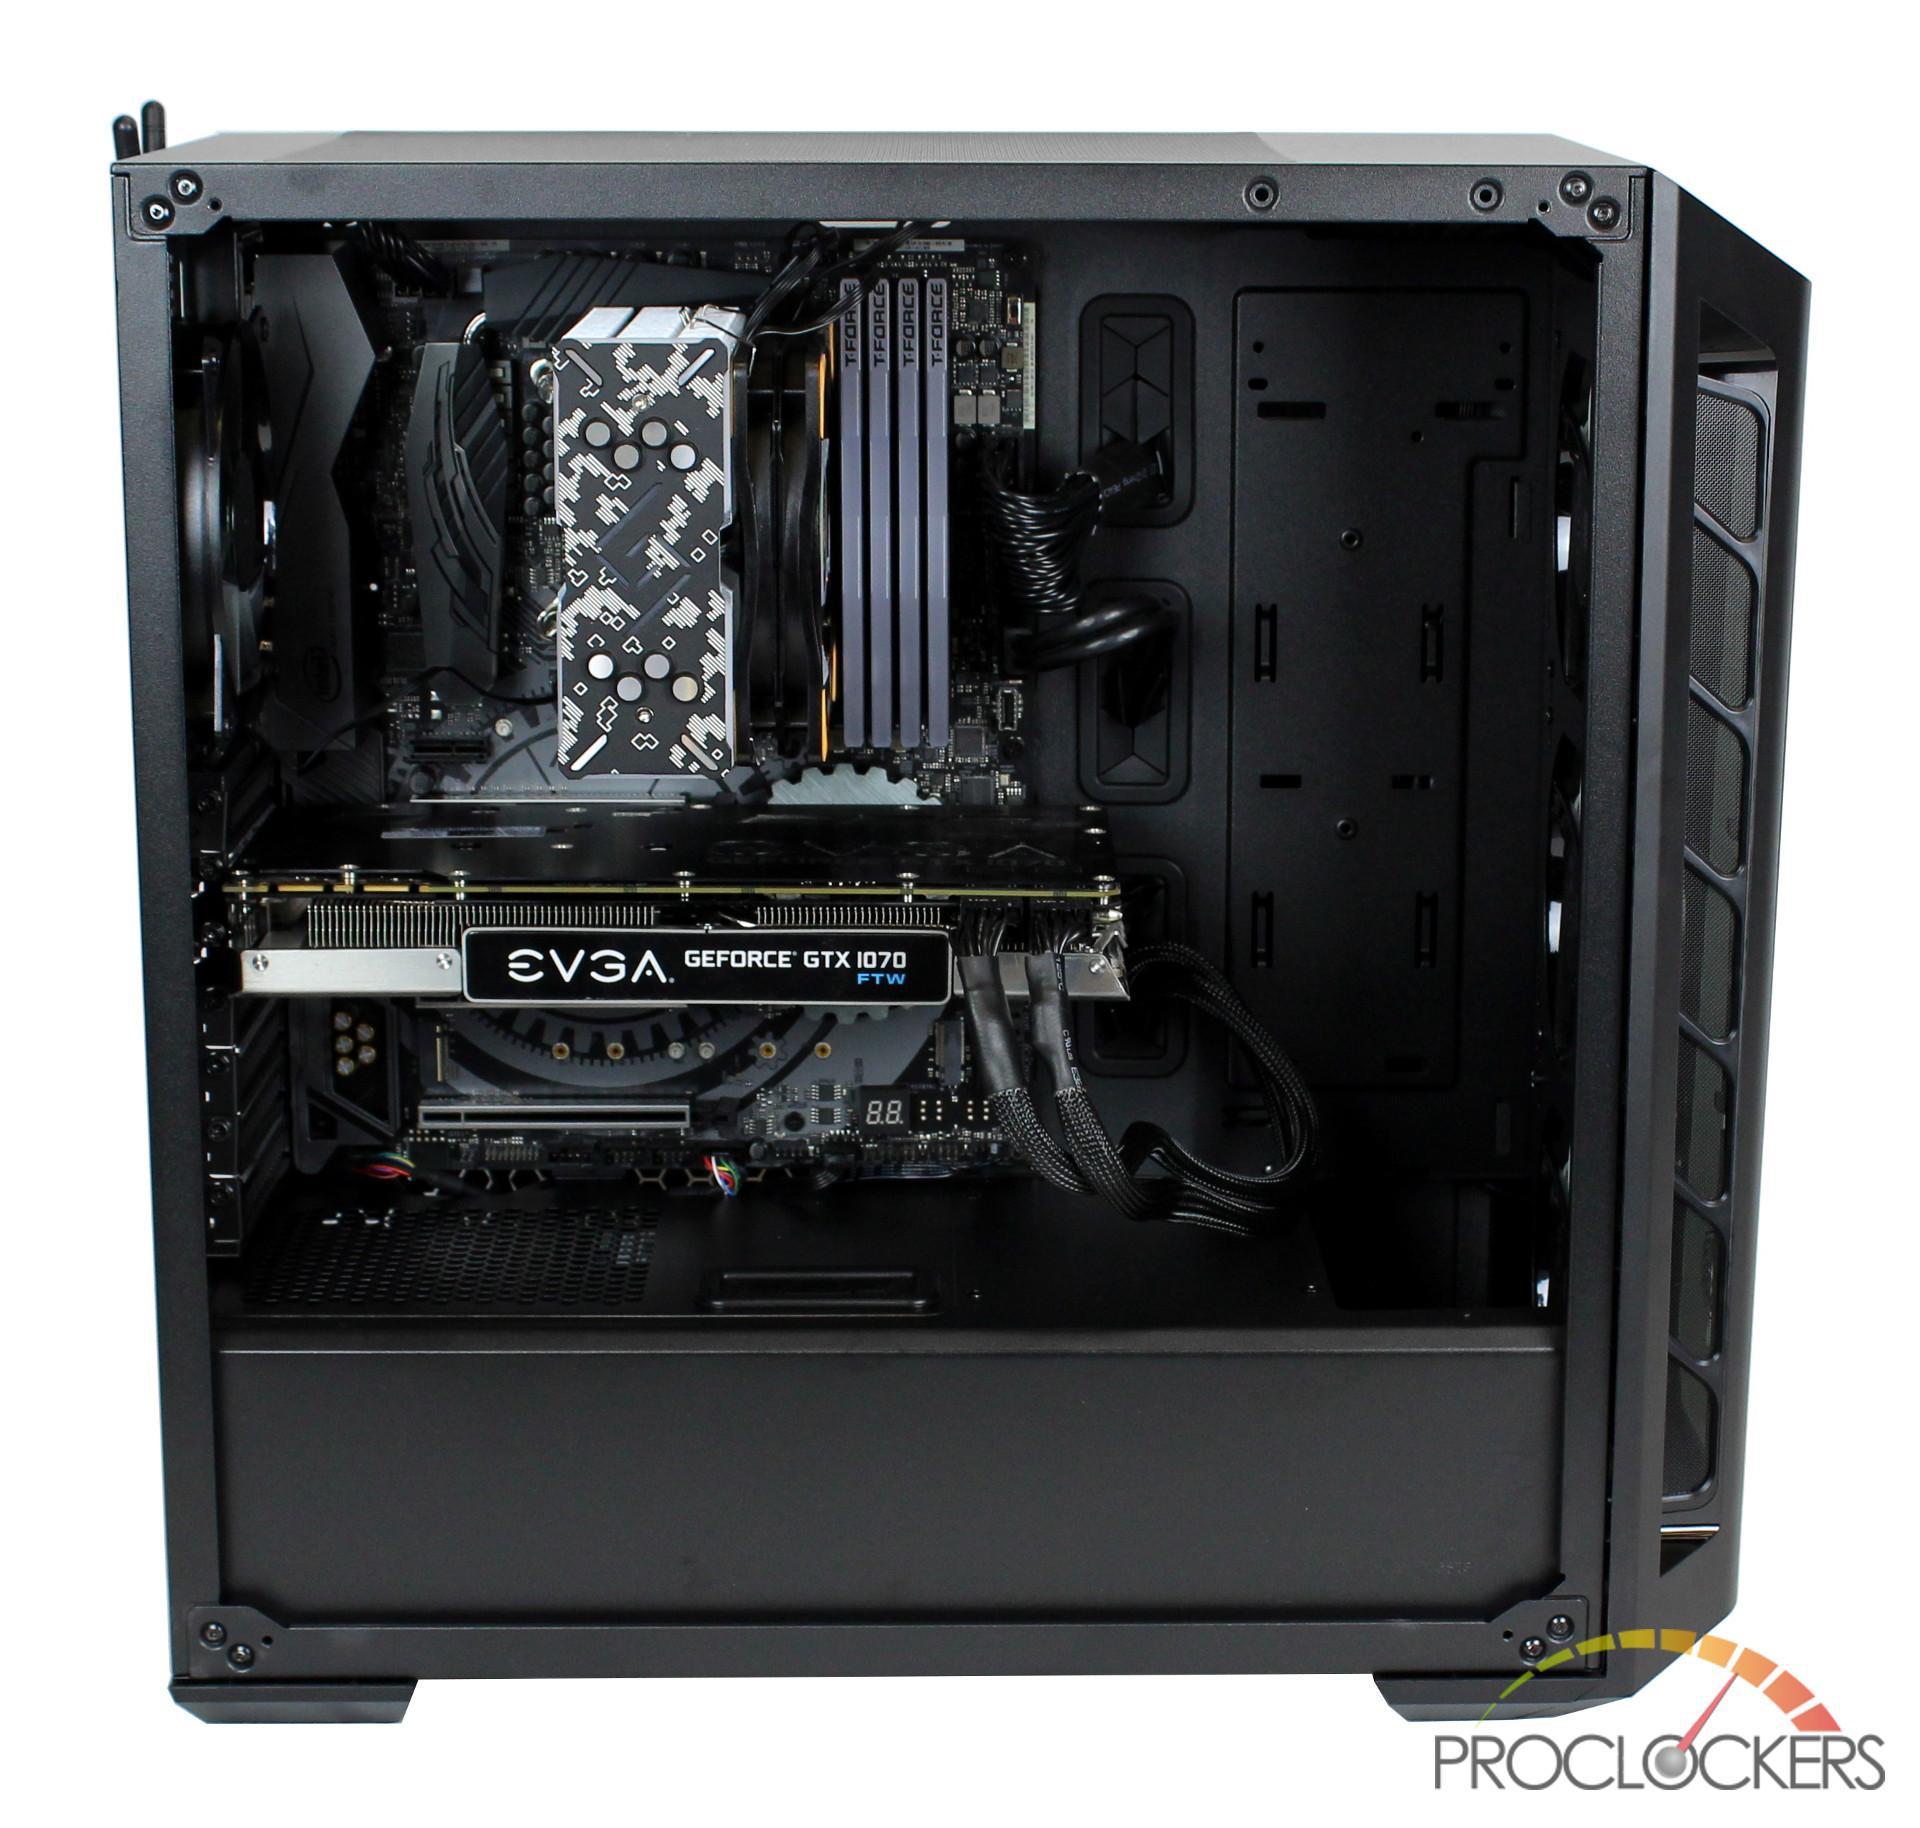
Building in the MP530P and creating a clean build, which can be showcased through its tempered glass, was fairly effortless. The MP530P had many well-placed cutouts for routing cables and the 18-25mm clearance for wires at the back provided plenty of space to work with. The only issues I ran into were that the PSU bay is quite small and there is little to no room to work with. If you wanted to install another cable into your PSU it would require removing the whole unit from the bay. I feel this could be resolved by making the drive bay removable for some added PSU space. With that being said, this is a minor thing as I always pre-install my PSU wires before attaching it to the case. The included fans all come pre-wired to the included RGB controller and fan splitter. The provided fan splitter is powered via a Molex plug which isn’t the most secure connection. I personally would have liked to see SATA powered fan hub so that we didn’t require adding another cable to the PSU and increase the possibility of adding more fans to the case.
I made good use of the grommets and cutouts to route my cables to give my build a nice clean look. I really liked the placement of the bottom cutouts in particular for my HD Audio and USB port cables.
The silk-screened honeycombs on the back side tempered glass did an excellent job of hiding my PSU cables.
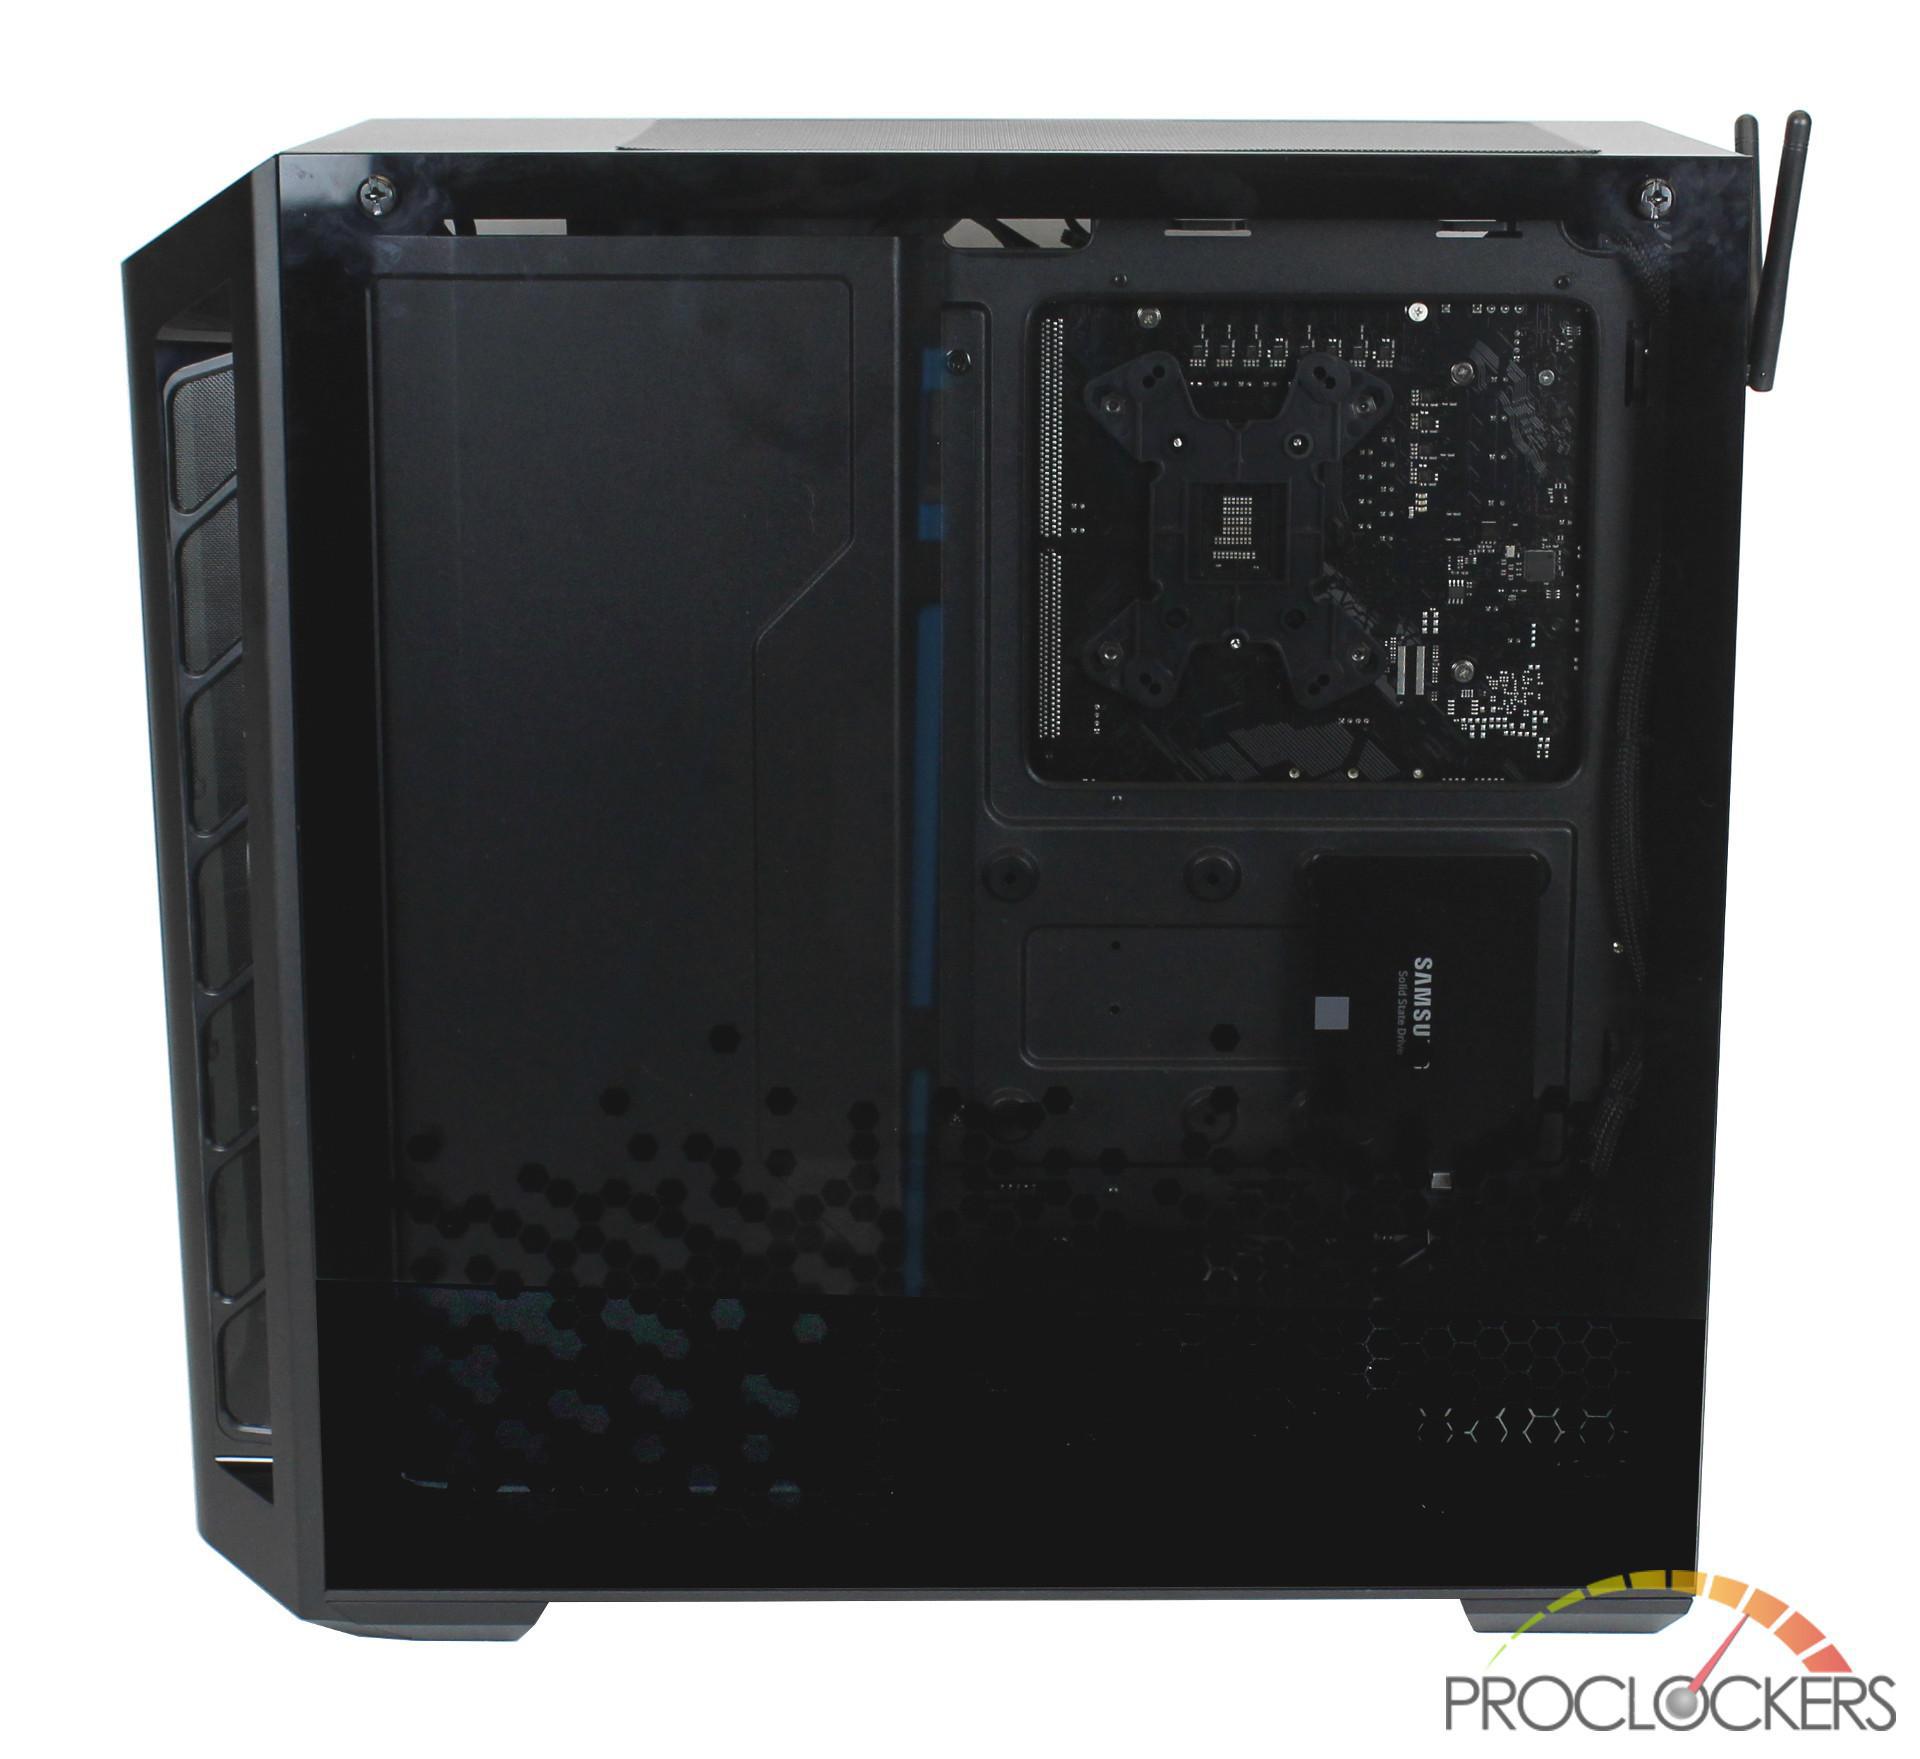
Removing the tempered glass, I was above to maintain a clean looking back side thanks to the included cable cover. Looking at the PSU, you can clearly see that you don’t have much space to work with once your PSU is installed. Just like the H500M, I really do love the tool-less SSD mount points which makes installing them a breeze.
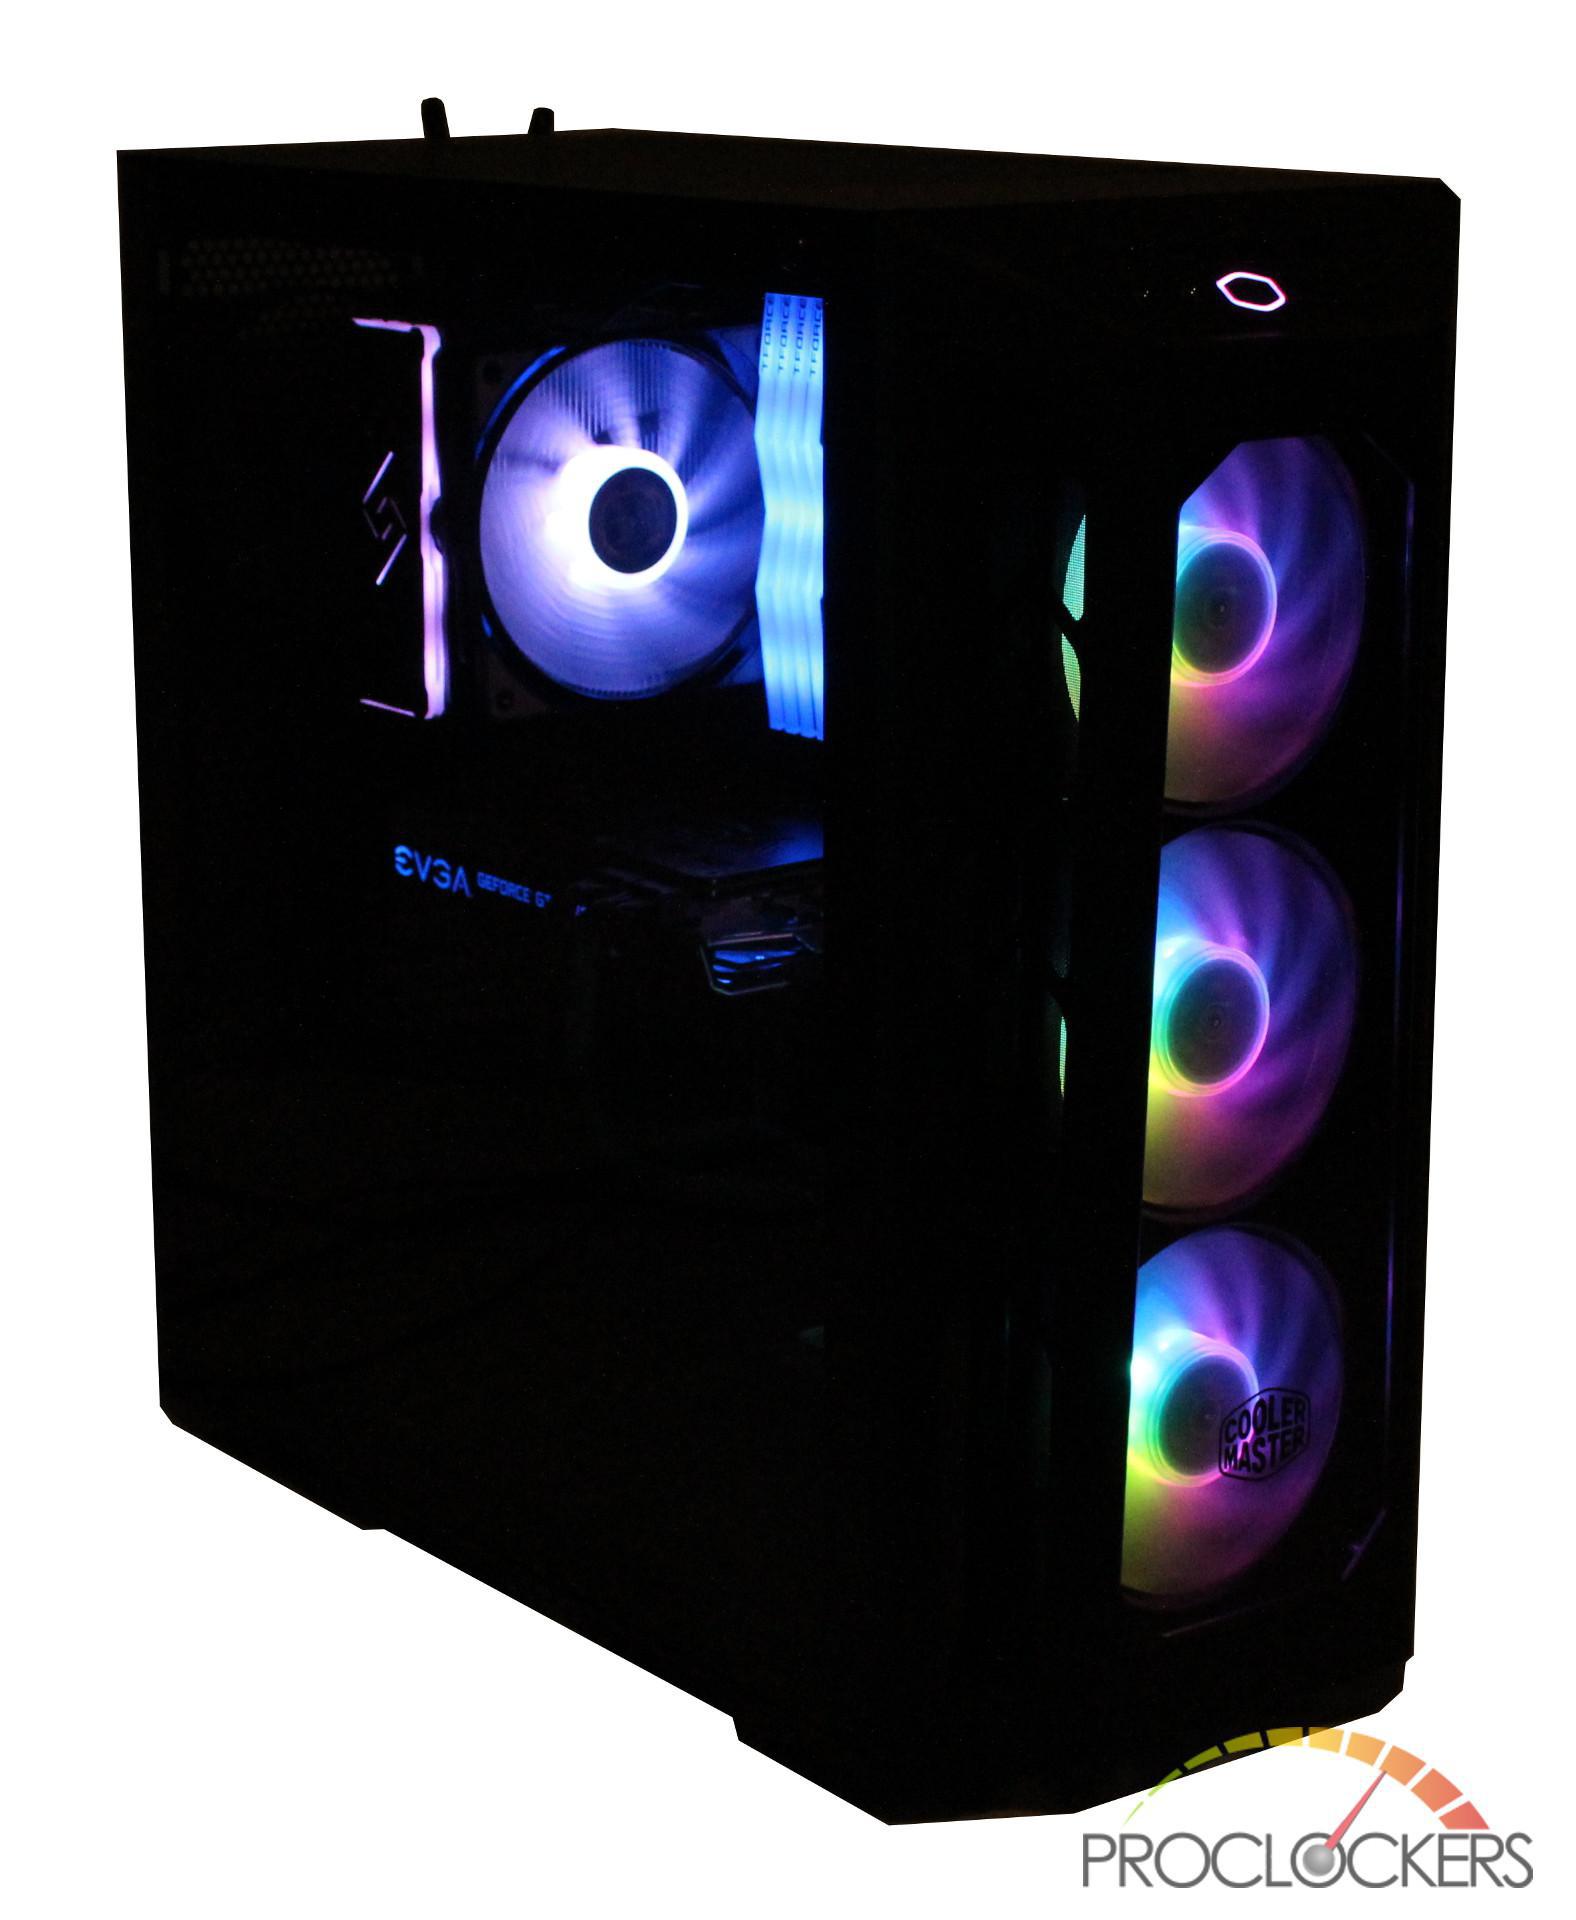
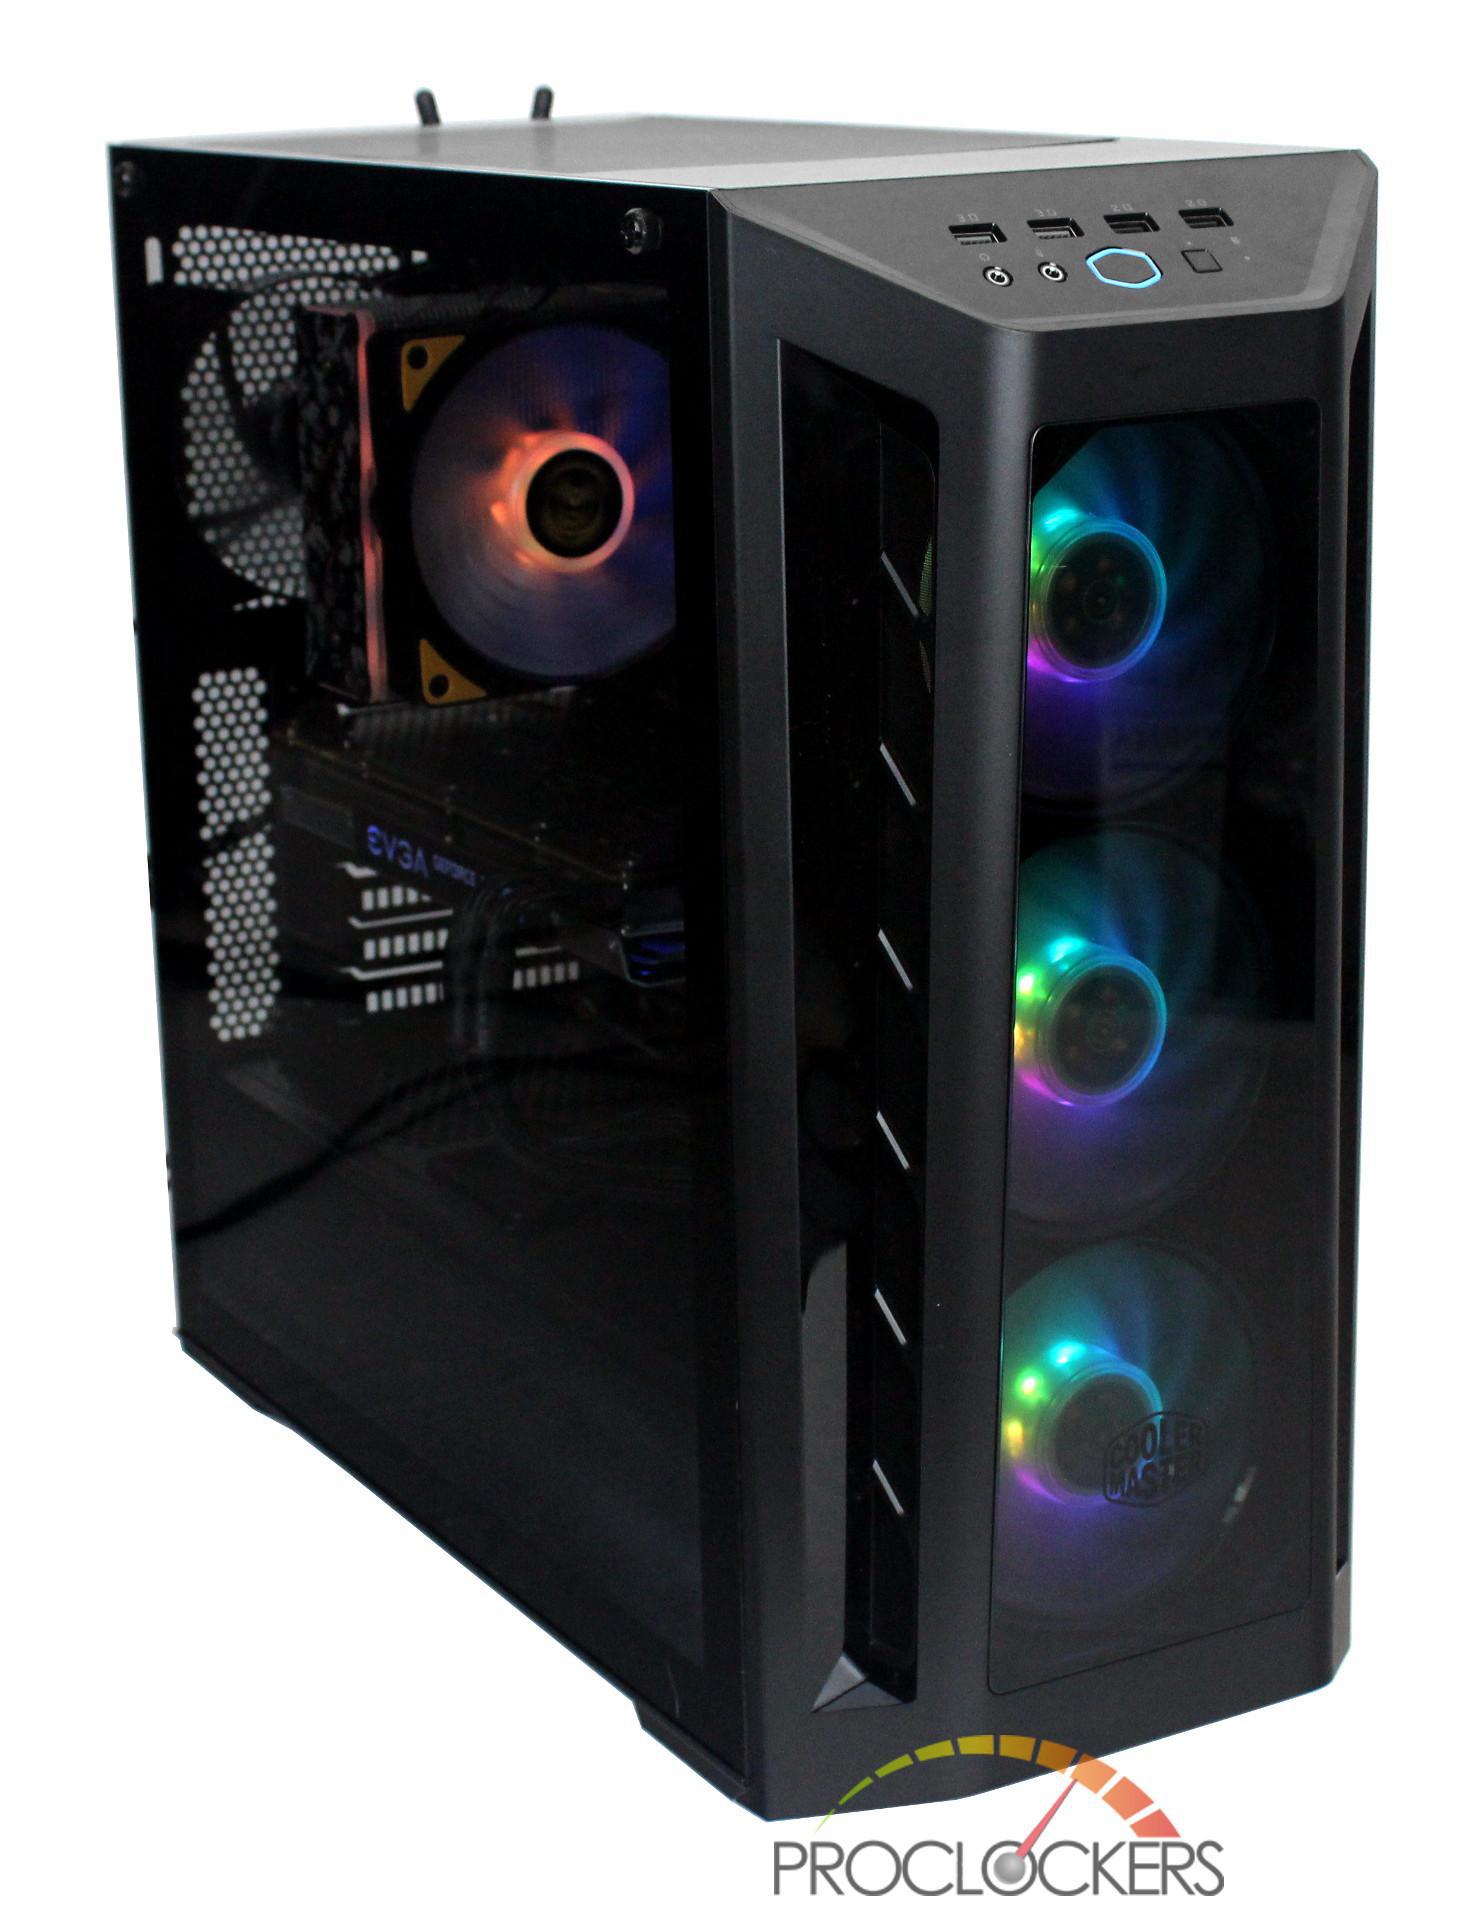
Once the system build was completed and fired up, the RGB fans and power buttons lit up with a rainbow effect. If using the included RGB controller by pressing the bottom right-most button on the I/O, you can cycle through its various effects.
Turning off the lights, you can really see how vivid both the fans and the outlined power button is.
Final Thoughts & Conclusion
The MB530 has really impressed us with being both affordable and including many features only seen in $150+ cases. Some things that really stand out with the MB530P is its sleek design that includes 3 tempered glass panels, cable cover and vivid pre-installed ARGB fans with a lighting controller. Even being a compact mid-tower case, it still felt quite roomy in the majority of the case and had no issues fitting our ATX motherboard with EVGA 1070 FTW GPU. The only part of the case that felt a little cramped would be the PSU bay which was a tight fit with our EVGA 750W P2. I think this probably could be helped if it was possible to remove the drive cage that is riveted to the case. This is really a minimal issue and just requires you to pre-install your cables before attaching the PSU to the case. The cable management in the MB530P is on point with plenty of well-placed cutouts and grommets at the front. At the back of the case, the cable cover and silk-screened tempered glass makes it effortless to achieve a clean looking build. Overall the MB530P is a home run and is an excellent addition to the MasterBox line of cases.
Great job Cooler Master!


The 25 Best Anime Cats, Ranked
What are the best anime cats? Cats are something you either love with every fiber of your being or vehemently...


The 25 Best Anime Teachers, Ranked
Who are the best anime teachers? With high school being such a prevalent setting in anime, it makes sense that...


The 25 Best Orange Hair Anime Girls, Ranked
Who are the best orange hair anime girls? Orange hair is interesting in anime because it can either be a...