
Hardware
Cooler Master MasterBox MB600L Review
Introduction Cooler Master MasterBox MB600L
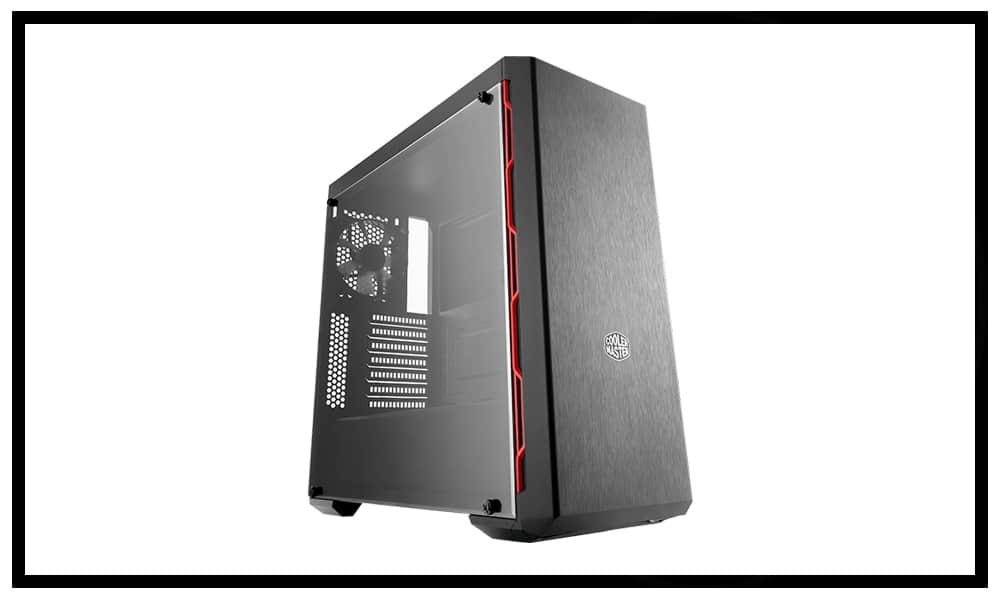
Computer chassis have changed from little yellow cubes sitting on our desktops to sculptures that house our prized expensive components and we expect them to be as attractive as our components inside. Cooler Master has long produced value-priced chassis that gives more bang for your bucks than you would expect. The MasterBox MB600L is in the $50 dollar price range and considering the price it has a ton of features. If you are looking for an elegant build without breaking the bank take a serious look at the Cooler Master MasterBox MB600L.
Coolermaster is one of many computer chassis manufacturers; they are also well known to have a wide variety of varying shapes, and sizes as well as affordability of computer chassis designs.
But rest assured when it pertains to Coolermaster that just because a given chassis it is more affordable does not necessarily mean cheaply built. This company is well renowned for building top-quality chassis and cooling components across its entire lineup of products.
The chassis we here at Proclockers going to be looking more closely at is the Masterbox MB600L mid-tower By Coolermaster. Now the real question remains, does this mid-tower have what it takes to protect as well as be aesthetically pleasing while also giving us computer users the ability to hide wires from our Power Supply Units (PSU) with considerable ease? Let’s turn the page and find out, shall we?
Features & Specifications
Product Name: MasterBox MB600L
Model Number: MCB-B600L-KA*N-S**
Available Color: Black
Materials: Steel, Plastic
Dimensions: 464 x 212 x 454.5mm (LxWxH)
Motherboards: ATX, Micro-ATX, Mini-ITX
Expansion Slots: 7
Drive Bays 5.25″: 1
Combo 3.5″ / 2.5″ Drive Bays: 2
SSD: 1
I/O Panel: USB 3.0 x 2, Audio in / out
Pre-installed Fan(s): Front N/A, Rear 120mm x 1 black fan
Fan Support: Front 120mm x 2 / 140mm x 2 (w/ODD) 120mm x 3 / 140mm x 2 (wo/ODD) Rear 120mm x 1
Liquid Cooling Support: Front 120/140/240/280mm radiator (w/ODD) 120/140/240/280/360mm radiator (limited) up to 50mm thickness without fan (wo/ODD) Rear 120mm x 1
Clearance CPU Cooler: 160mm / 6.3″
PSU: 180mm / 7.1″
GPU: 400mm / 16.14″
Cable Routing: Behind Motherboard Tray 15mm – 23mm / 0.59″ – 0.90″
Dust Filters: Front, bottom
Power Supply Support: Bottom mount, ATX
The Masterbox MB600L chassis by Coolermaster does have a rather impressive array of specifications, from being able to support up to triple 120/140 fan radiator, while also being able to support a large array of different lengths of video cards in the main area of the chassis.
This particular chassis can only support up to a single 5.25” drive, but considering most either do not use one or typically use a combination type of drive, ie. Blu Ray/DVD/CD-ROM/Burningcombo drive, I will not hold this limitation against this chassis. Another area of note is that this chassis does have support for 2 3.5” HDDs that can also install 2 2.5” HDD/SSD.
There is also 1 included 2.5” HDD/SSD drive holder as well, which we can place into 4 different areas of the chassis.
Packaging & Unboxing MasterBox MB600L
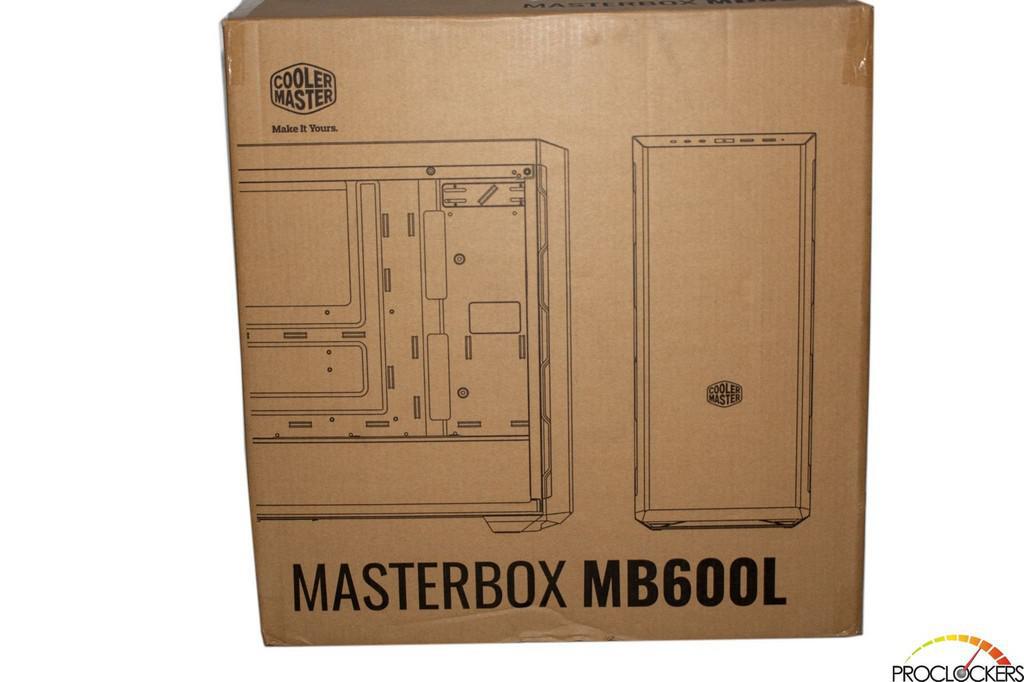
Coolermaster tends to keep their packaging simple; Coolermaster gives us a quick outline image of the chassis on the outside of the box. Coolermaster also includes a quick introduction of this chassis on the backside of the box itself in multiple languages.
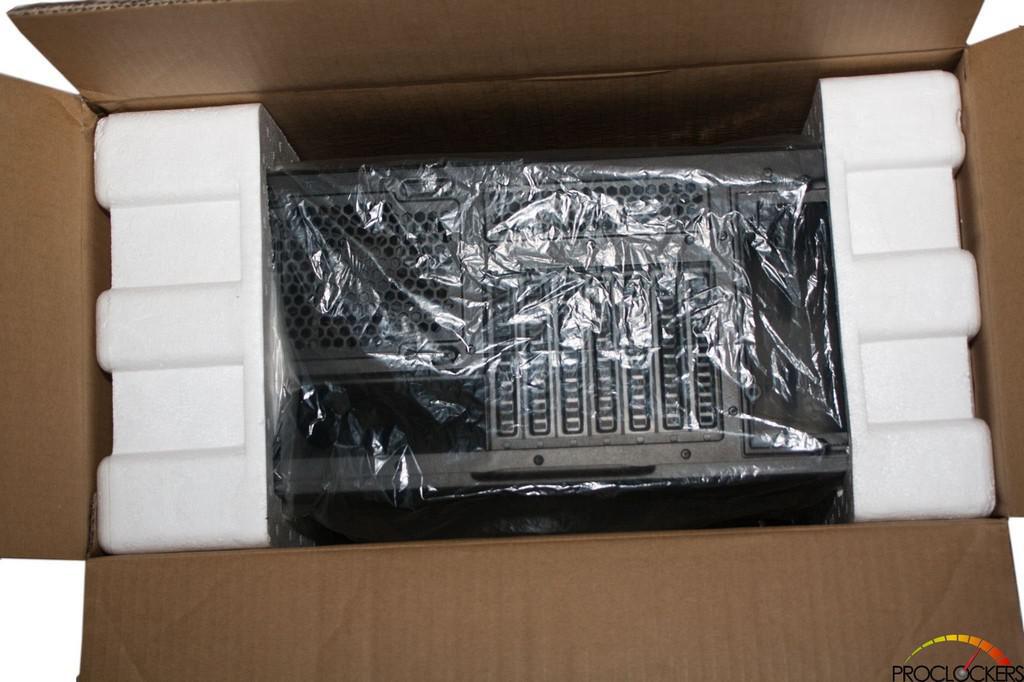
Opening the packaging up and getting a picture of how Coolermaster packaged up the Masterbox MB600L chassis, we can see that Coolermaster keeps the packaging internally simple but effective. This does provide the chassis with enough protection to help keep it from getting damaged during the rigors of shipping.
A Closer Look: Cooler Master MasterBox MB600L
Removing the Masterbox MB600L from the confines of the packaging; my initial thoughts of this chassis are fairly positive, It has a simple but elegant design to it.
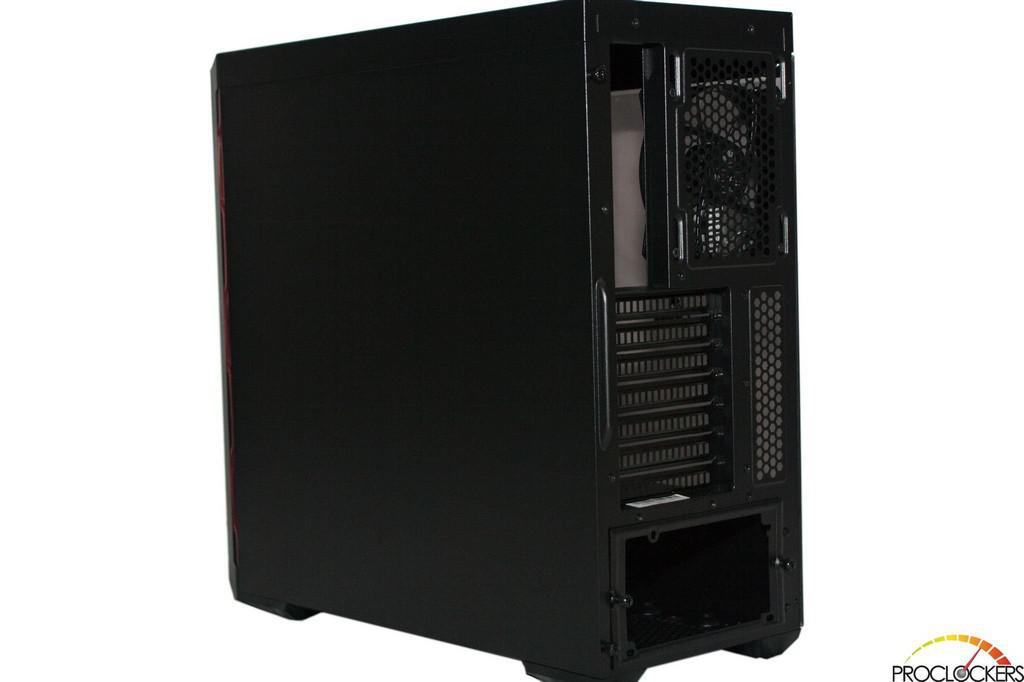
Looking at a 3/4 view of the left side from the back of the chassis.
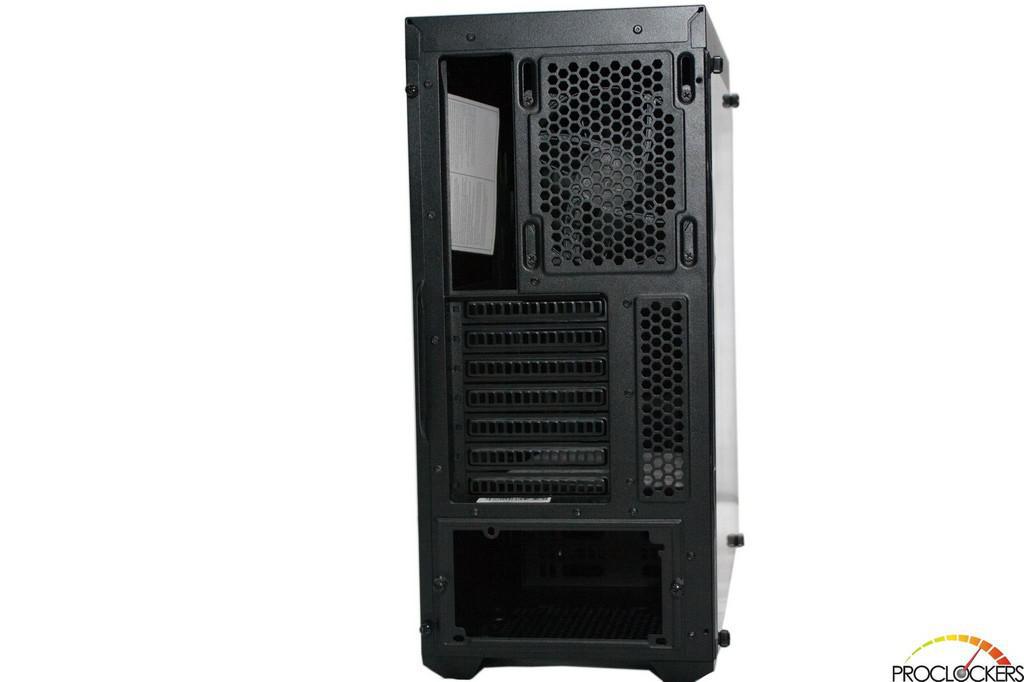
Turning the Masterbox MB600L over to the backside we can see that this chassis does support up to a standard ATX sized motherboard. The Masterbox MB600L chassis uses a PSU mounting plate that is easily removable for us to install our PSU’s in this chassis; also, that Coolermaster made the rear 120 fan adjustable, we can move it up or down to accommodate our cooling needs of our CPU coolers, or cooling of the internal chassis itself.
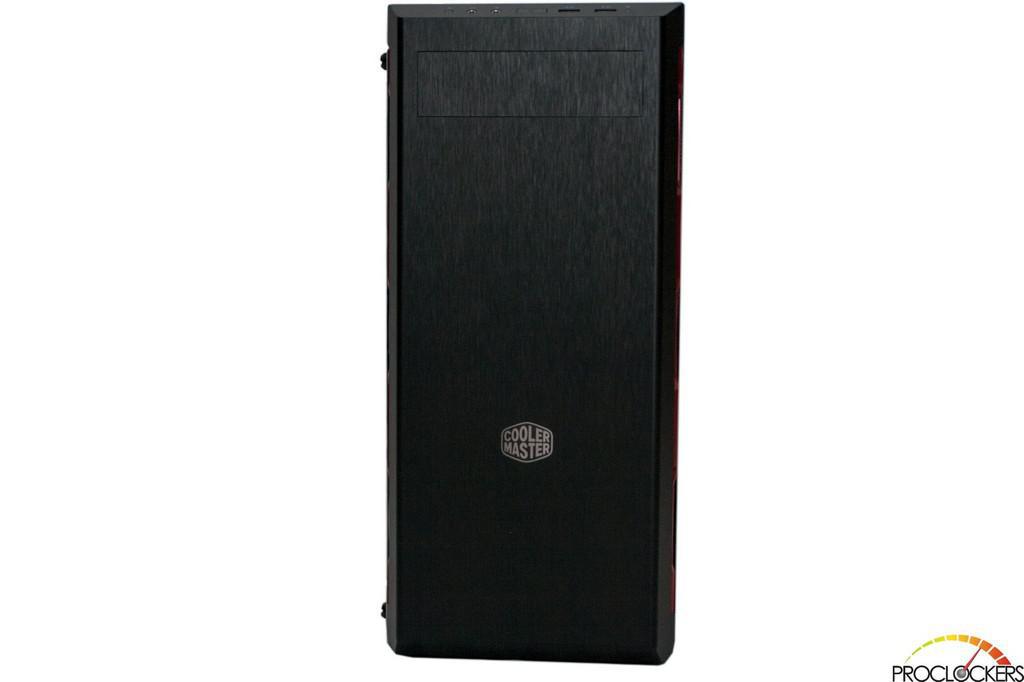
Looking at the front of the Masterbox MB600L chassis, we can see that Coolermaster keeps the simplicity of the chassis design while also giving it some elegant looks.
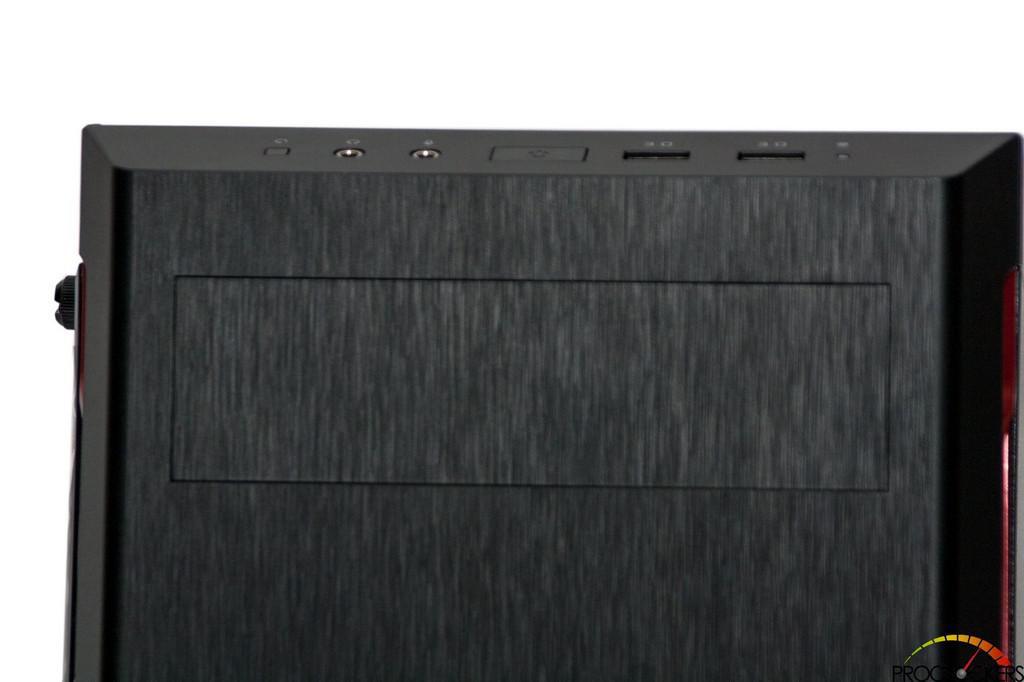
Looking towards the top of the chassis we see the 5.25” single bay, as well as from left to right, a reset button, a front headphone/mic IO ports, a power button, and only two USB 3.0 headers.
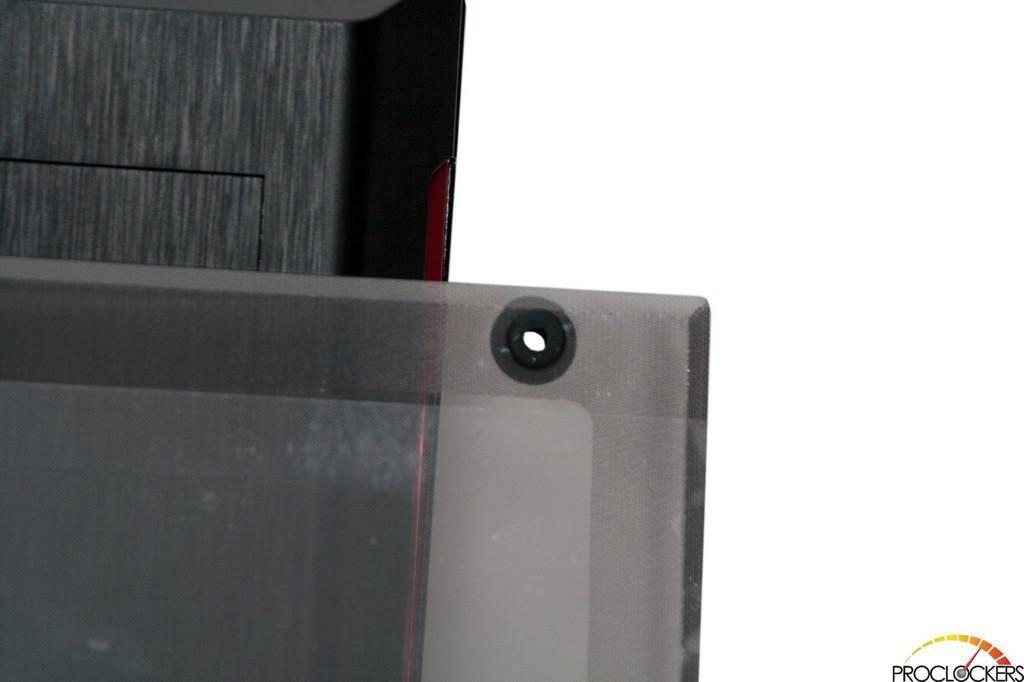
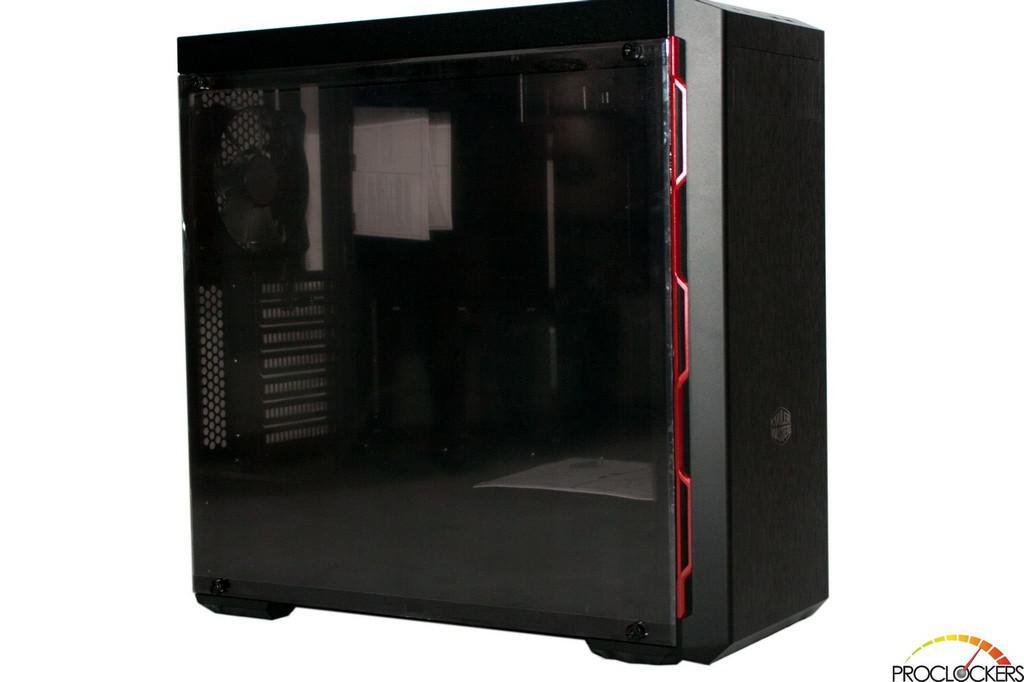
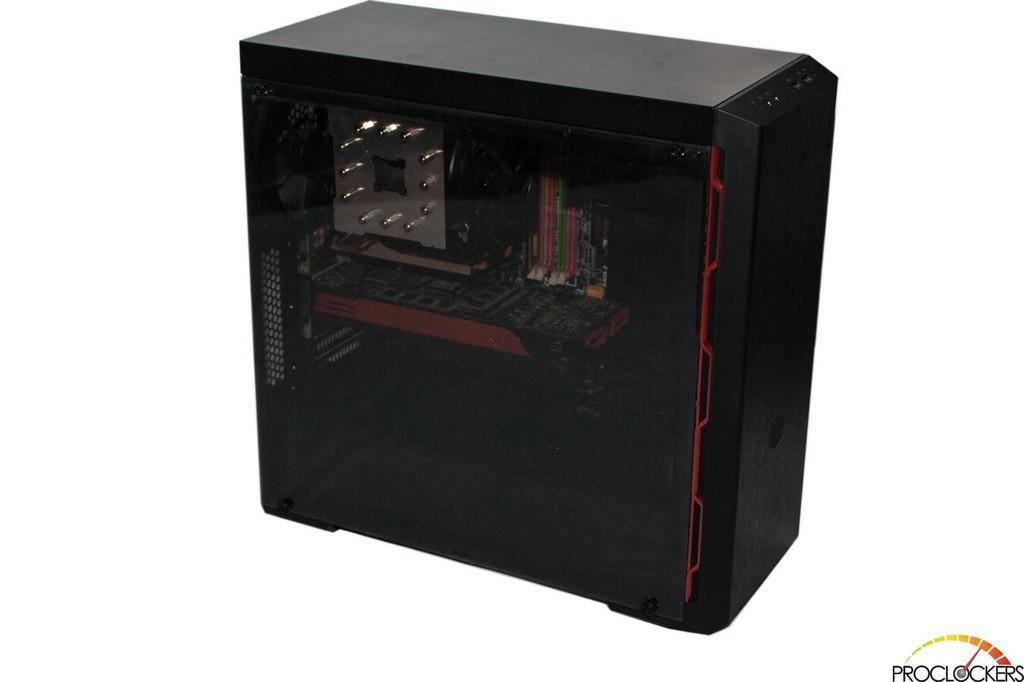
The entire right side of the Masterbox MB600L chassis is a smoked Lexan panel. Coolermaster uses 4 rubber grommets where the mounting screws go through the panel to secure it to the Masterbox MB600L chassis; this will help reduce any unwanted vibrations from this panel.
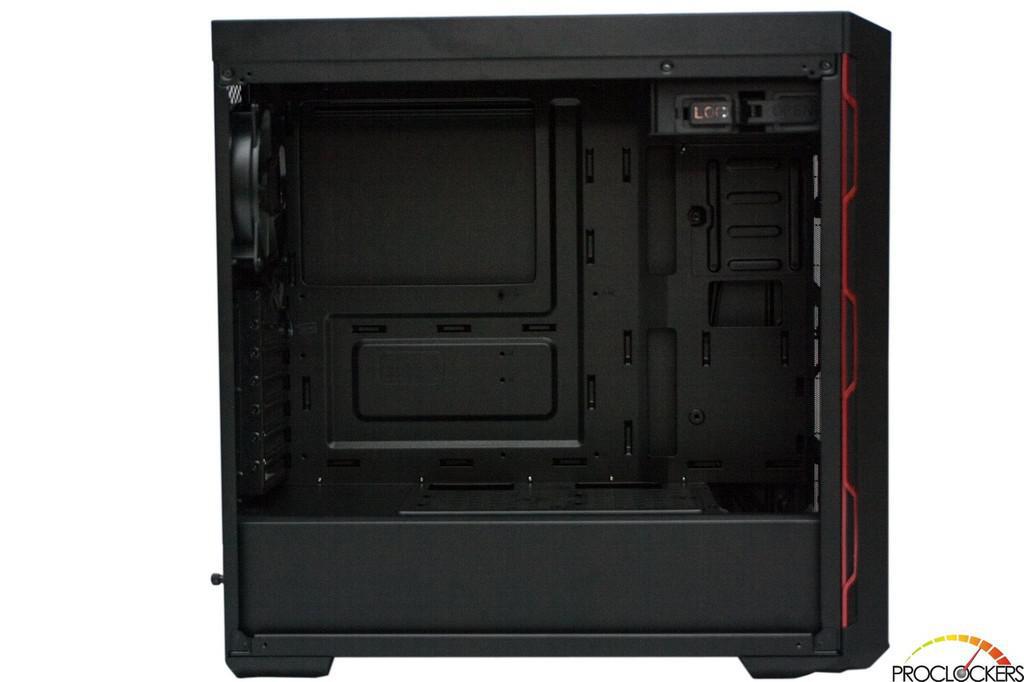
Looking at the interior of the Masterbox MB600L chassis, so far it definitely looks very roomy inside and should accommodate a wide variety of large computer components within this chassis.
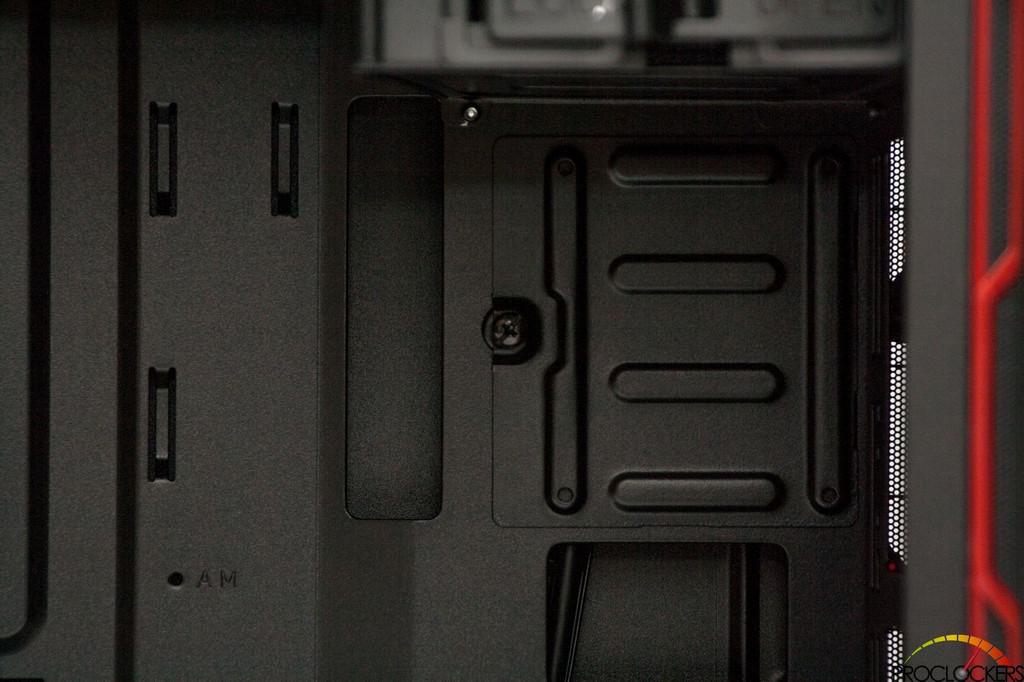
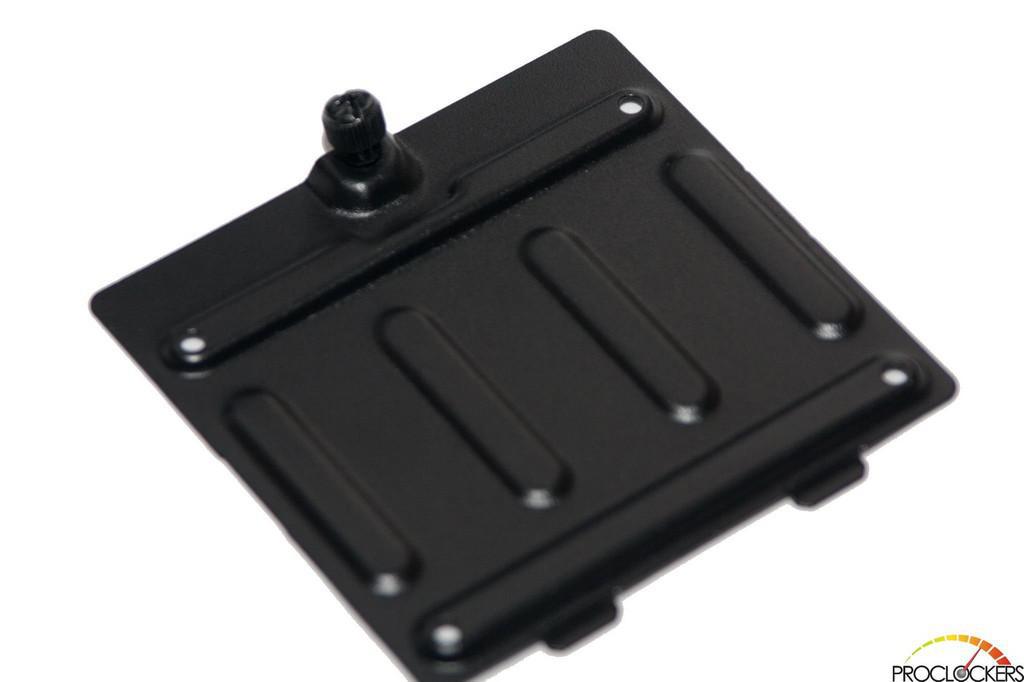
The included 2.5” HDD/SSD mount, this mounting plate can be removed and installed onto three other places inside the Masterbox MB600L chassis.
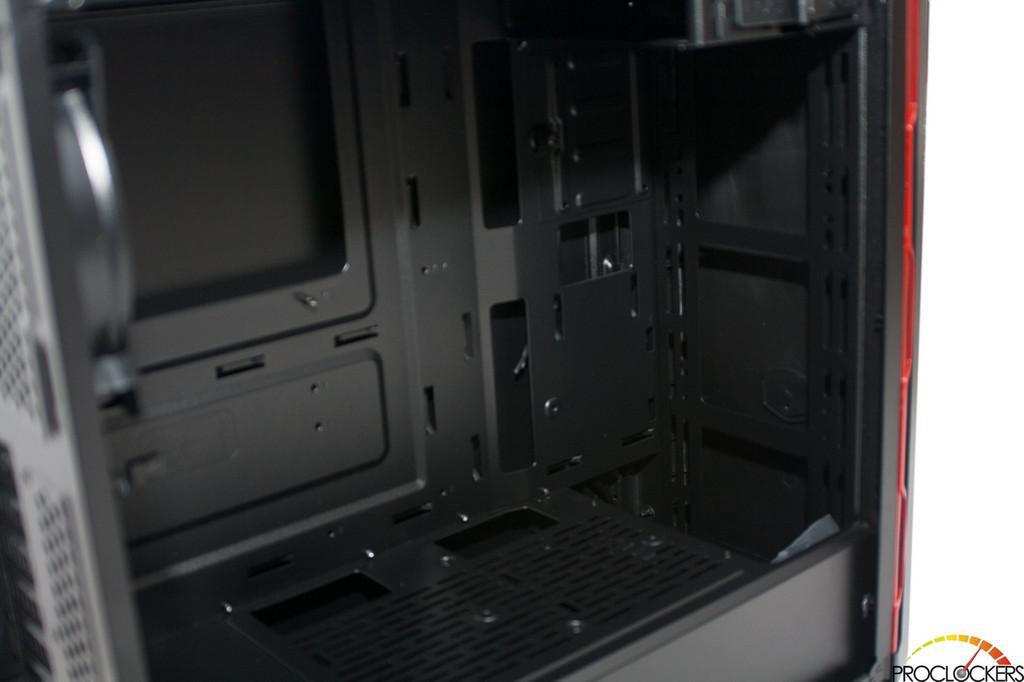
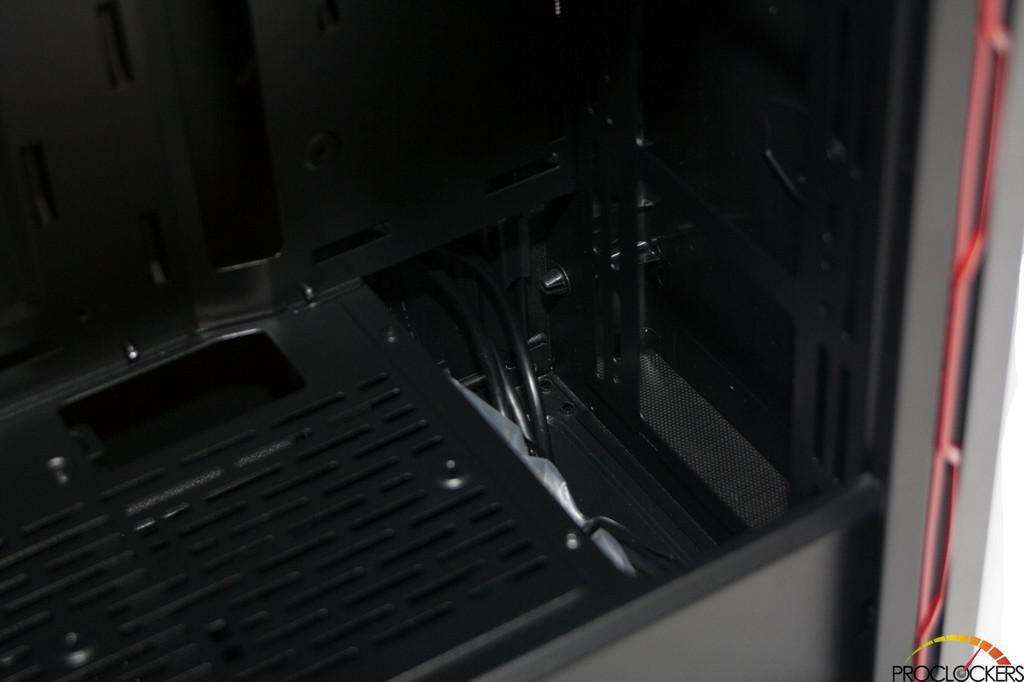
Looking towards the front of the interior of the Masterbox MB600L chassis, we can see where we can install up to a triple 120/140mm radiator at, as well where the second 2.5” HDD/SSD mounting plate can be installed at, which is right below the first 2.5” HDD/SSD mounting area.
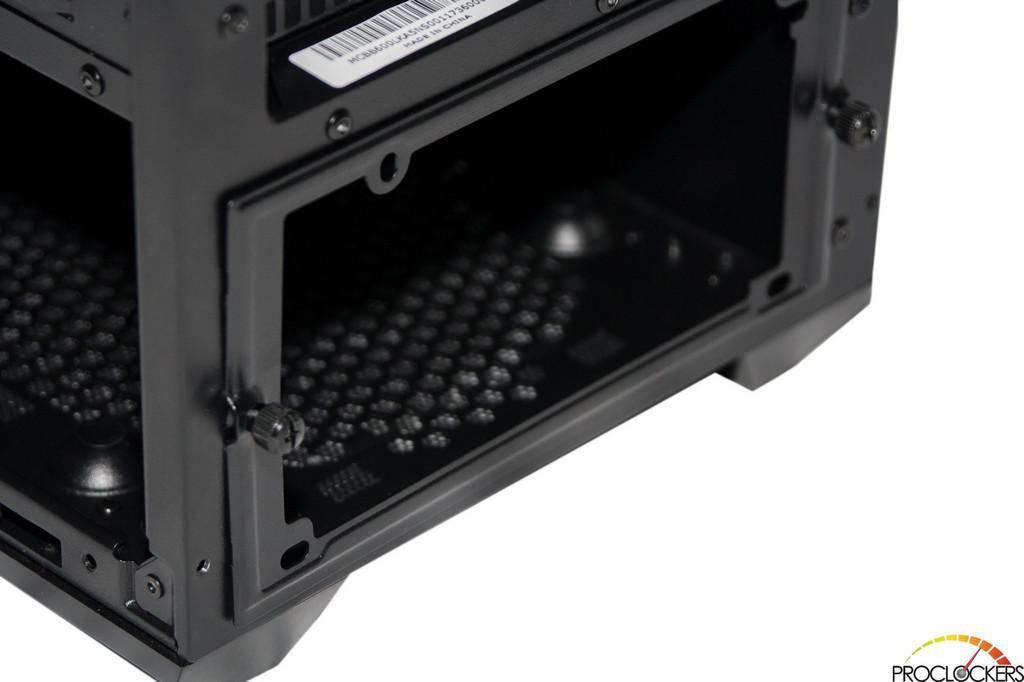
The final 2 2.5” HDD/SSD mounting plate mounting areas are located towards the bottom of the chassis. We are only given 1 2.5” HDD/SSD mounting plate, if you wish to use more than 1 2.5” HDD/SSD you can either install them in the 3.5/2.5” HDD/SSD drives mounts or purchase 3 more 2.5” HDD/SSD mounting plates (if you wish to keep them installed in the interior of the main chassis).
The only real limitation of what we can use as far as a radiator with this chassis, you will have to keep the thickness of a triple 120/140mm radiator to a dual row style of the radiator if you plan on using a triple 120/140mm radiator. (Approximate thickness of 45-55MM thick radiator)

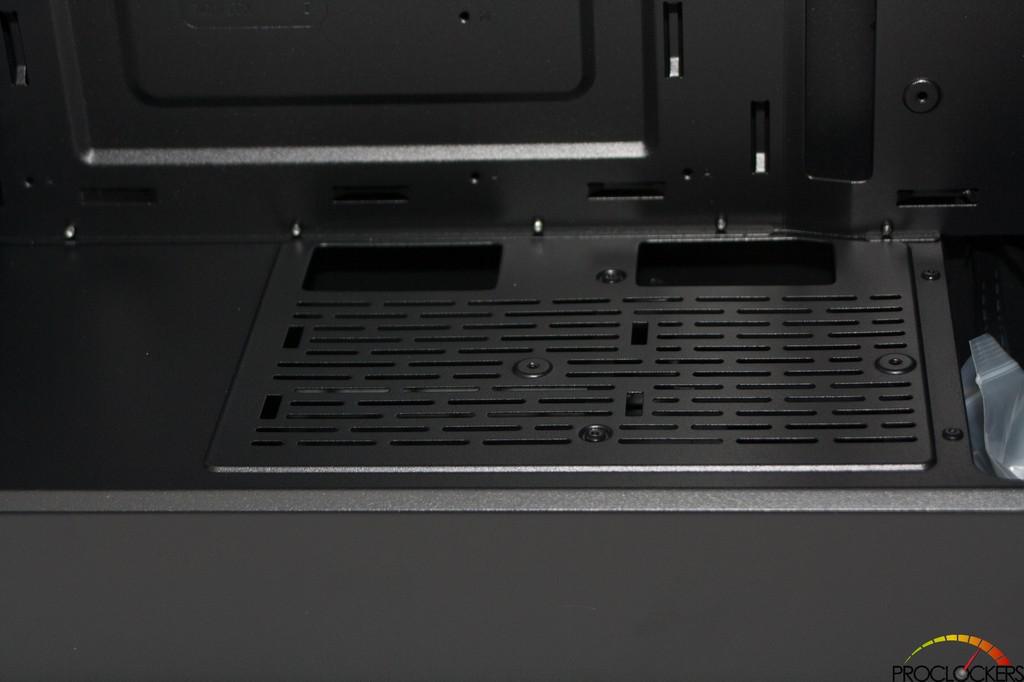
Looking at the interior of the left side of the Masterbox MB600L chassis; this chassis has a larger CPU mounting cutout to accommodate various types of motherboards. Below the motherboard mounting plate is a compartment where our PSU and 3.5/2.5” HDD/SSDs will be installed. Also where we can hide our PSU wires at.
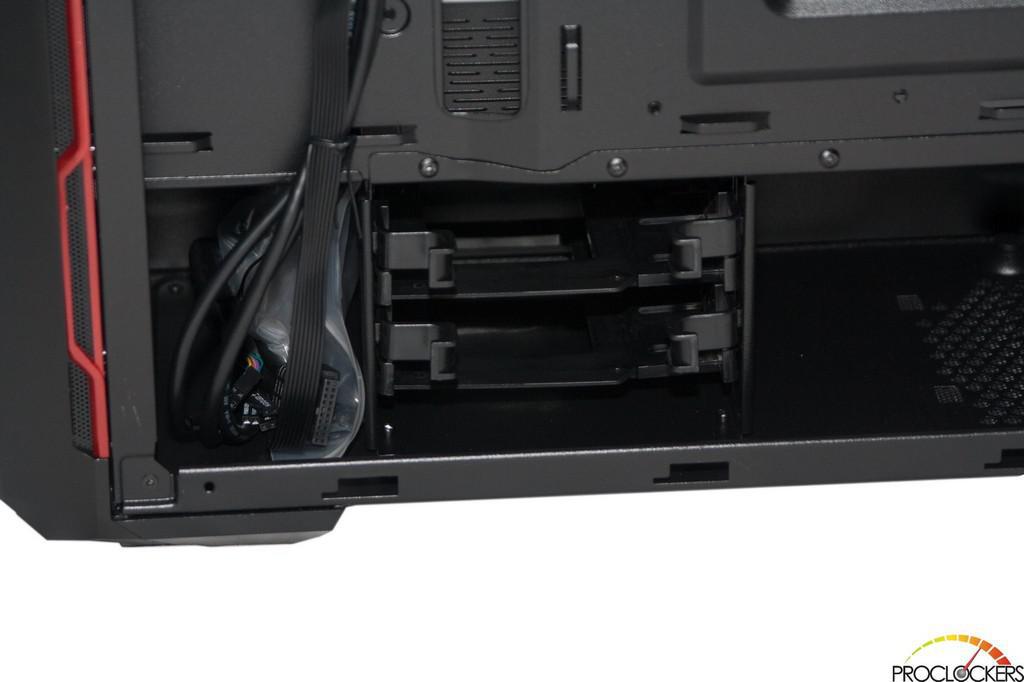
A closer picture of the dual 3.5/2.5” HDD/SSD mounting trays.
The PSU mounting plate is removable which is a nice feature as it keeps from scratching things when juggling the PSU into place.
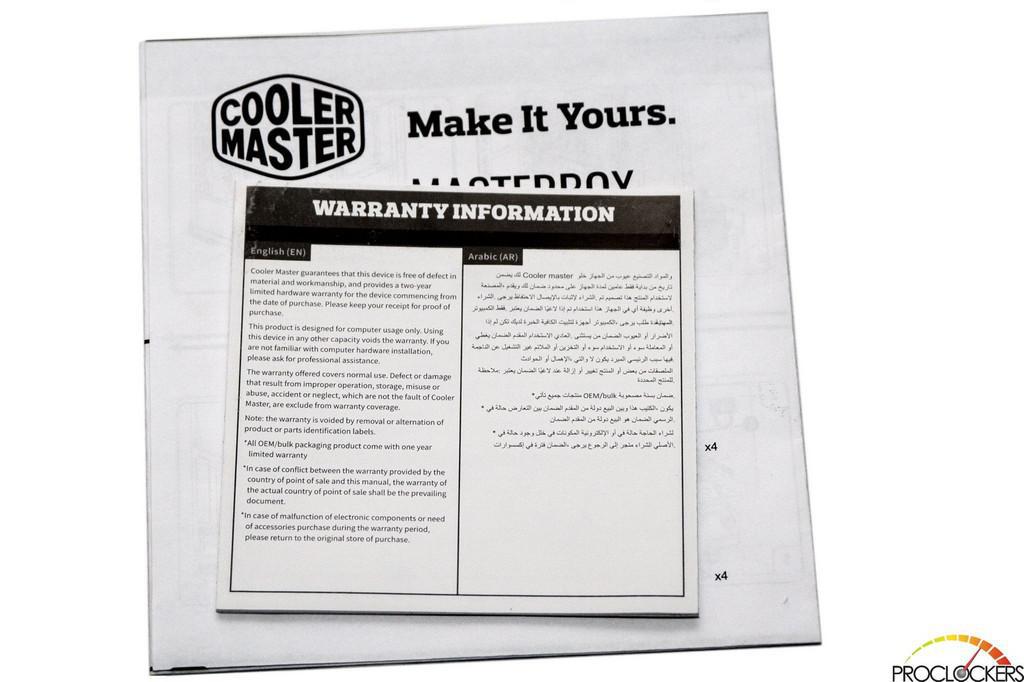
Coolermaster also includes a warranty booklet as well as an installation manual in several different languages.
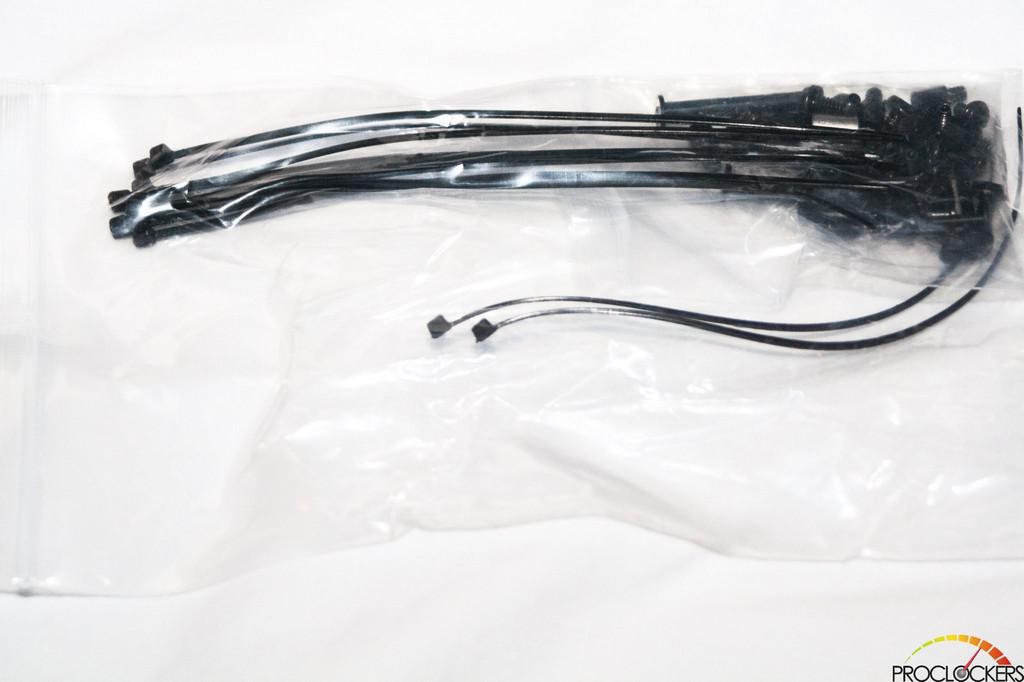
Inside of the Masterbox MB600L chassis is the included mounting hardware that will be needed to install our computer components into this chassis. Coolermaster also includes several small sized wire ties to secure our loose wires from the PSU, and various other cables of our computer components.
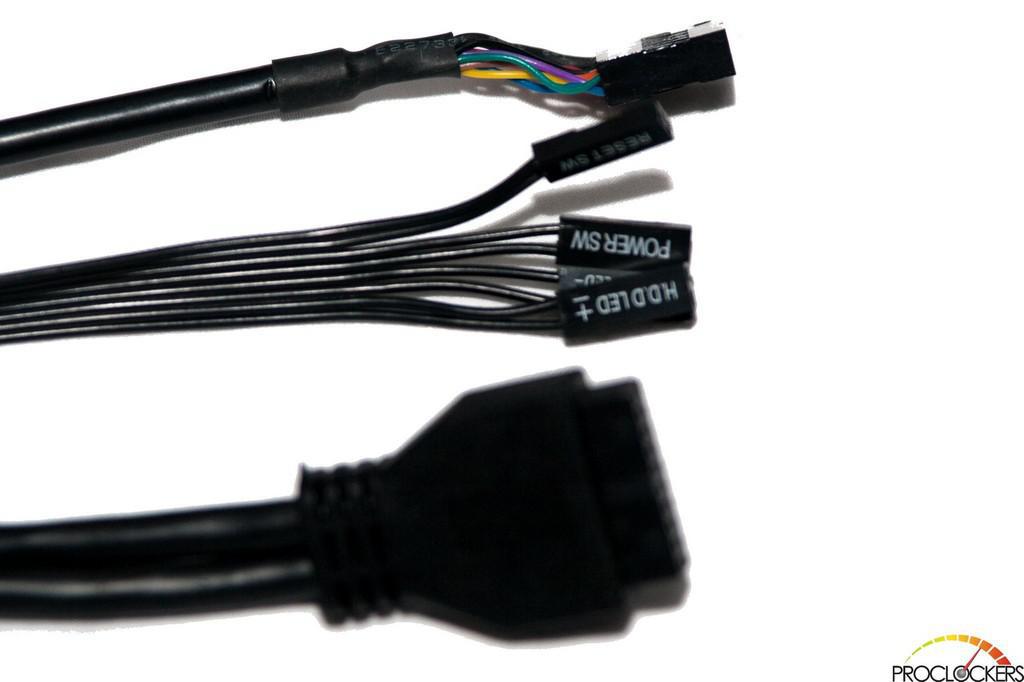
A quick look at the front chassis I/O header plugs which have the usual USB, Audio, Power, Reset and HD LED plugs.
Finally the single 2.5” HDD/SSD mounting plate but since there are two more in the drive bay that totals three.
I decided to use our workshop computer for this chassis, it’s something you might throw together for your younger brother from your leftover upgrades and the Cooler Master MasterBox chassis at $49.99 gives it all a snazzy look.
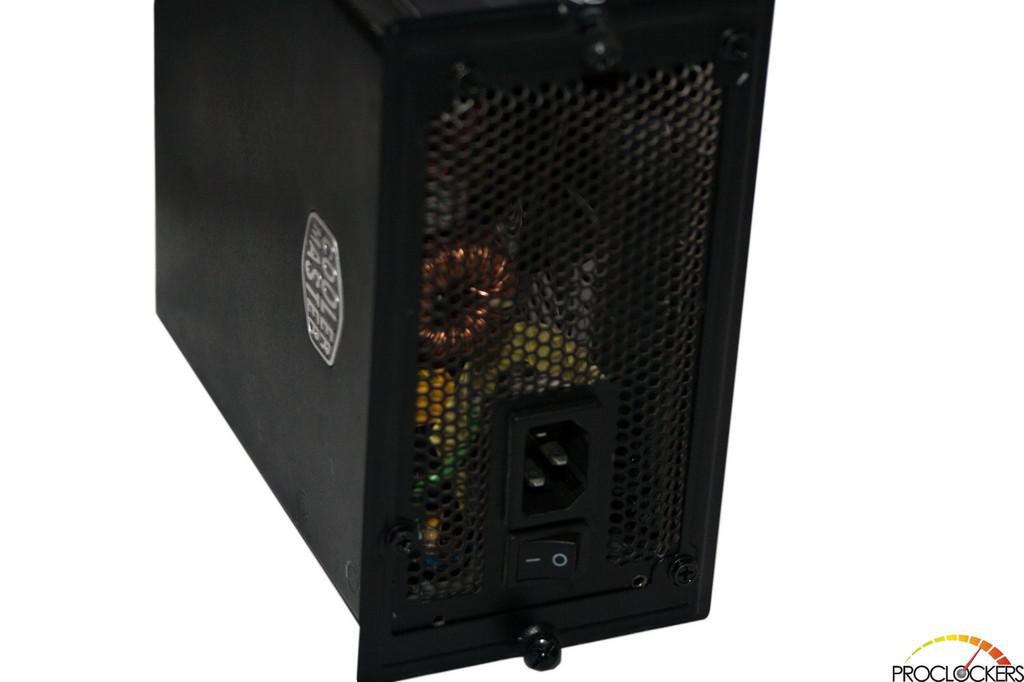
Simply slide the PSU and mounting plate into the bottom rear of the chassis and secure it with the two thumbscrews. In this case it’s what we had and this type chassis isn’t really built for monster sized PSU but to it’s credit the chassis accomidated it.
Looking more closely at the front of the PSU to the 3.5/2.5” HDD/SSD mounting trays, there is not much room here. Trying to use a large PSU with this chassis while also trying to use these bays will become a challenge.
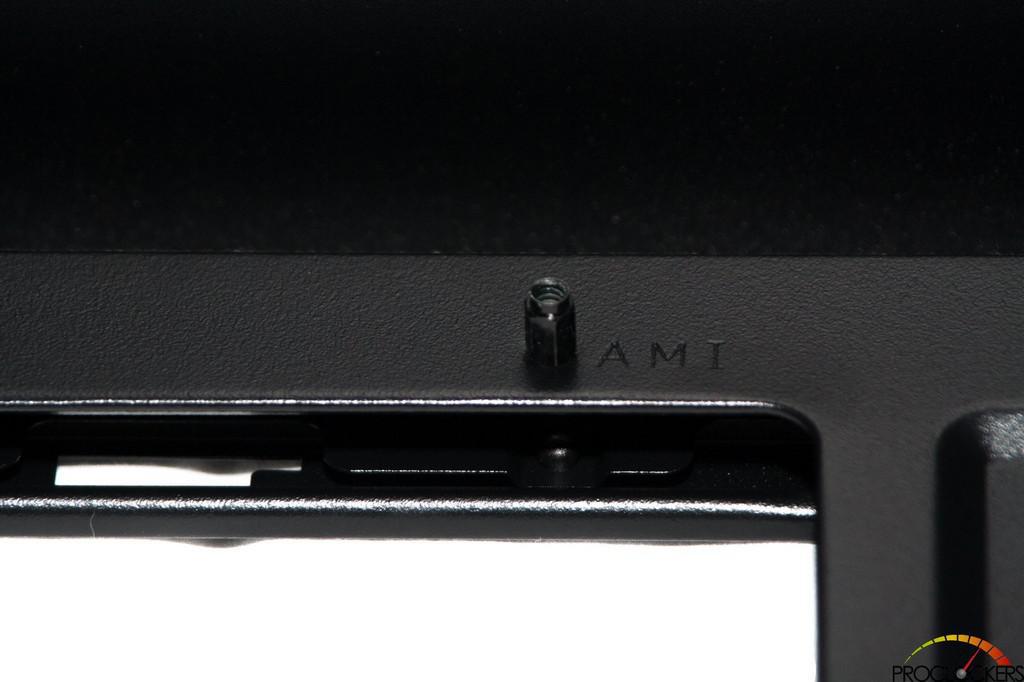
Coolermaster included two standoff self-centering motherboard mounts onto the Masterbox MB600L chassis. I like this inclusion of these types of stand offs, it keeps us from having to mount a standard motherboard standoff mount inverted, to help center the motherboard to the mounting standoffs.

Coolermaster also included a small screwdriver adapter to install the motherboard standoff mounting hardware.
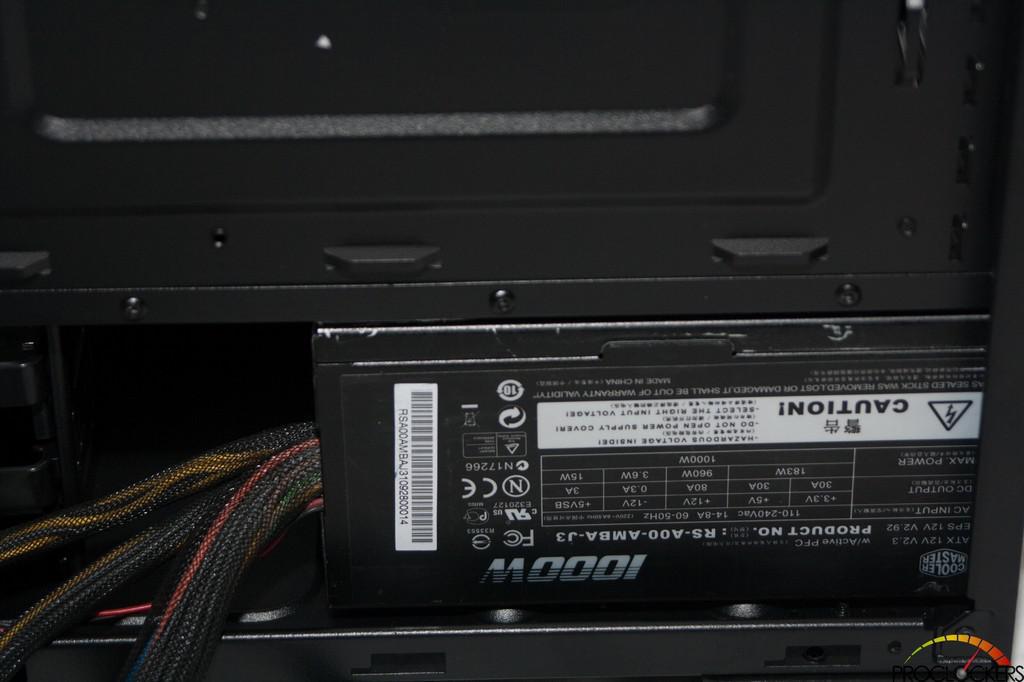
Just as I predicted earlier, using a large PSU on the Master MB600L would be a challenge. The choice of using a large 1000W PSU was a bad choice on our part and no fault of the chassis.
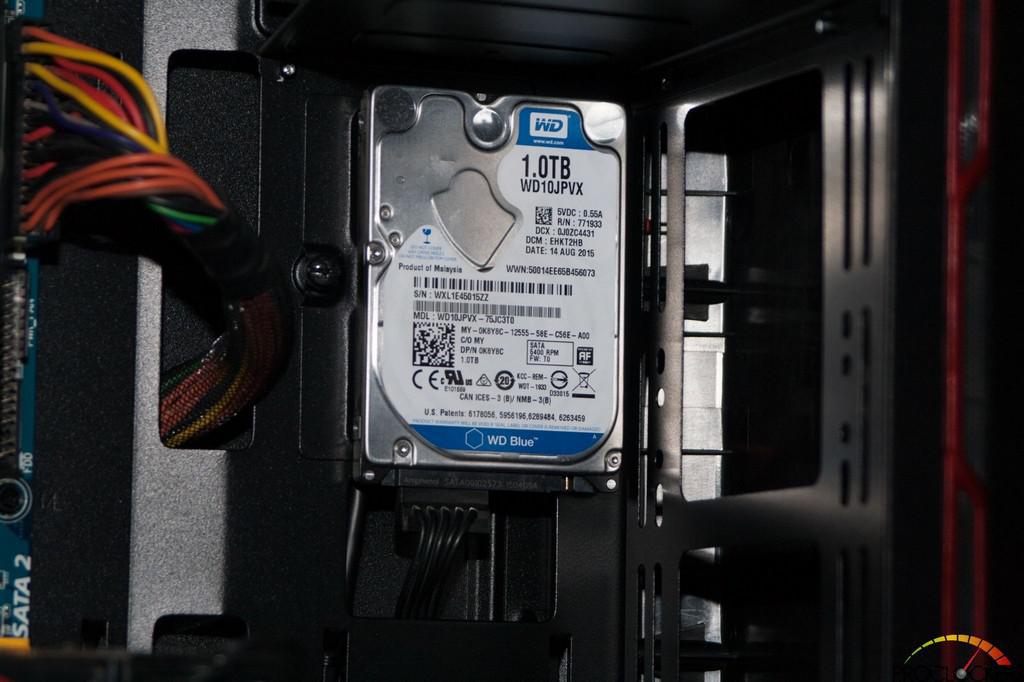
Since installing any drives into the 3.5/2.5” HDD/SSD mounting trays became moot after installing the PSU, I decided to mount the 2.5” HDD onto the included 2.5” HDD/SSD mounting tray.
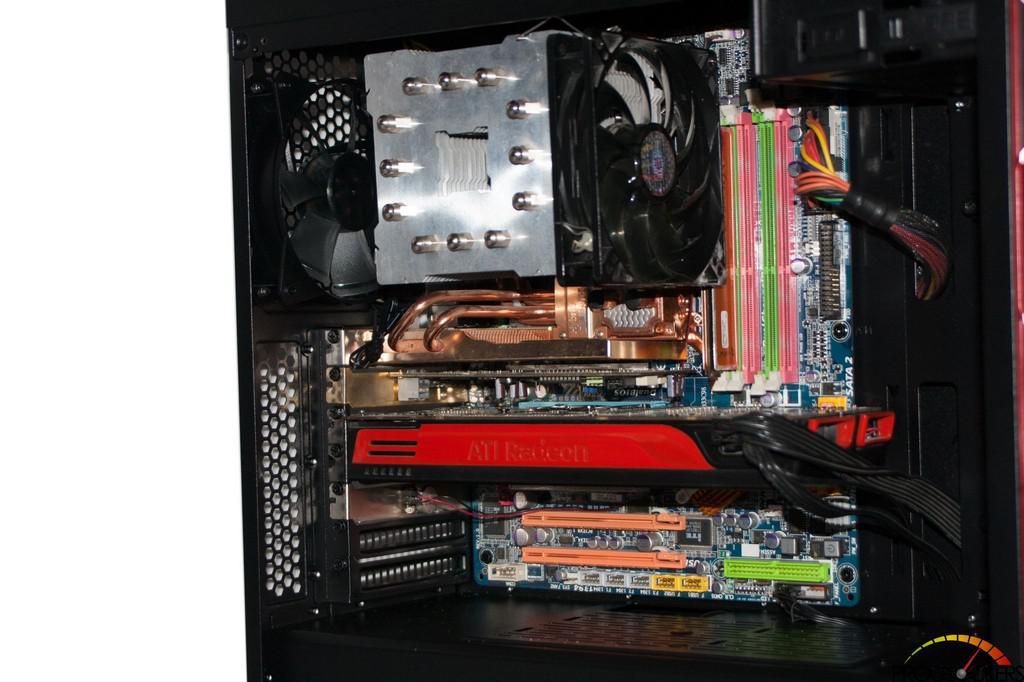
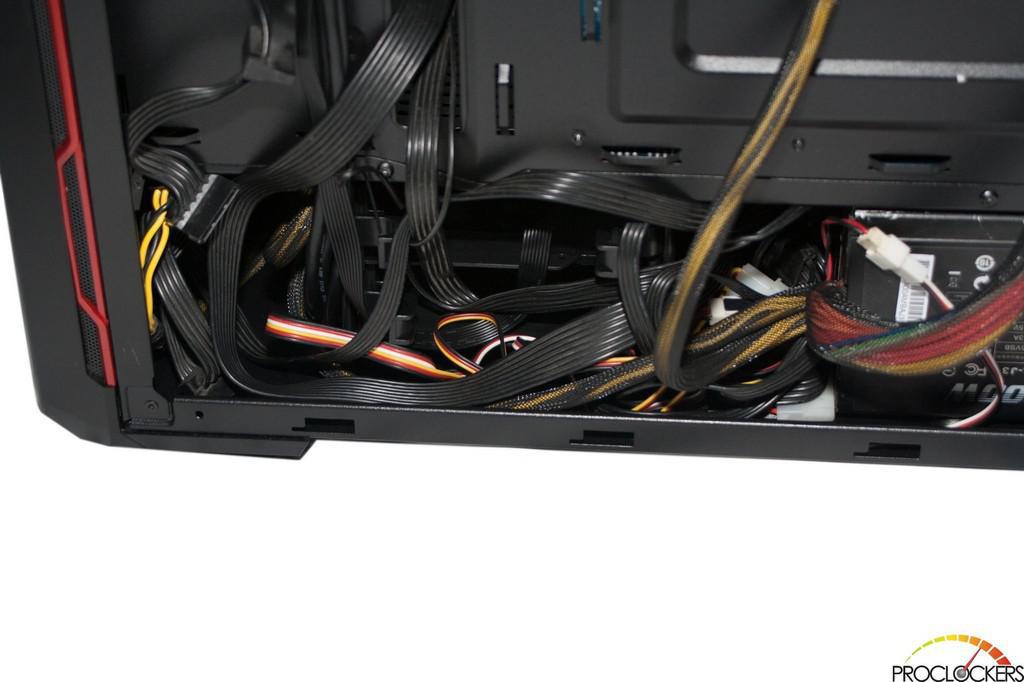
A quick look at the completed Masterbox MB600L chassis installation I will say outside of problem with hiding the PSU wires, the overall installation of this computer looks clean and professional.
The Masterbox MB600L chassis is a mid-tower and has limited space so if you plan on a massive computer build you may need to go for a full tower. The MasterBox we are looking at today should be fine for all but the hardest core enthusiasts that have to cram tons of components into the chassis.
Final Thoughts & Conclusion
Being a Mid-tower chassis the Masterbox MB600L chassis is geared for medium-sized builds and covers that market well. The PSU Chamber was a tad small for our liking but perhaps if we spent more time cabling we would have had a better outcome. In retrospect, it would have been better to wire some of the wires up from the PSU across the back of the motherboard tray. This chassis does exactly what Coolermaster claims it will do. Among those claims being able to use large video cards, larger sized ATX motherboards, also being able to house a triple 120/140mm radiator without cluttering the main interior of the chassis with a bunch of wires from our PSUs, and other computer-related cabling. In the end that will help keep our computer components cooler, while also protecting them from the outside environment, which is what a computer chassis was designed to do in the first place.
Modern PSU in the 1500W range specifically the SilverStone Silver Strider ST1500W-GS will easily fit in this chassis and for most end users a 750 or 850W fully modular will be plenty and reduce the spaghetti tangle. We would recommend flat wires on your PSU if it’s in the budget and fully modular is always better partially but either should be a breeze to wire in the MasterBox. Being a Mid-tower you will have to understand space is limited but with the elegant features of the MasterBox MB600L you should be able to create a masterpiece for your MasterBox.
The MasterBox MB600L is a well designed well-engineered sculpture waiting for your personal touch to make it harbor your dream machine!


The 25 Best Anime Cats, Ranked
What are the best anime cats? Cats are something you either love with every fiber of your being or vehemently...


The 25 Best Anime Teachers, Ranked
Who are the best anime teachers? With high school being such a prevalent setting in anime, it makes sense that...


The 25 Best Orange Hair Anime Girls, Ranked
Who are the best orange hair anime girls? Orange hair is interesting in anime because it can either be a...